Participating Frequently
April 1, 2018
Beantwortet

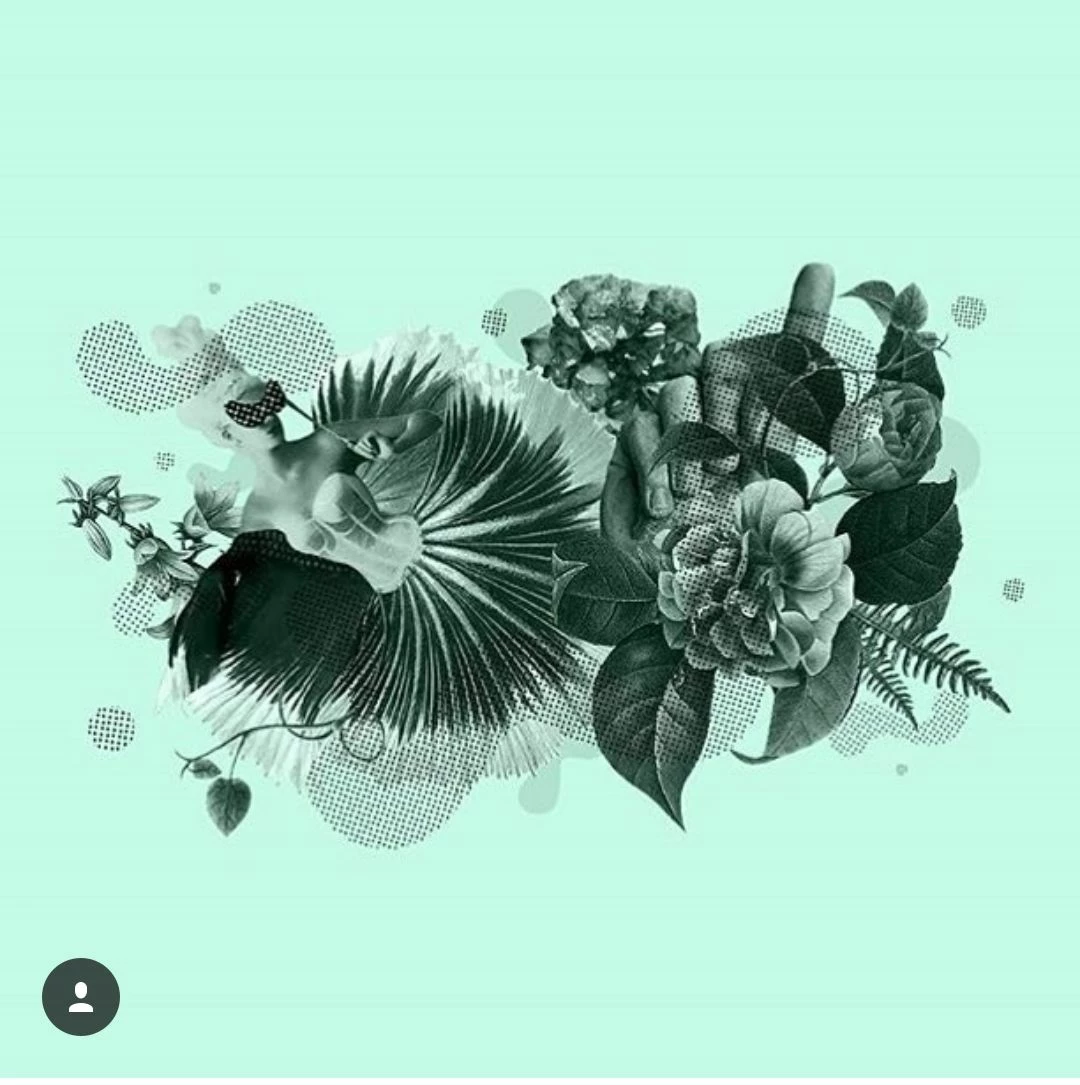
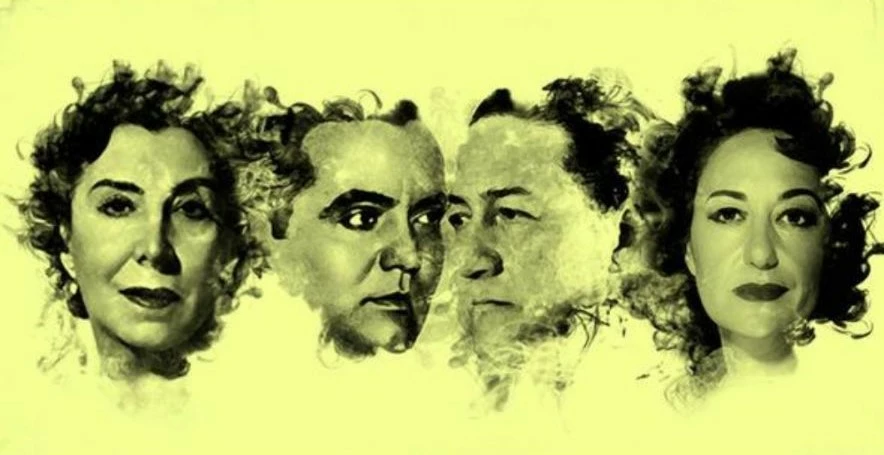
Achieve a monocolor effect without loosing black parts of the picture?

  • April 1, 2018
  • 6 Antworten
  • 2781 Ansichten

Hi everyone, I really searched and tried a lot to do something like that, but I could't. Blending the layers, I loose the black parts of the picture, just the ones I want to keep!

Do you know how to achieve this effect? Thanks a lot in advance, and I poollogize if the question is already done (send me the link, please). Kind regards, @Velmock.

Dieses Thema wurde für Antworten geschlossen.
Beste Antwort von Simmer1

Hi,

Another way could be use an alpha channel selection:

Adobe Photoshop CC Masking with Channels - YouTube

This would enable you to isolate the characters on their own Layer turn them Black and white by going: Image> Adjustments > Black and white. Be sure your file colourmode is RGB.

Or you could use a Black and white gradient map like Dave Suggested.

The main point it that the Alpha channel selection will give the flexibility of having a Black and white foreground image and a background colour of your choice on a separate Layer.

I hope this helps!

Sim

6 Antworten

Stephen Marsh
Community Expert
Community Expert
April 3, 2018

I am a little bit late to the party, however I am sure that a simple darken or multiply blend of the colour layer into the monotone original would create the same effect, without the need of masking:

VelmockAutor
Participating Frequently
April 3, 2018

Hi Stephen,

Welcome! Darken is one of the first things I've tried, but it seems that the result with others pictures is to tint also the black parts.

The fact is that this is my first time in Adobe forum and in a very few days a learned  a lot of all  of you, so for sure I will keep asking.

Thank you vey much,

@velmock.

Stephen Marsh
Community Expert
Community Expert
April 3, 2018

Hmmm… We are not creating a “analogue press ready pre separated 2 colour image”… In my example, both the black and the colour fill are both created in an RGB file, so they do indeed “share” colour, however as the blue is lighter than the black, the black remains black when using darken blend.

EDIT: Ah, I just tested with some synthetic grayscale steps and gradients, I guess you are referring to the tints of gray, not solid black picking up the hue. So is it only in the pure white areas that you require a colour but not in any gray tones?

VelmockAutor
Participating Frequently
April 2, 2018

I did it!!! Now I understand how it works! It wasn't as easy as I imagined, but I will practice. I am really happy Thanks a lot for your patiente and help!

VelmockAutor
Participating Frequently
April 2, 2018

Hello, ups... I feel terrible! I didn't made a selection, what a stupid thing! Now I achieved to paste it, Rob. But the result is strange, look:

I think I will manage it now that I am able to cut and paste . You really helped me a lot, kind regards,

@velmock

rob day
Community Expert
Community Expert
April 2, 2018

You have 3 layers—you only need two. Trash the top red Color Fill layer. To change the background color all you have to do is double click the left bottom color layer, which will open the color picker.

VelmockAutor
Participating Frequently
April 1, 2018

You did!

rob day
Community Expert
Community Expert
April 1, 2018

A variation on Sim's alpha channel method would be to use two Solid Color layers, one for the black image and the other for the background color. In that case you can easily change the foreground and background colors via a color picker.

When you make a new Solid Color layer a mask channel is included, so here the bottom layer is the mint color with nothing in the mask channel, and the top layer is a black Solid Color layer with the inverted image pasted in the mask channel.

Option-clicking the layer's mask icon lets you paste into or edit the mask.

You can adjust the background and foreground colors by double-clicking one of the layers.

Showing the top layer's mask channel:

VelmockAutor
Participating Frequently
April 1, 2018

hello, Rob. I am trying this right now. How did you get the mask?

thank yoy very much!

Simmer1
Community Expert
Simmer1Community ExpertAntwort
Community Expert
April 1, 2018

Hi,

Another way could be use an alpha channel selection:

Adobe Photoshop CC Masking with Channels - YouTube

This would enable you to isolate the characters on their own Layer turn them Black and white by going: Image> Adjustments > Black and white. Be sure your file colourmode is RGB.

Or you could use a Black and white gradient map like Dave Suggested.

The main point it that the Alpha channel selection will give the flexibility of having a Black and white foreground image and a background colour of your choice on a separate Layer.

I hope this helps!

Sim

VelmockAutor
Participating Frequently
April 1, 2018

Thanks lot, Sim, I will try this... but I need a little of time to watch the tutorial and find where is the alfa channel .

Thanks also to Dave, I will keep trying, but I am searching this effects months ago and I hoped it was going to be easier...

VelmockAutor
Participating Frequently
April 1, 2018

I tried but I am not getting the right effect, and it seems to be easy, or not?

davescm
Community Expert
Community Expert
April 1, 2018

Hi

Try using a gradient map adjustment layer and set the gradient from black to the required colour

Dave

VelmockAutor
Participating Frequently
April 1, 2018

Hi, thanks a lot, but the effect I achive is not the same as the pictures I sent... Maybe I am doing something wrong!

davescm
Community Expert
Community Expert
April 1, 2018

You may need to adjust the gradient. Can you put an image up as an example.

Dave