
Add branding to your account using Acrobat
Add branding to your account using Acrobat
Brand your emails and recipient experiences with your logo and customize the signing URL to reflect your domain, so your signers know the agreement is from you.
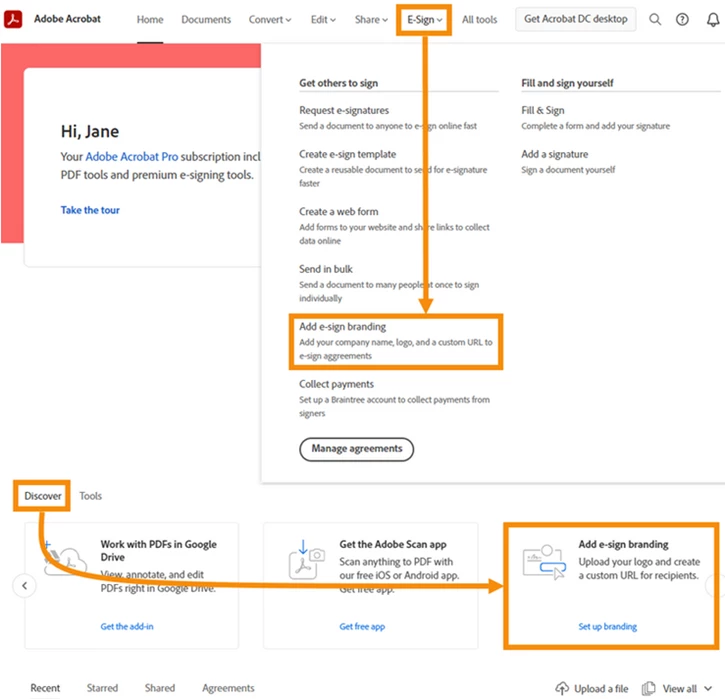
To access branding controls, do one of the following:
- In the Acrobat desktop app, go to the Tools center, scroll down to the E-Sign section, and then select Add e-sign branding.
- Sign in to Acrobat online, select the E-Sign menu in the top navigation bar, and then select Add e-sign branding.
Upload your logo
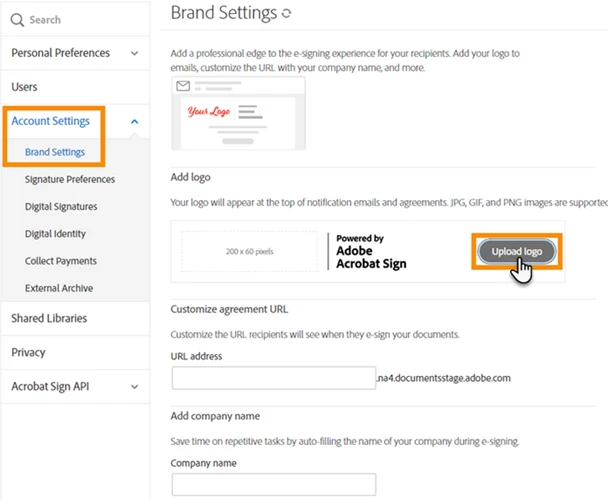
An account admin can upload an image to display instead of the default Adobe Acrobat Sign logo. This image appears in the upper-left corner of the screen for all the users in your account when they are logged in.
- Logo images are 60px tall, and 200px wide
- PNG is the recommended format
- Select the Add e-sign branding tool as explained earlier.
- The page refreshes to show the Brand Settings page for your Acrobat Sign account.
- Click the Upload logo button
- Navigate to your logo image
- Click Open and the upload happens automatically
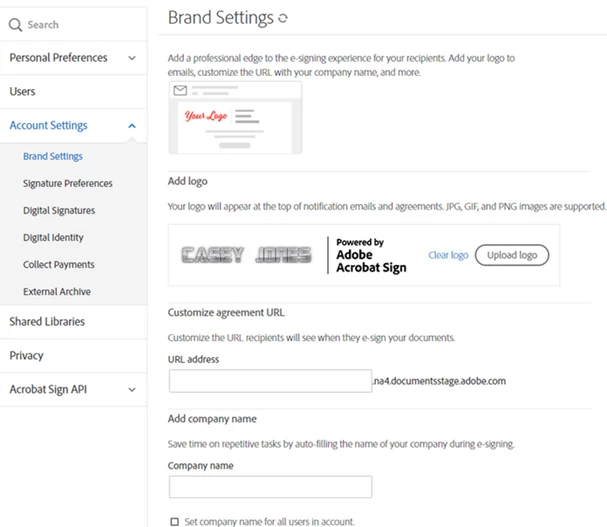
3. Click Save.
Your logo will now appear for all of your users.
Did you find it helpful? If yes, share your experience with us: Join the conversation here. We are listening!
To discover a host of other great features added in a recent update- Go straight to: Adobe Acrobat and Reader August 2022 update