Greetings!
If I'm reading your reply correctly, you are looking for Prefill fields so you can update the generic form before sending it to a signer.
The best way to do this is to open your generic in the Authoring environment. If you have uploaded the document to your library, there will be an Edit link available for the library template on your Manage tab.
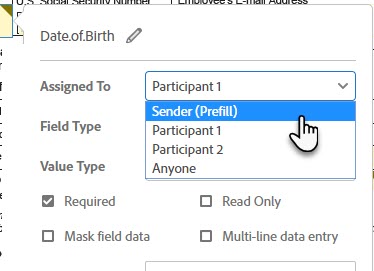
Once the document is open in the authoring environment, change the "Recipient" (on the right rail) to "Sender (Prefill). This step sets the default recipient for any subsequent fields you place:

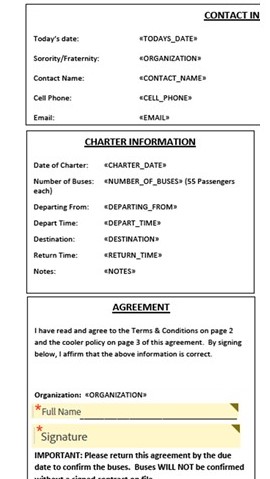
Next, drag and drop Text fields to cover the field stubs you see in your document (<CHARTER_DATE>, <NUMBER_OF_BUSSES>, etc)
If you open the details of any one of these fields, you will see that the recipient is being identified as "Sender (Prefill)":
I would recommend taking the time to edit the name (click the little pencil icon) of your text fields to be meaningful, as these are the values that are used in Reports.
Set all of the fields that you want the Sender to Prefill this way and save the template.
When a sender sends a transaction using a document that includes Prefill fields, the sender will be prompted to enter the prefill fields before the first recipient is notified. This takes place immediately after clicking the Send button.
Prefill fields can be marked as Required, if you need them to be filled in every time.
Prefill fields are not available later in the signature process. They must be filled during the "Prefill stage".
Hopefully that will help!
-Scott


 3
Replies
3
Replies


 AdChoices