 Adobe Community
Copy link to clipboard
Copied
Hello.
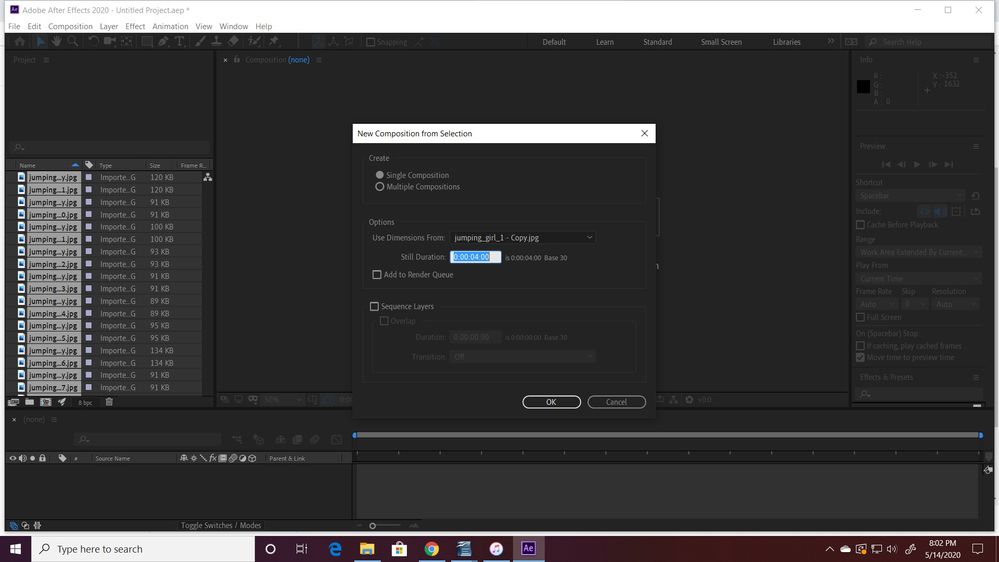
I have been at this for a while and though I have learned a lot, I cannot seem to get results for this beginners project. I am trying to create this simple composition. I have imported 76 images (38 which are doubled for 2 on 1 timing). I have 4 seconds as duration in composition settings (24 frames per second should bring 76 images to just over 3 secs, right?)
What i want to do is use the keyframe assistant --> sequence layers to get the comp to playback looking something like a girl jumping.
What steps will make the image sequencer work? Thank you.
 1 Correct answer
Select all of your layers, using either CTRL/CMD+A or by clicking the top layer and then shift-clicking the bottom layer.
Go to 00;01 in your timeline, and trim all layers using Alt/Opt + the close bracket ] key.
Right-click > Keyframe Assistant > Sequence Layers. Make sure Overlap isn't checked.
That should do the trick!
Copy link to clipboard
Copied
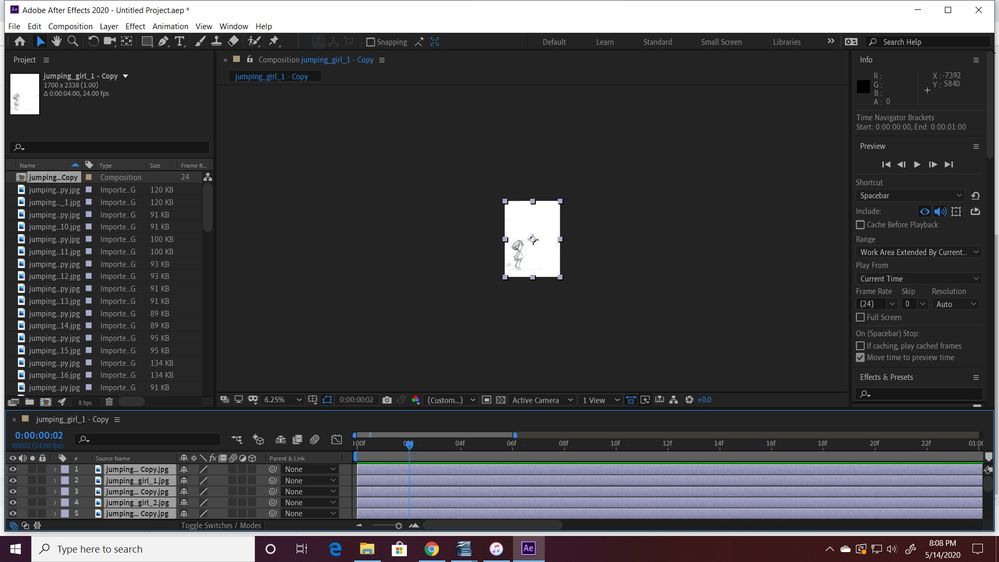
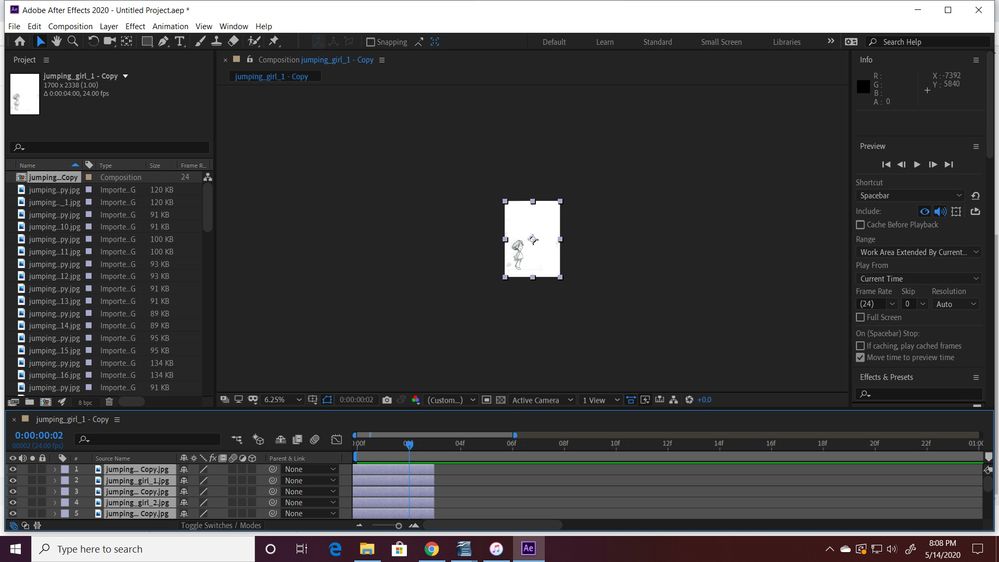
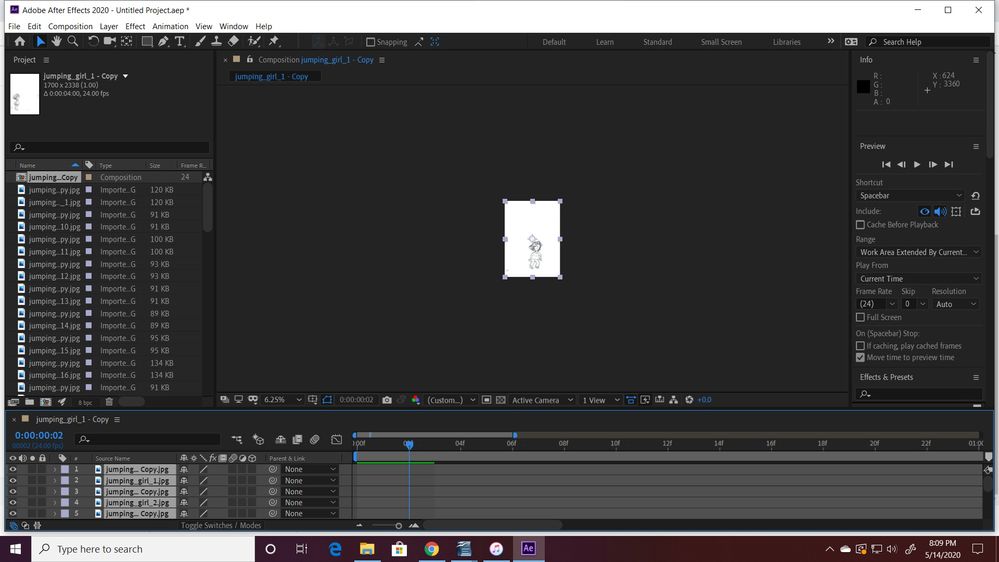
Thank you Kyle for getting back to me. Alas, your advice did not work, although I can tell i am closer. Attached are the screenshots for what i got.
When I placed the time indicator on 1 sec (2 frames, yes?) and then trimmed, you will see that it wouldn't trim there. (2 different attempts with different results)
I took the keyframe assistant/sequence layer step to see if i would get the stair step look that I should be getting at least, but in the final scrnsht, you can see that i did not.
Again, I appreciate the help. Looking forward to hearing back!
Postscript: I cannot attach files to this message i guess. should i repost as new message?
Copy link to clipboard
Copied
You should always be able to embed images if you use the toolbar:
Here's how you sequence layers. Sequencing comes at the end:
Apparently embedding videos is now broken. Here's a link: https://youtu.be/nvTh49rXRRs
Copy link to clipboard
Copied
Thank you for getting back!! I am afraid i do not see where to watch the video.
Copy link to clipboard
Copied
I also don't see a link to the video in Rick's post. Perhaps the forums are misbehaving.
Please try this with the corrected hotkey - are you still having trouble?
Copy link to clipboard
Copied
Hello Rick!
Thank you for the "embedding" tip. I do not see how to view the video, but sure am hoping to learn how to do this soon. Thank you.
Copy link to clipboard
Copied
Copy link to clipboard
Copied
Well, I'm not sure what's happened between the last step and the one before it, but your screenshots also pointed out another potential approach. If these are named properly, they could simply be imported as an image sequence - as long as you set the frame rate properly on both that and your composition, you would be able to work with this as a single file.
I'm having trouble with the built-in video posting feature myself, so: https://youtu.be/YVCGuhihQoU
Copy link to clipboard
Copied
I found my answer. I actually have to click at the beginning of the timeline, for reasons that are not totally clear to me. Thank you!!
Copy link to clipboard
Copied
A lot of the functions and keyboard shortcuts in After Effects are highly contextual, and the timeline is probably the place where this is most true. Being mindful of where (or more aptly when) your CTI (Current Time Indicator) is in the timeline is usually a good first thing to check if something doesn't seem like it's behaving the way you intended. 🙂
Copy link to clipboard
Copied
Thank you. I remember hearing that there is something in the settings that determines what is actually selected based on position of CTI, where it selects one frame more than what you actually want. That was why i had to keep CTI on 00:00 instead of 00:01...
Thanks again!
Copy link to clipboard
Copied
The Current Time Indicator accurately displays the time at the start of the current frame, not at the end. Park the CTI at 0:00;00;00 and you will see the start of the first frame. That frame takes a bit of time to playback. The confusion happens when you set an out point at the CTI. The Out point is set at the end of the frame you currently instead of the endpoint of the previous frame. It works this way in all compositing and animation apps I have ever used. It is a very good idea the helps you work efficiently. I will explain later. Move the CTI to the last frame of a 10 second 24 fps comp and the time display will real 0:00:09:23 and the last frame will be visible because it still needs to playback so the comp will last exactly 10 seconds.
Seeing the last frame when you are editing is extremely important. If AE set the out point of a layer at the beginning of the frame the image would disappear and you would not be able to accurately animate anything without moving back one frame in the timeline. That is the same reason that keyframes are always placed at the beginning of a frame. That frame isn't going to change while it is playing back so it is important for the timing of everything you are doing to that frame that it is visible when you are working on it.
Nonlinear Editing works a little differently. The Current Time Indicator still stops at the beginning of the current frame but when you use the cut tool, the cut is at the beginning of the frame, not at the end. Slide a left side of the cut to the right and you will see black. On the other hand, if you set an out point in Premiere Pro for the sequence the behavior is exactly the same as it is in After Effects. The out point is set at the end of the selected frame so that the frame you see in the timeline will have time to playback. The time display will be 1 frame shorter than the total length of the sequence.
I don't know any way to set an out point for a layer in the Sequence (Premiere's timeline) but you can set an out point in the Reference Monitor. If you do, you will notice that the outpoint is set at the end of the current frame exactly the same way it is in After Effects, at the end of the current frame.
Editors get expect the Cut tool to remove the last frame. It works perfectly for things like cutting on a blink, a popular editing technique when cutting back and forth between actors because the distracting eye closing is gone and only the anticipation of the eye closing is left and that helps lead you to the eyes of the other actor in the reverse angle. I see a lot of posts where people are complaining about the "extra frame" in AE when you set an out point, but the behavior is just as it should be and the same as it is when you set an out point in any NLE I have ever used.
Copy link to clipboard
Copied
Thank you for the detailed explanation! I really appreciate it a lot!
Copy link to clipboard
Copied
I realized that I overlooked part of the hotkey (now corrected in the original post).
[ or ] will move a layer's in/out to the current time.
Alt/Opt + [ or ] will trim the layer in/out to the current time.


