 Adobe Community
Settings for SLOG2?
Copy link to clipboard
Copied
Hello. Is there any specific settings I need to work with SLOG2 footage?
Copy link to clipboard
Copied
Hi JLH Films,
Ensure that your S-Log2 footage is taking advantage of the full Sony color space.
This is a good resource that explains that by Emerson:
In terms of performance, here's something that will help from Adobe:
https://helpx.adobe.com/africa/after-effects/using/improve-performance.html
Best
mj
Copy link to clipboard
Copied
In Interpret Footage the "More options" options is greyed out! In the color management tab I can't find SLOG2?
Copy link to clipboard
Copied
Your After Effects project files should all be 16-Bit or greater.
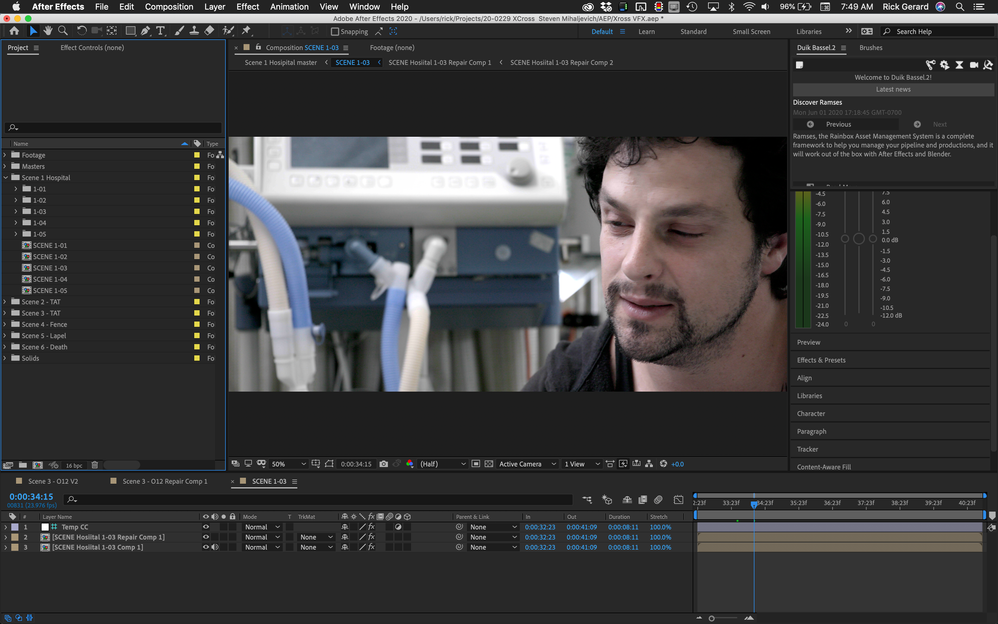
If you are doing the final color grading in another app then you should set up general color correction in your AE comp using an Adjustment layer in the Main comp - the one that is going to be rendered, that has been set to a guide layer. This will give you the ability to see what is going on in the main comp with basic color correction, but when you render your VFX shots to be edited and color graded in another app, you will not be stuck with some baked-in color that limits what you can do in the final color grade. This is how I set up projects that are going to be color graded later. The Main comp with the final VFX looks like this:
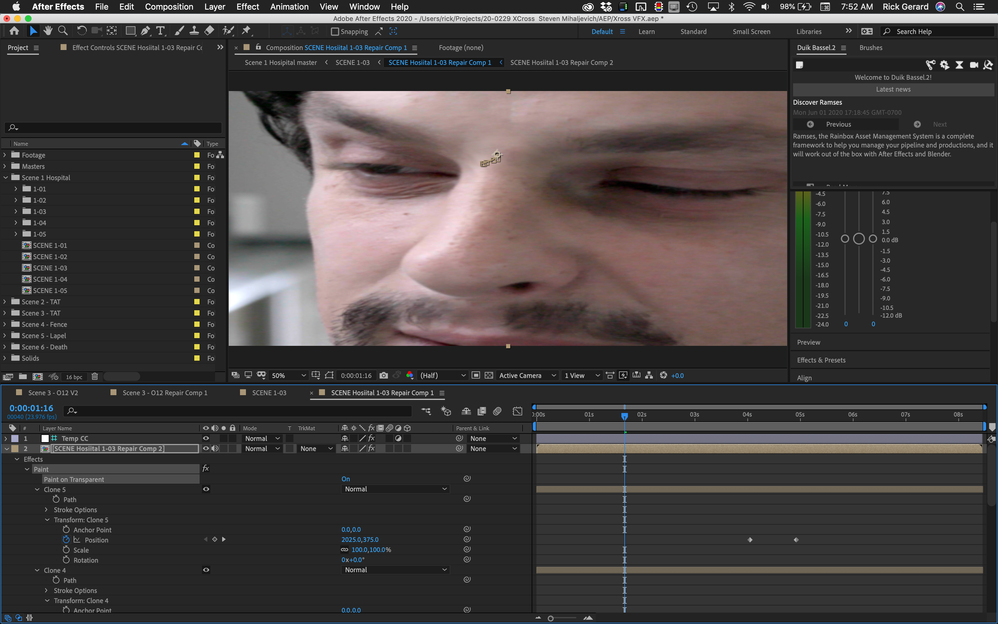
The Repair comp where I am using the clone tool to fix the shot looks like this:
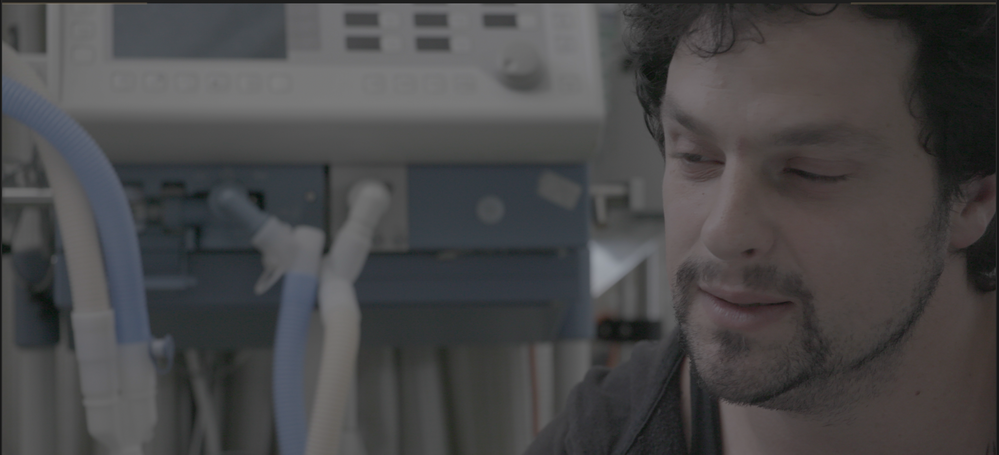
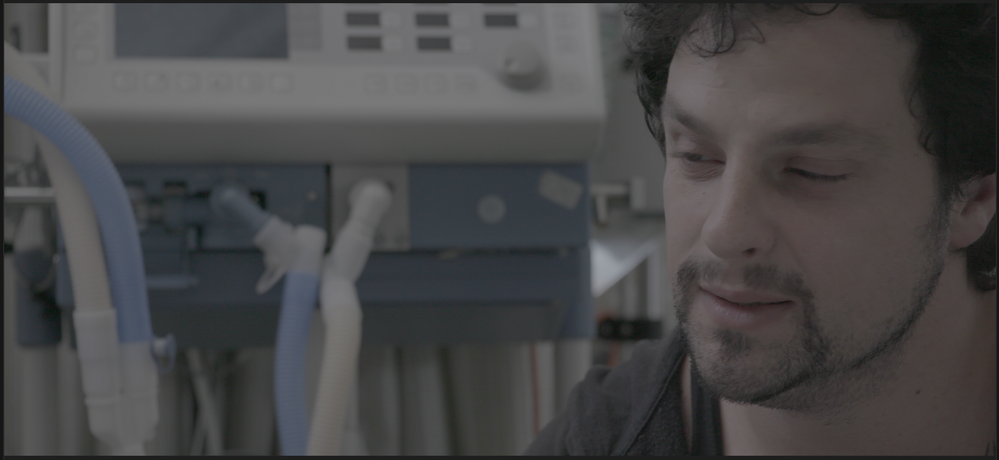
The Adjustment layer set as a guide layer lets me work with all of the original pixels but lets me see what the color graded final image will look like. The final render is back in Log space because Guide layers don't render. Your VFX shots and the original footage will match and color grading will be a lot easier. Here's the rendered frame from and the original with the blemish that I removed.
It would have been difficult, if not impossible to do a good job of removing the blemish on the actor if didn't add the adjustment layer because the contrast is so low in the original log footage.
You also must establish a project-wide color management strategy and stick to it. I hope these suggestions help. I see a lot of people having a lot of color grading problems because they try and do color grading in AE, render or use dynamic link, then do the final color grade in Premiere Pro or Davinci.


