 Adobe Community
- Home
- Business Catalyst (read-only)
- Discussions
- Updating name servers with a domain registrar
- Updating name servers with a domain registrar
Updating name servers with a domain registrar

Copy link to clipboard
Copied
![]()
This article has been ported to Updating DNS records with a domain registrar (External DNS)
The below document provides instructions on how to update your name servers with some popular domain registrars.
If you are experiencing issues creating or changing any records, it is recommended that you contact your domain registrar customer service.
Go Daddy
- Log in to your Go Daddy Account Manager
- Enter your Go Daddy username and password, then click Secure Login
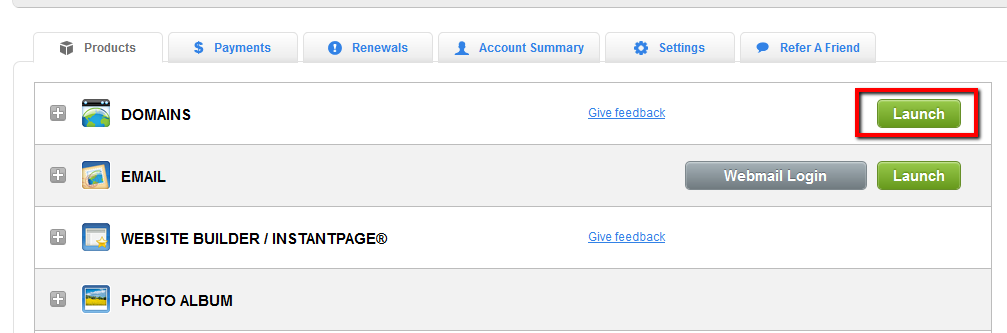
- Click Launch to the right of the DOMAINS section.
- Select the domains you want to edit and then select Set Nameservers from the Name servers menu.

- Select I have specific nameservers for my domains
- In the Name server fields enter the below Business Catalyst Name servers:
Nameserver 1: ns1.worldsecuresystems.com
Nameserver 2: ns2.worldsecuresystems.com
Nameserver 3: ns3.worldsecuresystems.com
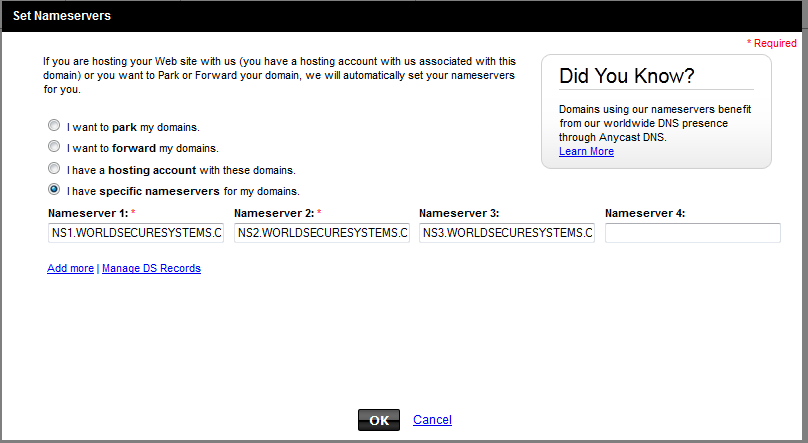
- Click OK
Ensure you allow up to 48 hours for the name servers to update.
Crazy Domains
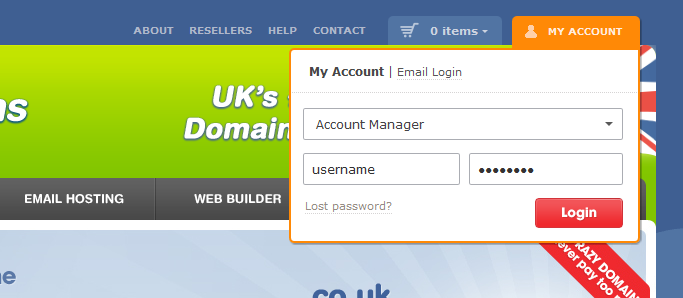
- Log in to your Crazy Domains Account Manager.
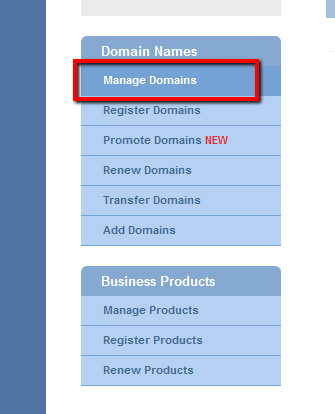
- From the Domain Names menu on the left, select Manage Domains
- Select the domain name you would like to update.
- In the Name Server Details section, click Update Name Servers
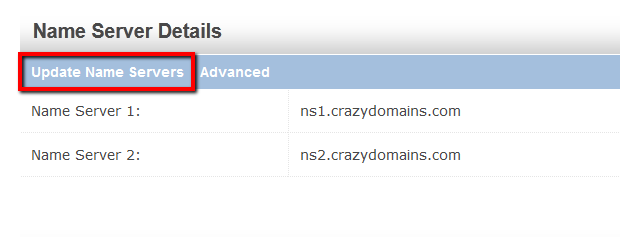
- To the right of the existing name servers, click Delete. Repeat for all name servers.
Note: Take note of your current name servers in case you need them again in the future. - In the Name server fields enter the below Business Catalyst Name servers:
Nameserver 1: ns1.worldsecuresystems.com
Nameserver 2: ns2.worldsecuresystems.com
Nameserver 3: ns3.worldsecuresystems.com
The IP addresses for each name server should automatically populate.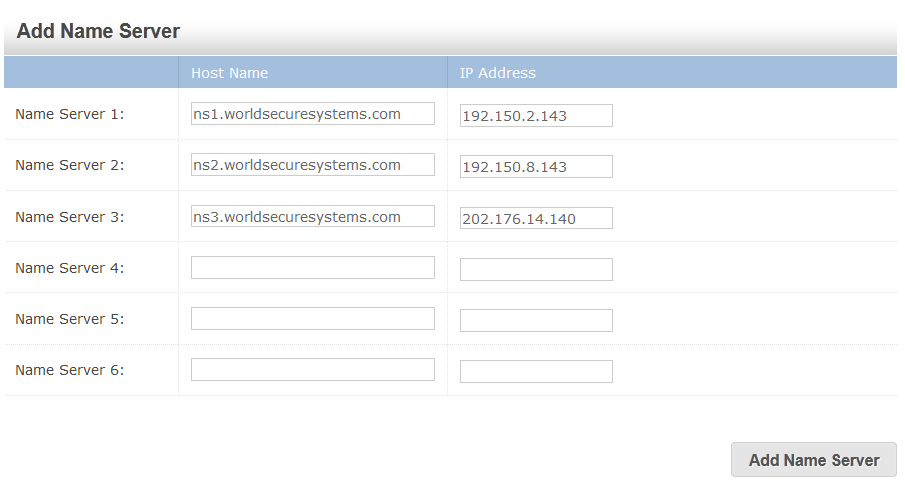
- Click Add Name Server.
Ensure you allow up to 48 hours for the name servers to update.
NetRegistry
- Log in to your NetRegistry Console using your account level username and password.
- Select the domain name you would like to update from the domain menu, and then click Administer.
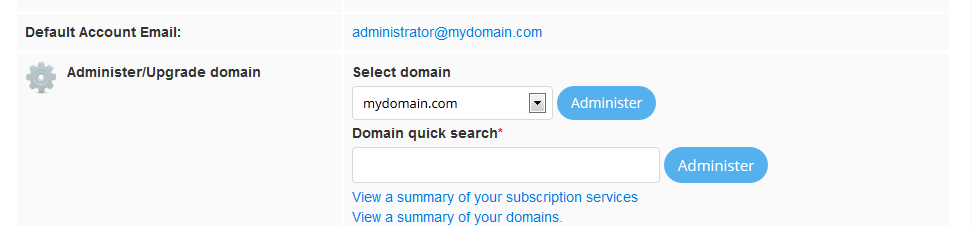
- Select Domain Name from the list of options.

- Scroll down to the bottom of the page, and then replace any existing name servers with the below Business Catalyst name servers:
ns1.worldsecuresystems.com
ns2.worldsecuresystems.com
ns3.worldsecuresystems.com
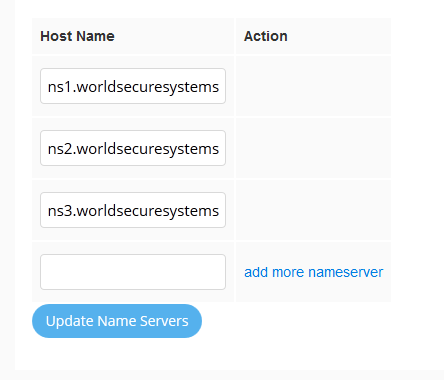
- Click Update Name Servers.
Ensure you allow up to 48 hours for the name servers to update.
Melbourne IT
- Go to http://www.melbourneit.com.au/ and click on My Account from the menu on the upper section of the page.

- Click Manage Domain Names.

- Select the domain name you would like to update, then select Change Nameservers > Go.
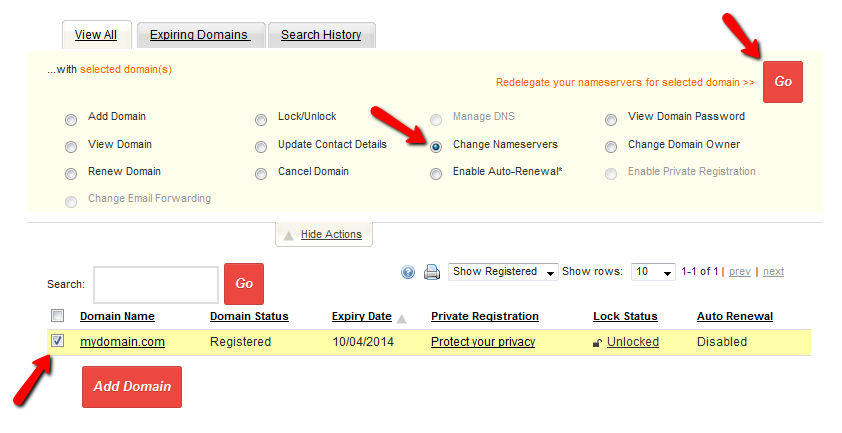
- In the Name server fields enter the below Business Catalyst Name servers:
Primary Nameserver: ns1.worldsecuresystems.com
Secondary Nameserver: ns2.worldsecuresystems.com
Nameserver 3: ns3.worldsecuresystems.com
- Click Continue.
Ensure you allow up to 48 hours for the name servers to update.
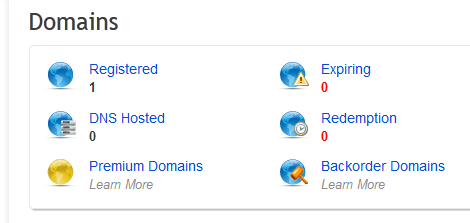
Enom
- Log in to your Enom Account.
- Click Registered from the Domains menu.
- Do one of the following:
- Select DNS Server Settings from the Manage Domain menu in the upper right section
- Select DNS Server Settings from the main navigational menu
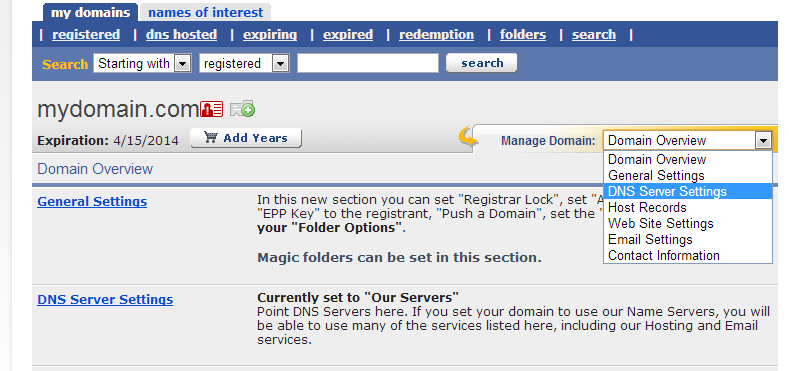
- Select the Custom radio button and then enter the below Business Catalyst name servers in the fields provided:
Nameserver 1: ns1.worldsecuresystems.com
Nameserver 2: ns2.worldsecuresystems.com
Nameserver 3: ns3.worldsecuresystems.com

- Click Save, and then click OK if a comfirmation message appears.
Ensure you allow up to 48 hours for the name servers to update.
Bluehost
- Log in to your Bluehost control panel.
- From the Domains section, select Domain Manager.

- Select your domain nmae, then click Name Servers > Use Custom Nameservers.

- Enter the below Business Catalyst name servers in the fields provided:
ns1.worldsecuresystems.com
ns2.worldsecuresystems.com
ns3.worldsecuresystems.com
Note: You will need to click Add Row to add the third name server. - Click Save Nameserver Settings.
1&1
- Log in to your 1&1 account.
- From the Domains and Web Space section, select Domains.

- Select your domain name from the list, and then select DNS > Edit DNS Settings

- From the Name Server menu, select My name server.
- Enter the below Business Catalyst name servers in the fields provided:
Primary name server: ns1.worldsecuresystems.com
1. Secondary name server: ns2.worldsecuresystems.com
2. Secondary name server: ns3.worldsecuresystems.com

- Click OK.
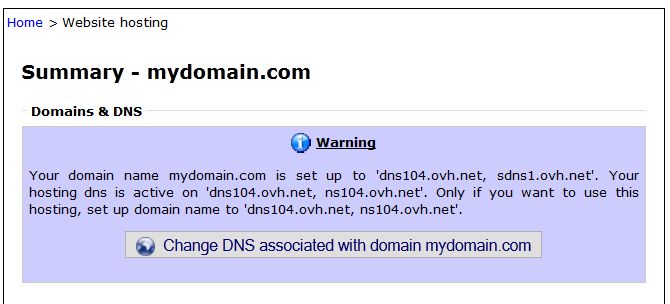
OVH
- Log in to your OVH account.
- From the Hosting and Domains section, click your domain name.
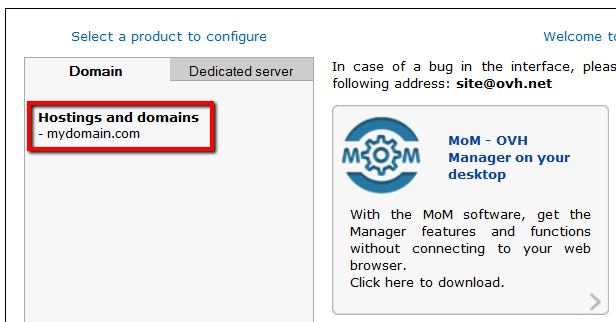
- Click Change DNS associated with domain mydomain.com
- Click the Modify icon to update your DNS settings.
- Enter the below Business Catalyst name servers in the fields provided:
ns1.worldsecuresystems.com
ns2.worldsecuresystems.com
ns3.worldsecuresystems.com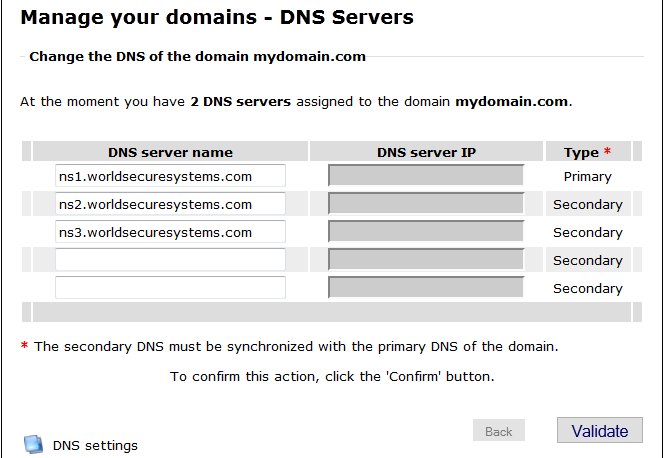
- Click Validate, and then click OK to confirm.
Ensure you allow up to 48 hours for the name servers to update.
One.com
To update your name servers with One.com, you will need to email hostmaster-support@one.com. See CloudFlare support


 7
Replies
7
7
Replies
7

Copy link to clipboard
Copied
hi, i am getting and error when trying to change the nameserver with go daddy
this is what i get
 18.51.33.png)
what should i do?

Copy link to clipboard
Copied
Hi Uzes,
Enter just ns1.worldsecuresystems.com as nameserver (without the IP).
Let us know if that works.
Thanks,
Florin

Copy link to clipboard
Copied
Can I get a step by step for Yahoo small business?

Copy link to clipboard
Copied
I need help with Yahoo small business too!

Copy link to clipboard
Copied
I am having an issue I have my domain through 1 & 1 and I have entered all of my domain info correctly and it updates my dns settings but then when I try to go to the website I get the Ooops! Google can not find page. Any ideas as to why? I believe it is setup correctly.

Copy link to clipboard
Copied
Hi
It can take upto 24 hours to update the DNS information throughout the Internet. So if you have done it recently, then please wait, if it was long ago, let us know the URL

Copy link to clipboard
Copied
Tried following 1&1 help but getting denied being told that the namservers are not valid.
Any help?
 AdChoices