 Adobe Community
- Home
- Character Animator
- Discussions
- Creating a puppet with seperate limb pieces?
- Creating a puppet with seperate limb pieces?
Creating a puppet with seperate limb pieces?

Copy link to clipboard
Copied
So I have made this rig with seperated limbs, such as "upper left arm" and "lower left arm" etc.
I've been trying to get this rig to work in character animator, but the only way I've been able to find people creating moving arms etc is by using those stick things, which is not what I want. Say I want to move the arm. I want the arm to be made up of the pieces I've already created, rather than using sticks to allow a static, one-piece arm to move.
Are there any tutorials out there that might be able to help me? Thanks!


 5
Replies
5
5
Replies
5

Copy link to clipboard
Copied
There are tutorials linked from the home page of the forums. There are also lots of sample puppets that come with CH - it can be useful to start with one of them and then replace the artwork with your own. Or just copy the same layer structure and names.
It is important to get the nesting structure of the layers in the artwork correct. The layer names matter too.
Including a screen shot of the rigging you have done so far can also help - easier to see how far you have already got. Things like which layers are independent and which are not is important, so showing the rigging hierarchy with as much expanded as possible is a big help!
This is the sort of view I mean, with as much expanded in the relevant areas as possible.

Having a Head and Body layer under the root puppet name is common, with arms etc under the body layer. If you mark the arms as "independent", then the arm needs to overlap with the parent layer artwork to give it a connection point.
Here the "origin" marker of the shoulder is over the rest of the body, resulting in the origin turning green indicating its connected. You don't have to make the arms independent in all cases, but in this case because the arm overlaps with the rest of the body its important. The arm needs to move without moving the rest of the body.

Copy link to clipboard
Copied
Thanks for the reply, sadly it's not quite what I'm after. I probably didn't explain it very well, so I'll give it another go.
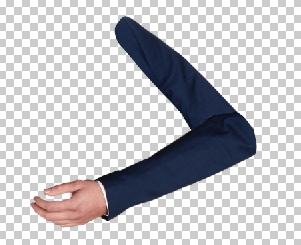
I'll use the right arm as an example. Basically what I have is two sections of the arm (upper and lower), as shown below.
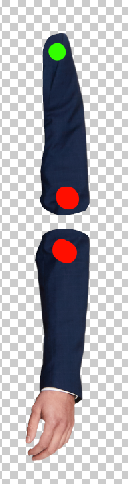
What I want is for the lower and upper arms to connect to each other at the red dots, and for the upper arm/shoulder to connect to the torso at the green dot. Basically, I want to use this setup to create more of a tradional puppet rig rather than use an image of the arm with both pieces connected and create a bend point at the elbow and shoulder, if that makes sense.
For all I know, what I'm trying to do isn't possible in character animator. Hoping this might help explain things a bit better 
Copy link to clipboard
Copied
You can do it, but you have to get the nesting right. I generally use sticks instead because dragging is easier.
However if you want to try, you need to understand first that each independent layer creates a new mesh. That is, there is the layer hierarchy, then each time a layer is marked independent, a new mesh is started. So there is hierarchy of layers, and a hierarchy of meshes. To attach something to something else, one mesh must be nested under another mesh.
For example, in your case you will have a body mesh at the root, the upper arm mesh under the body mesh so it can attach to the body, then the lower arm nested inside the upper arm mesh so it can attach to that. But artwork cannot appear in the group layers, so you end up with
+My Character
. Body grouo
. . Body artwork
. . +Upper arm group
. . . Upper arm artwork
. . . +Lower arm group
. . . . Lower arm srtwork
. . . . Hand swapset for hand artwork (if you want different hand positions)
You then attach the lower arm to the upper arm, and the upper arm to the body, You have to make them overlap at the joints
But it does not work well. If you put a dragger on a mesh, it does not move the parent mesh. So a dragger on the lower arm wrist will only move the lower arm not the upper arm segment, Yiu would have to put an elbow dragger on the upper arm segment to make the upper arm work. If the upper and lower arm segments are in the same artwork layer using sticks to stop the bending other than st elbow, then you can have a single dragger on the wrist and it will move the whole arm,
Copy link to clipboard
Copied
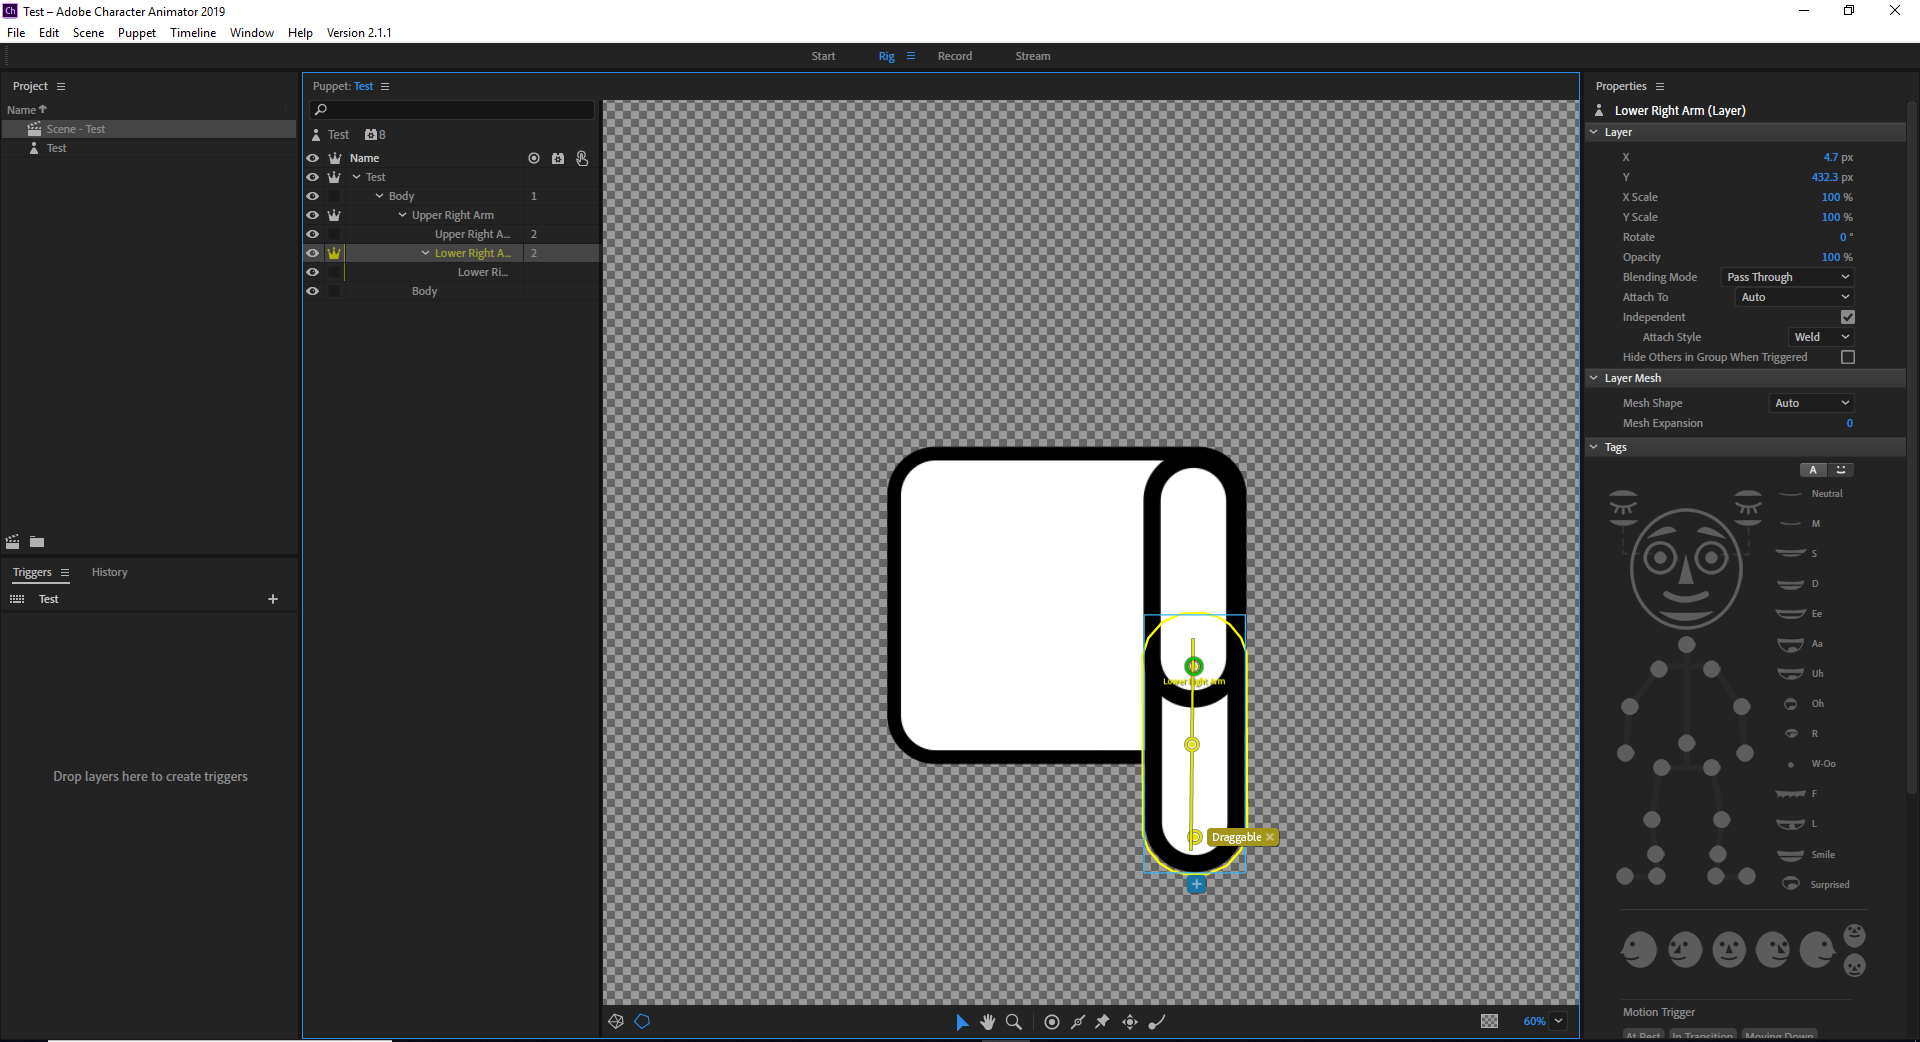
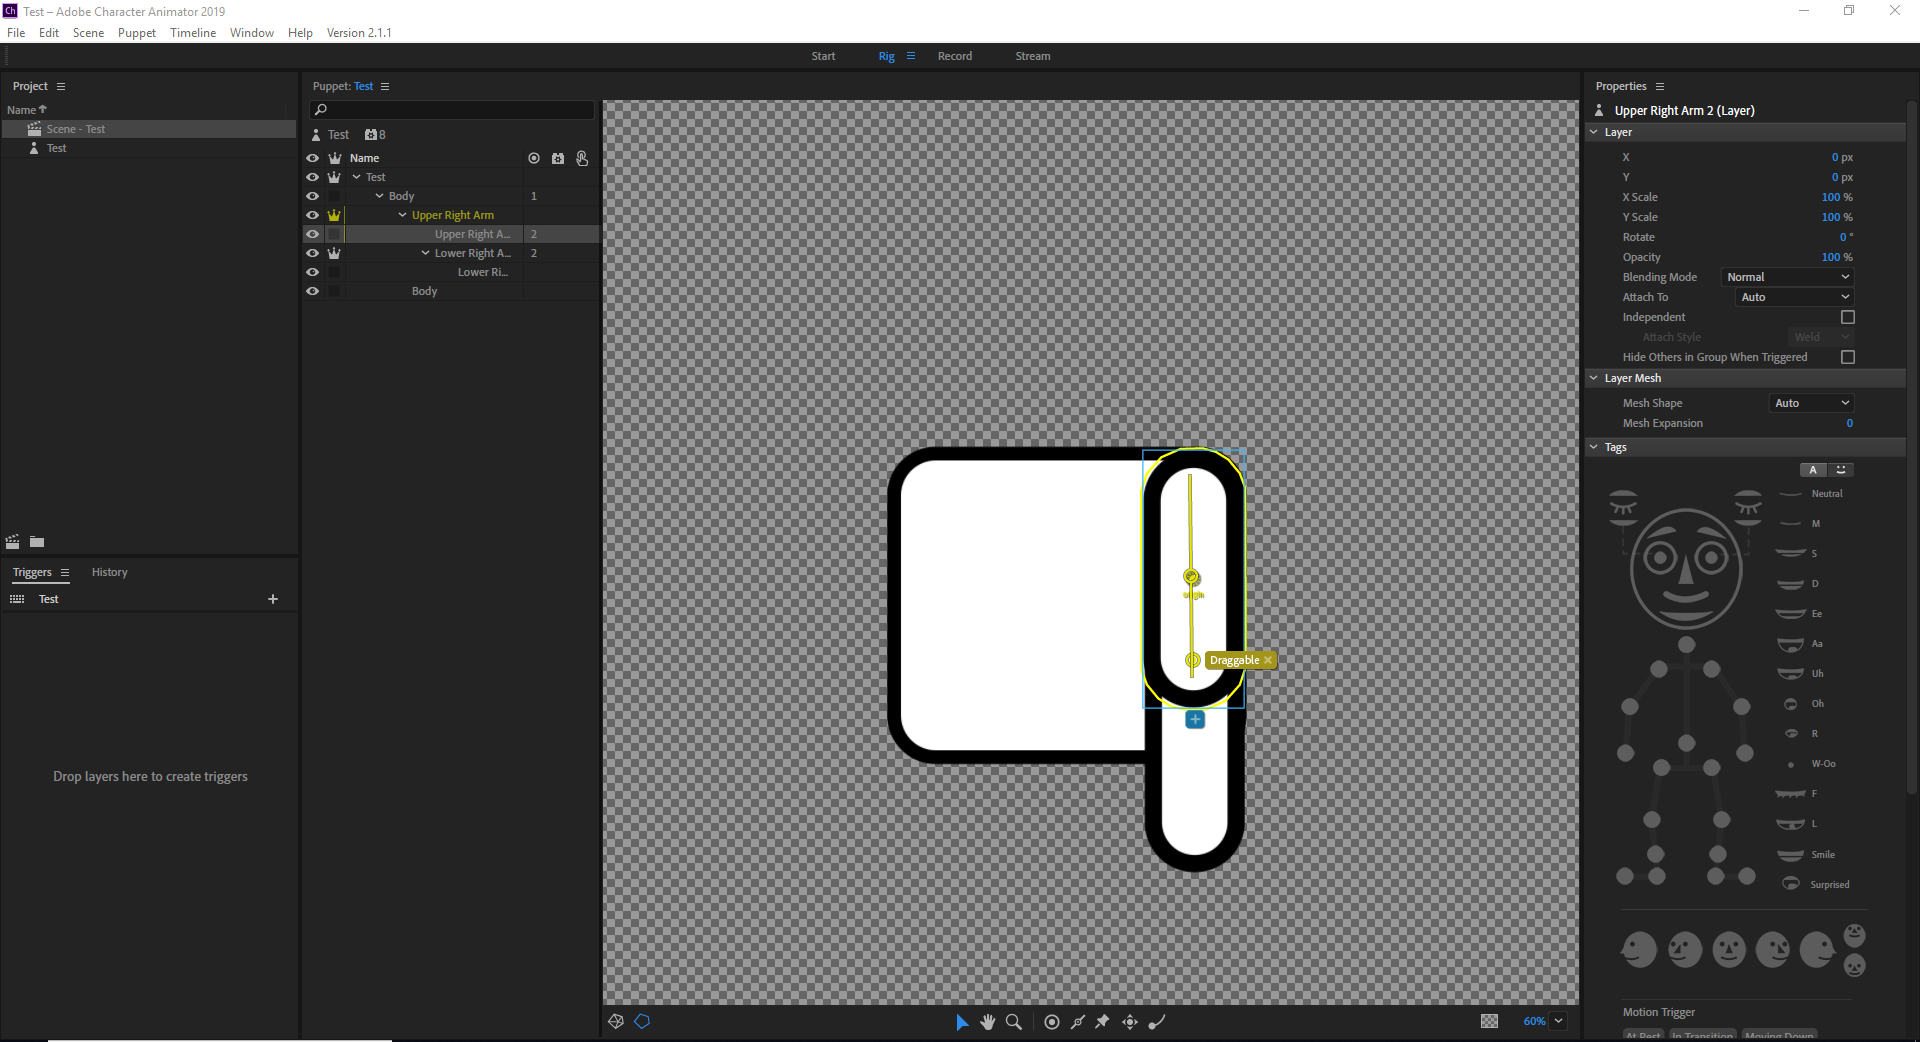
So I'm pretty sure I did what you said but for some reason the shoulder is going all weird at the joint when the arm turns, and on top of that, the arms are still able to stretch, which I don't want.
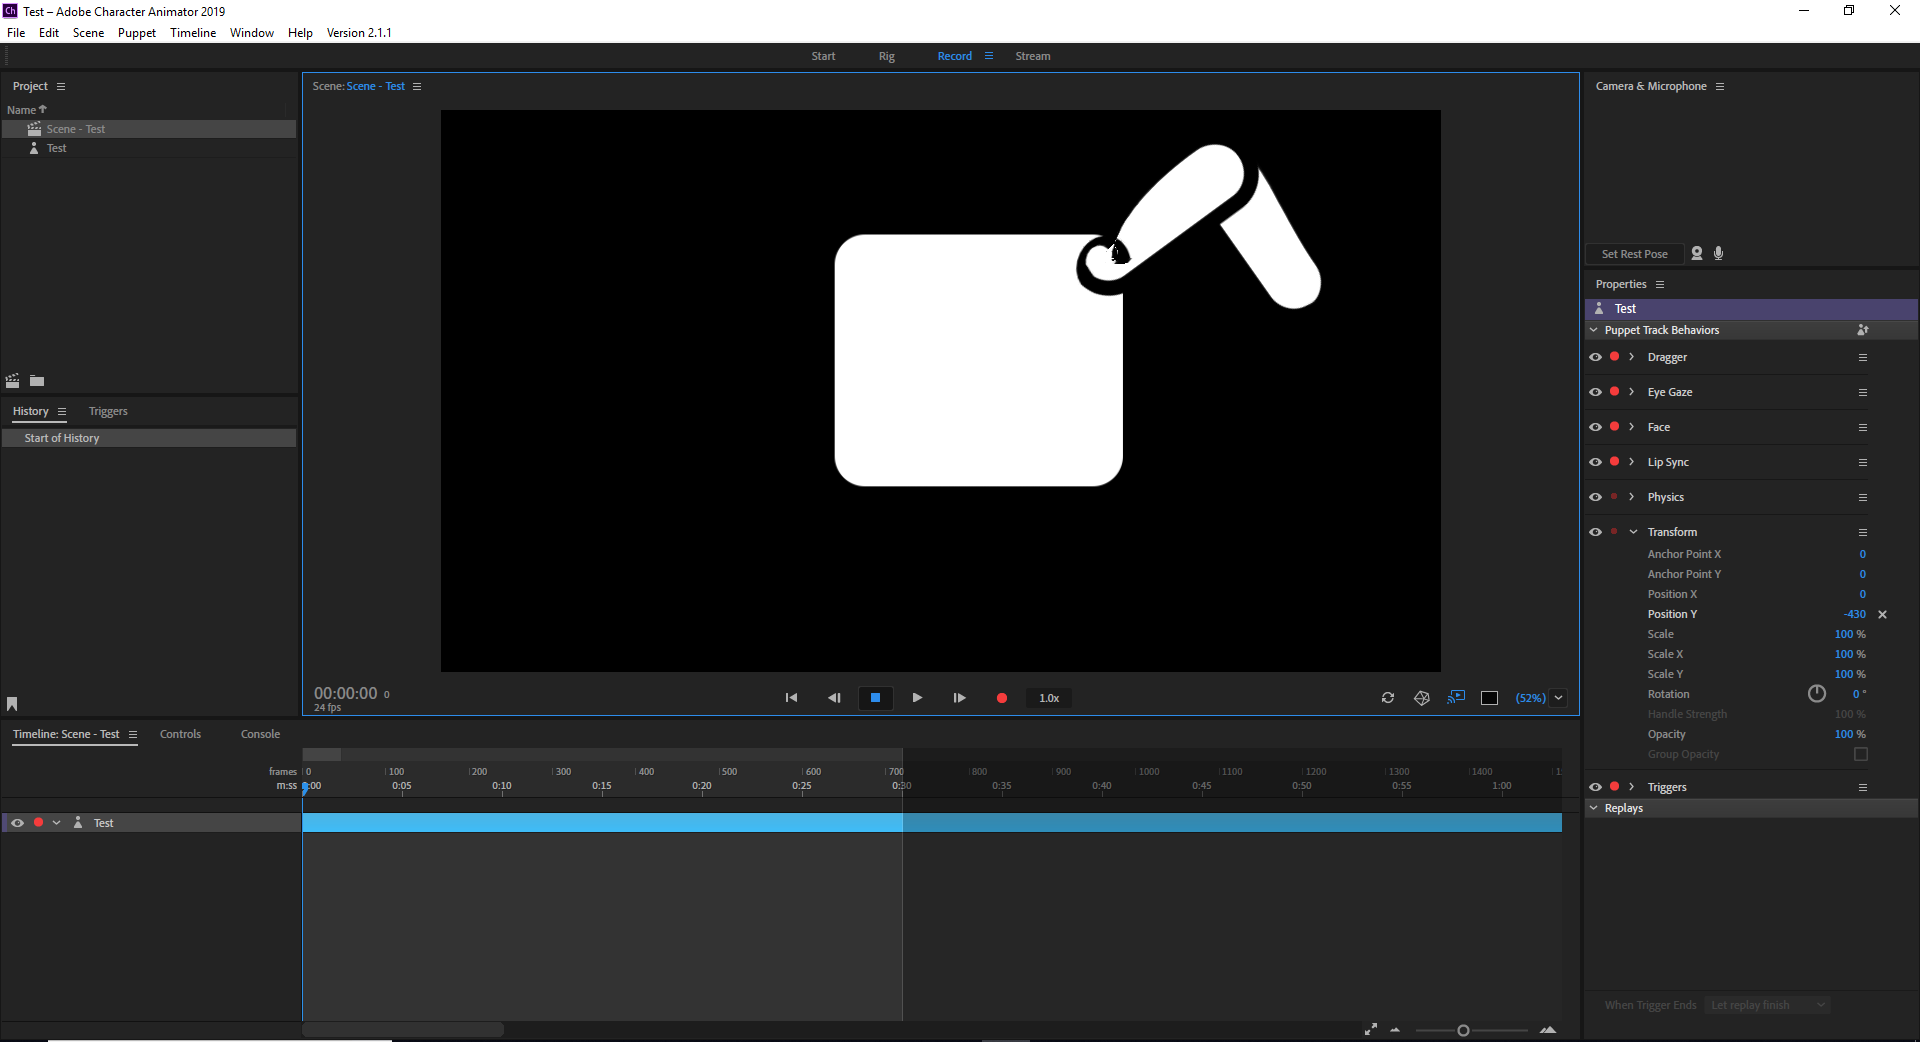
I'll provide some screenshots of the nesting and how I've set up this test arm.
Also just for a bit of further context, I'm trying to achieve something similar to what the bone tool can do in Adobe Animate if you use seperated pieces, much like what can be seen in this video here:
Bone Tool Animate CC Character Rigging Tutorial - YouTube
Will that be achievable?
Thanks a ton for the help so far by the way!
Copy link to clipboard
Copied
The joint has an Attach Style property - you can see on some of your screen shots. You have it set to Weld which is causing what you see. I suggest trying hinge to see if it looks better.
To stop arms stretching when dragged, CH added a new behavior Arm IK that controls the way arms bend. You have add this behavior yourself. Adobe Character Animator Help | Control puppets using behaviors This seems to be the best way to do arms these days, but not sure it will work with hinge for an independent layer at the elbow... But it makes sure the elbow flexes the right direction which was a frequent big problem early on. There are some great videos by oksamuari on this.

 AdChoices