• Global community
    • Language:
      • Deutsch
      • English
      • Español
      • Français
      • Português
  • 日本語コミュニティ
    Dedicated community for Japanese speakers
  • 한국 커뮤니티
    Dedicated community for Korean speakers
Exit
0

Overview Of Photoshop/Character Animator Relationships

New Here ,
May 24, 2020 May 24, 2020

Copy link to clipboard

Copied

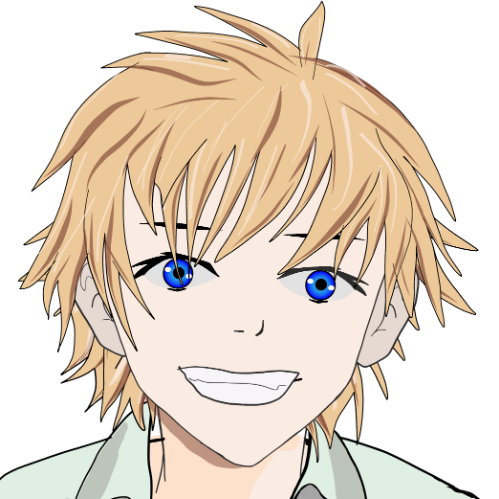
Couple of questions regarding the art prep work in Adobe Photoshop specifically and how it translates to the latest version of Adobe Character Animator:


1/Regarding pen tool ‘origin’ points in Photoshop to indicate pivots - should the layer be set to 1% opacity? Or should the layer visibility be turned off, or both? Or are 'origin' points even needed?


2/Does a ‘mesh’ background element need to be created in photoshop to set the boundaries contours of the character, or does that just happens automatically from the collection of various parts in a folder in Character Animator? If it is recommended to be created in Photoshop, any tips on what makes a good working mesh, and what the visibility should be (visible? 1% opacitiy)?


3/In Photoshop, is there a way to indicate whether a layer trigger should ‘latch’, and also if there’s a way to indicate a ‘make sharable’ element in the folder tree, like there is with the '+' symbol to indicate independency?


4/What keys can be set as keyboard triggers in the parenthesis in photoshop - just the letters and numbers (a!), (b!), (c!), etc., or can ~, `, ,, ., ?, /, ;, ‘, [, etc be used as well as keyboard triggers?


5/If you have multiple head and body positions (Left Profile, Left Quarter, etc), is it better to organize them all under one master ‘head’ folder, or have them listed as separate top level folders?  


Like this...?


+CHARACTER >

   HEAD >

      +LEFT PROFILE

      +LEFT QUARTER

      +FRONTAL

      +RIGHT QUARTER

   BODY >

      LEFT PROFILE

      LEFT QUARTER

      FRONTAL

      RIGHT QUARTER


...Or Like This?


+CHARACTER >

   +HEAD LEFT PROFILE

   +HEAD LEFT QUARTER

   +HEAD FRONTAL

   +HEAD RIGHT QUARTER

   BODY LEFT PROFILE

   BODY LEFT QUARTER

   BODY FRONTAL

   BODY RIGHT QUARTER


Much and many thanks for the insights!


TOPICS
FAQ , How to , Rigging , Tips and tricks

Views

566

Translate

Translate

Report

Report
Community guidelines
Be kind and respectful, give credit to the original source of content, and search for duplicates before posting. Learn more
community guidelines
LEGEND ,
May 24, 2020 May 24, 2020

Copy link to clipboard

Copied

LATEST

1/ I have never set origins in the artwork file. You can drag them around in CH afterwards if you need to adjust them. I rarely have touched them, apart from attaching child independent layers to their parent.


2/ CH computes the mesh automatically by doing contour tracing of your artwork. No need for you to create a hidden mesh, unless you want a mesh shape different to the artwork. Or if you have two unconnected bits of artwork you want to connect with transparent "joiners"... But that is unusual.


3/ I do all triggers and swapsets in CH, not in the Photoshop artwork file. I don't know of any magic layer names you can use (but they might exist...). It gets hard because you potentially want to bind keyboard keys and MIDI notes to triggers. That is pretty hard via layer names! It might be possible, but I have never done it and never missed it.


4/ Not sure the key bindings available. I usually just try them in CH. If it accepts the key, it works! If not, try another key. I know letters and numbers work. Function keys do not. Not sure about punctuation. (And interesting! I did not know you could put the key binding names inside the Photoshop file layer names. I am not sure I like it to be honest. Sometimes you want to create one trigger that controls multiple layers, other times you want multiple triggers that are triggered by the same key stroke. I doubt you get this level of control from Photoshop layer names...). You cannot do everything in Photoshop layer names, so at some point I just use CH. Independence is useful, beyond that I just do by hand.


5/ I would definitely nest it. It is cleaner organizationally, plus it can avoid some problems. E.g. you can add behaviors to the "Head" layer and they will not accidentally bind to the body profiles. E.g. Head Turner you can add to the Head layer and it won't accidentally pick up the body profiles by mistake.

Votes

Translate

Translate

Report

Report
Community guidelines
Be kind and respectful, give credit to the original source of content, and search for duplicates before posting. Learn more
community guidelines