 Adobe Community

Copy link to clipboard
Copied
Hi all,
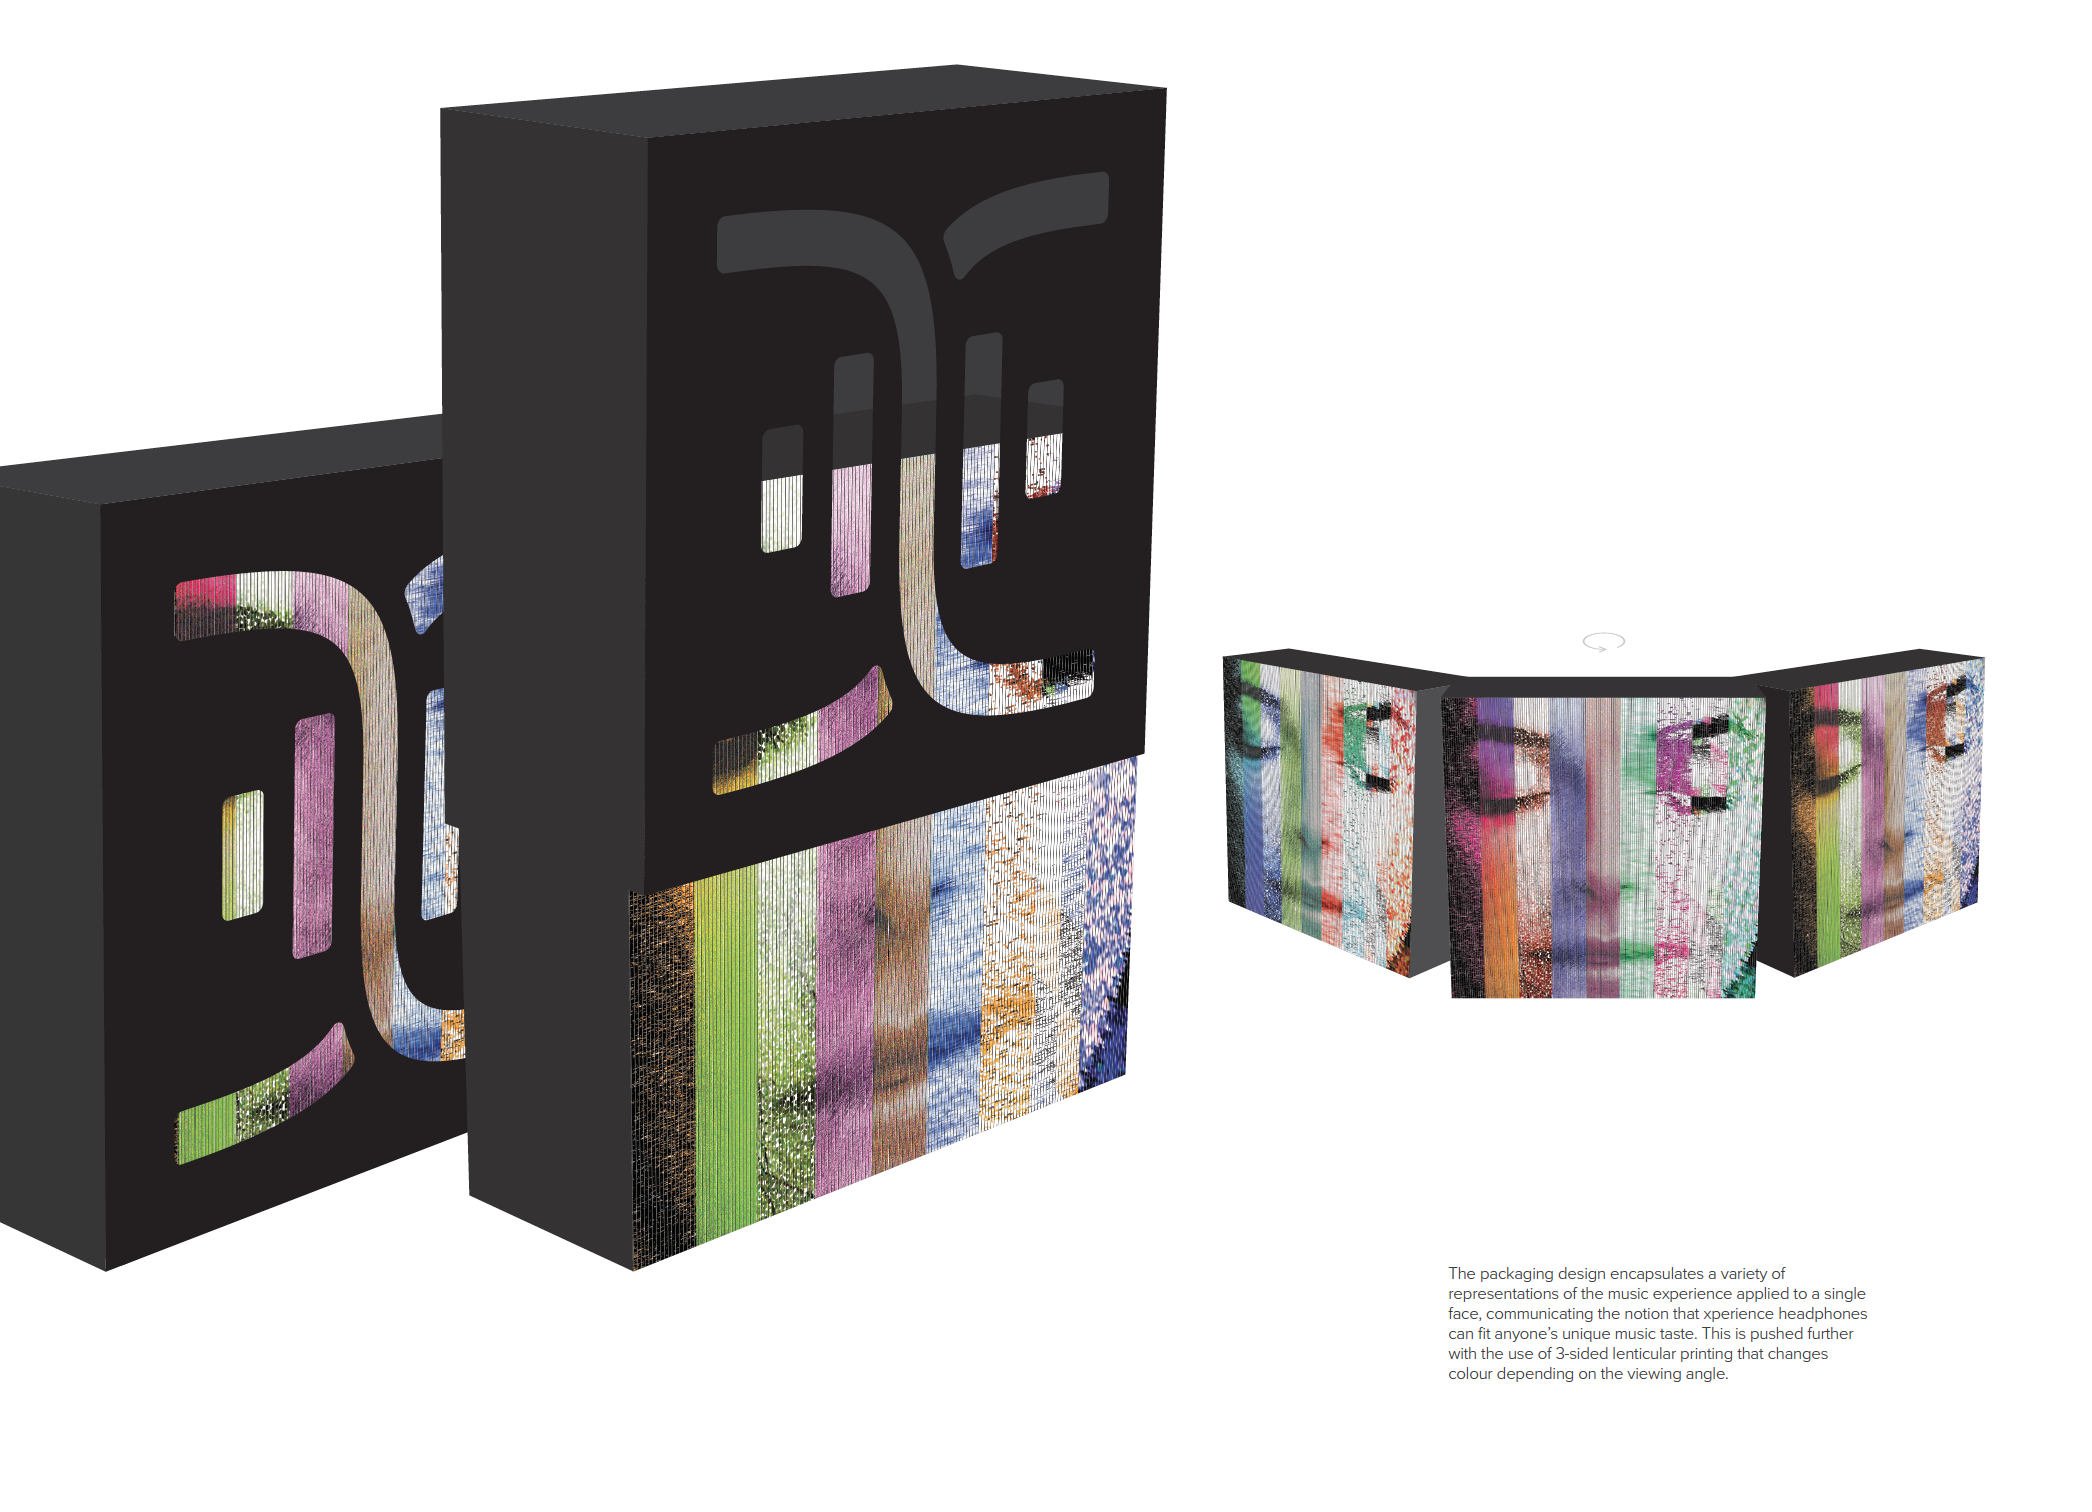
I was wondering if it was possible to create the appearance of a cut out surface on a model, without having to create an entirely new model in some other program? I've attached what I'm trying to recreate (this was done in Illustrator); I'm trying to cut out the X logo from the front surface of the outer slip/case, so the material on the box underneath shows through. I've tried a few things like importing .pngs as materials/decals but the empty areas are never picked up as transparent.
I appreciate any and all help, cheers!


 1 Correct answer

Hi Dan, great image and thanks for sharing, really helps to make clear what you're wanting to do. This is definitely possible, but to be honest, it's not straightforward yet. It is something we're actively working on, but here's the sort of roundabout method for now:
- You'll want to create a transparency mask for the material.
- Easiest way to do this is to open the model's UVs in a 2D app.
- If you have the UVs exported already you can just open the image in Photoshop or Illustrator to create your m
 3
Replies
3
3
Replies
3
Copy link to clipboard
Copied
Hi Dan, great image and thanks for sharing, really helps to make clear what you're wanting to do. This is definitely possible, but to be honest, it's not straightforward yet. It is something we're actively working on, but here's the sort of roundabout method for now:
- You'll want to create a transparency mask for the material.
- Easiest way to do this is to open the model's UVs in a 2D app.
- If you have the UVs exported already you can just open the image in Photoshop or Illustrator to create your mask image.
- If you don't have the UVs then import the OBJ into Photoshop.
After importing the .obj to Photoshop you'll see a list of textures attached to the 3D model. Double click on the one under the diffuse section. In this example it's called "MODEL_CUBE_MATERIAL_1"

This should open a new image document that has the existing texture for the model and the UVs displayed. If you don't see the UVs by default you can use View > Show > UV Overlay

You can now use this guide as a template for laying out details on your model. In this case you want to create a black and white image where white = solid areas and black = cutout areas. For this cube I want it on the front panel which is at the bottom. It can take a little trial and error to figure out where things are. You can tab between this document and the 3D document to see the placement in 3D.

Save this as a new .jpg image. Back in Dimension double click the model you want to add it to and insert the image into the Opacity image slot.

The result should be a cutout on the part of the model where you have black and solid where you have white. One thing to note is that it will not add a realistic "inner" depth to the cutout at this time (where the x is in the Dimension canvas of my screenshot above).
Copy link to clipboard
Copied
Hi Jeanette,
Thanks very much for your informative response. I'm having a little issue though; when I import the .obj file into photoshop and open the material, the UV overlay doesn't show (show uv overlay is checked). Would you happen to know why this might be happening? I found the .obj file in dimensions' resources folder and simply opened it in photoshop, is this potentially not the right way to access the file?
Cheers!
Copy link to clipboard
Copied
This can happen if the texture that you're opening isn't directly hooked up to the material. To fix it when you open the 3D model just grab the paint brush tool and draw something on the 3D model itself. That should prompt you to create a texture that's hooked up to the diffuse channel. Then proceed with the steps from above where you click the "new" diffuse in the Layers panel to open the texture document.
 AdChoices