 Adobe Community
- Home
- Dimension
- Discussions
- Re: Graphic doesn't show as decal, only as fill on...
- Re: Graphic doesn't show as decal, only as fill on...
Copy link to clipboard
Copied
Hey,
I'm a designer working for an arts organisation that creates art in public space often collaborating with architects and communities.
So first of all, I would like to say that dimensions is an amazing tool of visualising our works quickly from multiple angles, testing materials and being able to share the result with communities who aren't always convinced looking at architectural mockups.
I'm currently testing some mills we are about to produce that will have photographic content on them. I seem to have problems getting that content on the model.
I'm using Dimension v2.2
I've tried:
png images 412x2000px 72dpi
png and jpg images 1200x5760px 2000dpi
Both work when I use a prism from the adobe library, so I used that as an example of what is supposed to happen (left), the shape on the right is one of the mills (group1):
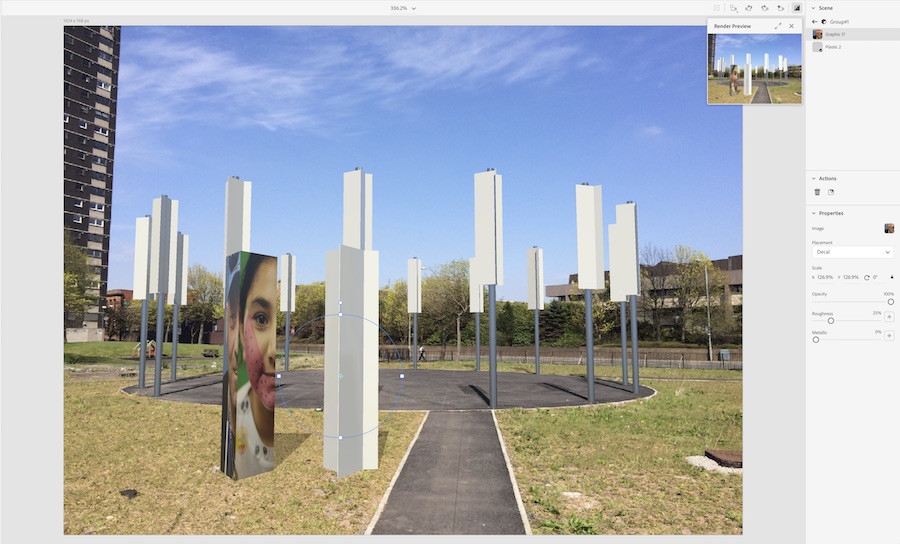
There is no image showing on the mill in decal mode.
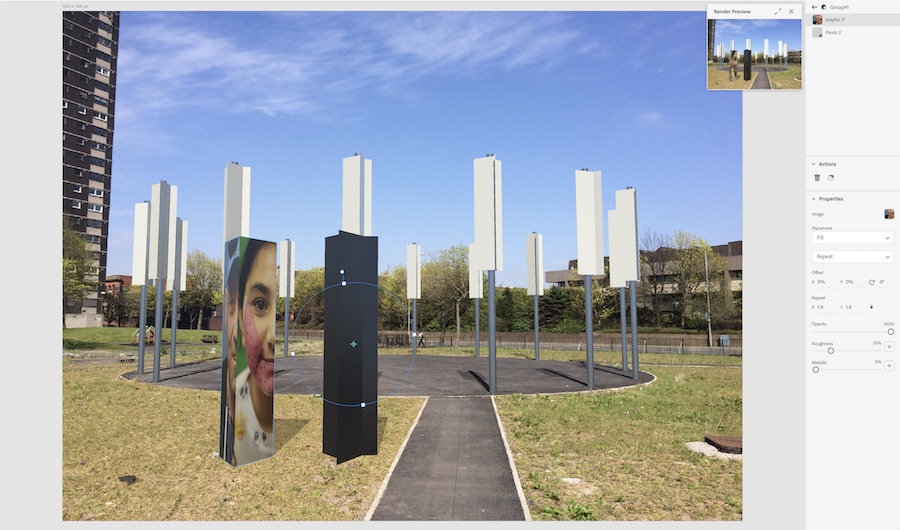
something of an image is showing in fill mode but I don't seem to get the logic behind what it shows as it just appears as a gradient mildly changes colour when it's rotated or when I increase the repetition number.
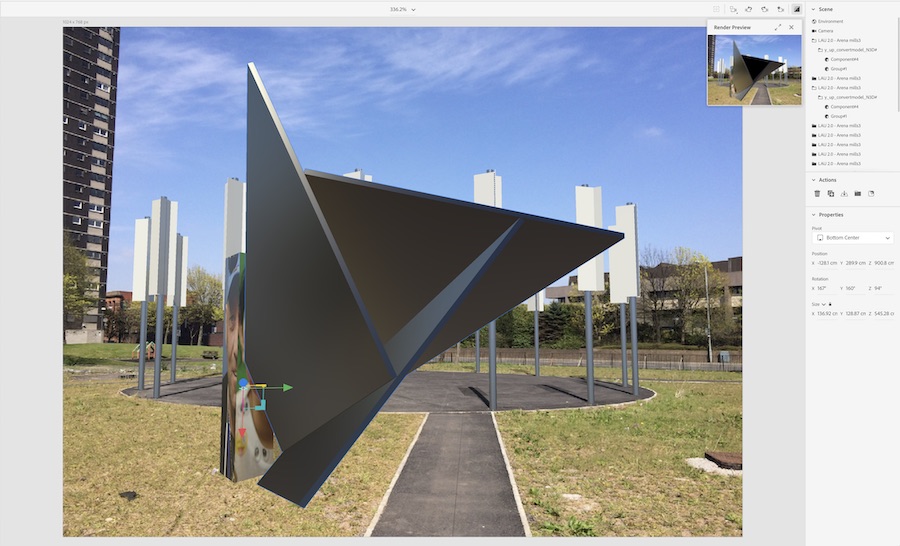
As you can see the model is nothing more than 3 shallow cuboids ranged in a prism shape.
I've tried to work both having the mills as a group and as a component in the Sketchup model before I imported it, to see if that would give me a different result putting on the graphics.
I'm out of tricks to try now, as I've only recently started using Dimension.
(let's leave out the option to rebuilt the shape from Adobe library cubes for now as I already modelled the mills and it wouldn't solve the problem for the future when the model will become more complex)
Would be great if I can get any direction for this.
 1 Correct answer
its obvious from your screengrab that the error is in the model... the fact that Dimesions default models work well is the first clue but Photoshop is my preferred 3d model maker so I'll use that to make an example
.png)
.png)
if you look at the uv map on your model I'm willing to bet the 3 faces have the same mesh (this is done to save space on older software) or the "triangles" strech horizontal... I don't know your 3d maker but those are the two most common auto-generated mistakes... the error should be
...Copy link to clipboard
Copied
its obvious from your screengrab that the error is in the model... the fact that Dimesions default models work well is the first clue but Photoshop is my preferred 3d model maker so I'll use that to make an example
.png)
.png)
if you look at the uv map on your model I'm willing to bet the 3 faces have the same mesh (this is done to save space on older software) or the "triangles" strech horizontal... I don't know your 3d maker but those are the two most common auto-generated mistakes... the error should be fixable in any good 3d software; Photoshop, Blender or Maya can all repair a map
p.s, if you want to put the model+ images into a dropbox and share them I can take a better look so should be able to repair it for you
Copy link to clipboard
Copied
Thanks for the advice! I'm working in SketchUp to model as it is most compatible when working with the architects we often work with and it allows for proper scaling. I had the idea that the problem was in the model itself that's why I tried saving the elements as components and as groups.
I will try making a model in photoshop to see if this solves the issue.
If I'm going to be stuck, I'll come back to you with the models and we can see what we can try from there!
Copy link to clipboard
Copied
I'm having the same problem. I save a cad (Solidworks) file as an obj then import it into Dimension. coloring it was no problem. but when I add decals (Graphic save as both PNG and Adobe illustrator native vector file) it freaks out not knowing where to place the decal on the surface. what am I doing wrong?
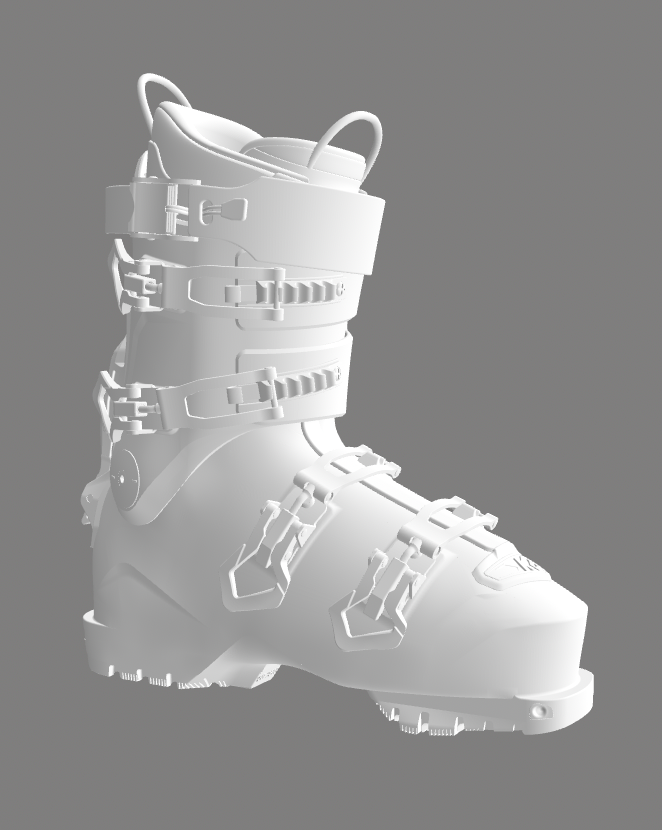
CAD boot_save_as_OBJ
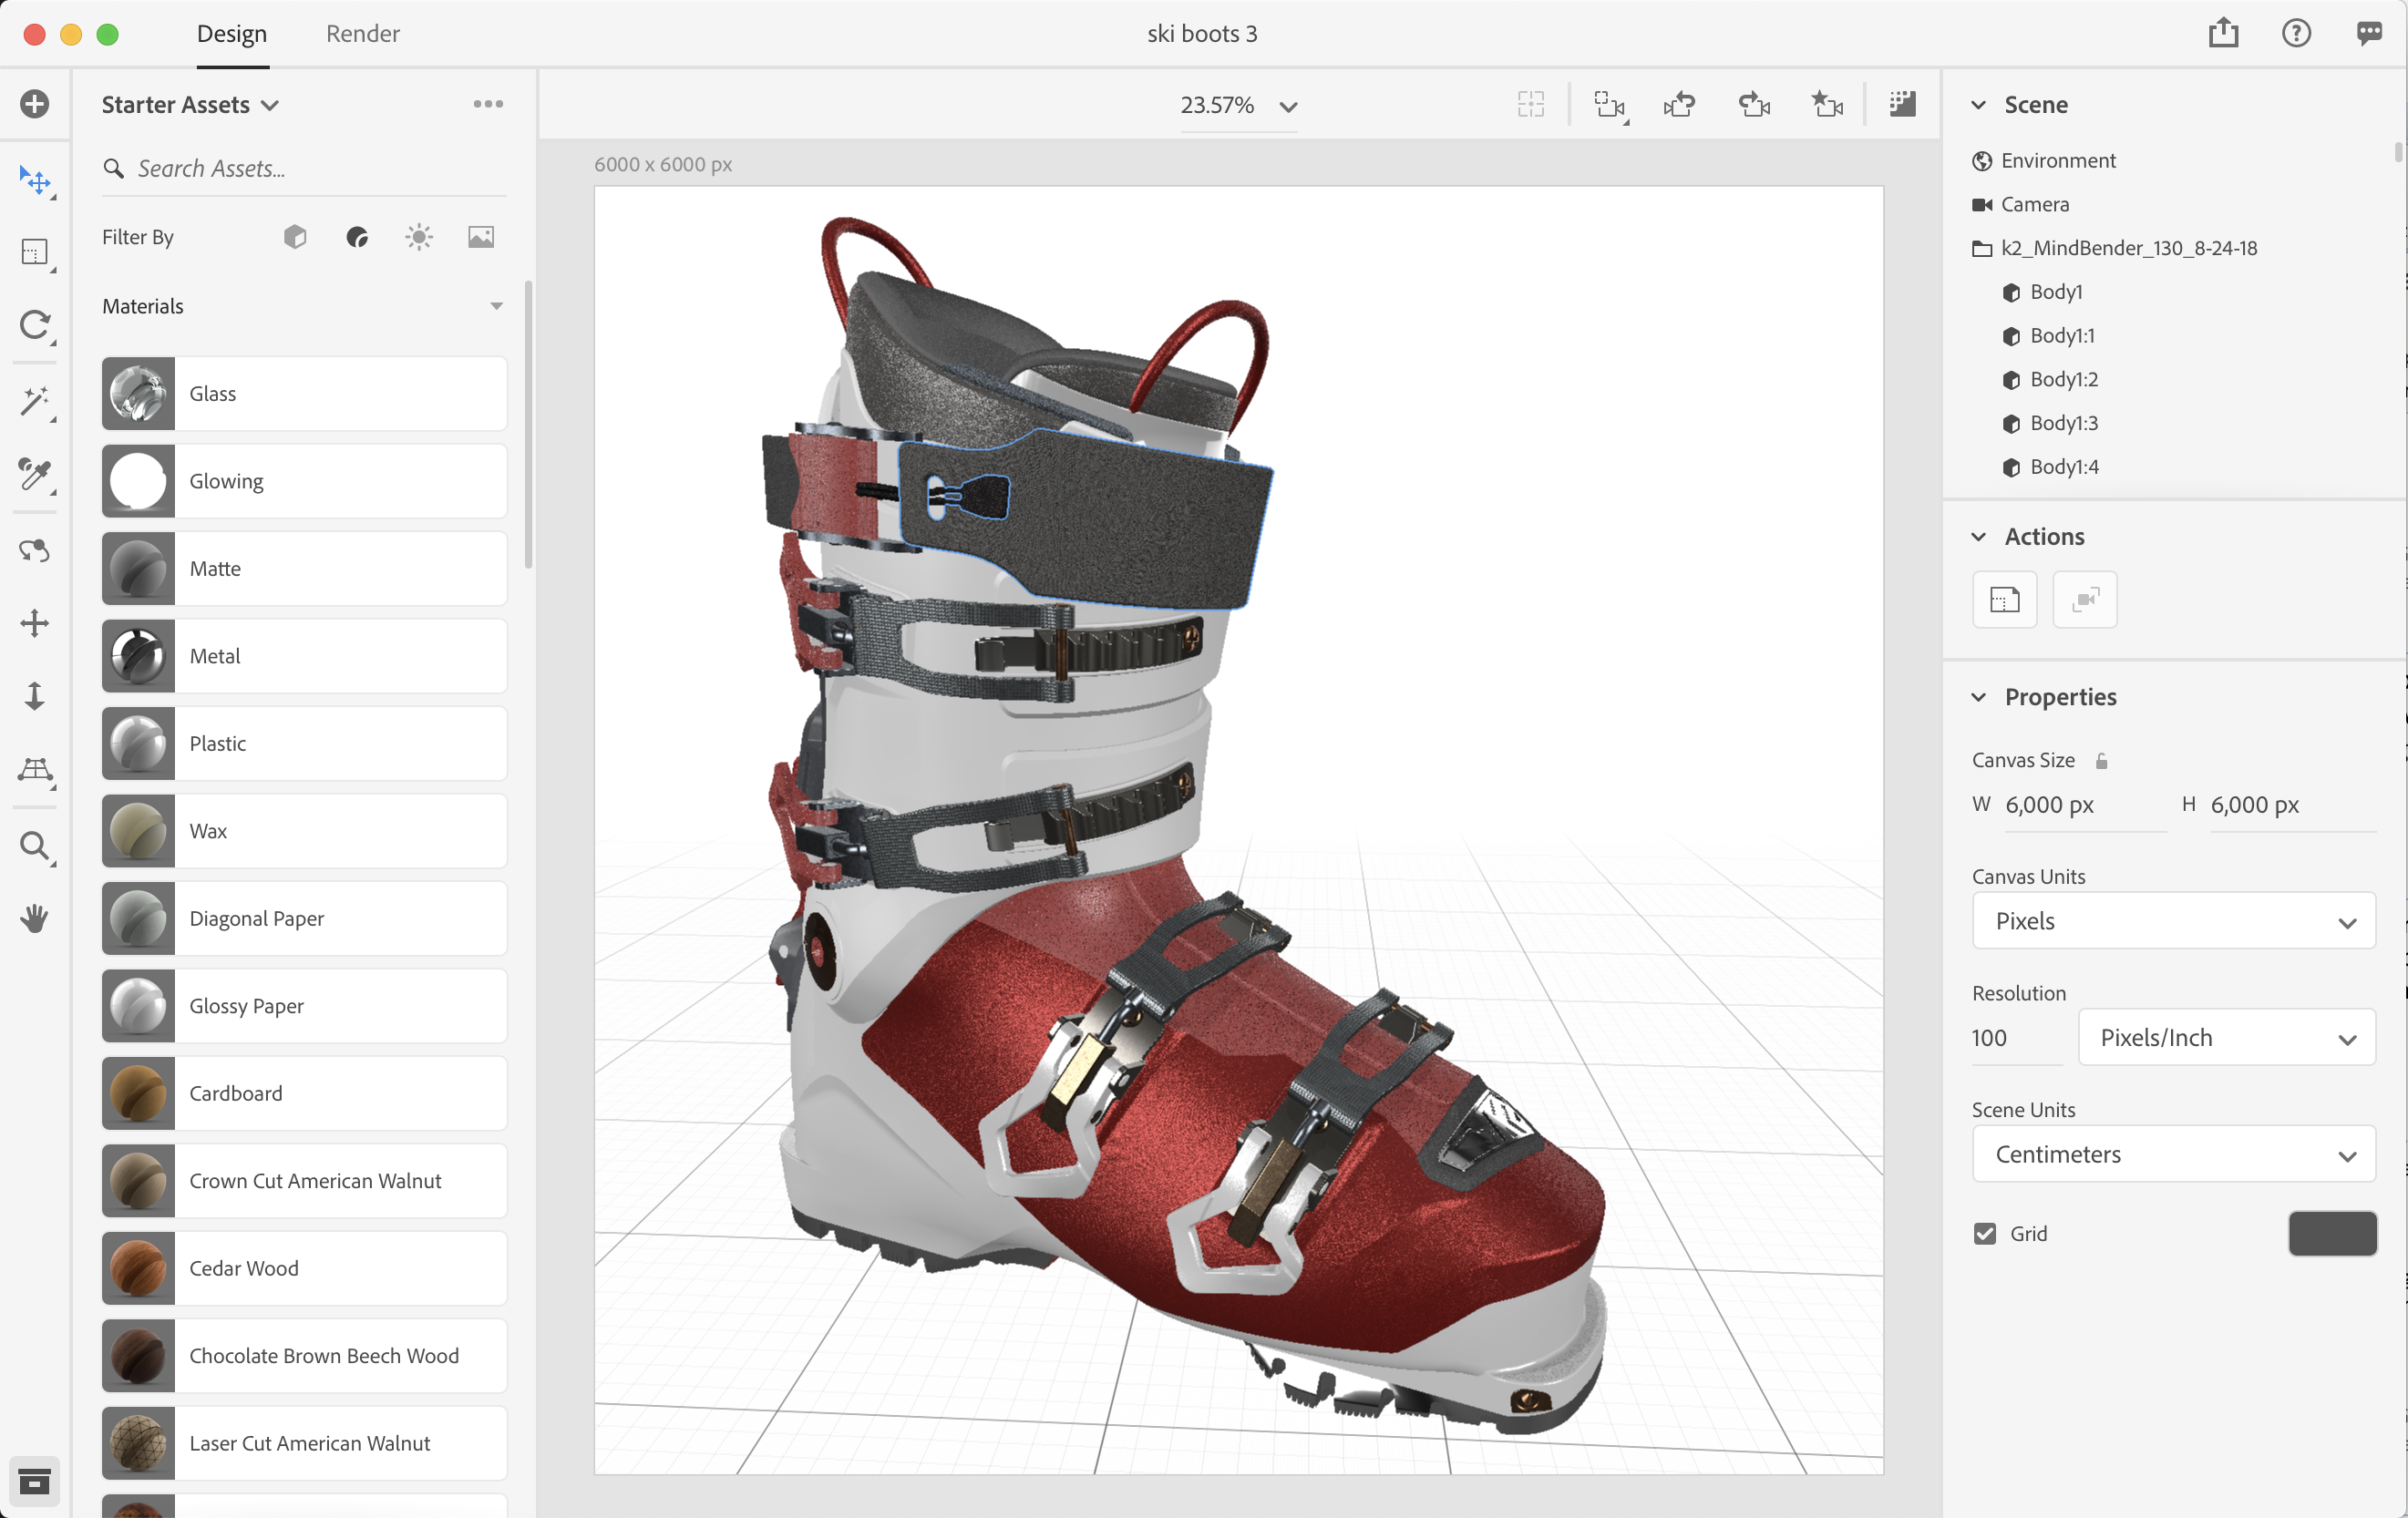
boot_material_up.
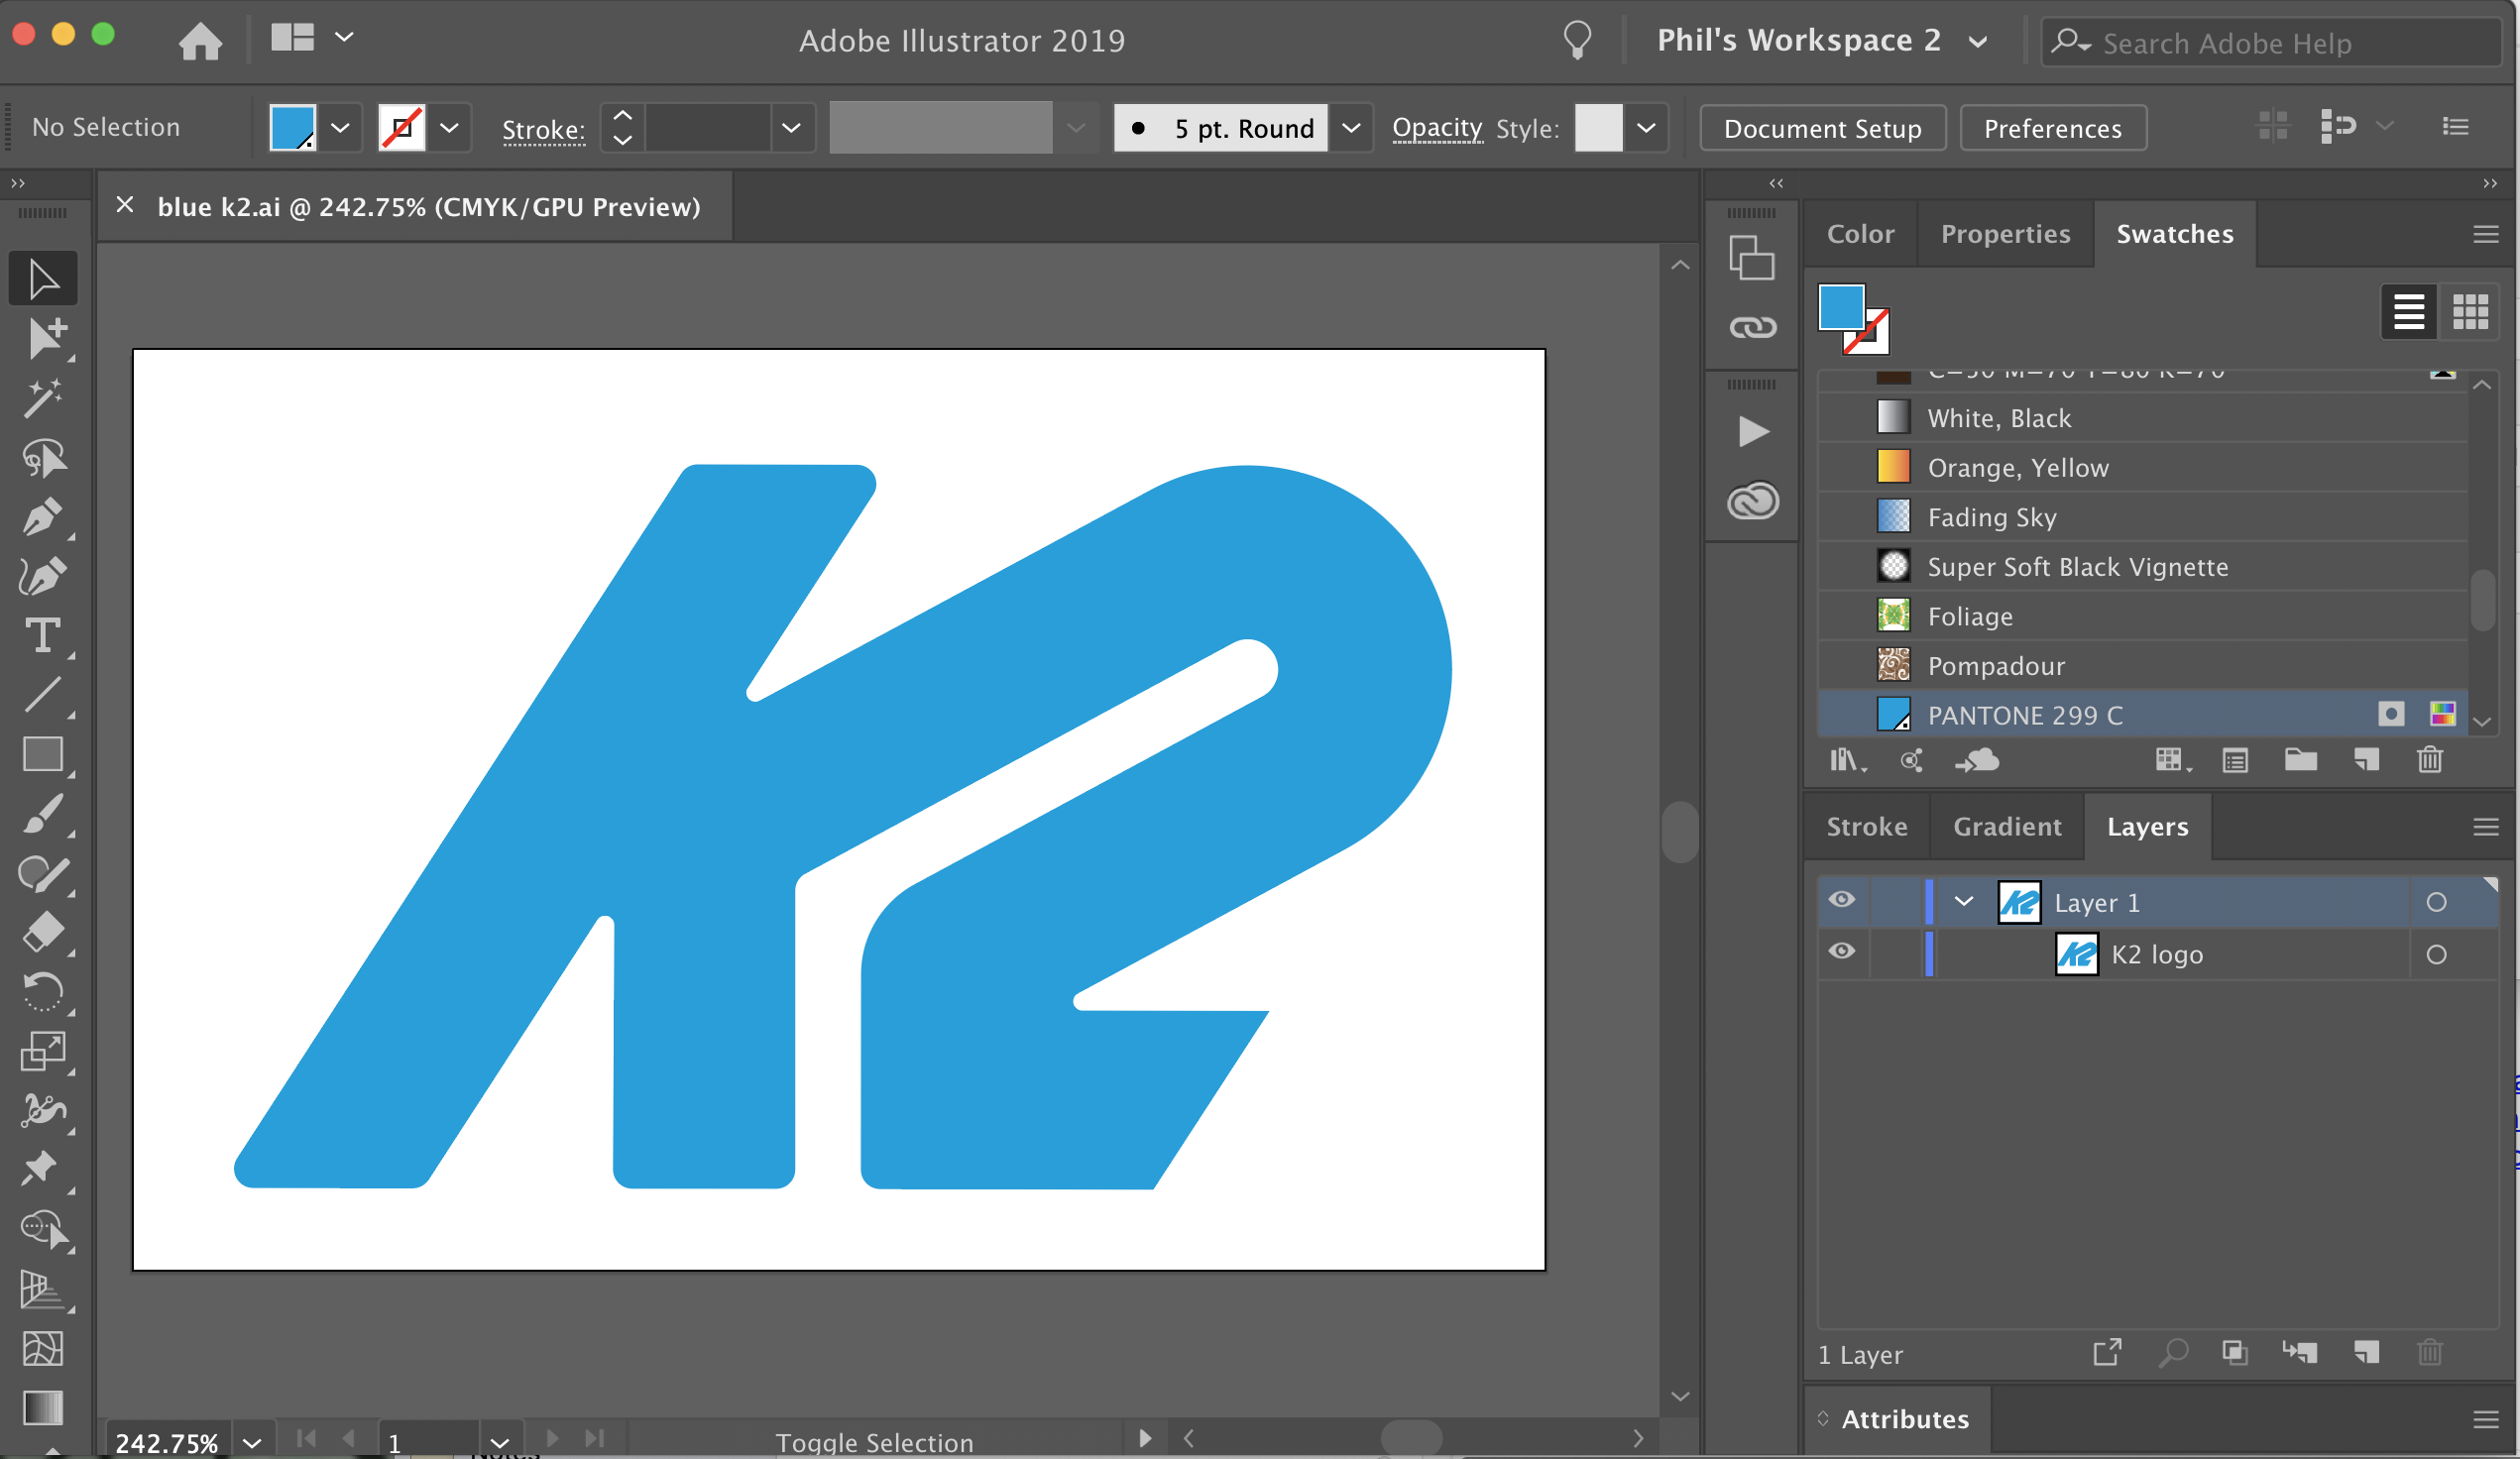
K2_Logo_to_Be_Place as a decal in dimension, only the blue K2 logo will be seen no white.
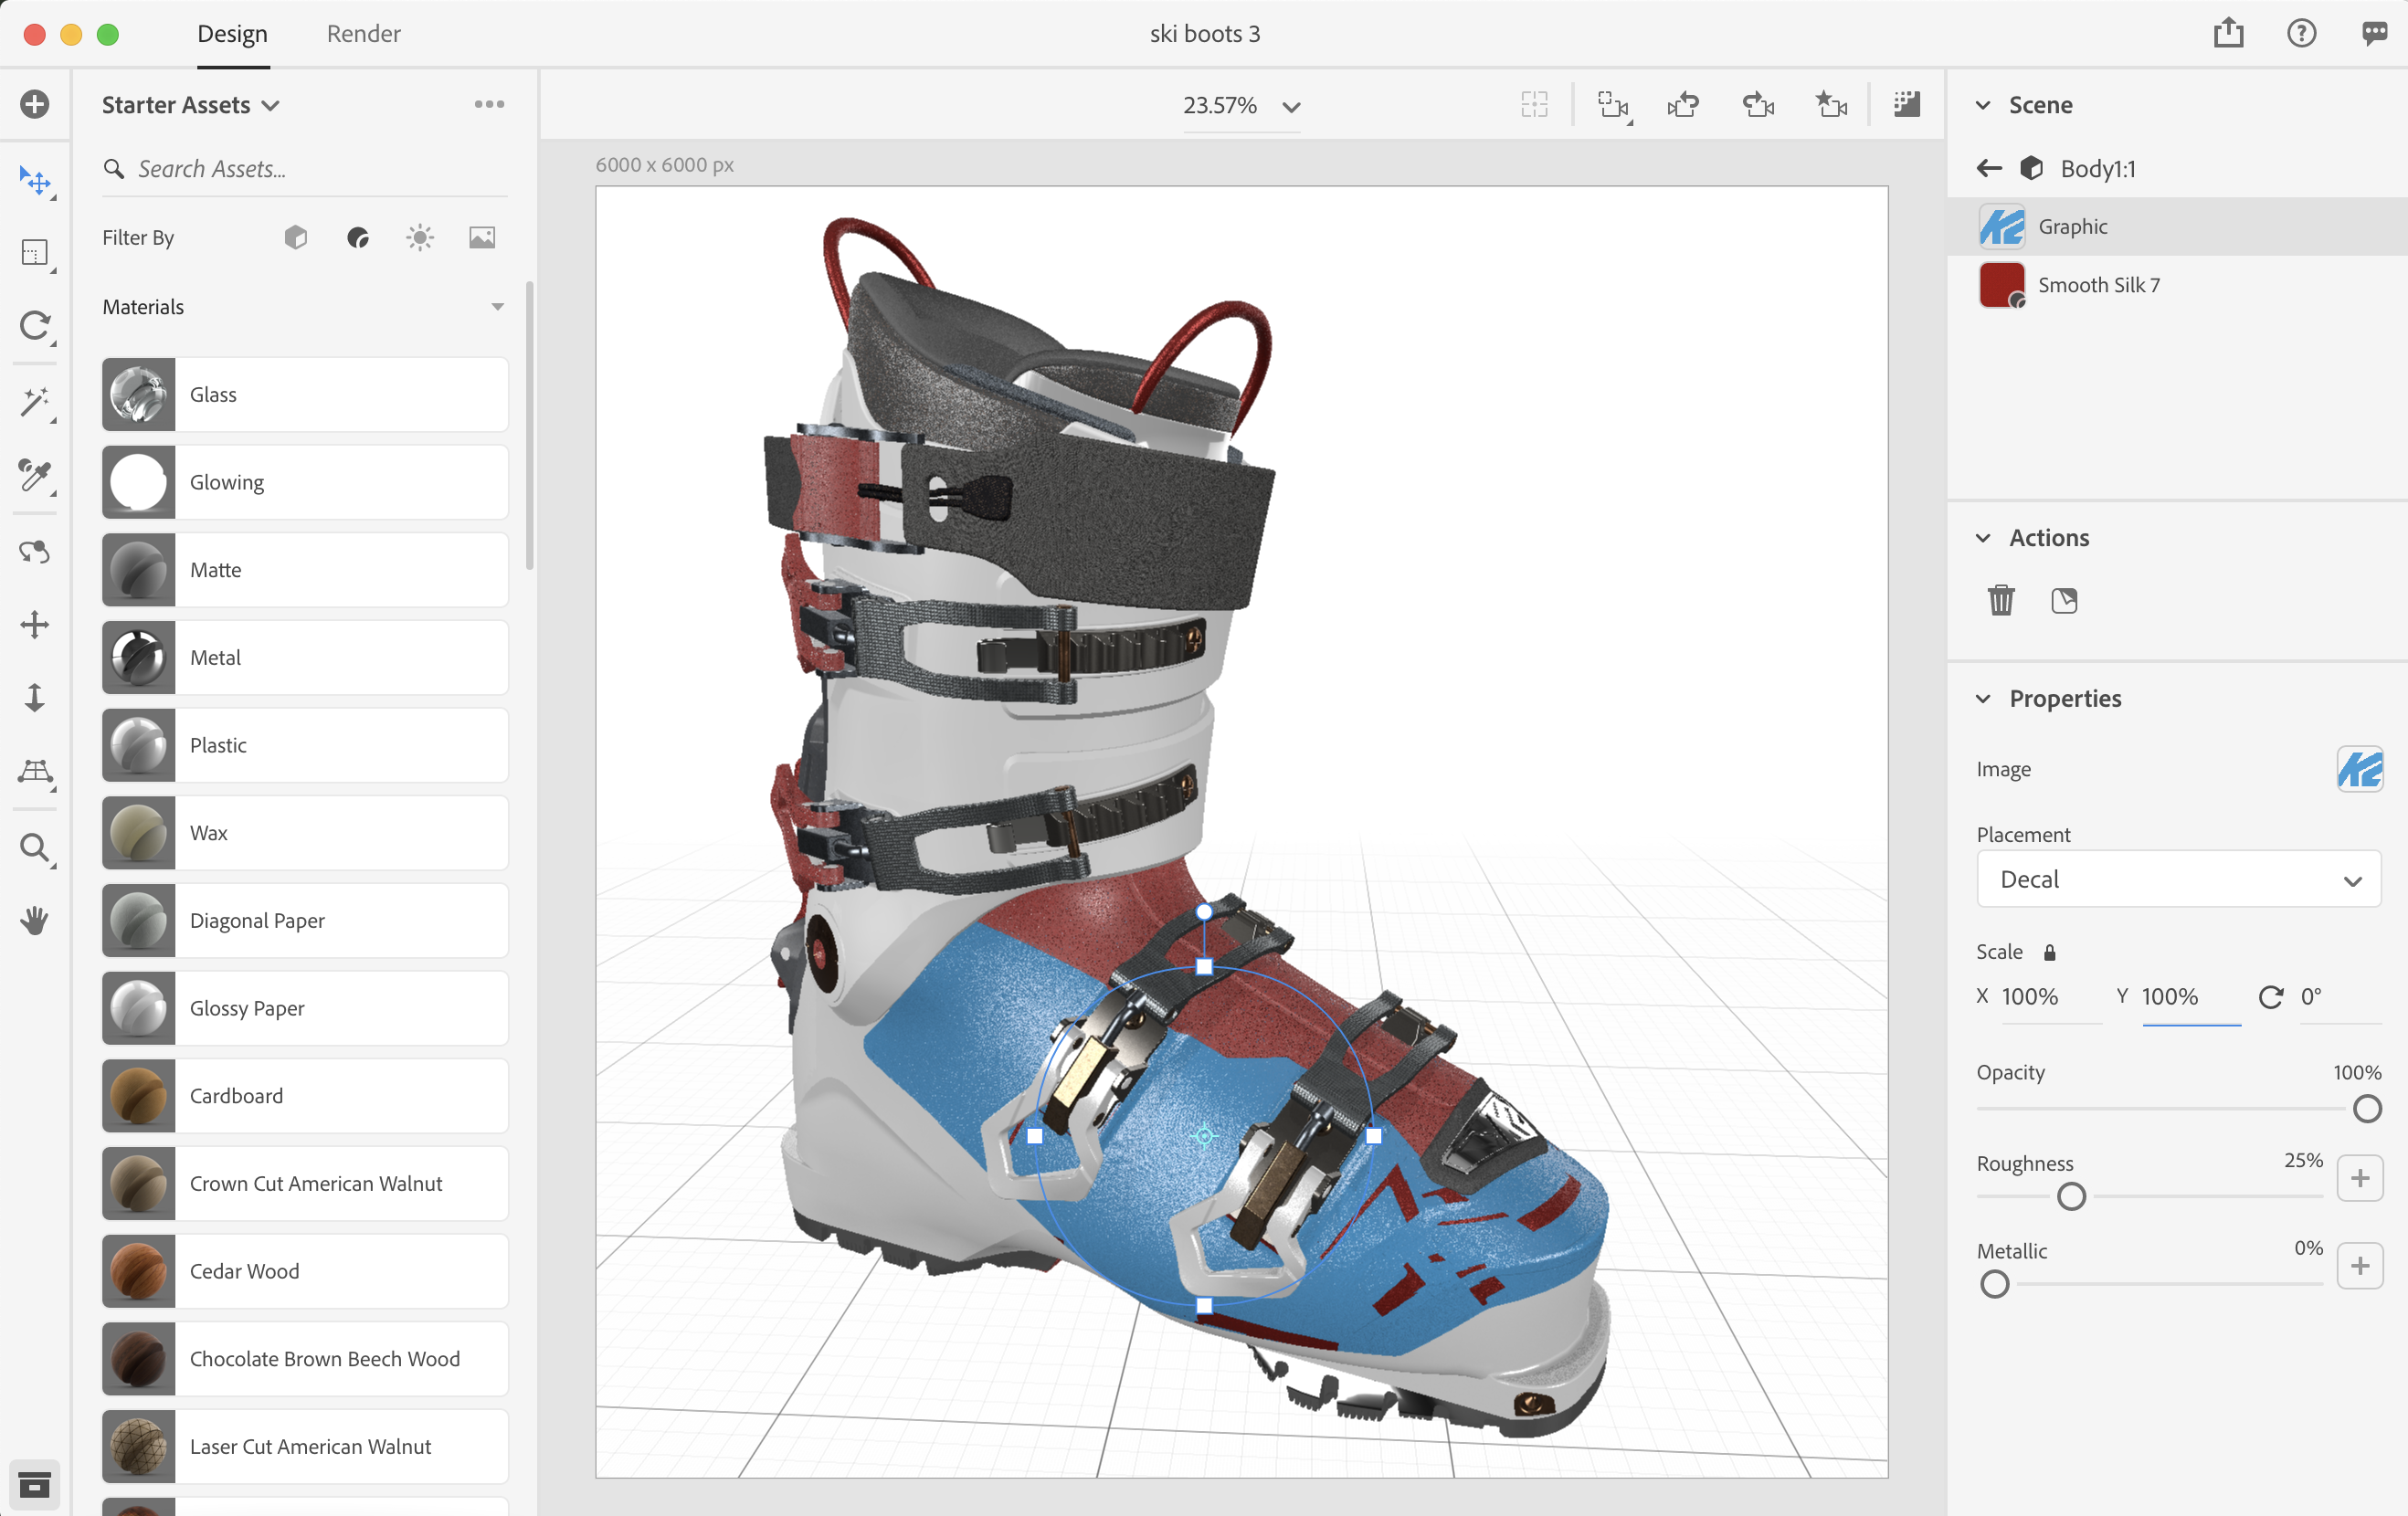
K2_logo_place_at_100percent, also scale down the image with the same results.
Any tips on what I should do before I save the model out to an OBJ? maybe each object surface need to be facing out or something?
please help anyone that is more of an expert than me lol.
Copy link to clipboard
Copied
looking at your last screengrab I would assume the decal is the blue?
so you say you have you tried scale it down to about 5-10% and it still covers the boot like that... in that case I would use the select wand to highlight only the side of the boot i.e, a smaller area, then i would press your silk material so this selection has the correct base material and then i would add my decal... if it still wigs out after that then it must be your ai file and I would make the decal as an image in Photoshop
as always, send in the file if you want me to try and fix the issue because screengrabs are better than nothing but not 100% certain
Copy link to clipboard
Copied
Yup, I scale the logo down and tried it as a png, jpeg, ai and photoshop. and here is what I got.
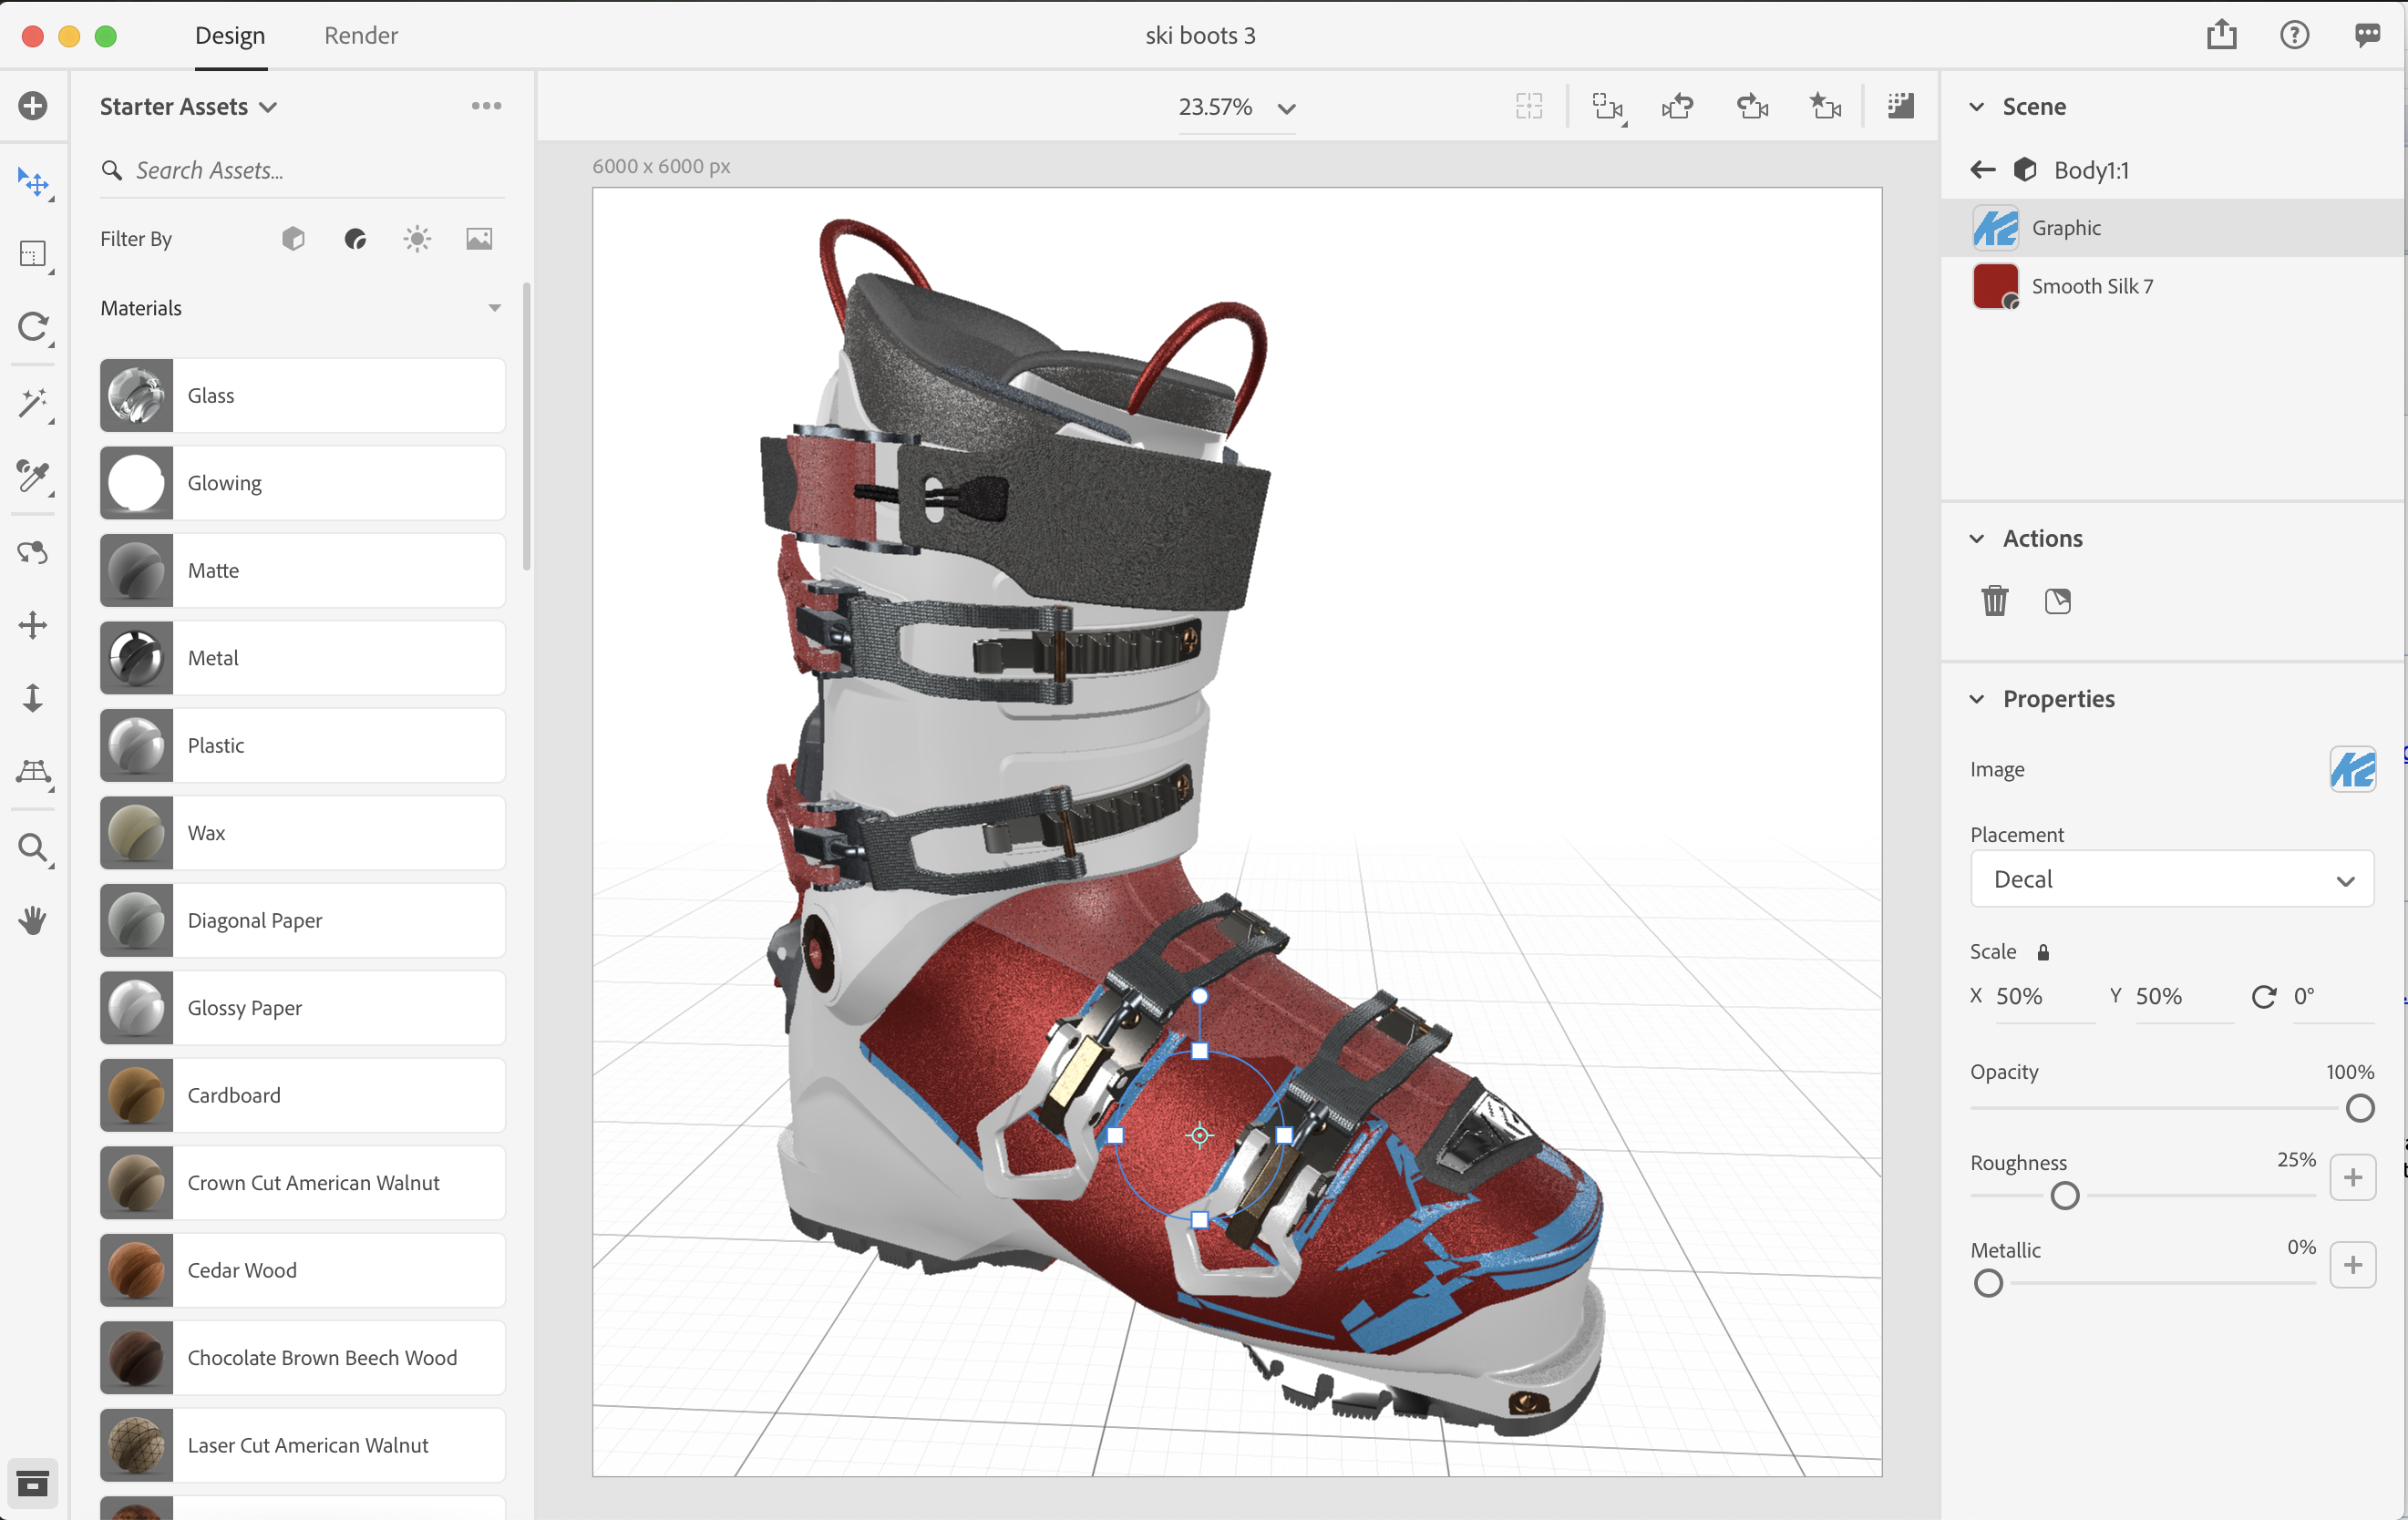
so I figured I'll start over again and not to apply any materials, and here is what I got. It's alittle bit better, but still getting weird blue parts of the logo where I do not want it to be.
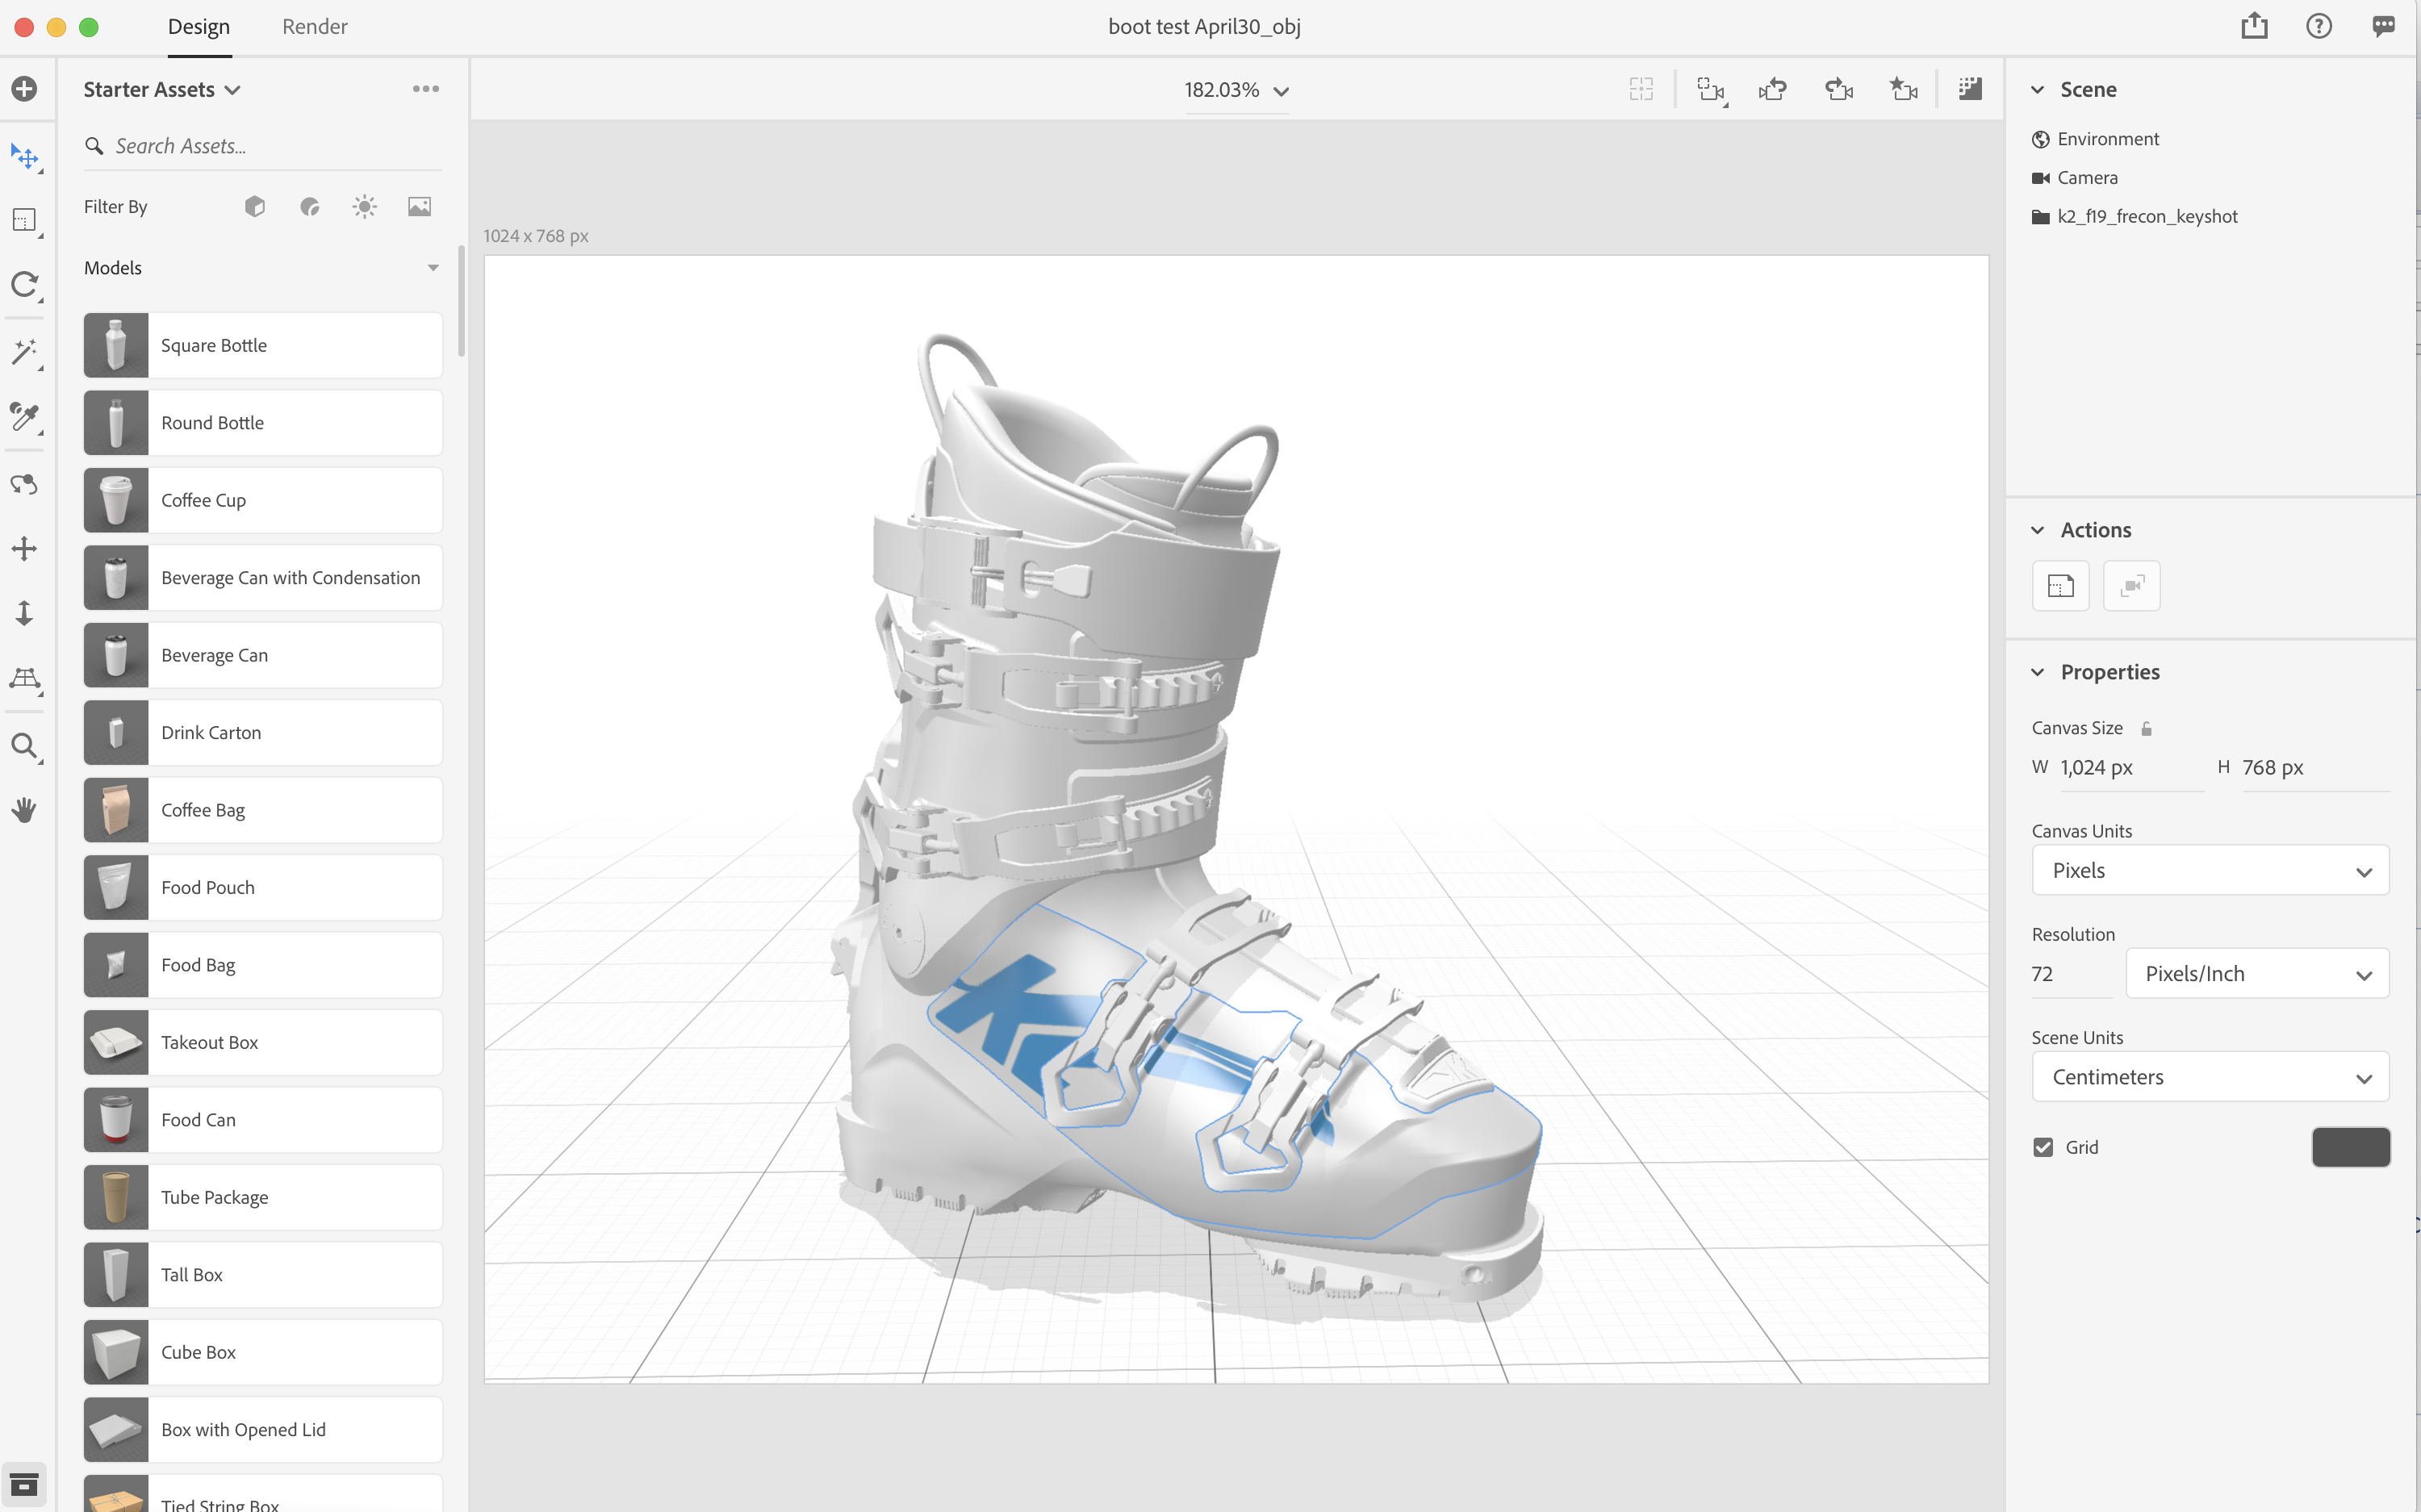
I use this same model in Keyshot (another program similar to Dimension, which is my daily driver, but i was hoping to do everything in Adobe Dimension) and everything works fine.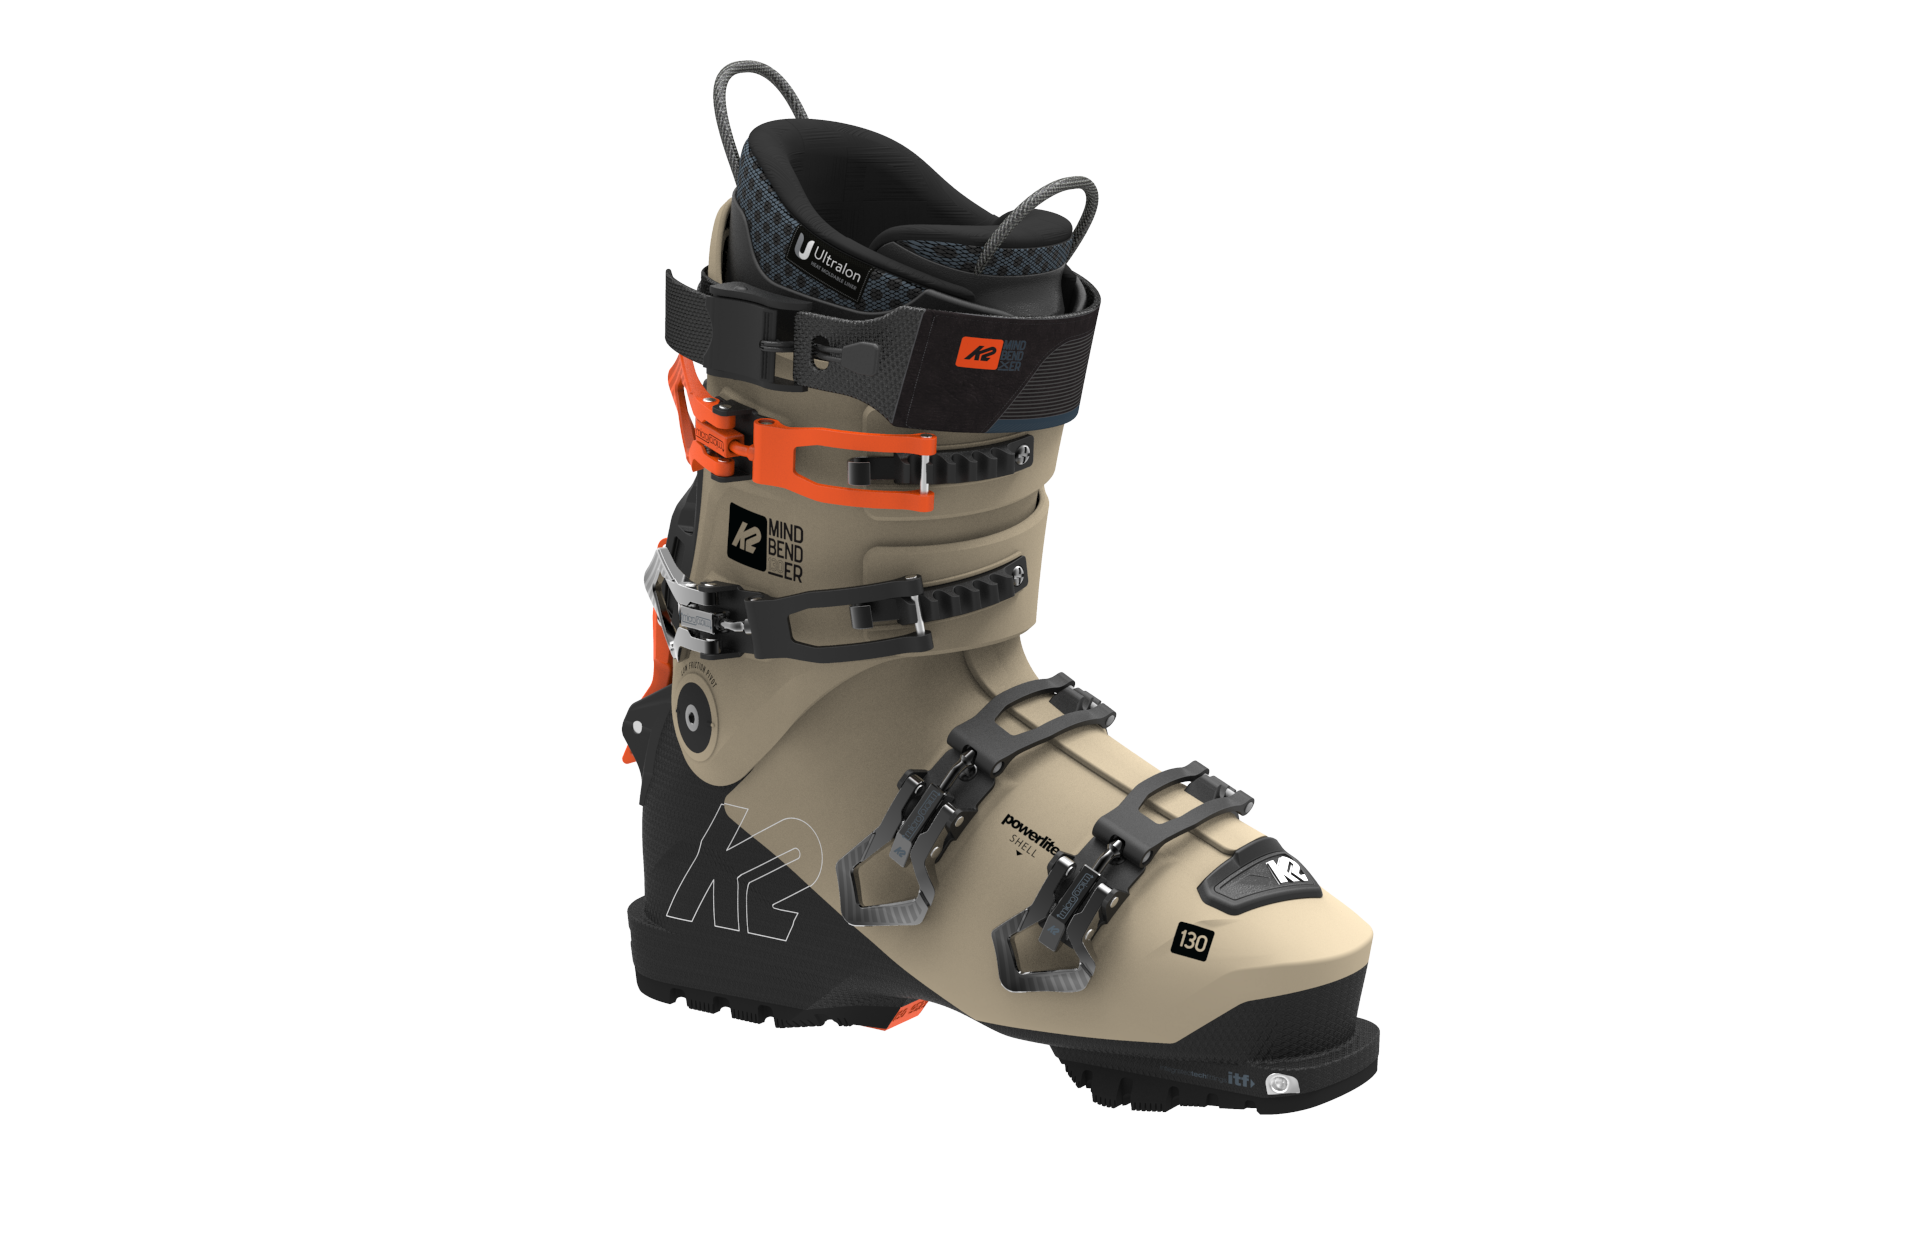
Example is rendered in Keyshot above.with graphics on it works similar to Dimension( i would really like dimensions to work)
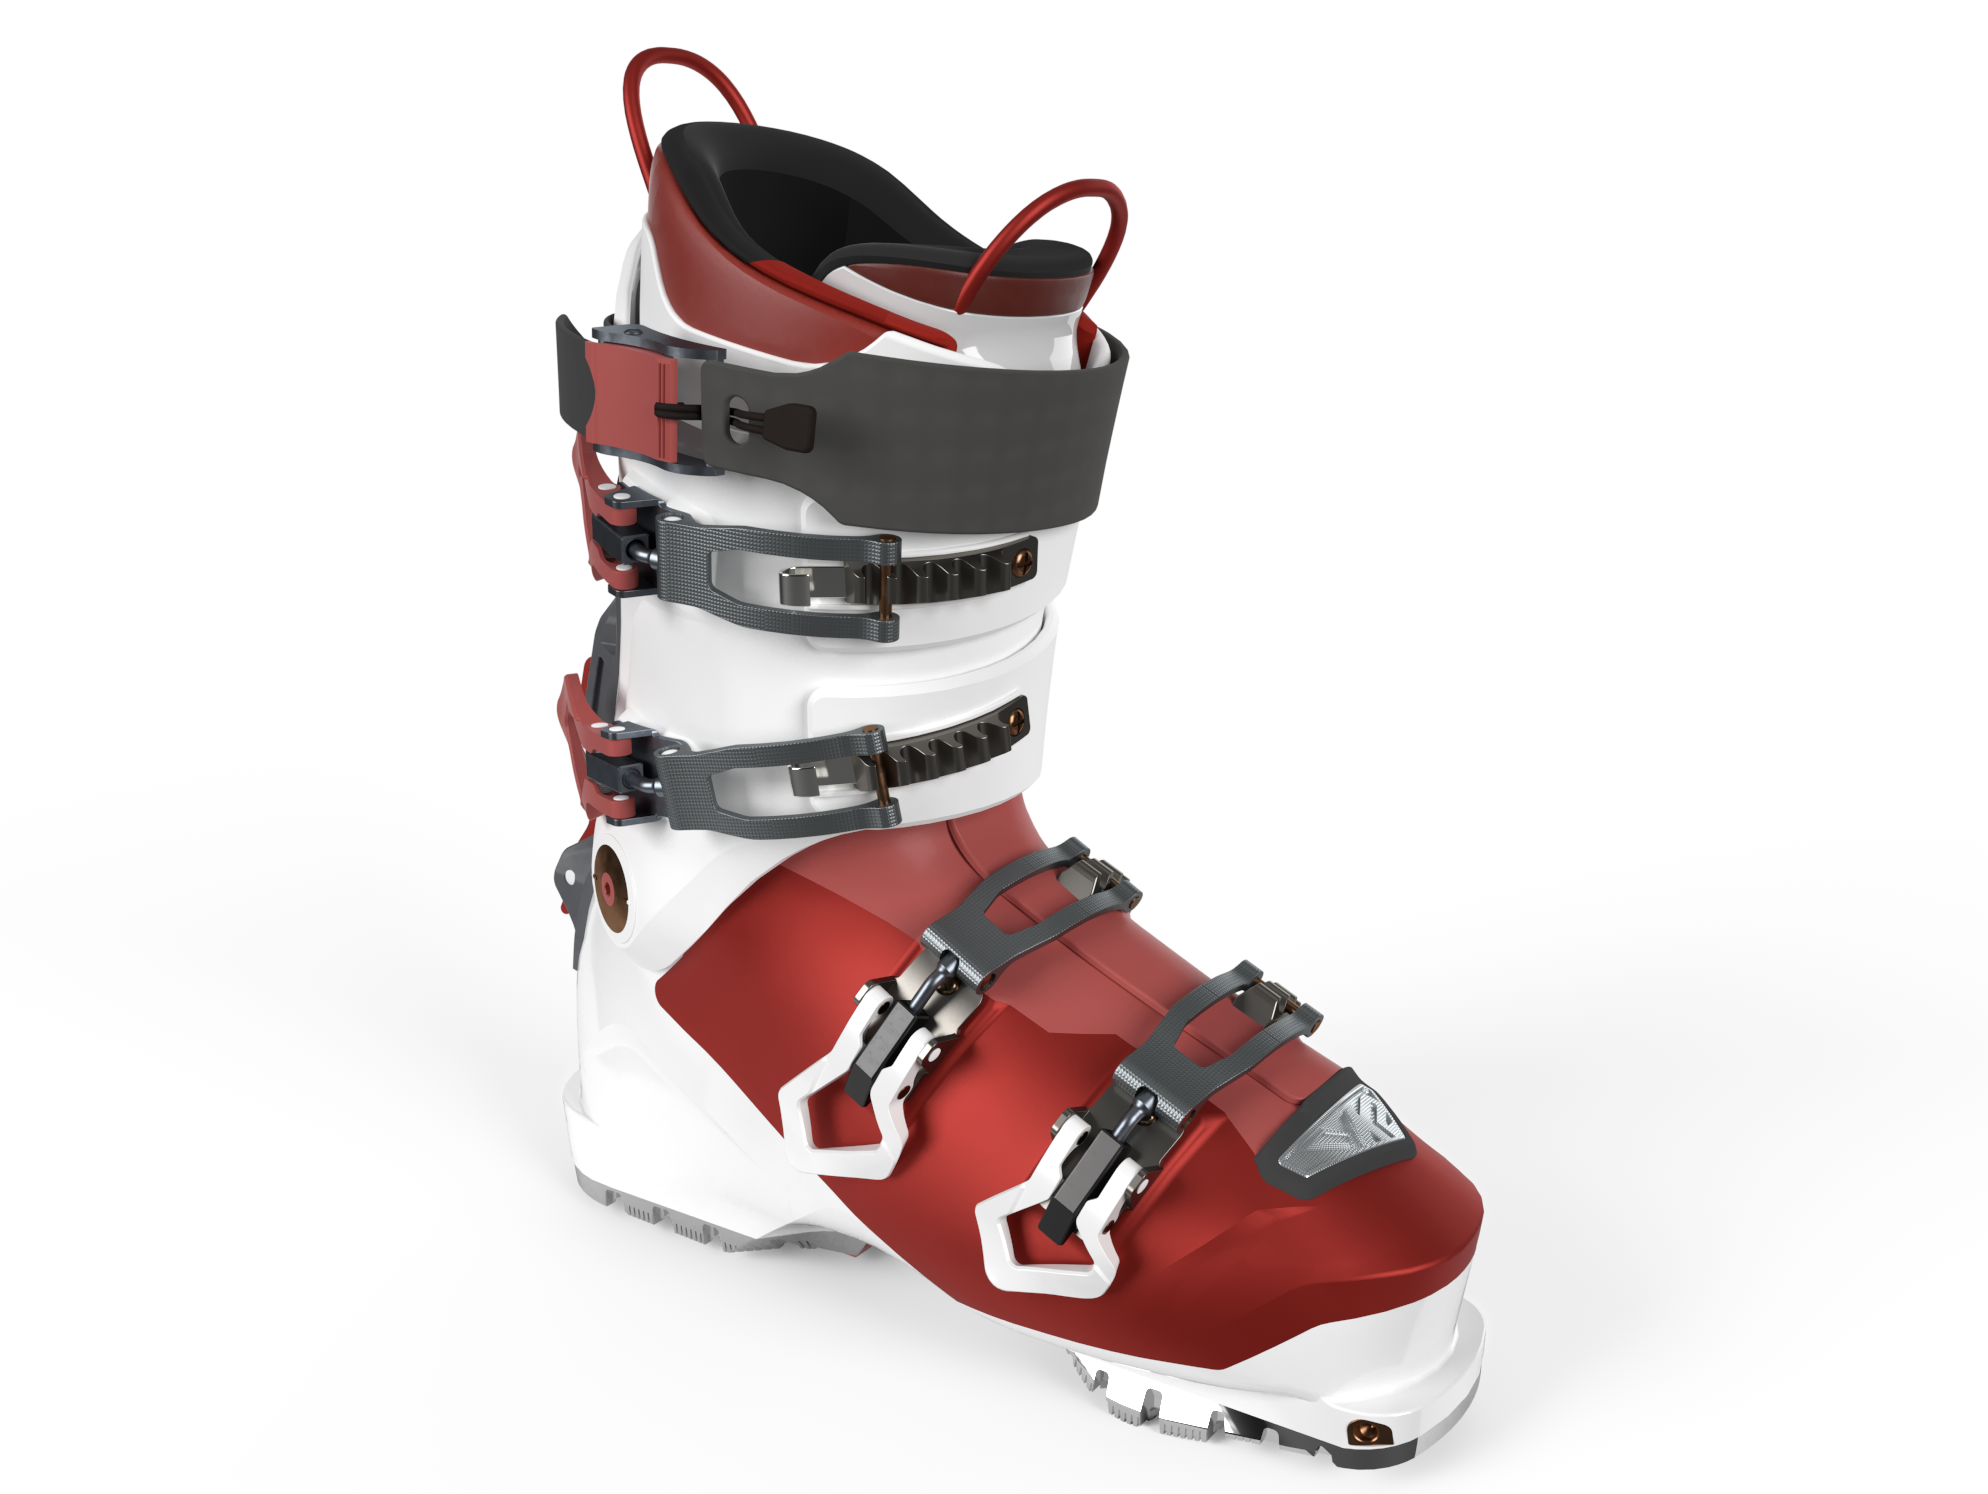
Example is rendered in Dimensions, not bad just wish I could figure out how to get the decals (graphics) on correctly.