 Adobe Community

Copy link to clipboard
Copied
Does anyone know how to fix or stop this from happening? Once I start placing images onto the mockup assets I get these spots that won't take the image. I've tried restarting Dn. If I copy the asset and place a new one the same spots will be there. Here is my Mac info and a screen shot of the issue. Also, this only happens in Dimension.


 1 Correct answer

ok, do you use the 3D model from Dimension or it's oyur own 3D model?
You can try this to perfectly set and place the image 😉
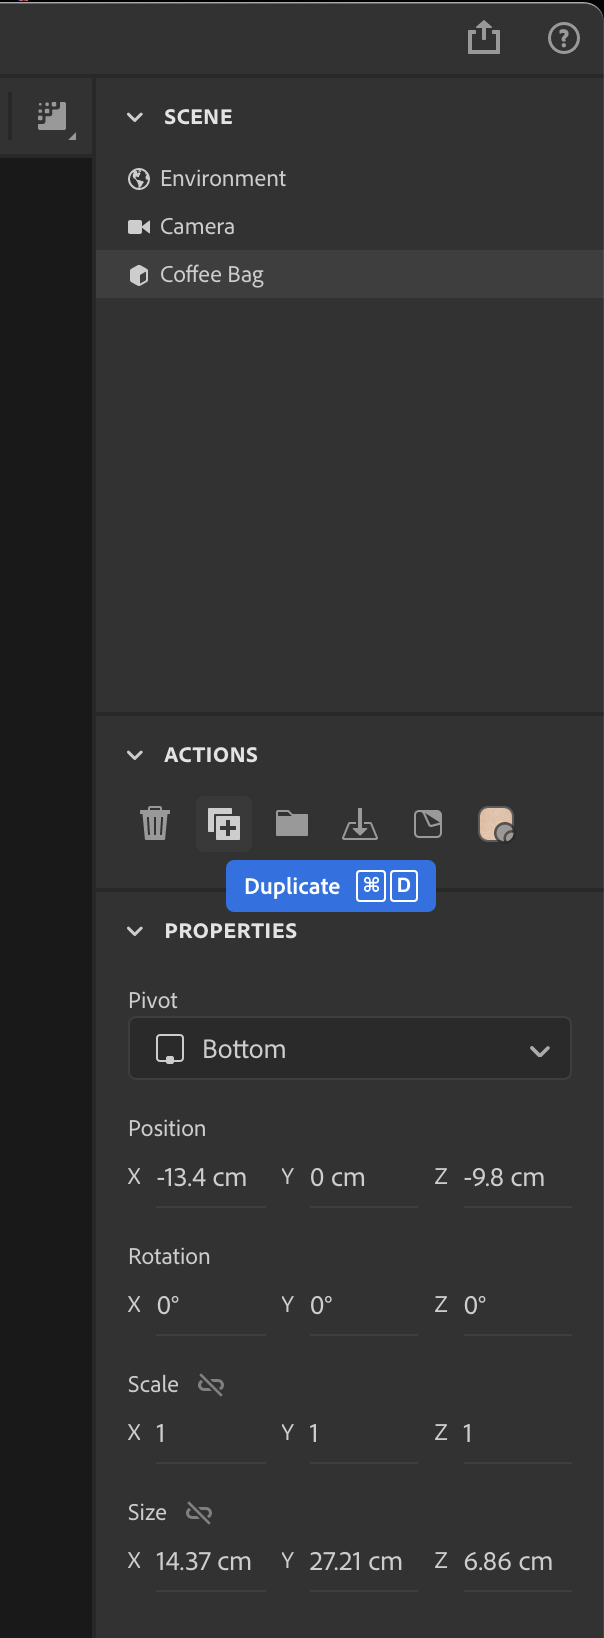
1 Select the object
2 Go to the menu : Object/exports uvs
3 set to 2048 or 4096px the export
4 open the PSD
5 Show the layer texture grid
6 Save the file
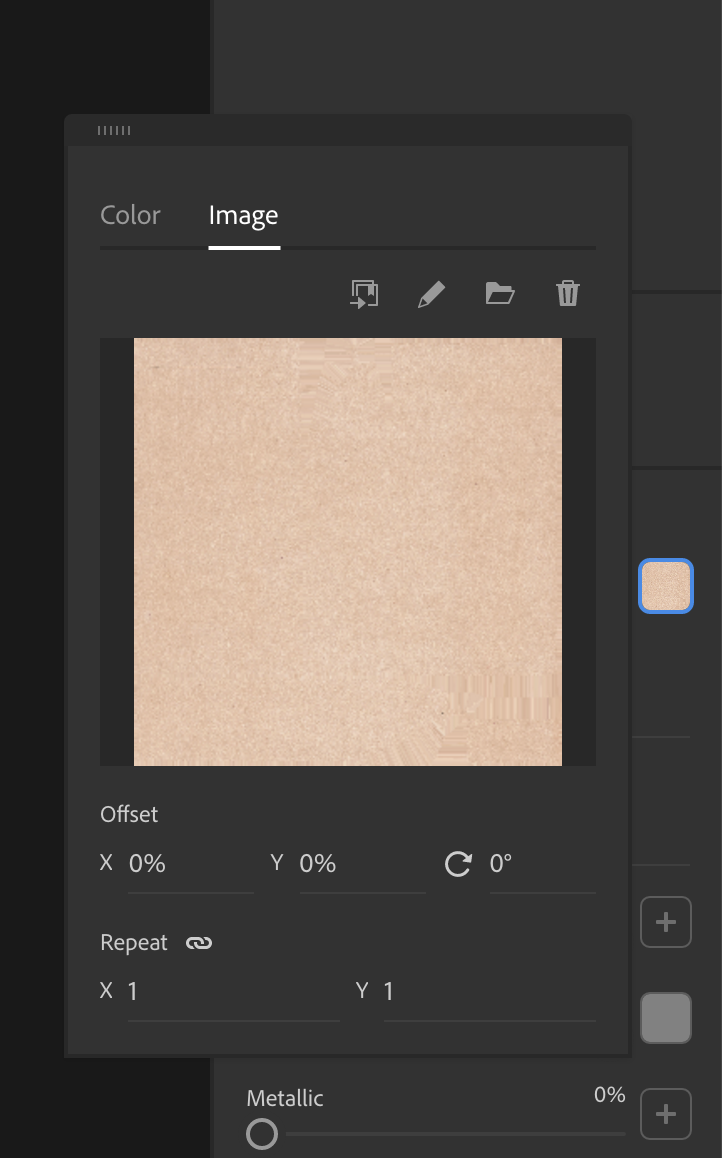
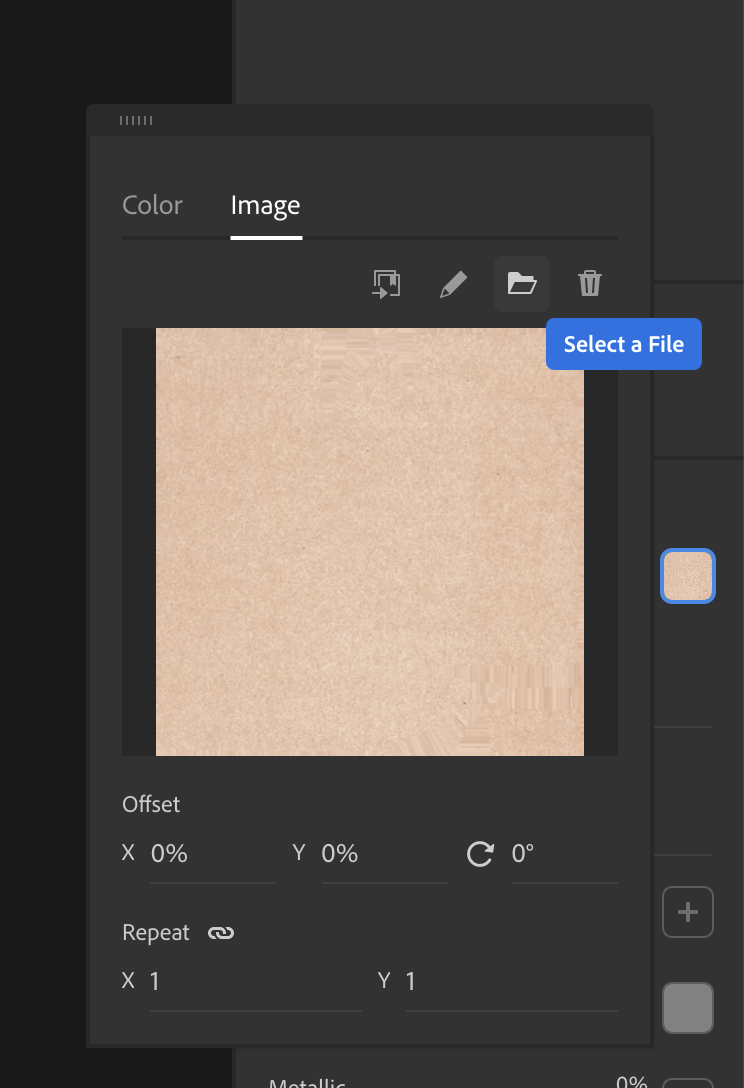
7 Replace the base color of the material with the psd
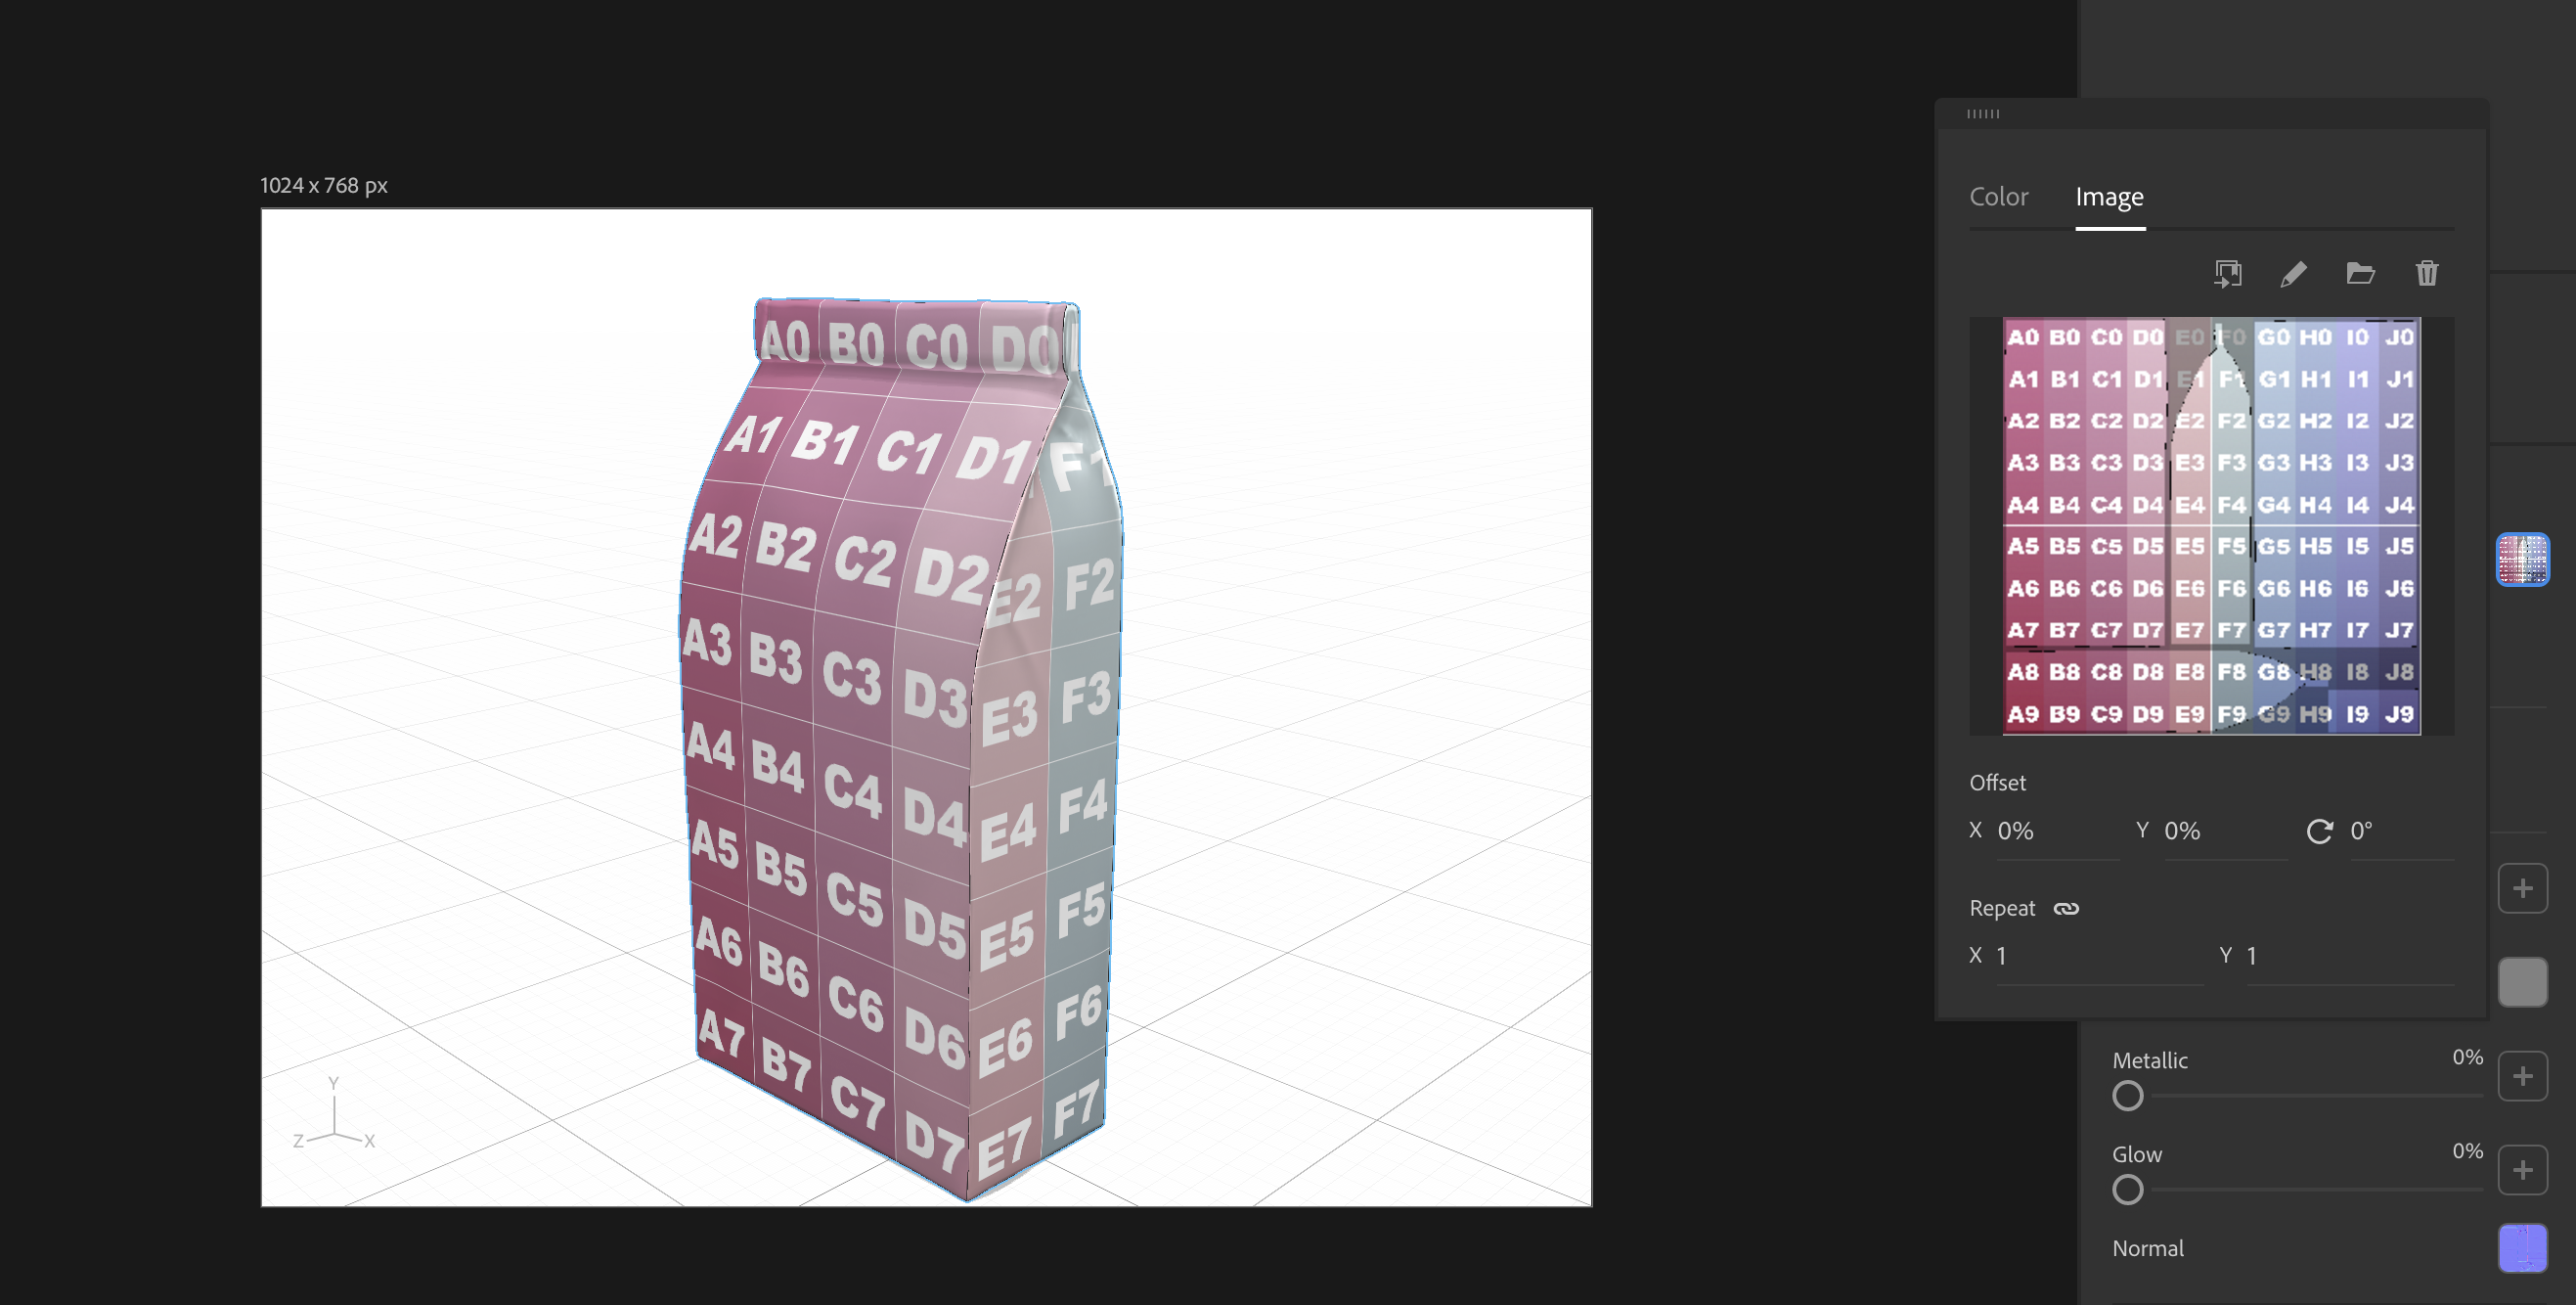
8 Now you can see all the grid on the 3D model and you can check if your design is ok
9 Return to your psd hide the texture grid layer and save. Maybe you need to
... 6
Replies
6
6
Replies
6
Copy link to clipboard
Copied
Hello, tell us more about your images. The workflow to place your ilages and the file type.
If it's possible to have bigger screenshots it will be so good 😉
You should upgrade your Mac os system to Big Sur.
Copy link to clipboard
Copied
Thank you for responding.
I'm using high quality jpgs for web and I've tried png and Ai file as well. All I'm doing it cuttingn from Ai and pasting to Dn for the Ai files. The jpgs are from Ps where I crop them to fit one side and save as jpgs for web. It seems to happen when I enlarge the image and it runs onto one of the other sides (in this case the image in the back run into the front). This is causing the spots. If I take the back image and make it smaller the spots in the front go away. But now the spots are on the back image.
Here are some bigger pictures. I was trying to give you a close of the issues. I also attached the info for one of the files I'm using. I hope this helps.
My school won't let us do the updates to Big Sur yet.


Copy link to clipboard
Copied
So it's coming from the files on the other side. I guess if they wrap around too much they start effecting the side it wraps onto. I'll just crop my images more to stop them from wrapping around so much.
Here's a screen shot of me blowing the image up really big and taking the the one facing you down. Not sure if there's a fix for that or if I just need to crop more.

Copy link to clipboard
Copied
ok, do you use the 3D model from Dimension or it's oyur own 3D model?
You can try this to perfectly set and place the image 😉
1 Select the object
2 Go to the menu : Object/exports uvs
3 set to 2048 or 4096px the export
4 open the PSD
5 Show the layer texture grid
6 Save the file
7 Replace the base color of the material with the psd
8 Now you can see all the grid on the 3D model and you can check if your design is ok
9 Return to your psd hide the texture grid layer and save. Maybe you need to replace the psd file by the last one
10 You should see your design


Let us know if this solution help 😉
You can use it for all your design.
Copy link to clipboard
Copied
It WORKS! Thank you so much. I'm new to this stuff and have spent the last few days trying to figure it out.
Copy link to clipboard
Copied
You're welcome! It's the purpose of the community to help 😉
I'm so happy!
You can also generate the UVs if needed but you need to check the result.
 AdChoices