• Global community
    • Language:
      • Deutsch
      • English
      • Español
      • Français
      • Português
  • 日本語コミュニティ
    Dedicated community for Japanese speakers
  • 한국 커뮤니티
    Dedicated community for Korean speakers
Exit
0

how to make a good bottle in Photoshop for Dimension [my way]

LEGEND ,
Nov 23, 2019 Nov 23, 2019

Copy link to clipboard

Copied

this question keeps coming up so I'm putting my steps down for others to try

step 1; open Photoshop and use the bottle preset template... this makes a correct bottle everytime and is the single best option for most senarios

templatetemplate

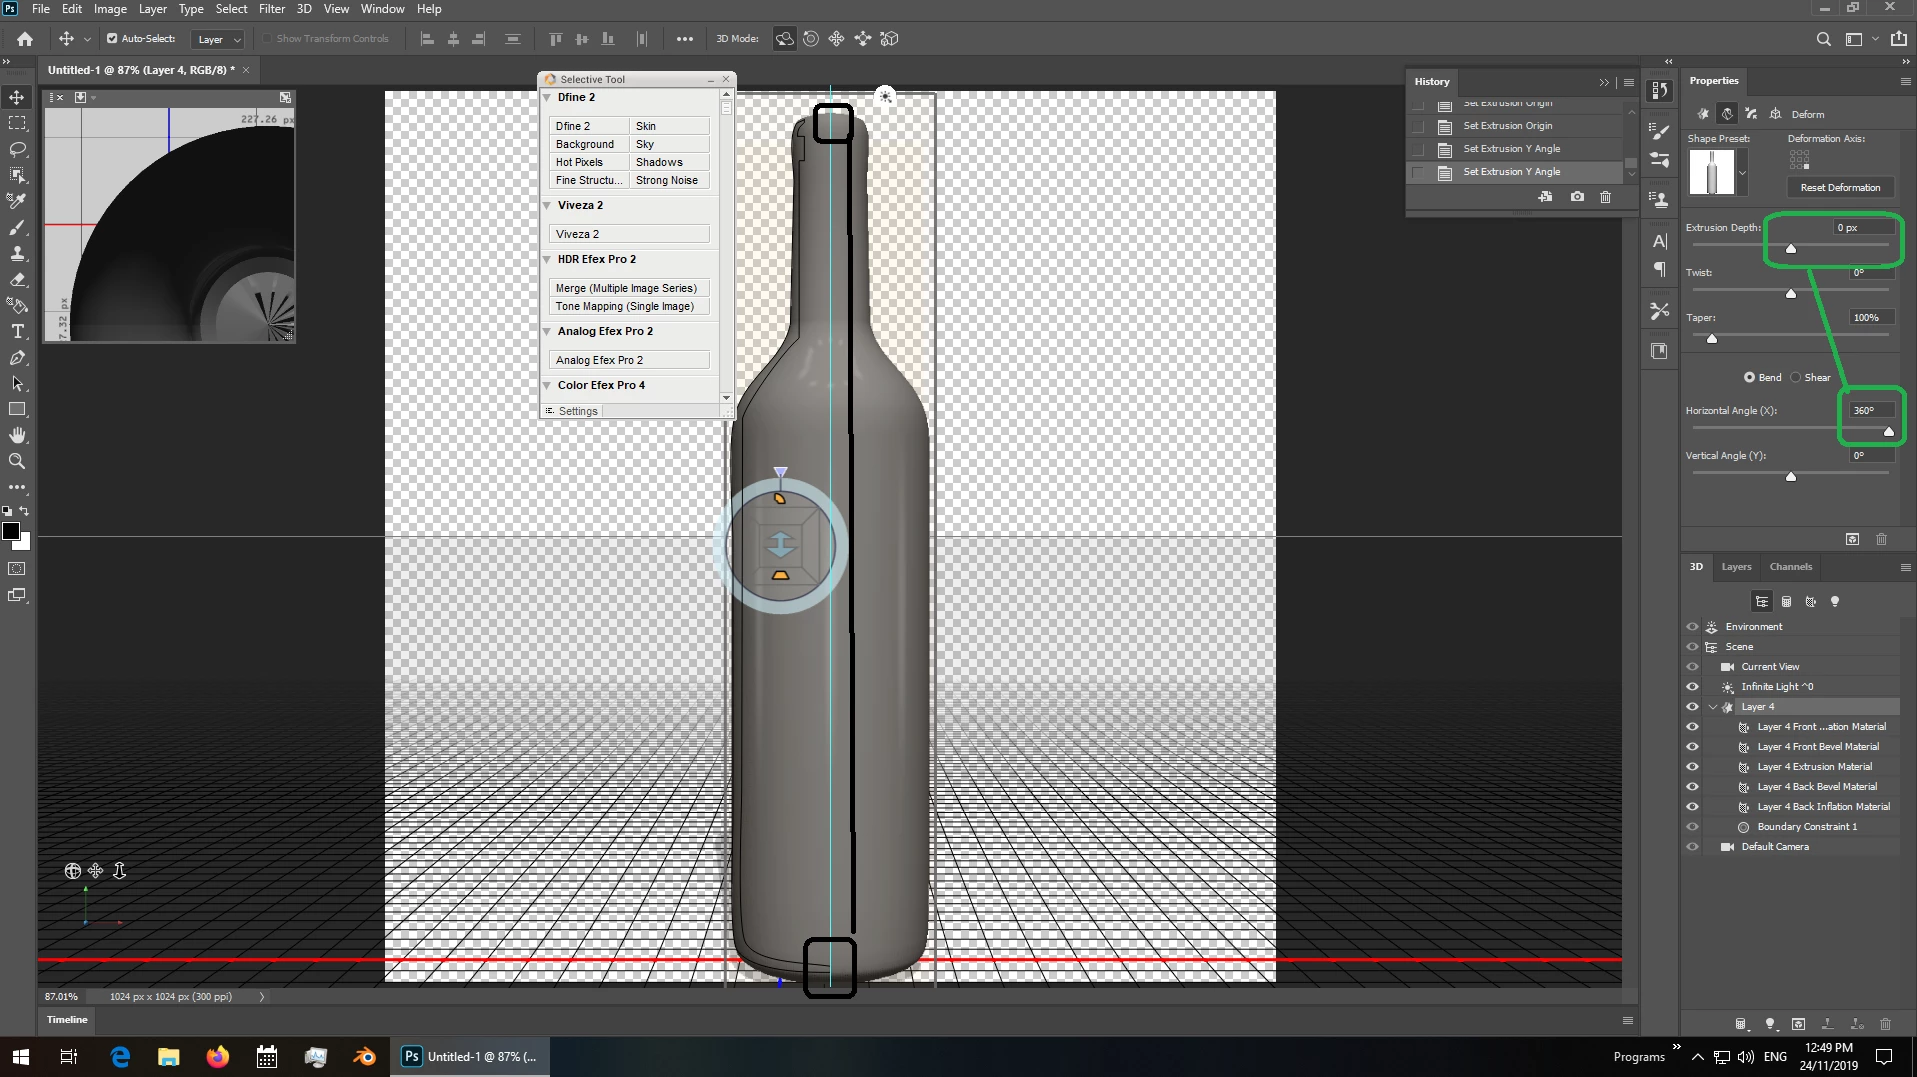
  • templates are great but sometimes you need a special shape and this is how i make mine

the actual shape usedthe actual shape used

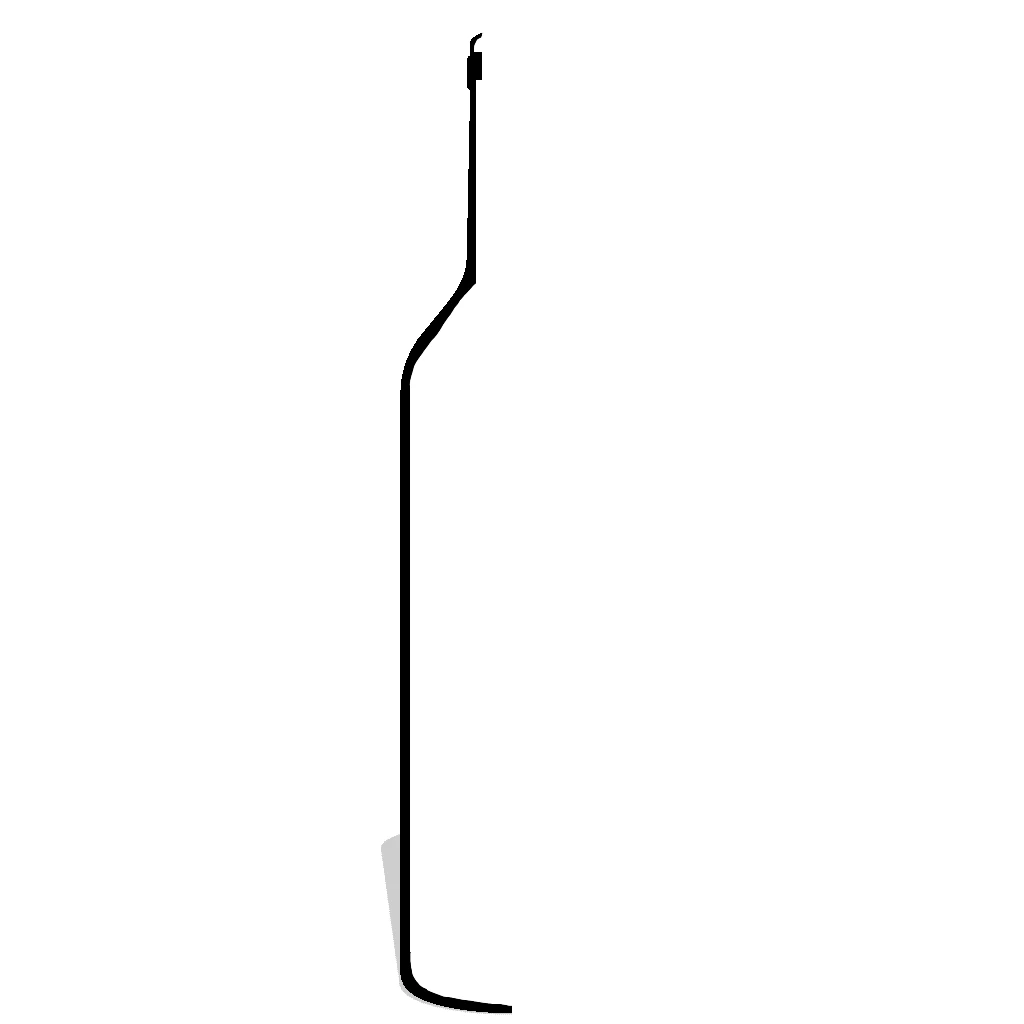
the key points are that it has a hole at the top (because i want this bottle to allow things inside it) and it touches at the bottom (because I don't want things to leak out)... yes 3d objects don't need to follow real world rules but they look better if you do

transform = bottom right

extrusion = zero

hoz angle = 360

hole at the top but touch at the bottomhole at the top but touch at the bottom

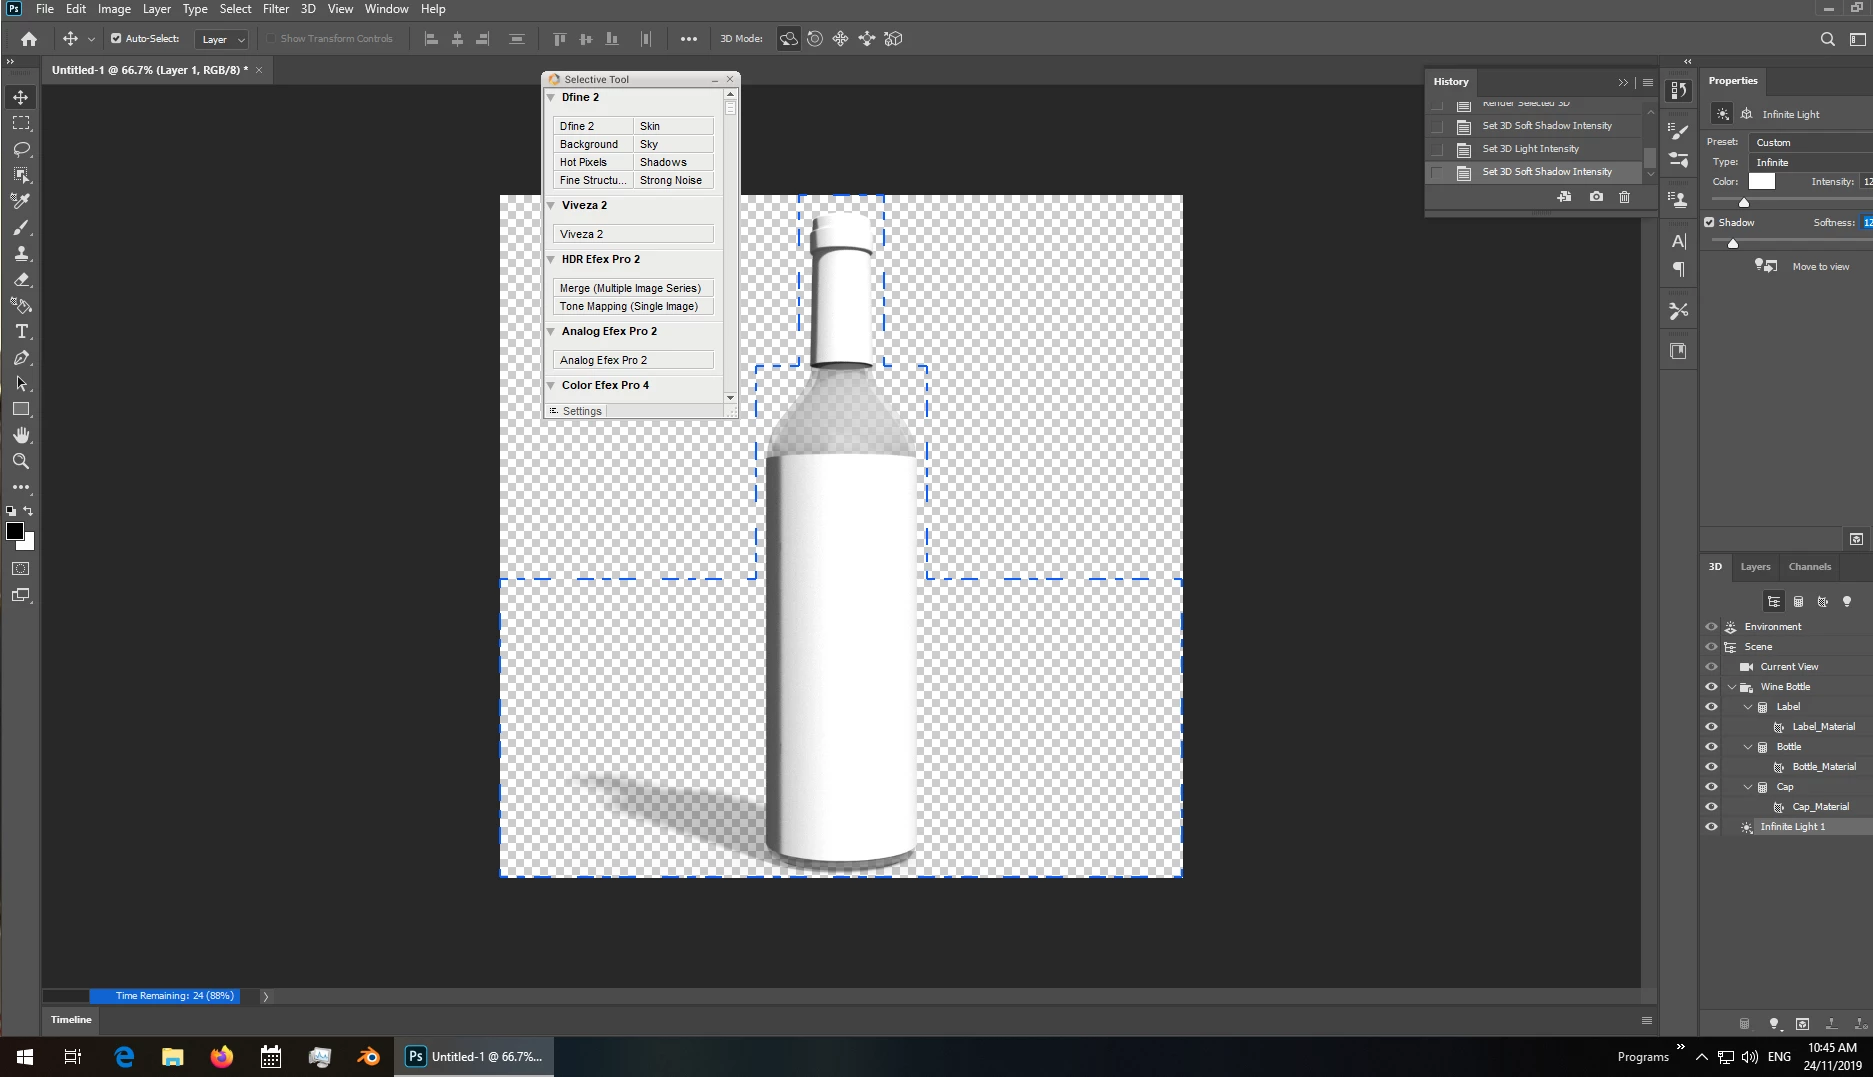
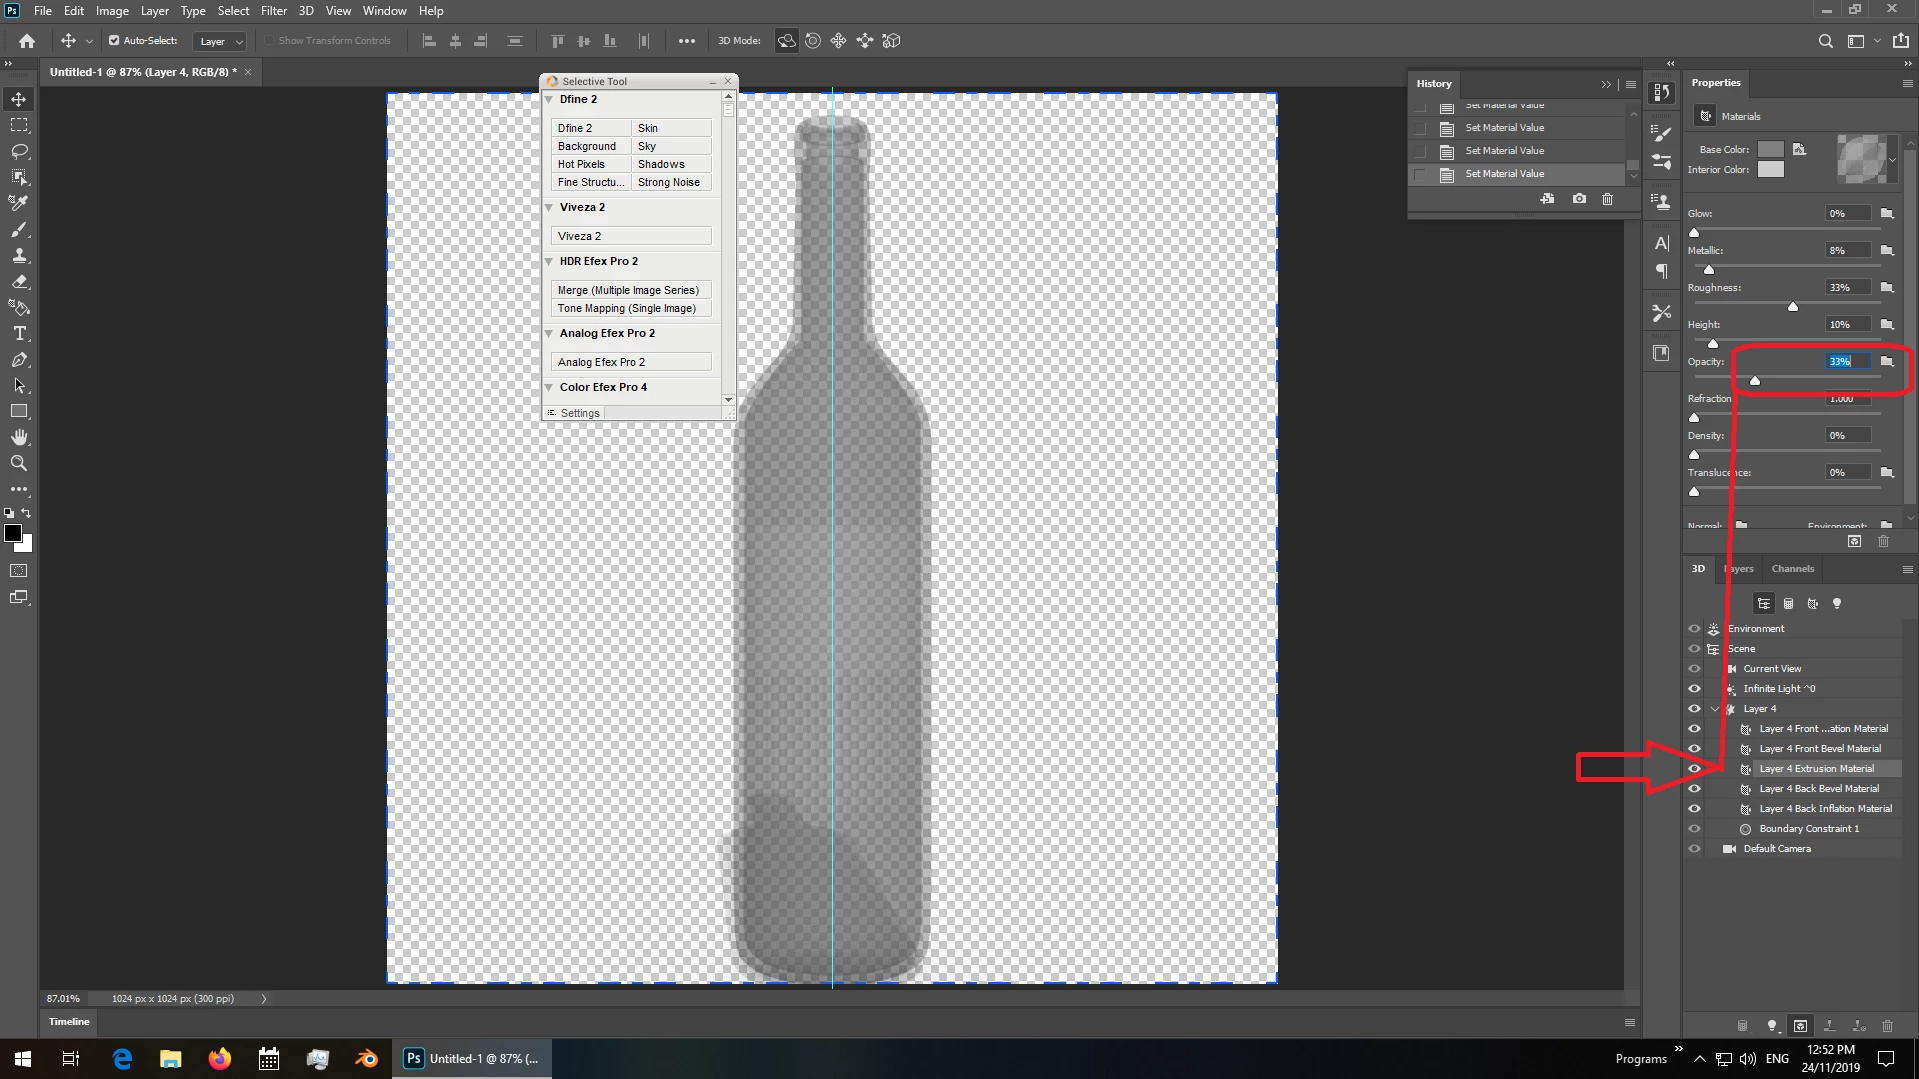
step 2 now that we have a base bottle i set the opacity

extrusion = 33%

all others set to zero

important: always export the model as wavefront Obj with Png textures [not Jpeg]

opacityopacity

Dimension work flow

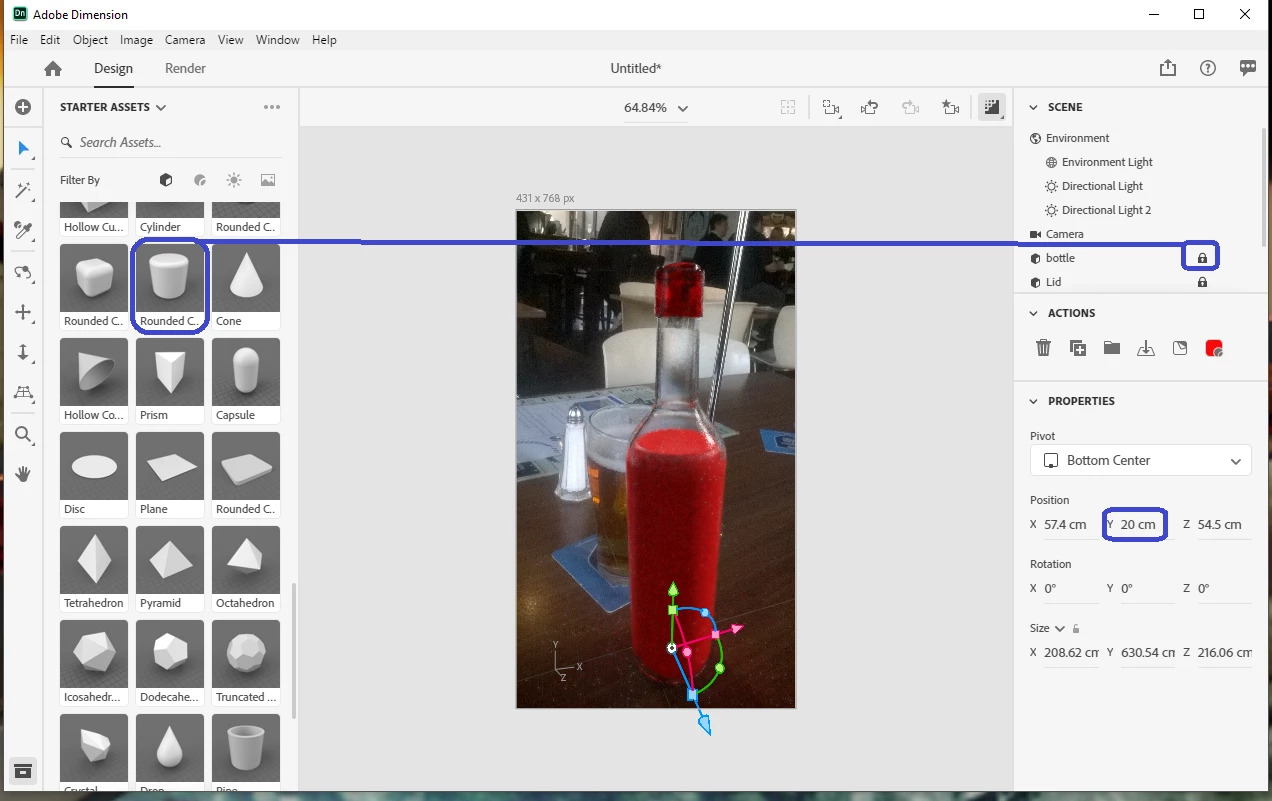
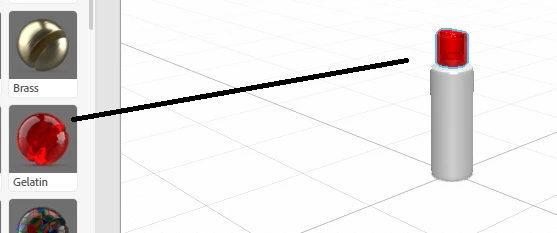
step 3 import the model, pick the background, materials [frosted glass and a top from another model in this example] then do a quick rendor

quick rendorquick rendor

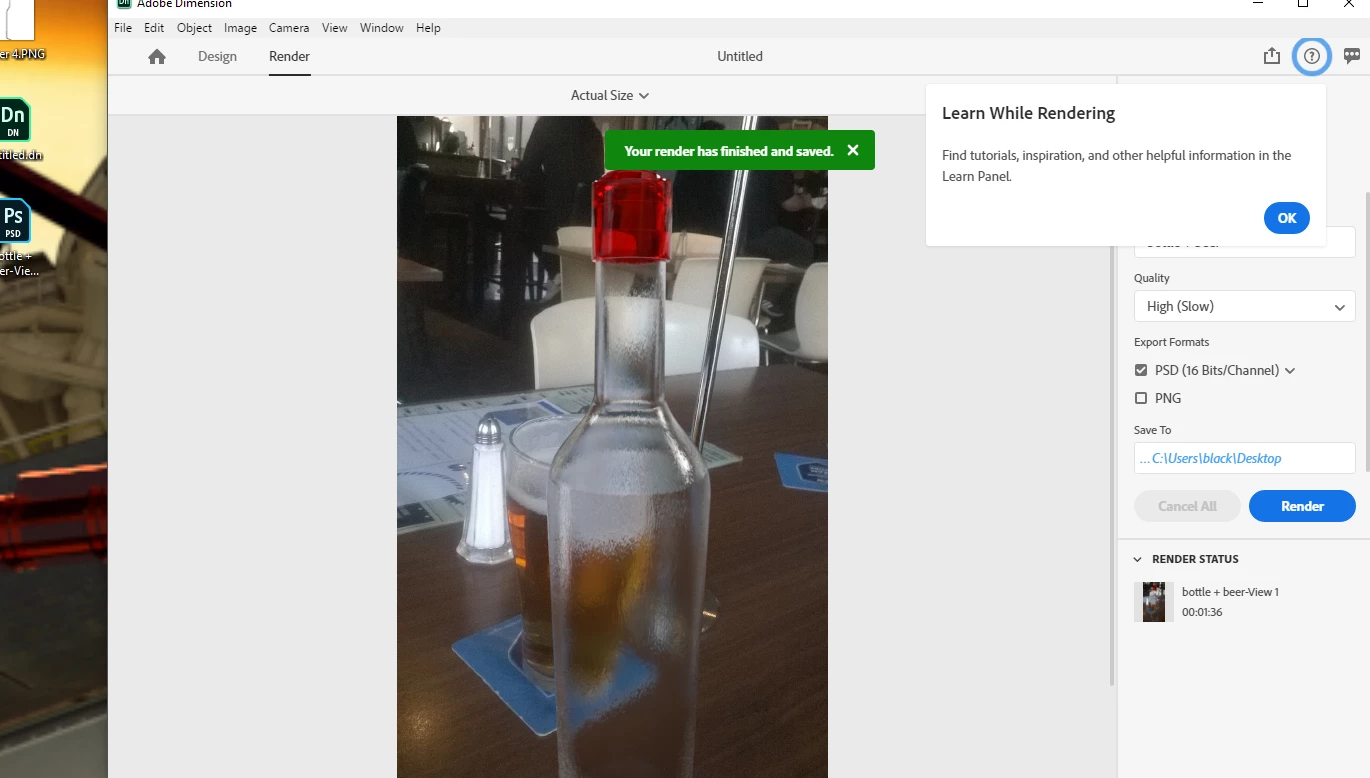
step 4 add the extra beer to the base model

save the scene i.e, view 1... this allows you to move the camera around to fit then jump back to rendor

i always lock the bottle

pick a colour that is easy to see until you have the beer lined up

about 20 cm up from the base is best done with the numbers instead of trying to move it around by hand

add in materialadd in material


gelatingelatin

TOPICS
Creative , How to

Views

1.2K

Translate

Translate

Report

Report
Community guidelines
Be kind and respectful, give credit to the original source of content, and search for duplicates before posting. Learn more
community guidelines
LEGEND ,
Nov 23, 2019 Nov 23, 2019

Copy link to clipboard

Copied

LATEST

this is how i fix the labels

if you use a template then it comes with a label but because i use an extrusion i need to make repairs to my bottle or my label before it will work in Dimension

step 1 for this example i used the new label that comes in the base build... a decal will fail so i make it a fill


fill not decalfill not decal


step 2 next step is to send the label to Photoshop to add space around it... this bottle is very tall so i added 1000% to the hight i.e, 10 times

add blank spaceadd blank space

step 3 when you save the edit in Photoshop Dimension resets and you should see the label preview change... not the bottle but the preview window on the right that shows your label image

resetsresets

step 4 it sucks that Dimension is dum as dogfood and you must now adjust the label by hand in order to place it where you need it on the model... again this is a fill not a decal, i'm tricking Dimension into doing it right and telling it to ignore the map which this bottle doesn't really have

adjust by handadjust by hand


rendor

final rendorfinal rendor

Votes

Translate

Translate

Report

Report
Community guidelines
Be kind and respectful, give credit to the original source of content, and search for duplicates before posting. Learn more
community guidelines