 Adobe Community
- Home
- Dimension
- Discussions
- Scaling + positioning normal map to match graphic
- Scaling + positioning normal map to match graphic

Copy link to clipboard
Copied
Hi there,
I've searched around without succes... So here I am.
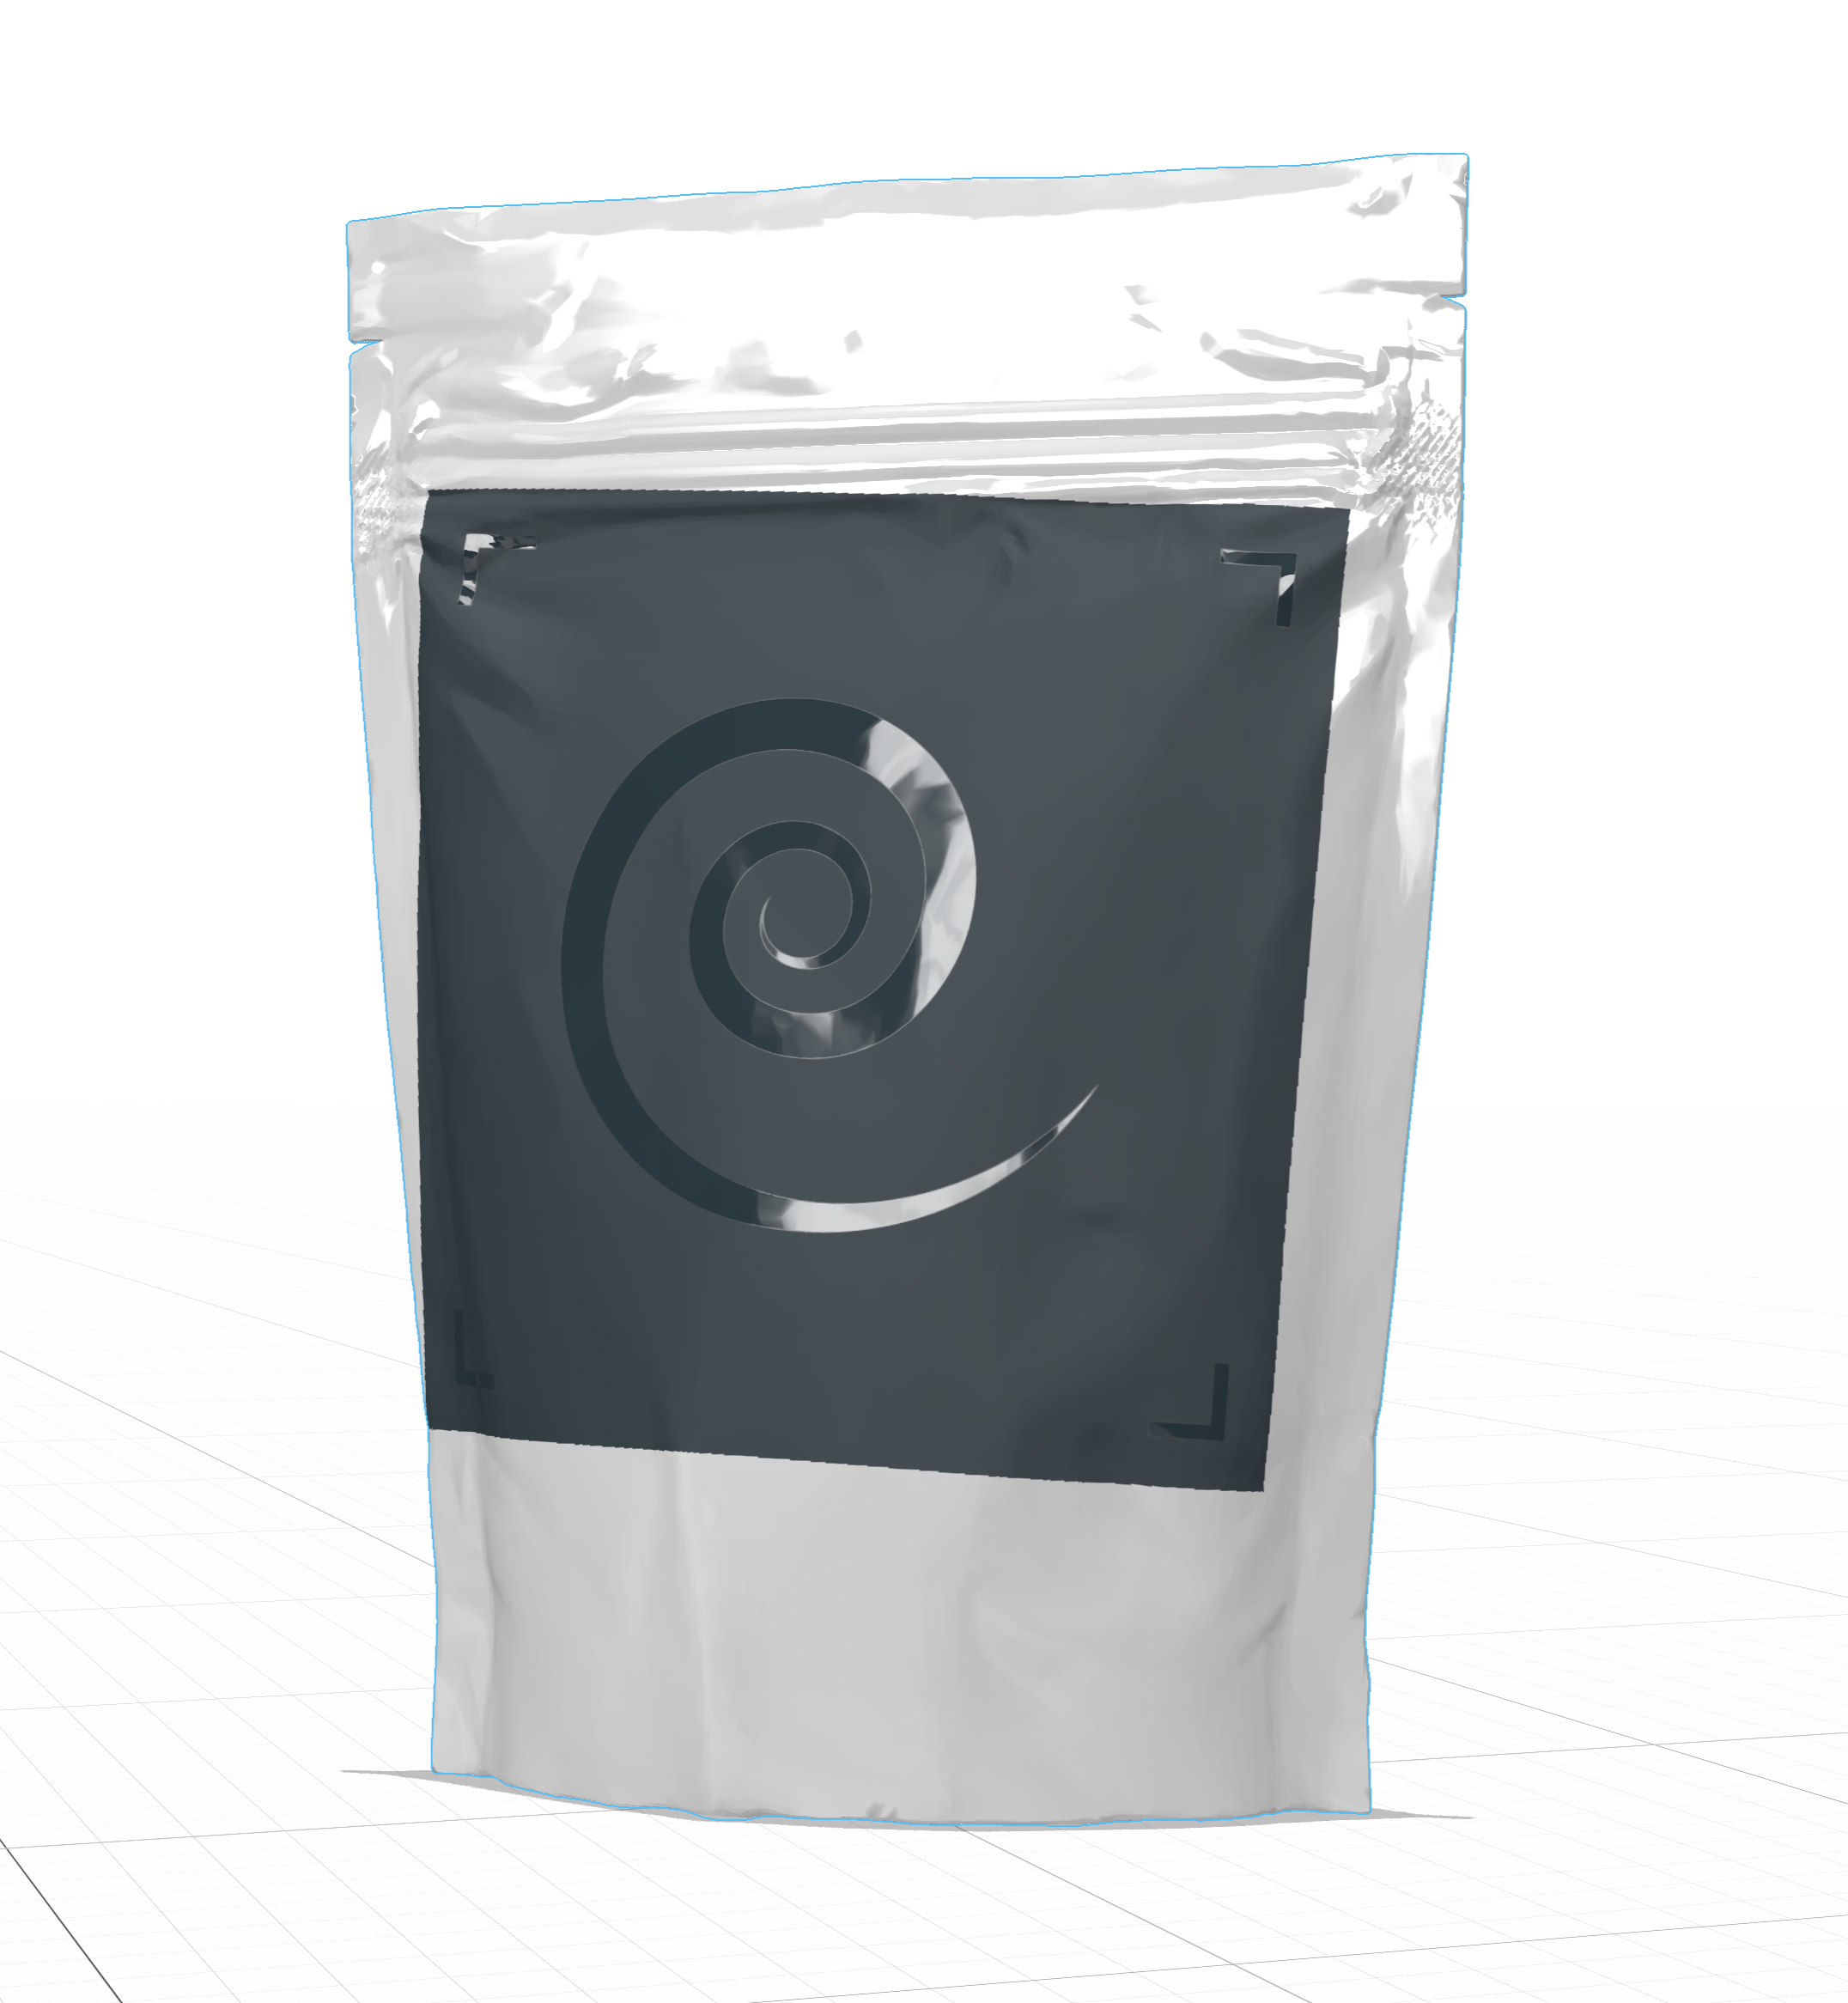
My goal is to visualize packaging design including UV spot and embossing.
UV spot worked fine, but I'm having a hard time to match the emboss effect to the design.
I'm showing a simplified test scene as an example, and the workflow is as follows:
Design in Illustrator (plain colour, on artboard 1) / UV Spot in Illustrator (swirl in same plain color, on artboard 2 / Normal map in Photoshop and exported as PNG (because I don't think Illustrator can).
The Illustrator file is loaded as a material into Dimension, where Artboard 1 and artboard 2 use seperate materials and line up perfectly, as expected.
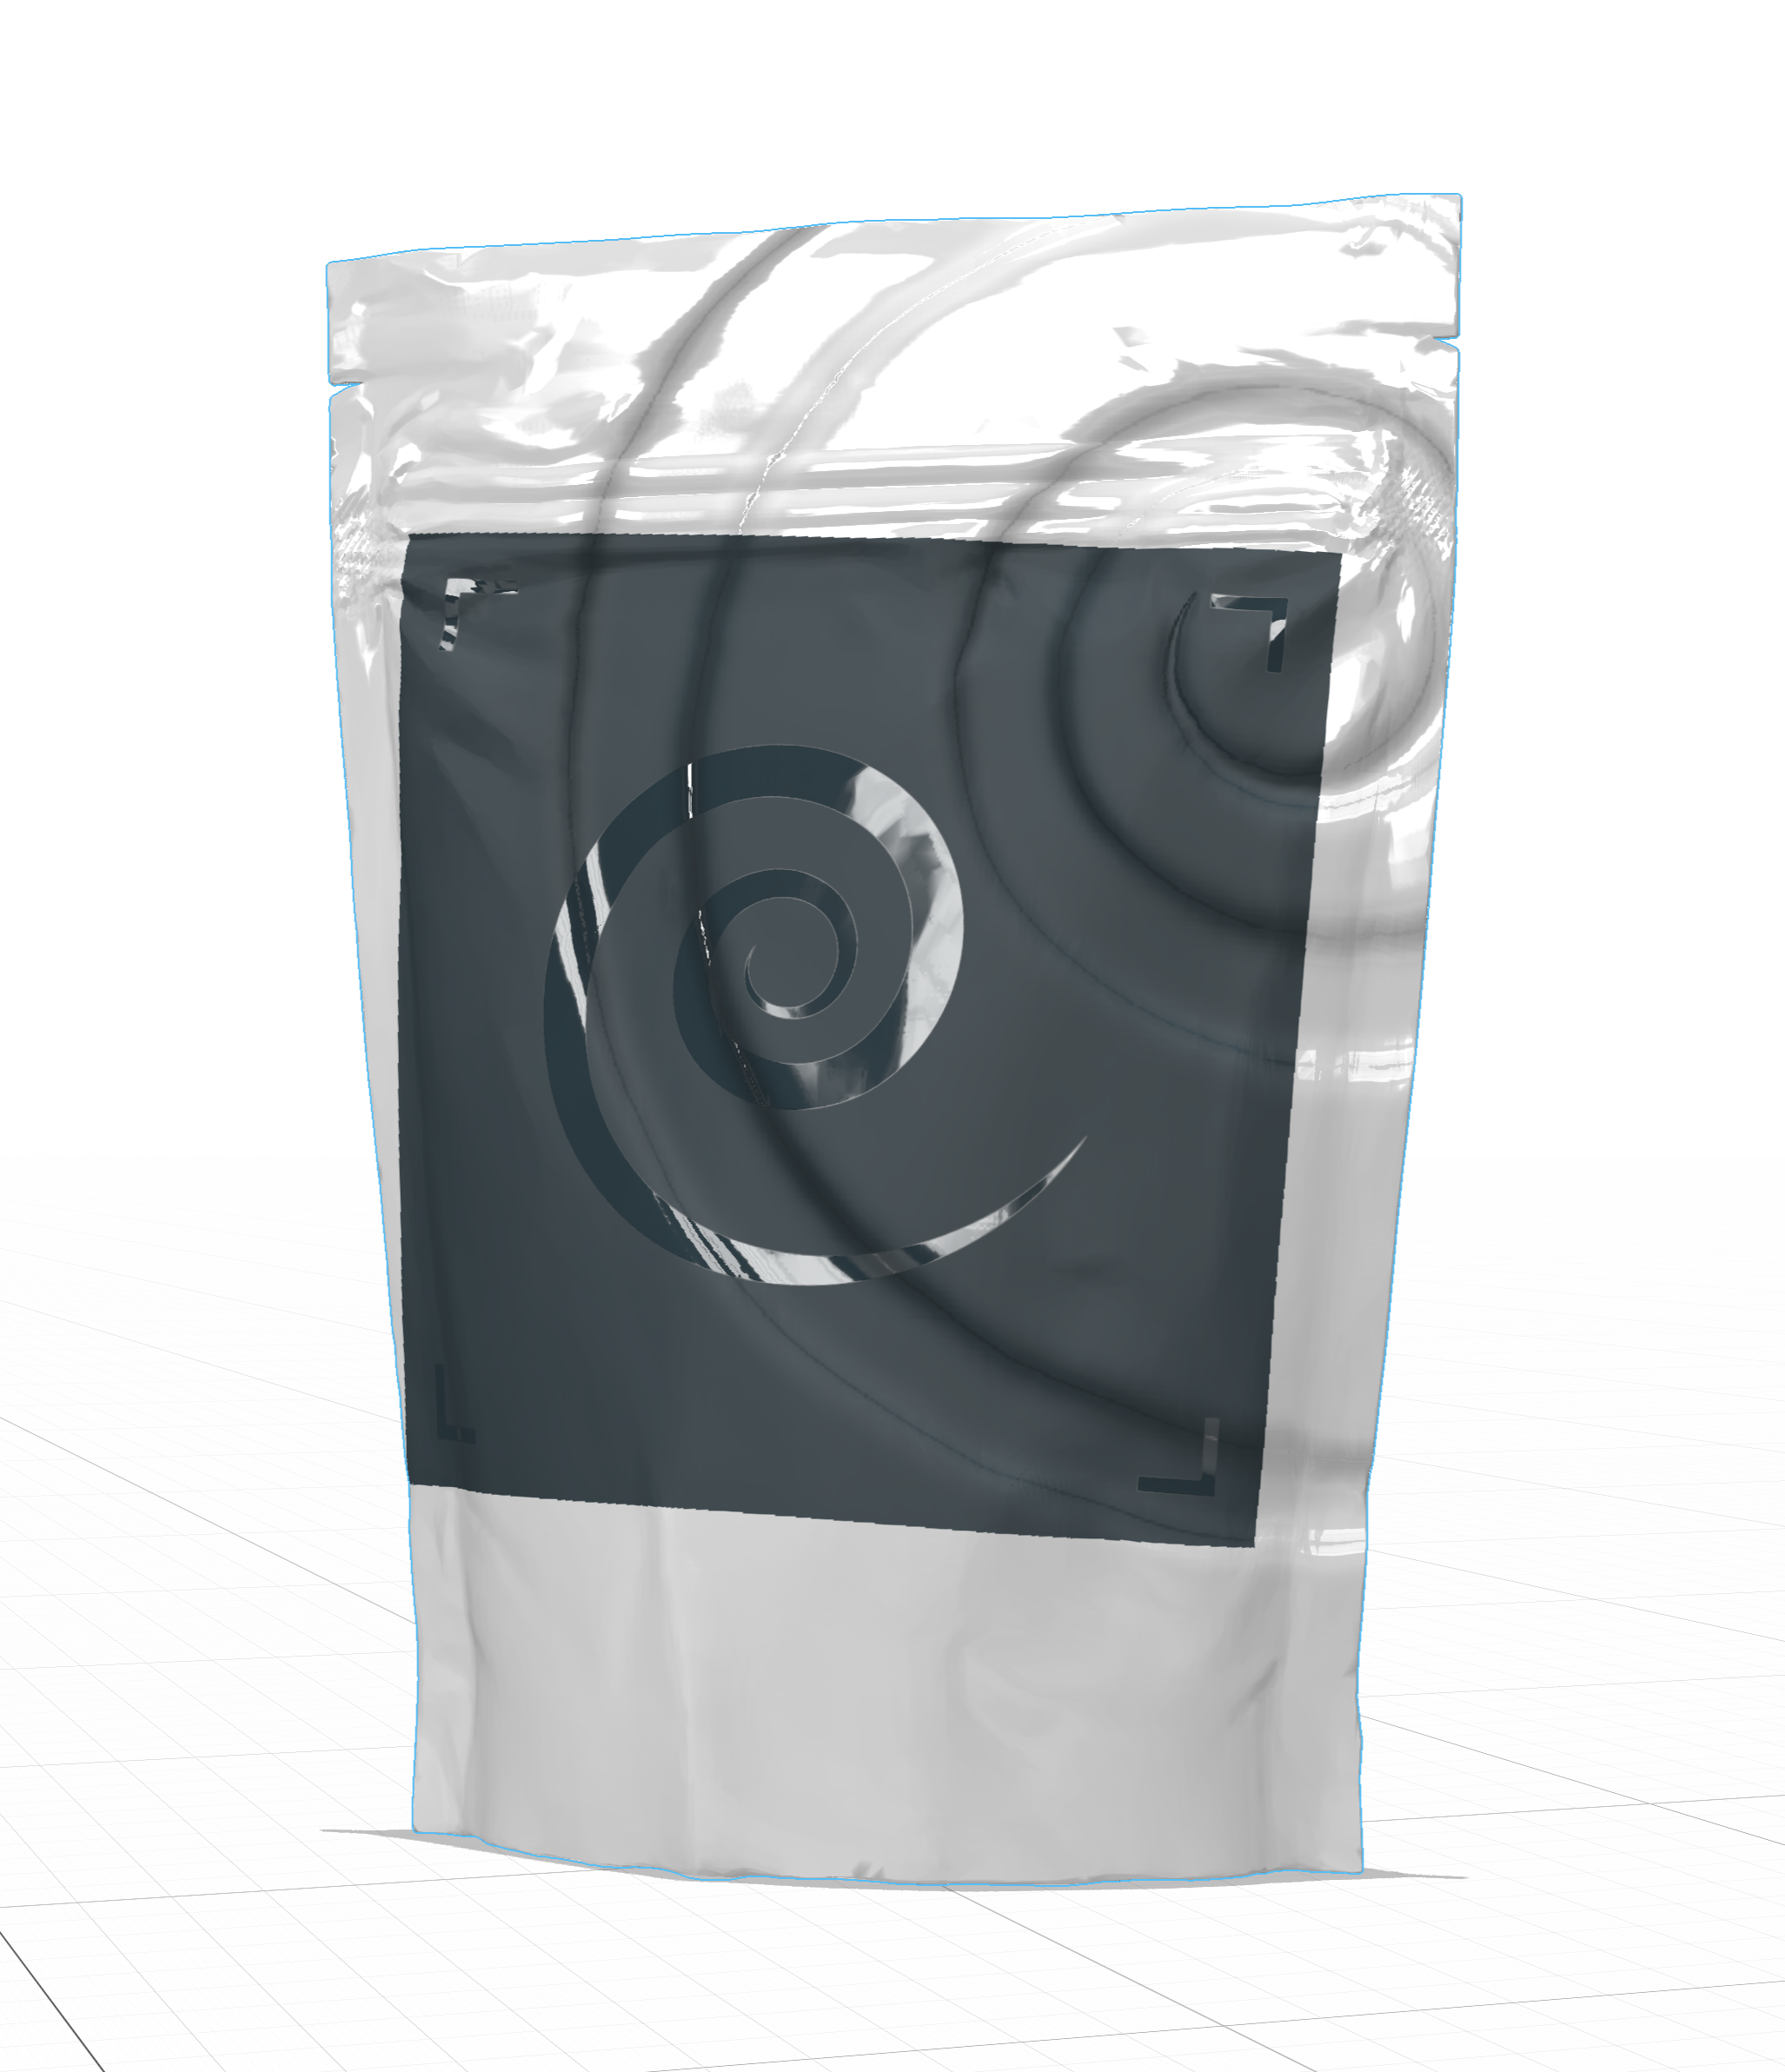
The normal map is loaded in the "bag material" and ends up too large on a random position, and I can't figure out a way to scale it down (and manually position it in place).
Any pointers on how to get this to work?
Ideally the normal map would also be another Illustrator artboard and not inside the "bag material", but I doubt it's currently possible. (I just like to keep things tidy and simple, but whatever workaround is needed I'll gladly embrace)
I've attached two screen captures showing the issue.
(My attempts to also attach the DN + AI files failed, no idea why?)
Thanks so much for any help! 🙂
SJ


 1 Correct answer

the real issue here is that you used Illustrator and that software is not designed for this roll... thats why it will stretch to any size and [in this case] you don't want it to
however what you want is possible if you are happy to work in Photoshop
have a look at this example [with vids] we worked on for another user
in the Photoshop workflow; you first make a sub sellection like I did for yours but then I export the new UV map to edit in Photoshop... allows exact [down to a single pixel] p
... 8
Replies
8
8
Replies
8
Copy link to clipboard
Copied
they don't line up because decal is different to fill... one is the whole model and the other is just that face
if you share the files I can adjust them for you
Copy link to clipboard
Copied
Hi Ussnorway,
thanks for your enlightening answer, fill vs decal makes perfect sense!
however, I don't see the option to change fill to decal in the default "bag material"?
(Tried switching to a box to be sure it's not the model used, and no luck there either)
And in any material I add to a model there's no option to add a "normal" channel.
Am I missing something?
This is just a test, the models used late on will all be packaging I designed, no default models.
So I also need to be sure the normal channel is available on imported custom objects.
Let me try to attach the file again, it didn't let me when I tried in my first post,
thanks!
SJ
Copy link to clipboard
Copied
Copy link to clipboard
Copied
Attaching files isn't working for me, here's a WeTranfser link instead (I hope this is allowed): https://wetransfer.com/downloads/155192dc87567e1e10a6753d5bbf18bd20210223140611/b8b5efc52ce01144593e...
Copy link to clipboard
Copied
Copy link to clipboard
Copied
Thanks so much for your help, and going through the trouble of adding a little video!
I figured tiling the normal map could possibly be used as a workaround to match the emboss effect up with a graphic, but it's far from ideal.
Ideally the entire design work is done elsewhere (Illustrator/Indesign) and simply imported to Dimension, and all would line up where intended. (Without having to move seperate elements around to essentially re-create the layout)
I was hoping for a solution where a normal map is loaded as a decal (without tiling), without the need to tile to scale things down. So is it safe to say such straight forward solution currently isn't possible?
I'll be tinkering around some more to see if I can come up with a solution that involves less guesswork and avoid tiling.
(And using a real life packaging design to scale, which may also avoid some technical issues I'm running into currently)
I'm coming from using 3D software for many years and it's great to see how dimension has dumbed down the work needed to come to a great looking render. (no overcrowding and overwhelmoing tech with bells and whistles most designers won't need)
But to me common effects related to packaging and print industry (such as embossing) are a big miss if not implemented in a simple straight forward way.
Thanks again!
Copy link to clipboard
Copied
the real issue here is that you used Illustrator and that software is not designed for this roll... thats why it will stretch to any size and [in this case] you don't want it to
however what you want is possible if you are happy to work in Photoshop
have a look at this example [with vids] we worked on for another user
in the Photoshop workflow; you first make a sub sellection like I did for yours but then I export the new UV map to edit in Photoshop... allows exact [down to a single pixel] placement of your decal \ normal maps
p.s, I'm not just tiling the normal map in your example because that would never work... what I did was made the normal and decal one material first which means they tile together
Copy link to clipboard
Copied
Thanks,
I'll have a look at this when I have a moment tommorow!
From quickly reading your message I think what you're suggesting aligns with how I would tackle a real life example, and the placement "issue" would not occur, since both the graphic layout as well as the normal map are (logically) the exact same size and placement.
And yes, I had noticed your workflow of combining the decal and normal into one material, which makes sense 👍🏼
I'll report back once I've had a chance to look into this,
thanks again!
 AdChoices