 Adobe Community
- Home
- Illustrator
- Discussions
- Hilfe beim Muster erstellen: Zick Zack im Zick Zac...
- Hilfe beim Muster erstellen: Zick Zack im Zick Zac...

Copy link to clipboard
Copied


 1 Correct answer

Alexandra, Hi.
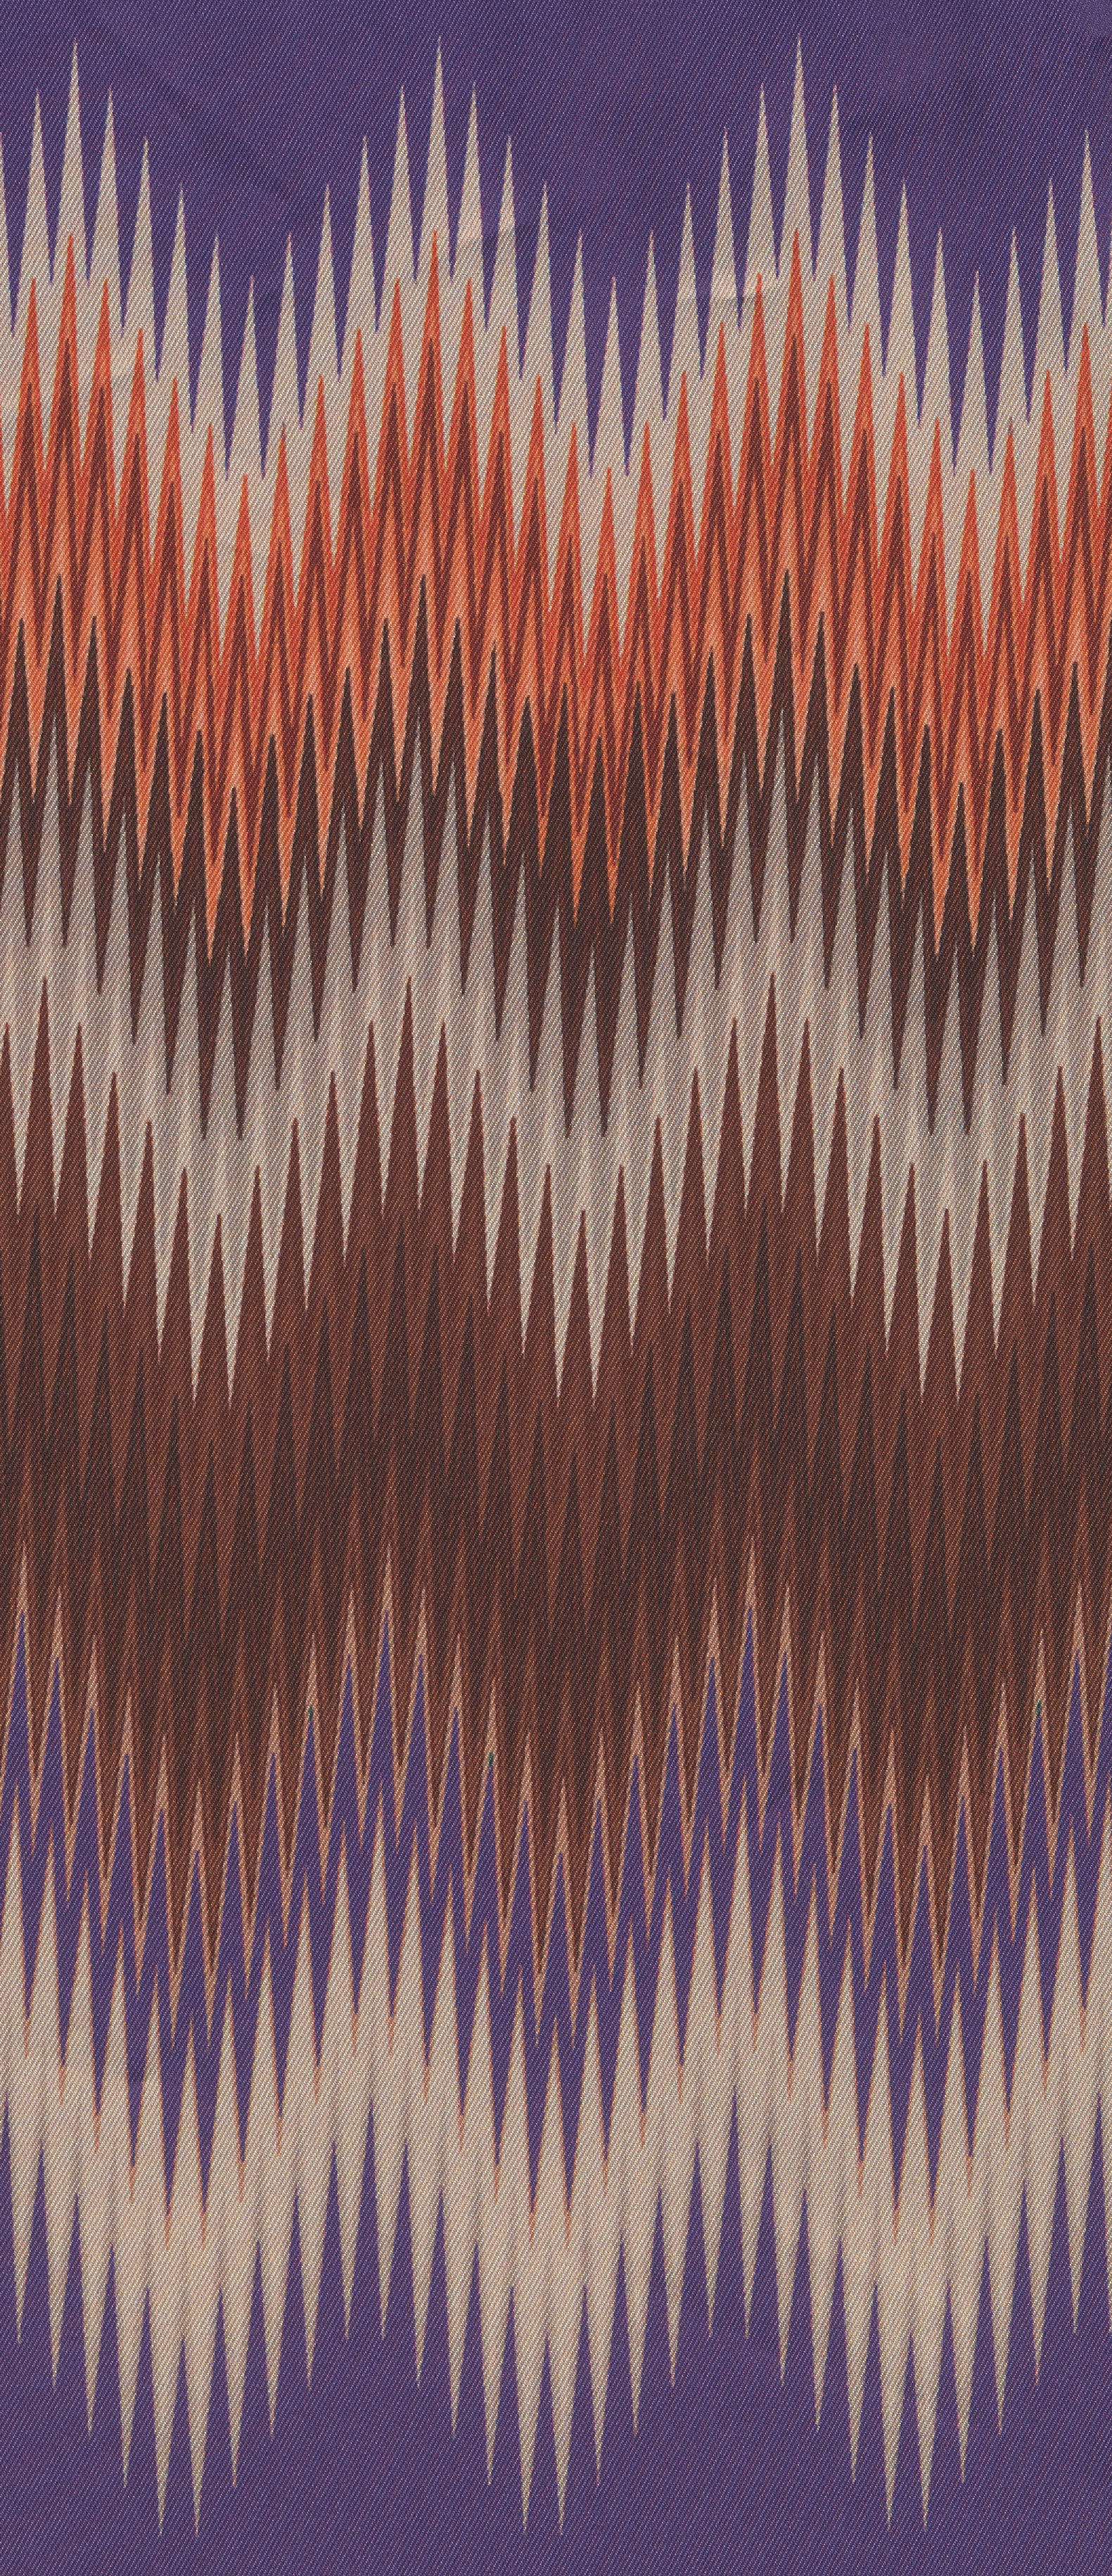
To recreate that Flame Stitch pattern, see image below. I random color as I work.
Pen Tool. Draw your shape.
Duplicate. Turn on Smart Guides and Snap to Point.
Manually Align, Path>Join. You now have one side.
Duplicate again, Flip, align, Join. Now you have both sides
Finally, Dup again, Align, Join.
Now you have one open path, seamless.
From there, play with Blend Steps.
Different colors, different stroke weights, different distances, etc.
K


Explore related tutorials & articles
 5
Replies
5
5
Replies
5

Copy link to clipboard
Copied
Hello Alexandra261099054y9e,
Thanks for reaching out. I would request you try the suggestions shared in these tutorials and check if it helps:
https://www.youtube.com/watch?v=iVzfc2ByUHA
https://www.youtube.com/watch?v=74i_w0pnpSE
Looking forward to your response.
Thanks,
Anubhav
Copy link to clipboard
Copied
Dear Anubhav,
thanks a lot for the suggestions... I have tried both.
To achieve the zigzag line itself is not the problem - to get the zigzag line in zigzag shape is something that doesn't work... and I don't have any other idea what tool I could use to get this done.
Maybe you have one?
Thanks a lot in advance, Alex

Copy link to clipboard
Copied
Alex,
You need to establish the basic zigzag shape giving the desired number of peaks in one half of a zigzag section and the desired height difference between peaks, and also the desired heights between adjacent peaks and valleys (the downward peaks).
If you wish to work with the zigzag you have created, such as the blue one, you can proceed as follows (always keep a backup of the original artwork), presuming the zigzag lines are expanded to be actual paths with Anchor Points at peaks and valleys (otherwise start by expanding):
If you only have the finished blue zigzag, otherwise see easiest way to start below:
You can recreate the relevant part of the original zigzag line after locking the blue zigzag and starting at the upper peaks/valleys:
1) With the Pen Tool, Click on top of the Anchor Point at one of the blue peaks corresponding to a bottom peak (Smart Guides say anchor when you are within snapping distance), then Click the Anchor Point at the next blue valley to the right, then continue until you have selected all the peaks corresponding to the half section between a bottom peak and the next top peak (for a zigzag corresponding to the white zigzag in the cloth sample this would be 6 peaks and 5 valleys in between;
2) Move a copy of the new zigzag line vertically downwards to snap to the corresponding lower peaks/valleys;
Now you have the basis for one half zigzag section; you can now:
3) Select both zigzag lines, then switch to the Shear Tool, then Click the top left Anchor Point to make it the reference, then ShiftClickDrag the top right Anchor Point upwards until you have the desired zigzag shape height between peaks;
You can now create a whole zigzag section, still with the two zigzag lines selected:
4) Ctrl/Cmd+C to create a copy set, then ShiftClickDrag the copy by the top left Anchor Point to the right to snap to the top right Anchor Point of the original set;
5) Join the coinciding Anchor Points of both the top and bottom zigzag lines.
Now you have one section, and you can create the whole zigzag artwork from that.
Easiest way if applicable, as alternative to 1) and 2) above:
If you still have the pair of original zigzag lines forming the blue zigzag, you can just start from (a copy of) them and cut out the half section of both instead of 1) and 2), and then continue with 3).
If you only have one original zigzag line, you can cut the section of that and then move a copy of it down as in 2).
You can also create the first section in other ways.
One is to start completely over with a desired basic zigzag shape (height difference between bottom and top peaks), along with a desired height of the section or with a desired height difference between the top peak and the adjacent valleys or similar.
Edit: Addition of alternative easiest way to start if you still have the original zigzag line.

Copy link to clipboard
Copied
Ich verstehe nicht ganz, wo das Problem liegt.
Könntest Du bitte genau beschreiben, was Du haben willst und wo es hakt. Vielleicht hilöft es auch, wenn Du die AI-Datei auf einen Server legst und hier einen Link postest. Dropbox, Creative Cloud, Google Drive ...
Copy link to clipboard
Copied
Alexandra, Hi.
To recreate that Flame Stitch pattern, see image below. I random color as I work.
Pen Tool. Draw your shape.
Duplicate. Turn on Smart Guides and Snap to Point.
Manually Align, Path>Join. You now have one side.
Duplicate again, Flip, align, Join. Now you have both sides
Finally, Dup again, Align, Join.
Now you have one open path, seamless.
From there, play with Blend Steps.
Different colors, different stroke weights, different distances, etc.
K

 AdChoices