 Adobe Community
- Home
- Illustrator
- Discussions
- Filling in traced image with colour
- Filling in traced image with colour
Filling in traced image with colour
Copy link to clipboard
Copied
Hi,
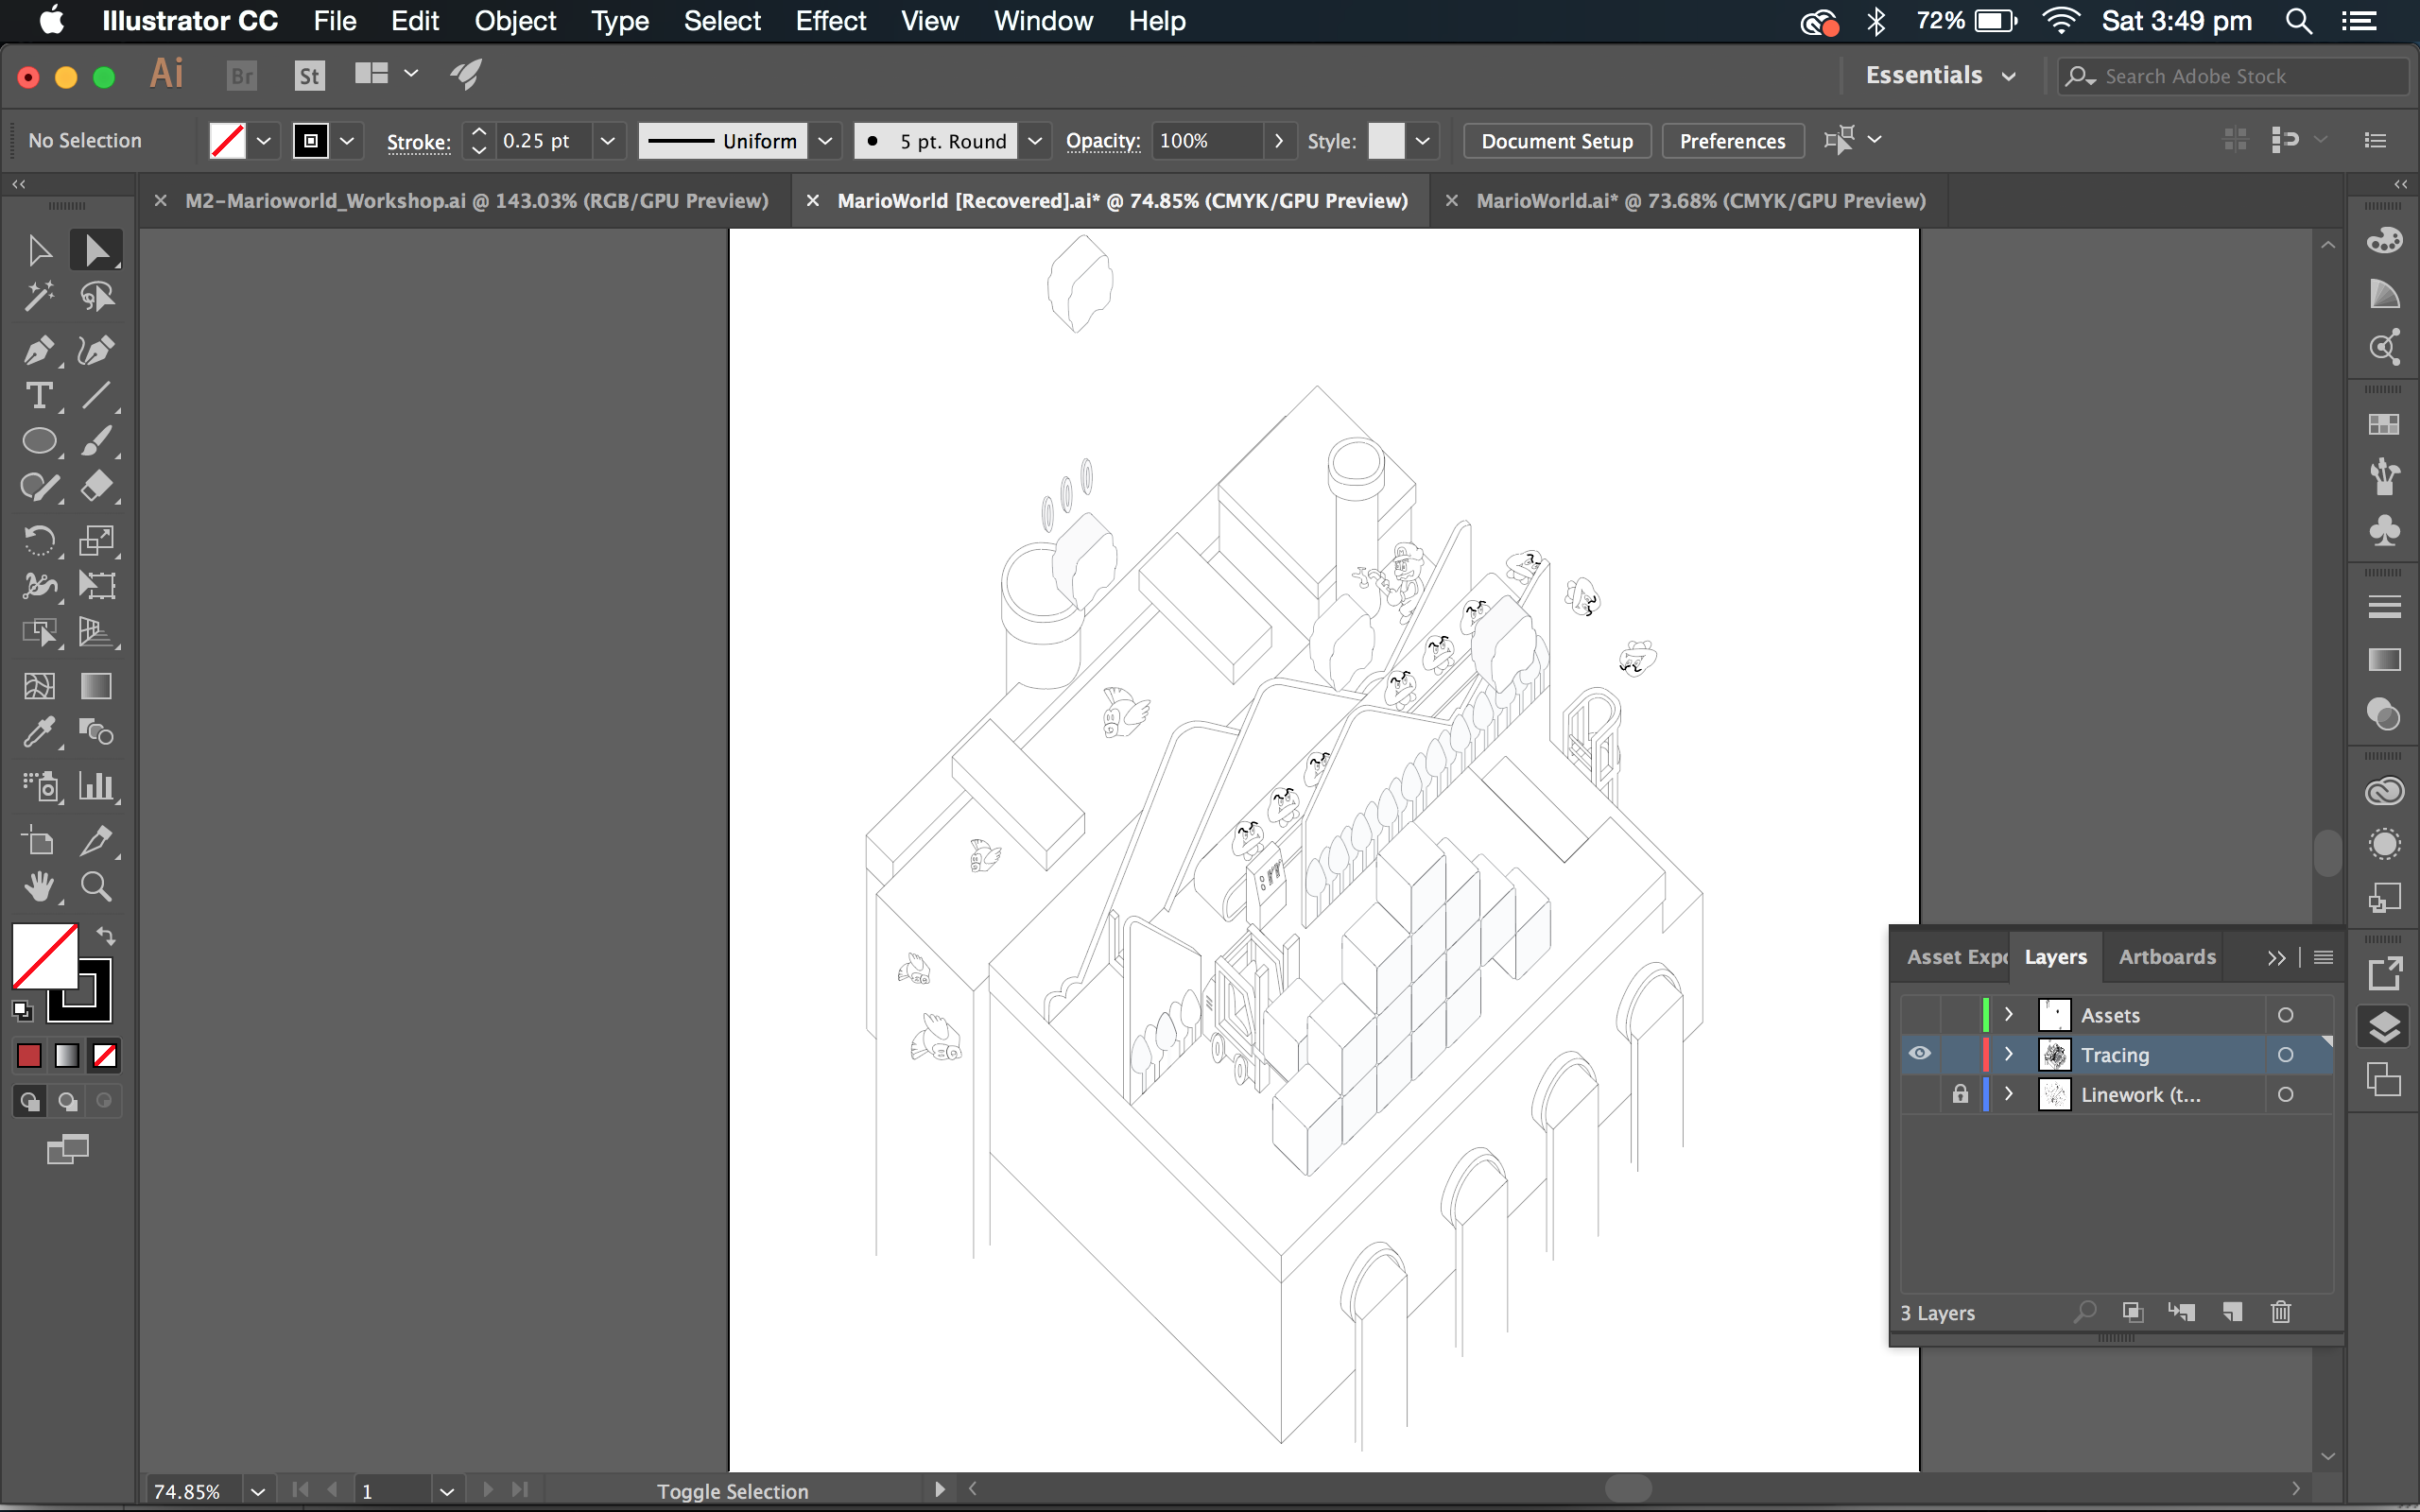
I am a university student and I just started using Adobe Illustrator for a design project. My skills are obviously very limited. I have traced over hand drawing with the pen tool, and now I am having trouble filling in the shapes that I have made with colour. How do I go about this?
I have tried using the live paint tool but had no success. Any help would be greatly appreciated.

Explore related tutorials & articles
Copy link to clipboard
Copied
select all and then use live paint tool. If that doesn't work, please describe in detail what happens.
Copy link to clipboard
Copied
@Monika Gause: No that didn't work, it seems that live paint doesn't recognise some of the shapes I've made.
I did find a fix however for anyone who has the same problem. First you press control A, then go to the objects tab > live paint > make. Then you go object tab > live paint > expand and this should make everything paintable with the live paint tool.
After you do this you can't edit any of the paths so be careful.
Copy link to clipboard
Copied
did you find the solution ?
Copy link to clipboard
Copied
In order for the Live Paint tool to fill an area with color, the shape must look like it is a closed shape. Some of the bottom edges of your drawing are open shapes. What you can do is close those edges. Double-click on the Live Paint tool in the Tools panel and select Paint Strokes. When the Live Paint tool is over a stroke, the icon turns to a paint brush and you can paint the lower edges of your shapes to match the fill color or the paper color or whatever you want. That way it will appear to not be a closed shape, even though it is.
If the shapes you are trying to fill look like closed shapes and they are still not filling with a color, it may be because there is an opening or gap in the area. If you select the drawing and choose Object > Live Paint > Gap Options, you can choose the maximum size of the gap and the Live Paint tool will treat the area as if it was closed and as if it didn't have a gap.

