 Adobe Community
- Home
- Illustrator
- Discussions
- PATTERN MODULE - From Illustrator to Photoshop
- PATTERN MODULE - From Illustrator to Photoshop

Copy link to clipboard
Copied
Hello everyone.
The question is:
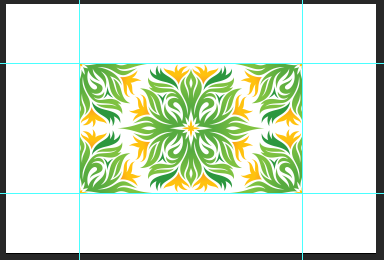
Is possible cut the module of a pattern created in illustrator and take it to photoshop so that is repeated seamlessly ?


 1 Correct answer

A slightly shorter way:
1 Drag the Pattern swatch from the Swatches Panel to the Artboard.
2 In the Layers Panel you see the Pattern as a group, select only the path at the bottom of the group.
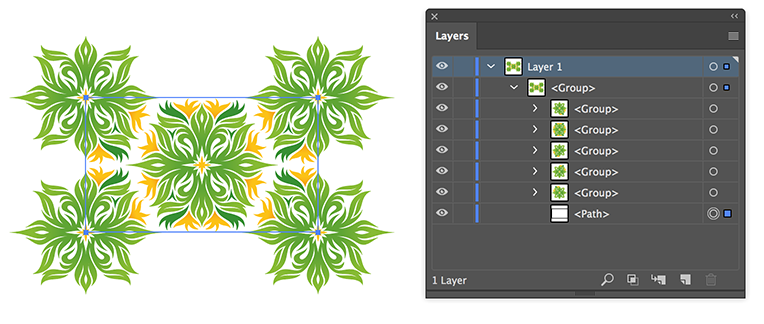
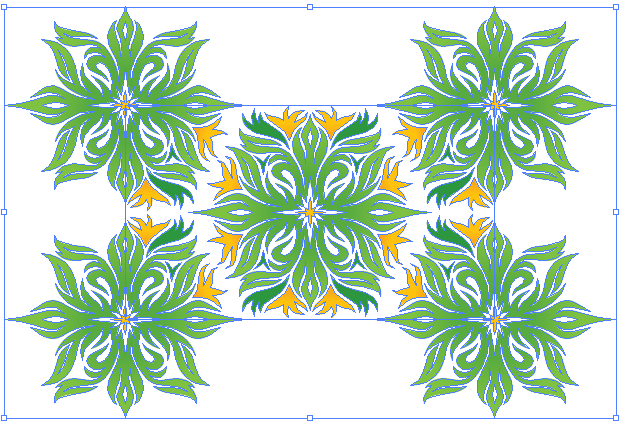
3 Select: Object > Artboards > Fit to Selected Art.
4 Save the ai document and choose Open… (or Open As Smart Object…) in Photoshop.
5 Select All and choose Edit > Define Pattern
Explore related tutorials & articles
 13
Replies
13
13
Replies
13

Copy link to clipboard
Copied
Hi Mattia,
I would suggest you to refer Can I transfer a custom made pattern from Illustrator to Photoshop?
Hope that helps!
Regards,
Twarita

Copy link to clipboard
Copied
This is a way to do that:
- In Illustrator, drag the pattern from the Swatches panel onto the pasteboard.
- Each pattern has a rectangle behind it with no fill and no stroke, which defines the pattern tile. You can see it more easily if you View > Outline.

- Select the rectangle with the Group Selection tool. Copy it.
- Select the whole pattern and Edit > Paste in Front.
- Fill the top rectangle with white.

- Select the white rectangle and the whole pattern.
- In the Transparency panel, click Make Mask.
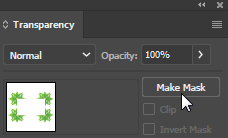
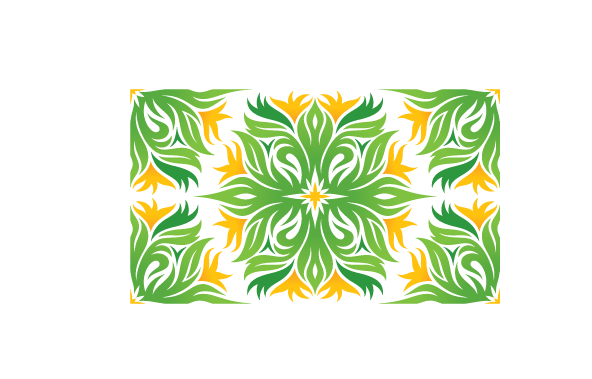
- Now you will see just the area of the pattern tile. These steps are so that you can identify the area of the tile when you get it into Photoshop.
- Select the all and copy it.
- Switch to Photoshop, create a new document, and paste the pattern into the new document.

- It will be easier if you add ruler guides at the edges of the pattern tile. (View > Show Rulers). Use the Move tool to drag guides out of the rulers to the edges of the tile. It will help with accuracy to zoom in.
- Turn on View > Snap To > Snap to Guides.
- Use the Rectangular Marquee tool to draw a rectangle around the tile.

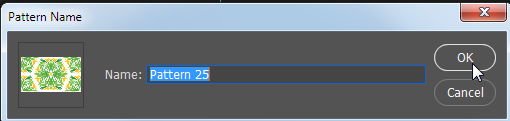
- Then choose Edit > Define Pattern. Name it and click OK>
- You can now use the pattern to Edit > Fill any area.

Copy link to clipboard
Copied
It works all properly, until i paste the pattern tile in photoshop.
It gives me delicate edges.

And this hampers seamlessly !
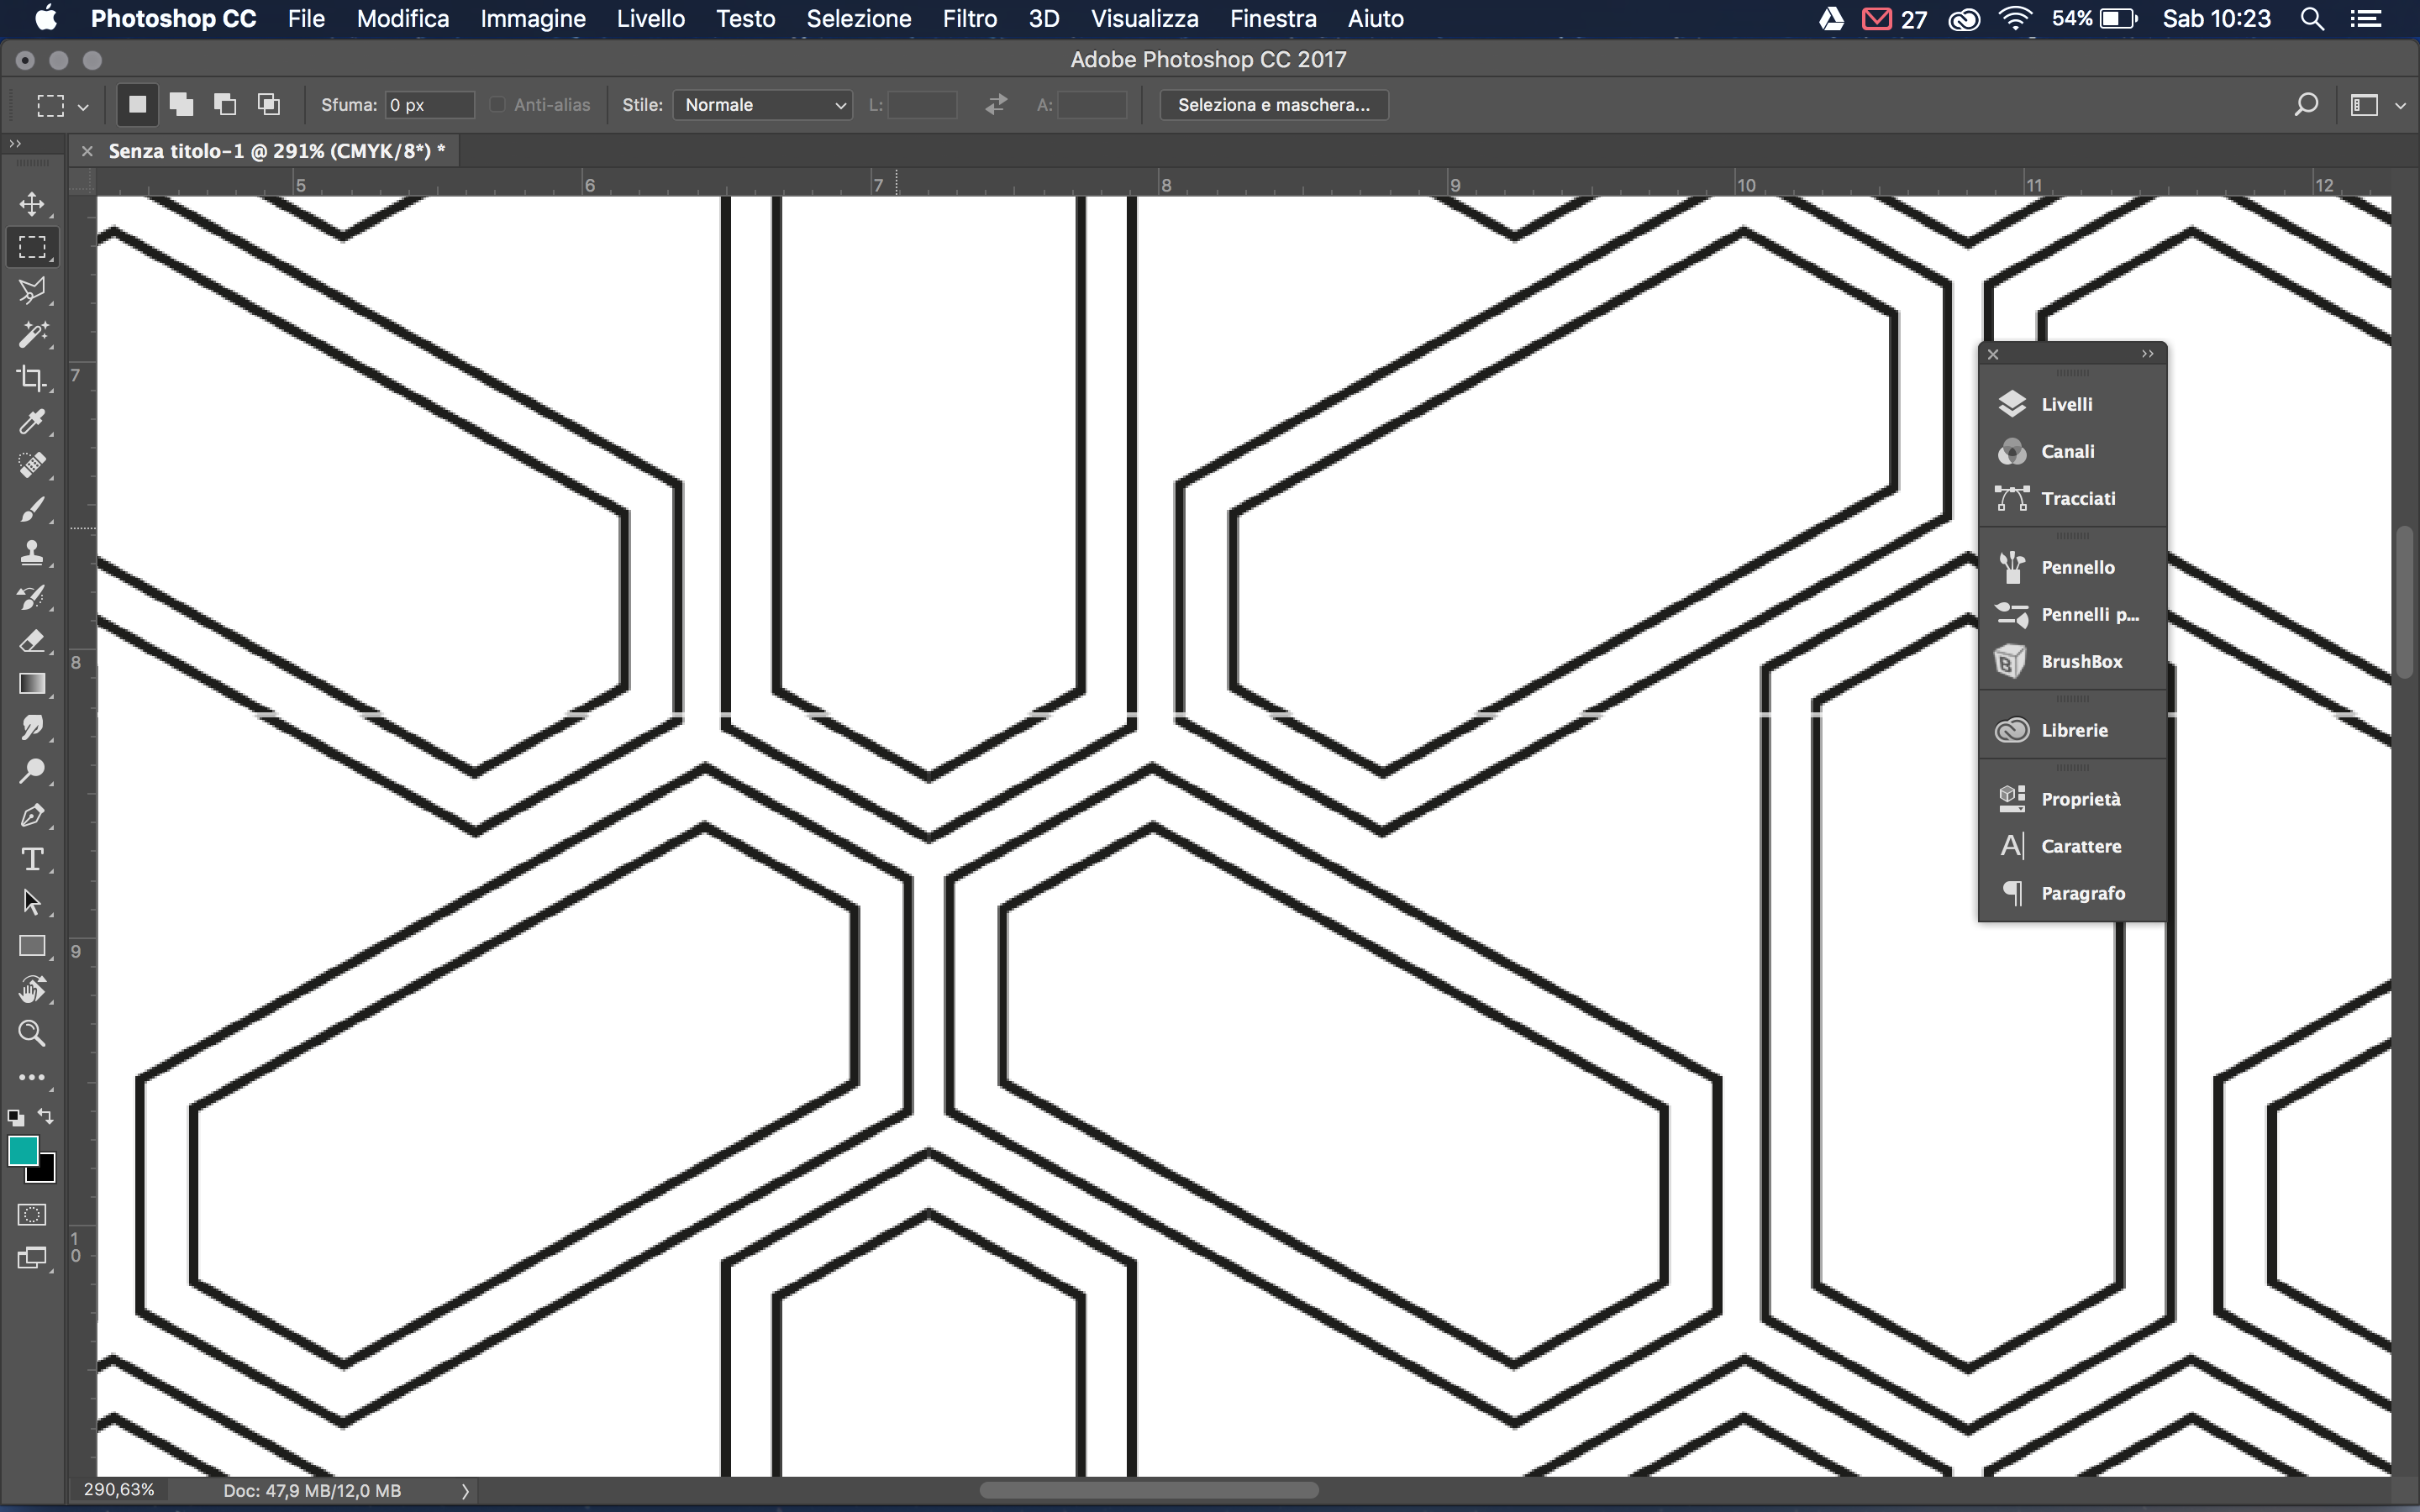
where did i go wrong ?
Copy link to clipboard
Copied
That is the result of anti-aliasing.
Make sure that the dimensions of the pattern tile don't contain fractional pixels.
If the pixel dimensions contain fractions, the rasterized result will be rounded up or down to a pixel and may cause the effect you see.
Copy link to clipboard
Copied
Tku Ton Frederiks, but how do i make sure of it?
Copy link to clipboard
Copied
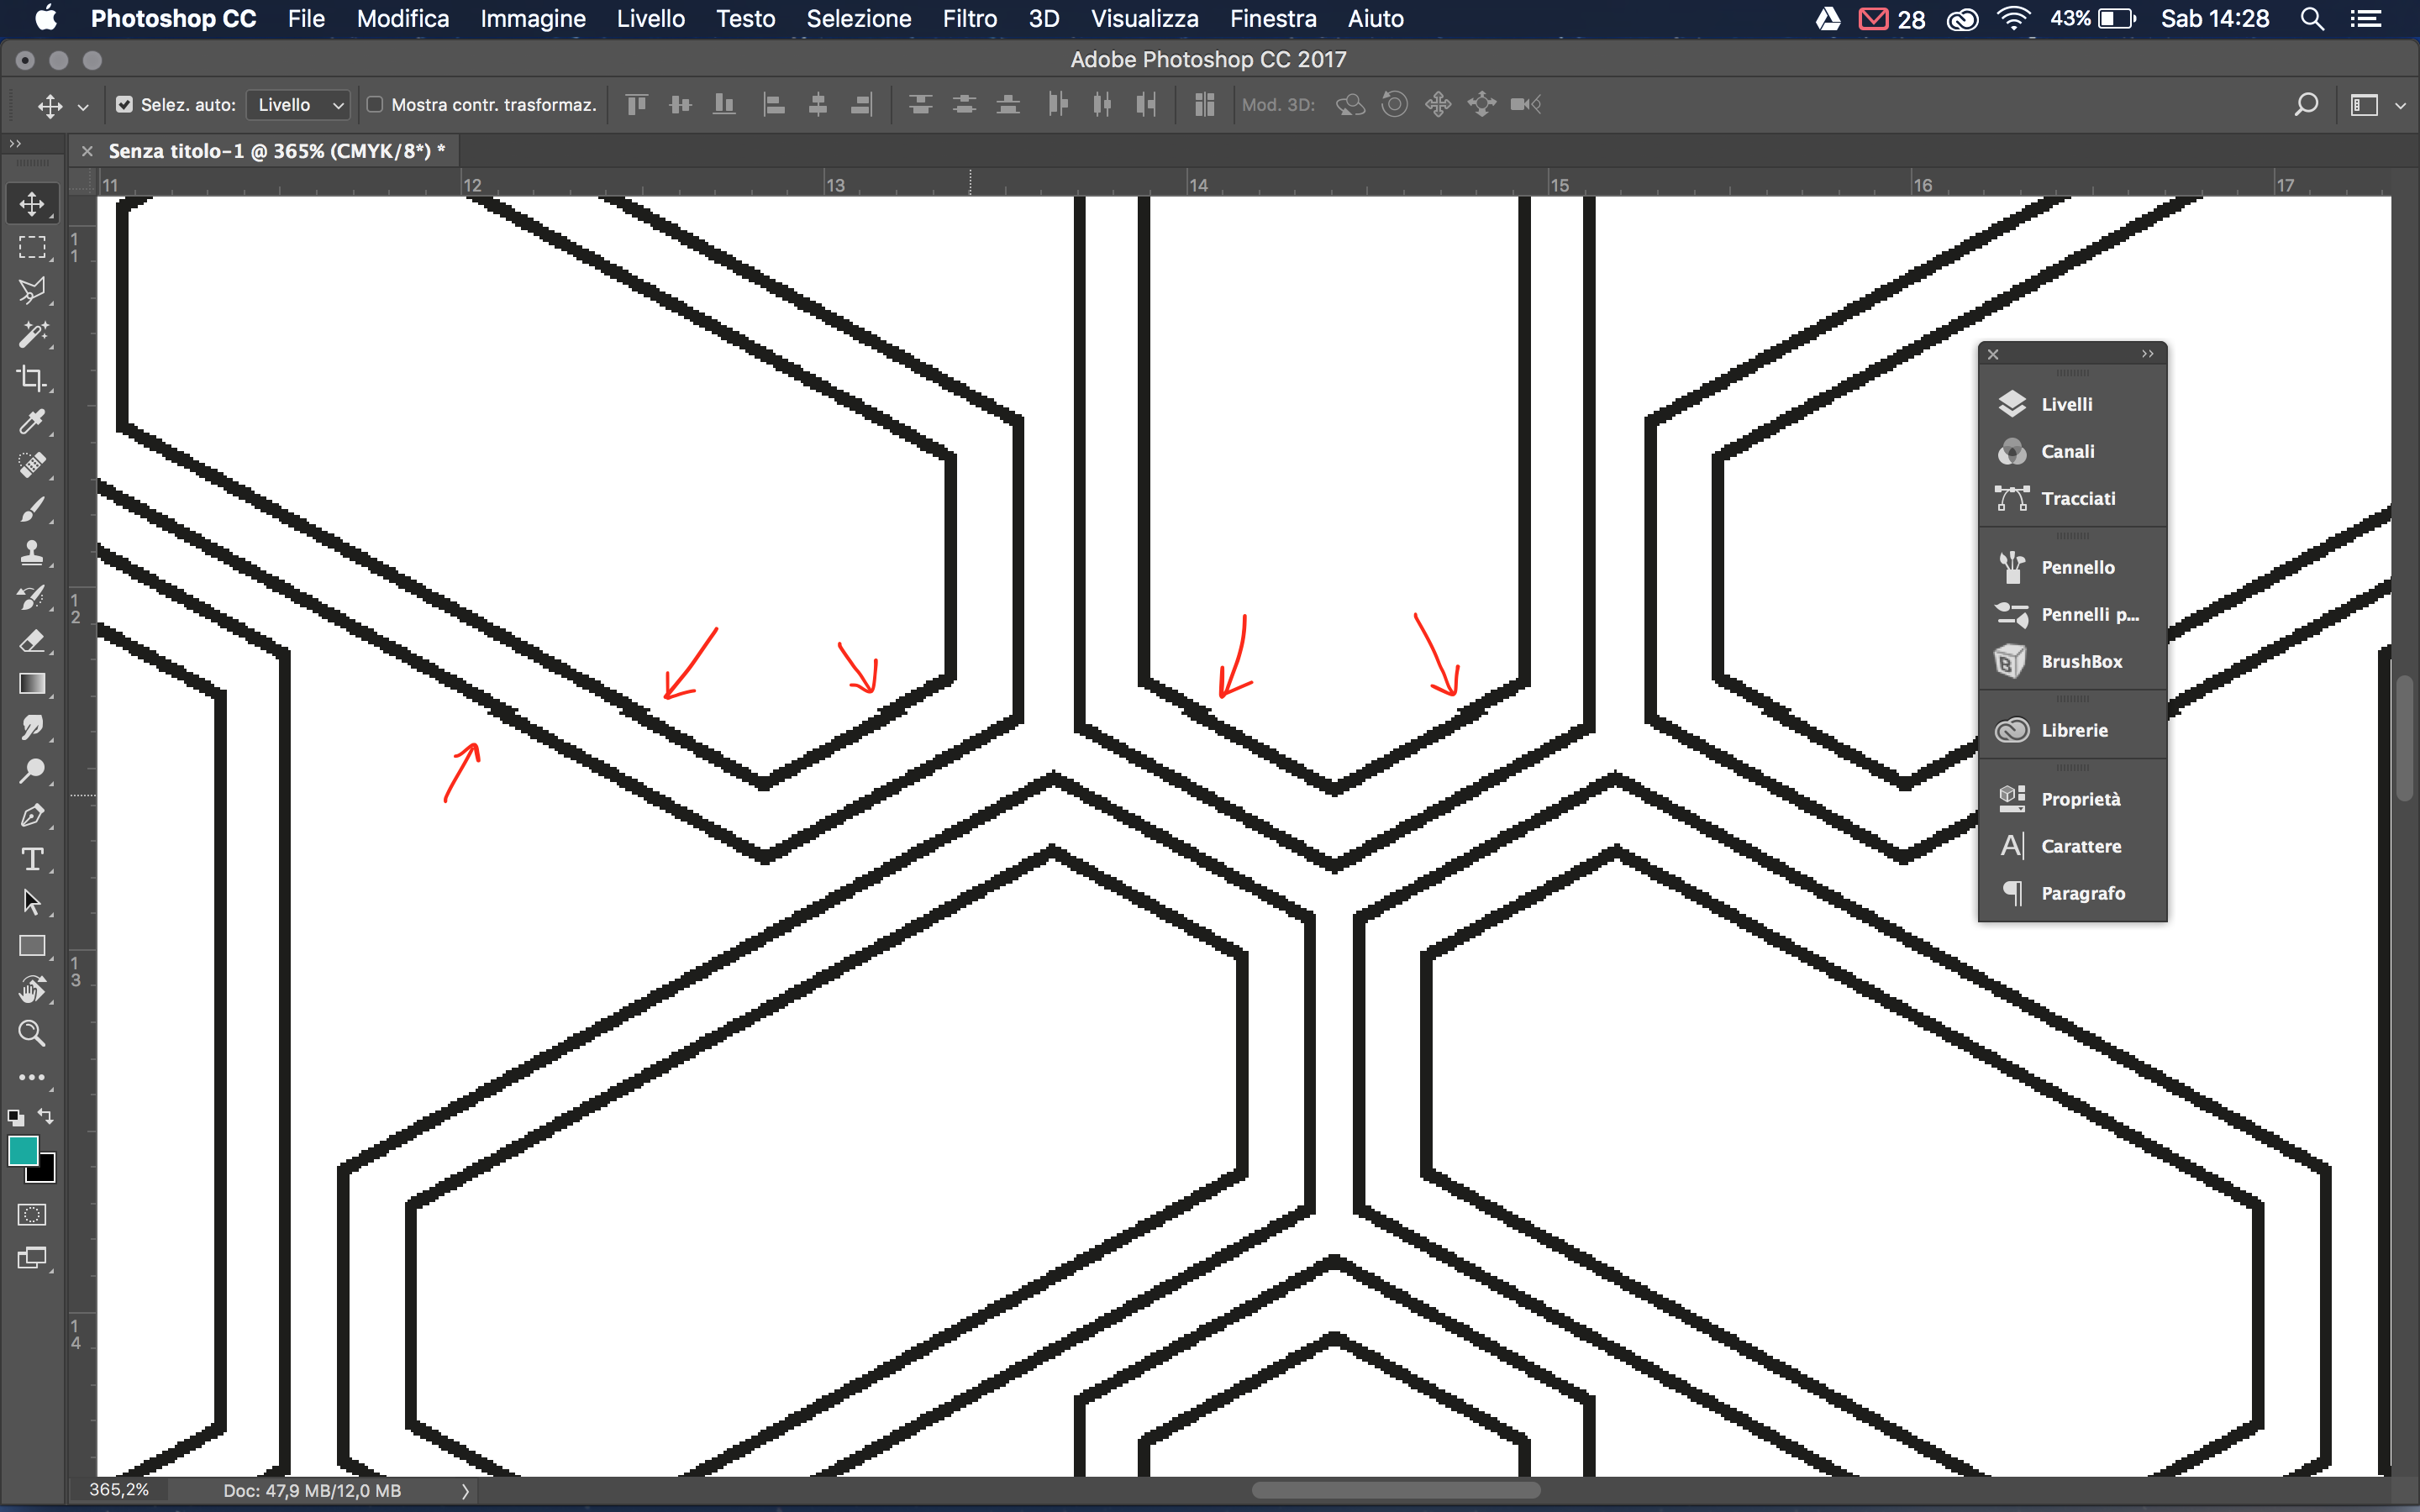
Ok Ton Frederiks i fixed the anti-aliasing problem 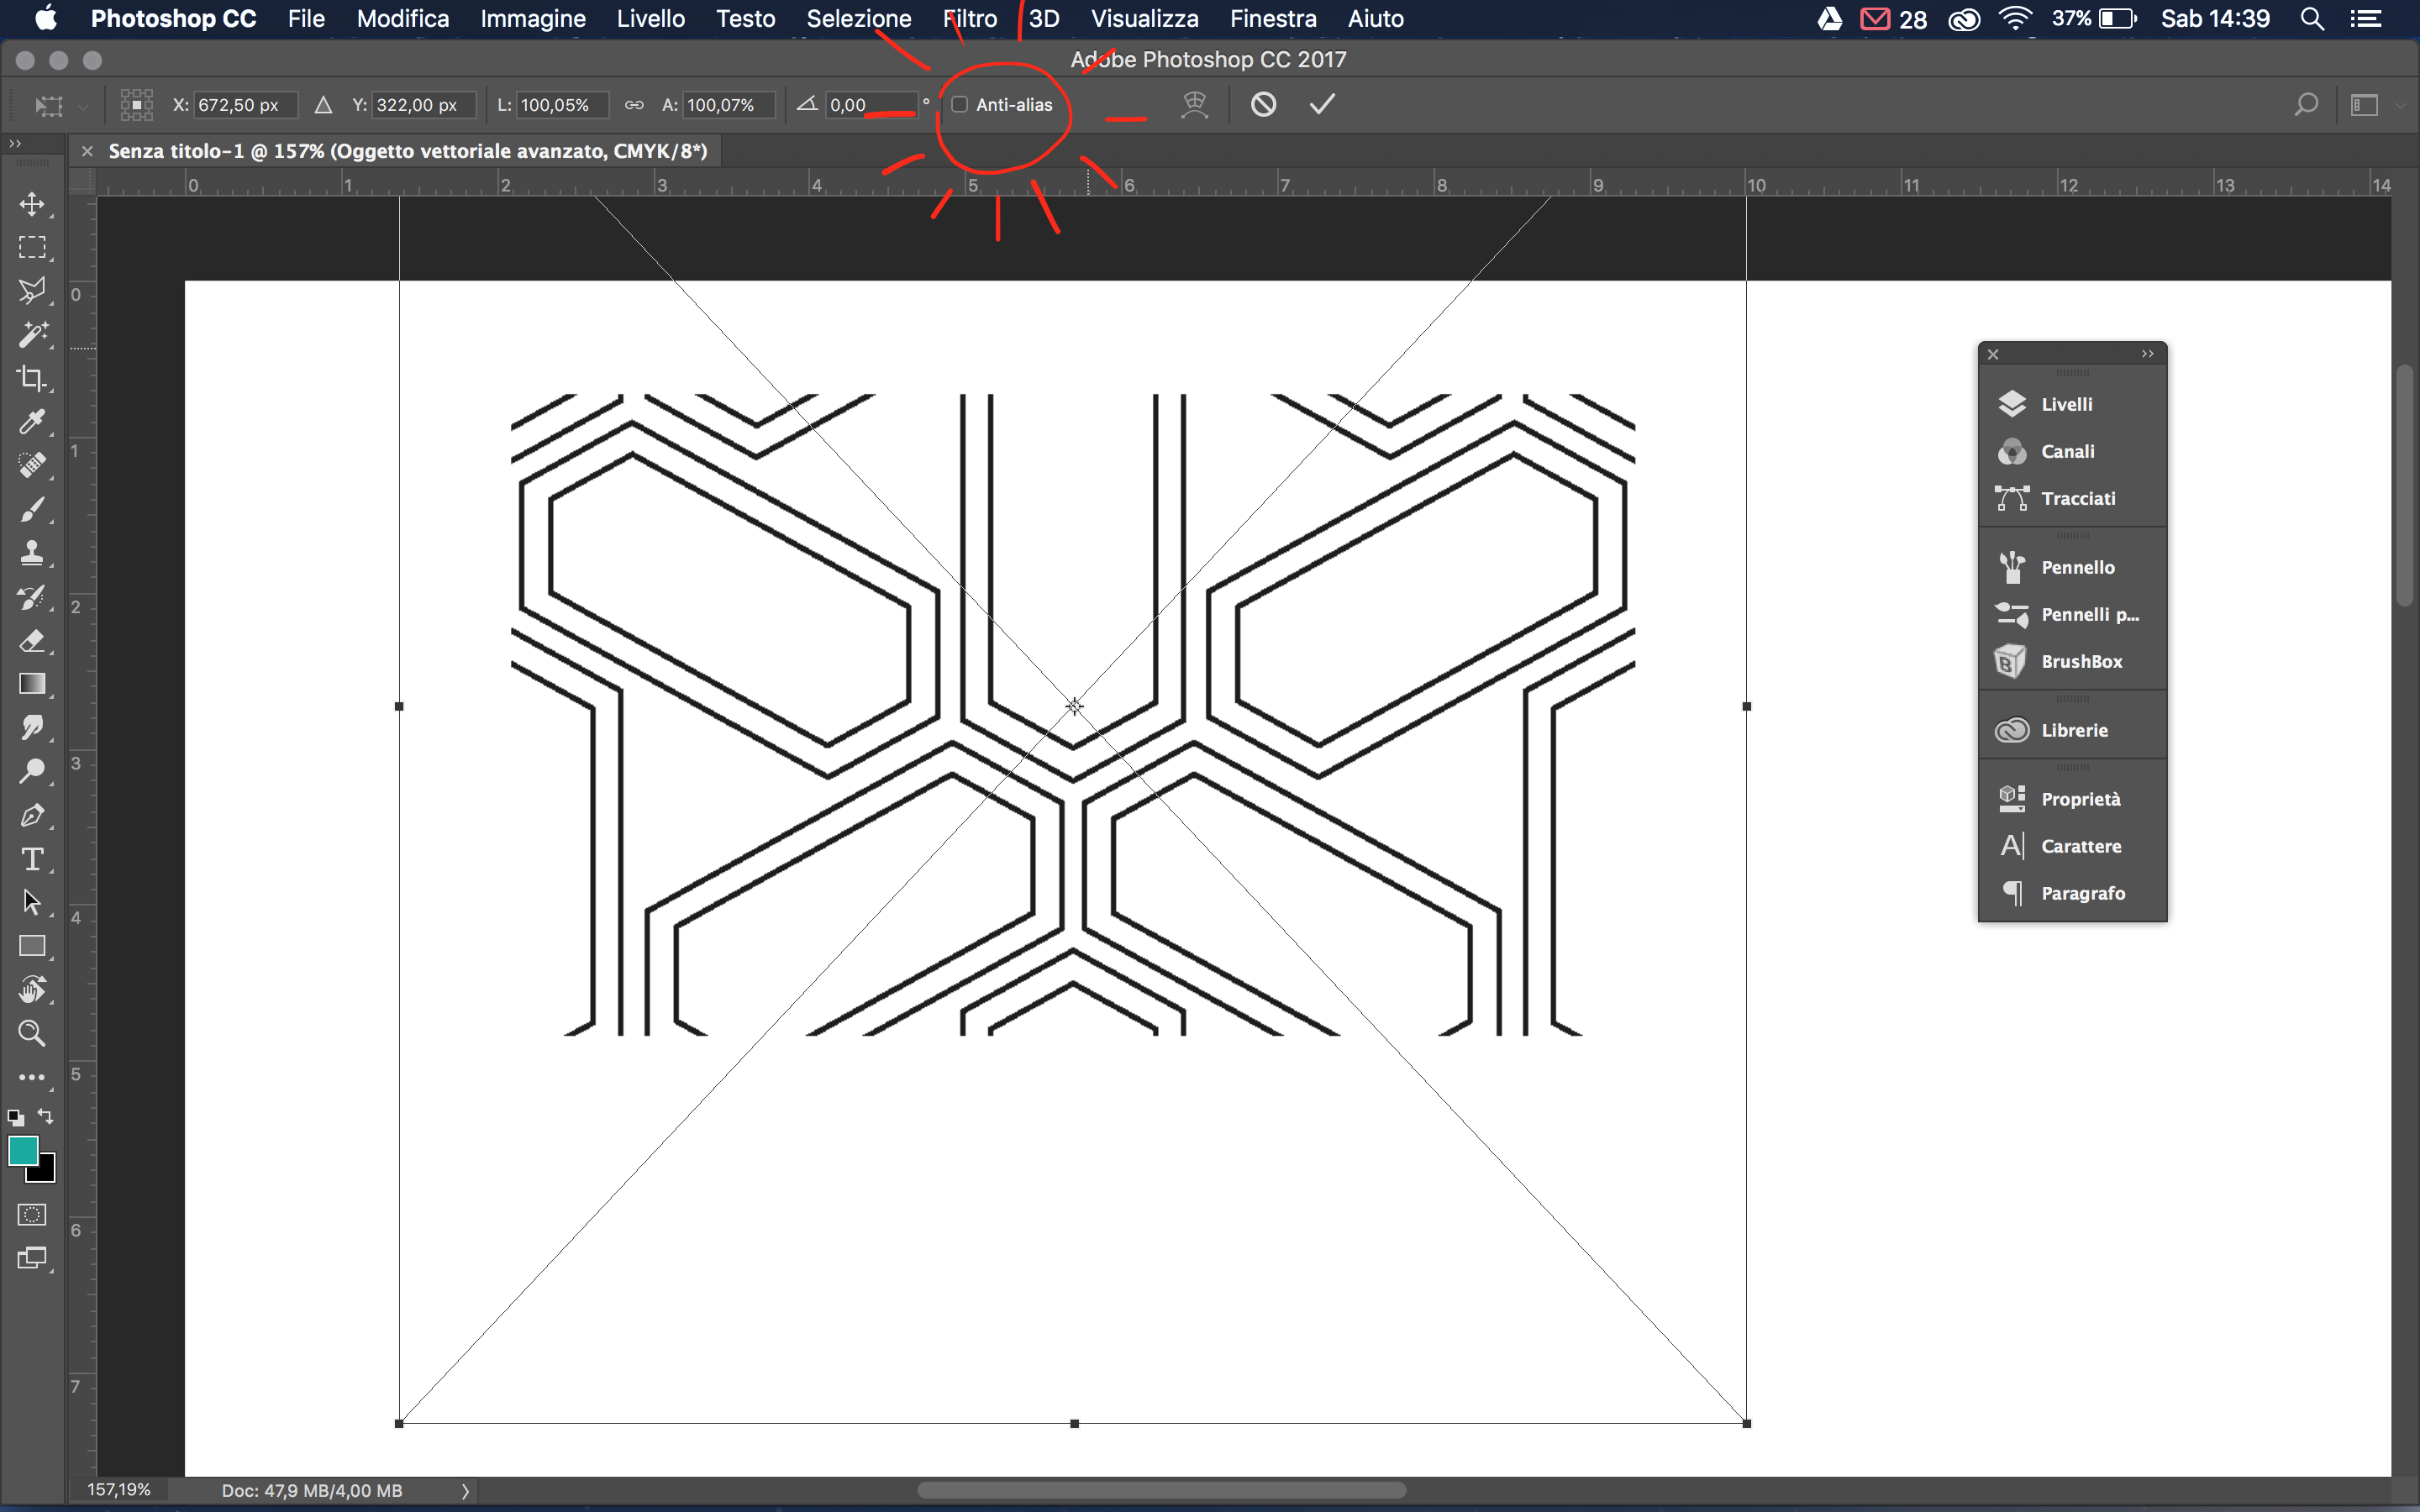
but after the rectangular marquee tool to draw a rectangle around the tile,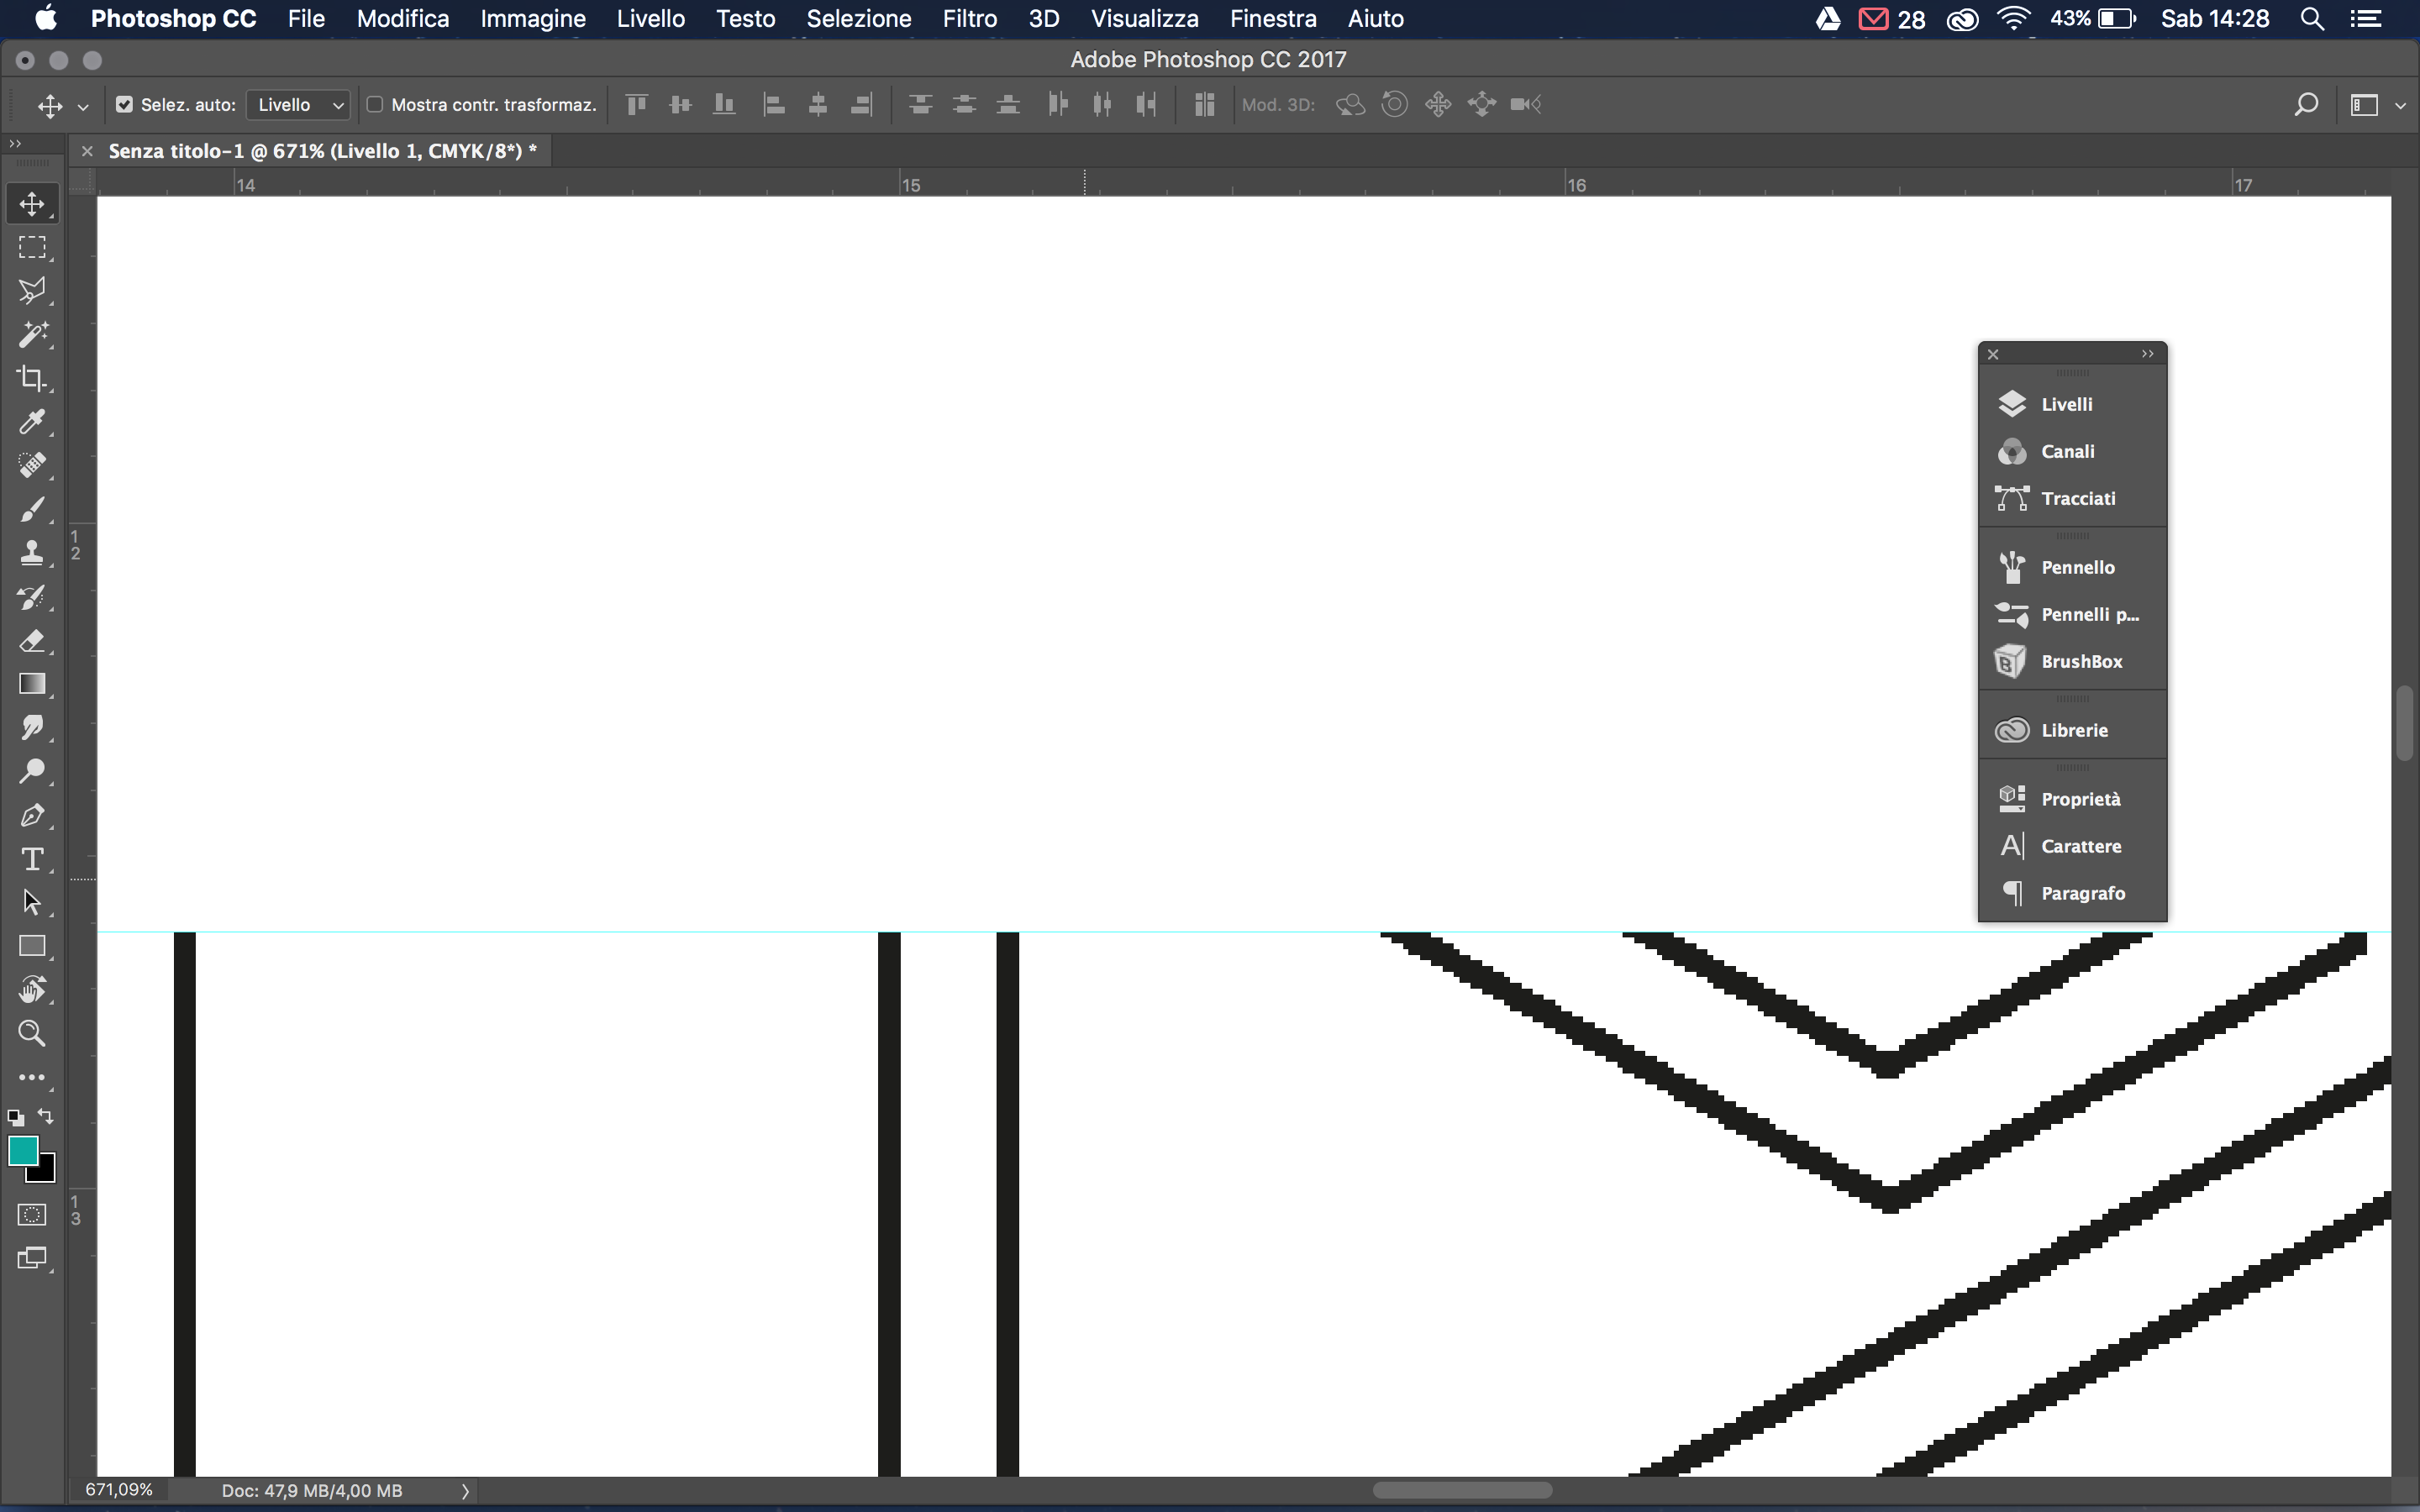
i go to define the pattern, but the result is still wrong 
Copy link to clipboard
Copied
Fixing the problem after the pattern has been created is difficult.
It is better to start working in pixels and define a pattern size that does not contain fractions:

After that, drag the created pattern to the artboard and select the background rectangle to define the Artboard size using Artboards > Fit to Selected Art.
Double click the upper left intersection of the Rulers to set the 0 point at the upper left corner of the Artboard.
Save the file and open it in Photoshop at 72 ppi or multiples of 72 and it should look like this:

Copy link to clipboard
Copied
I presume its actually better to set it to points, since thats is Illustrator back-end unit. round it to pixels will still show white tiling due to anti-aliasing. Perhaps it does work if you place the pattern at 100%. As soon as you start to scale the pattern, you'll again will end up with decimal values. I guess that is the issue here.
Wish this was fixed. This is the main issue i never liked patterns. Very tedious to get rid of this problem.
I trick could be feathered mask settings so it blurs at the edges
Copy link to clipboard
Copied
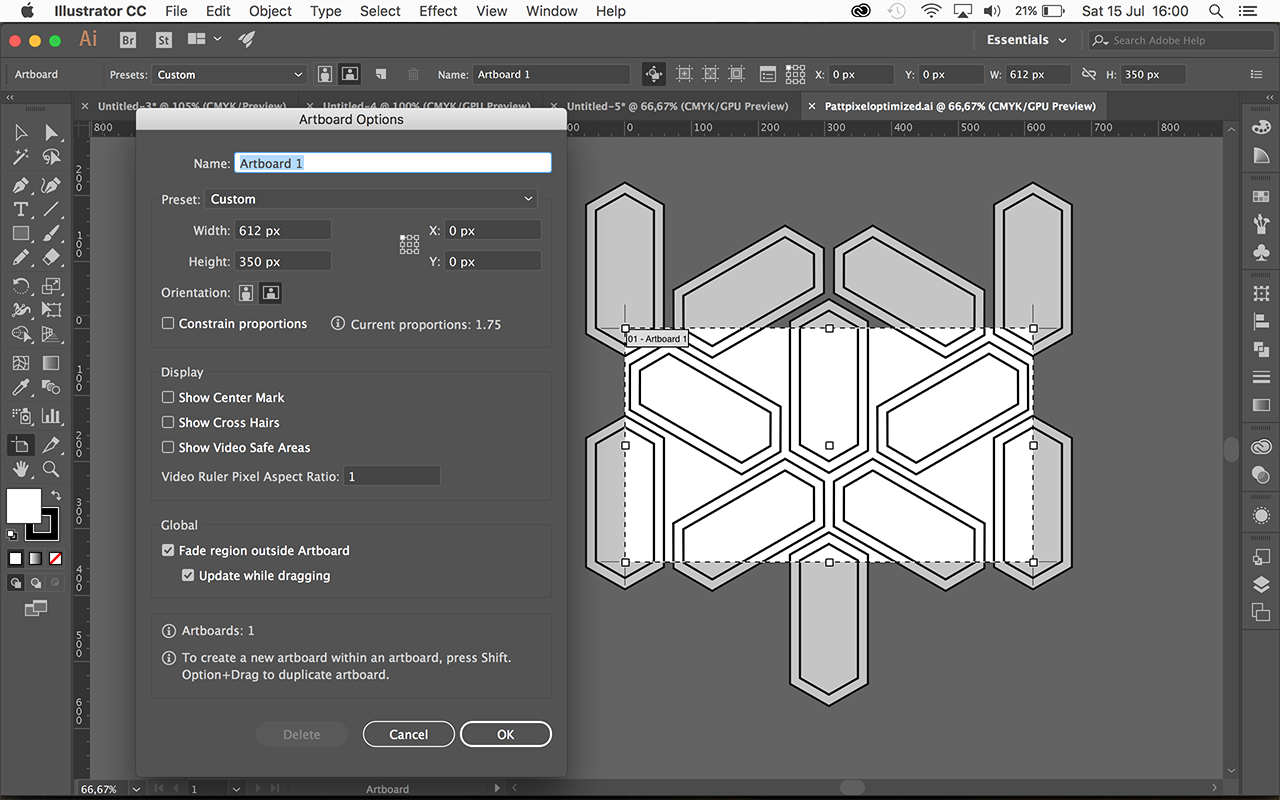
The tricky part is getting the exact size of the pattern tile. I'm revising my instructions to make it a little easier.
- In Illustrator, drag the pattern from the Swatches panel onto the pasteboard.

- Each pattern has a rectangle behind it with no fill and no stroke, which defines the pattern tile. You can see it more easily if you View > Outline.

- Select the rectangle with the Group Selection tool. Copy it.
- Select the whole pattern and Edit > Paste in Front.
- Fill the top rectangle with white, NO STROKE.
- Note the exact size, height and width, of the white rectangle. You can see the dimensions in either the Control panel or the Transform panel when the rectangle is selected.
- Select the Artboard tool.

- Zoom in for accuracy, and resize the artboard to the exact size of the white rectangle. You can manually resize or you can type in the dimensions in the Control panel. Make sure that the edges of the artboard line up with the edges of the white rectangle.
- Click any tool to get out of Artboard mode.
- Delete the white rectangle.

- Save the Illustrator file as an .AI file.
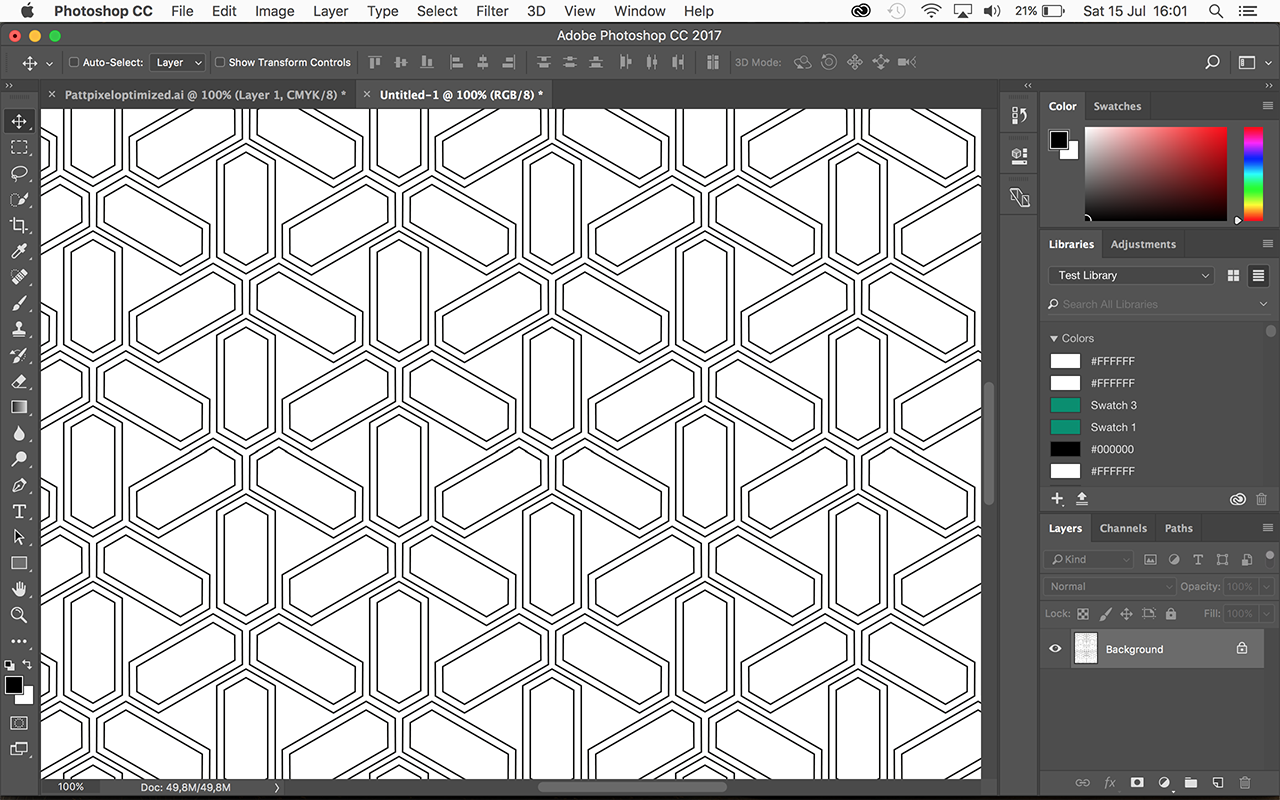
- Switch to Photoshop, create a new document, and create a new document with the same dimensions as the artboard in Illustrator.
- File > Place Embedded. The pattern tile should fit perfectly into the document.
- Drag the rectangular marquee tool over the whole canvas.
- Then choose Edit > Define Pattern. Name it and click OK>

- You can now use the pattern to Edit > Fill any area


Copy link to clipboard
Copied
Barbara, it can be done with less steps, but that does not solve the anti-aliasing problems (see my reply 8).
After your step 5: Select the rectangle, you can skip steps 6 - 14 and instead use Object > Artboards > Fit to Selected Art.
And for step 17 to 19, you do not need to create a new document, you can just Open or Open as Smart Object the saved .ai file, Select All and define the pattern.
Copy link to clipboard
Copied
A slightly shorter way:
1 Drag the Pattern swatch from the Swatches Panel to the Artboard.
2 In the Layers Panel you see the Pattern as a group, select only the path at the bottom of the group.
3 Select: Object > Artboards > Fit to Selected Art.
4 Save the ai document and choose Open… (or Open As Smart Object…) in Photoshop.
5 Select All and choose Edit > Define Pattern
Copy link to clipboard
Copied
This is the best solution. TKU!
Copy link to clipboard
Copied
Glad I could help.

 AdChoices