 Adobe Community
- Home
- Illustrator
- Discussions
- Re: "Expand appearance" creates little borders aro...
- Re: "Expand appearance" creates little borders aro...

Copy link to clipboard
Copied
I have been trying to solve this problem for literal hours, so I am hoping you guys can help.
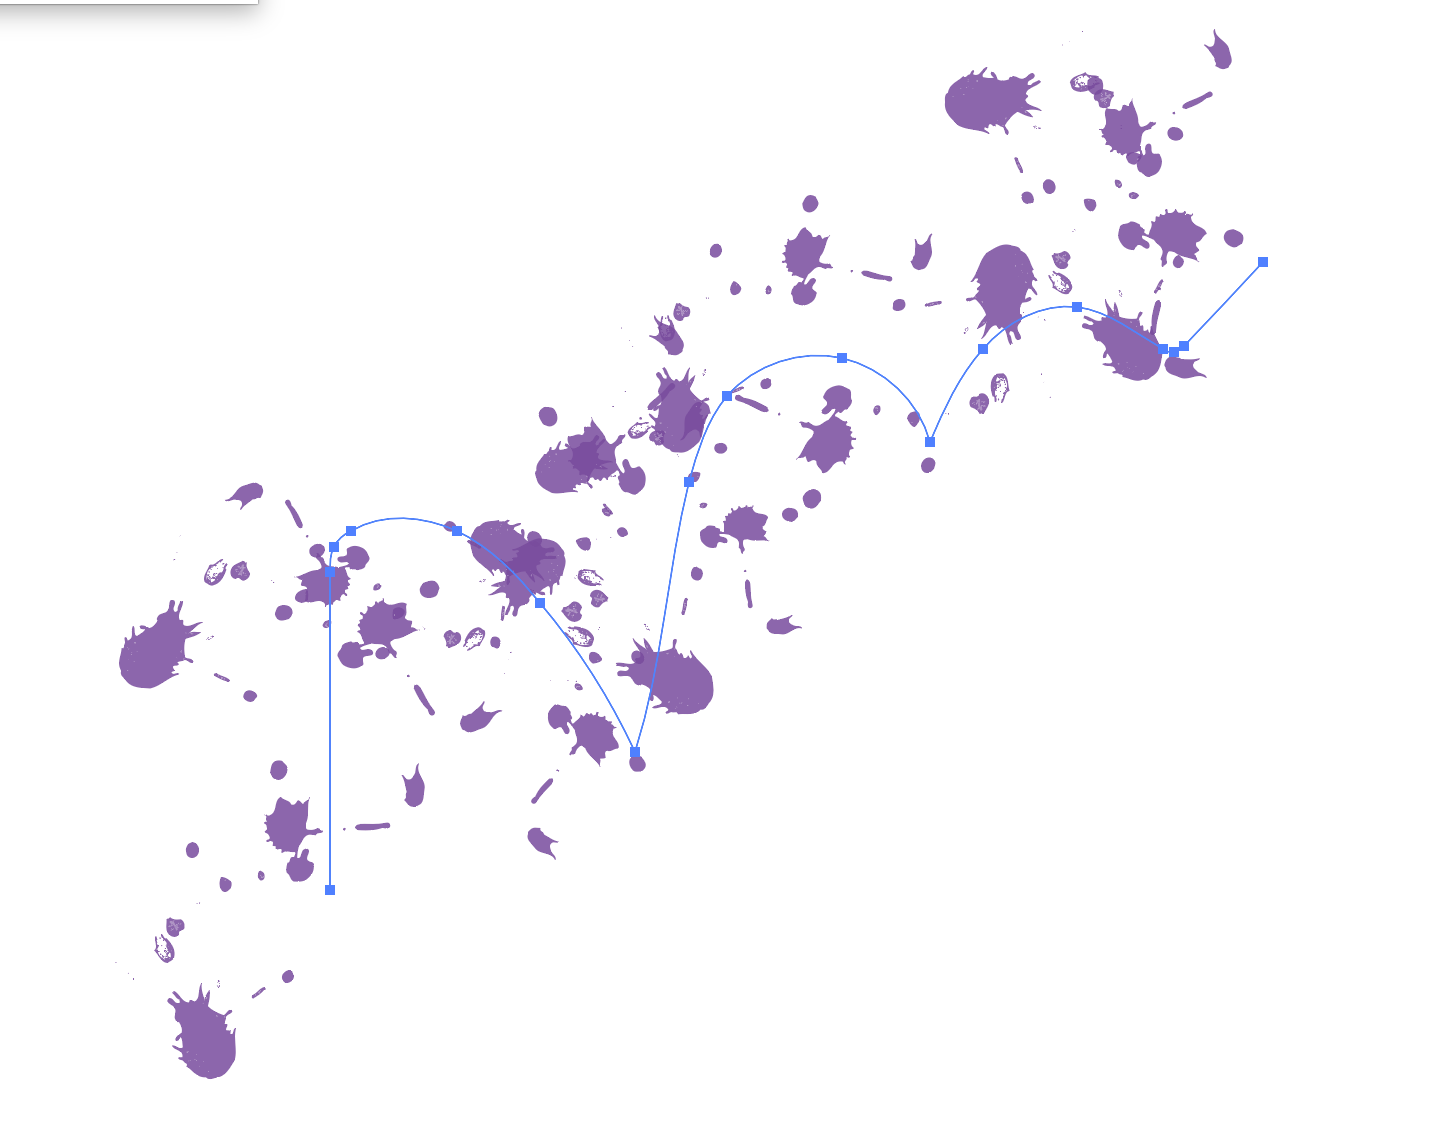
I am using a brush set to "splatter brush." My goal is to move the individual splatters around.
So after I draw the brush line, and create a line of splatters, I select the brush line and go "Expand Appearance." From what I understand, this is supposed to turn each individual splatter into its own shape that can be edited individually.
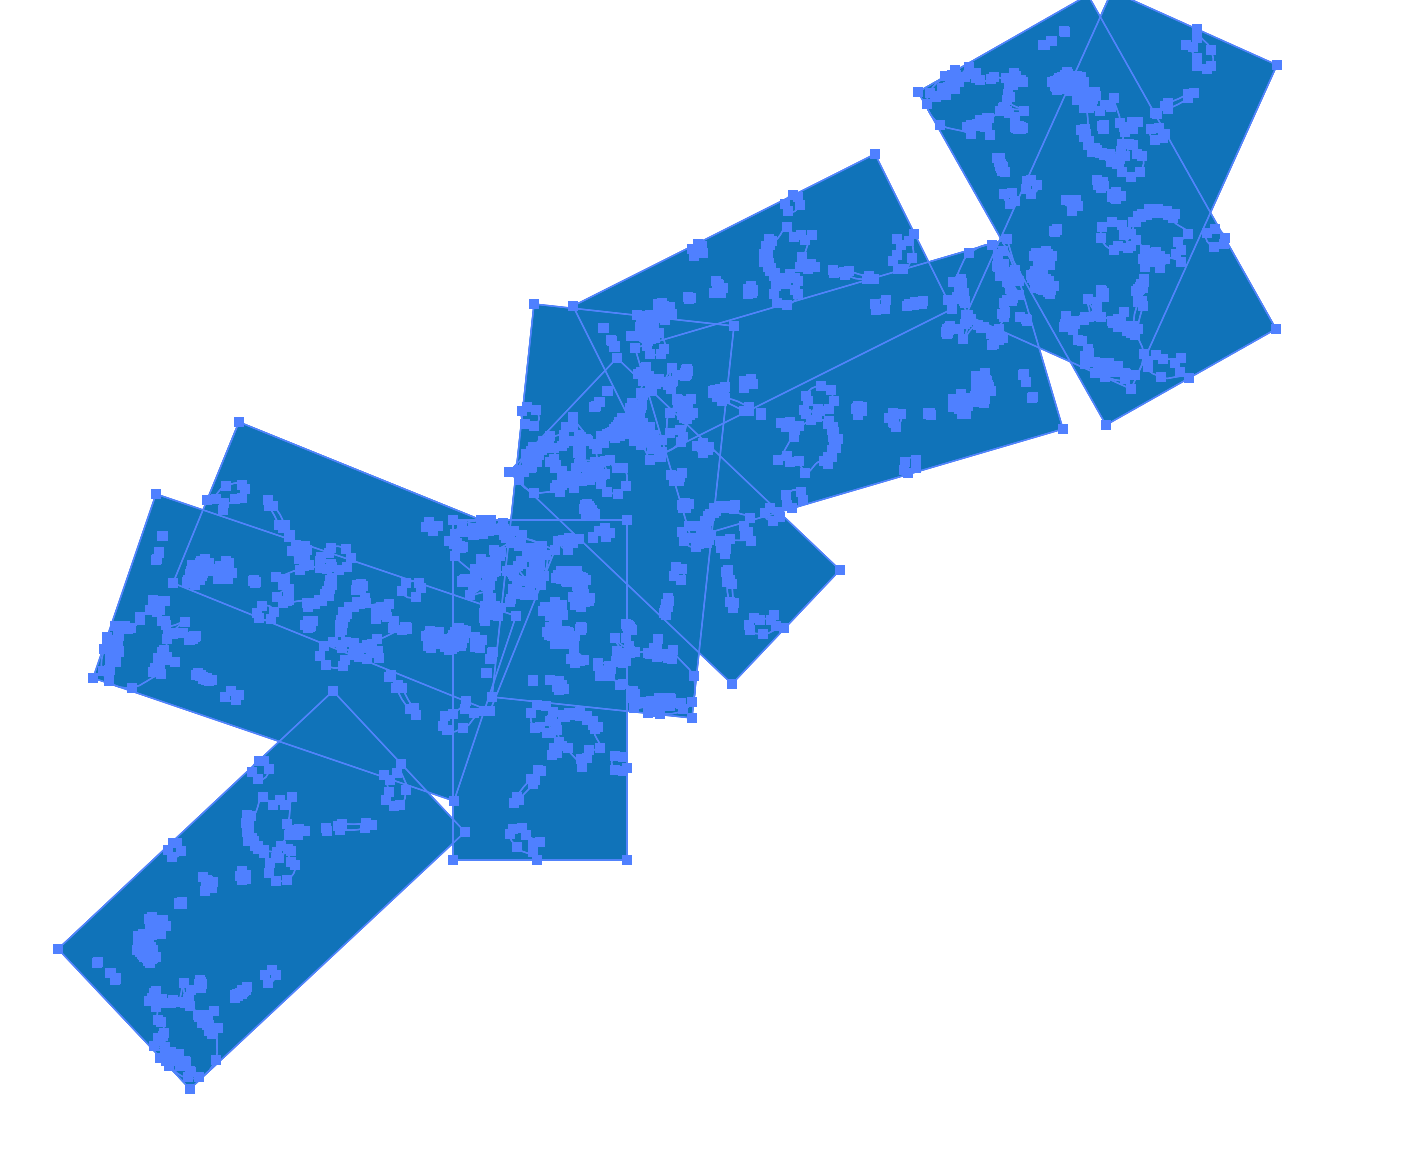
And it does this, but each individual splatter also gets its own weird little box around it. And when I try to fill or stroke the splatters, it treats this box as if its' part of the splatter. Which is bizarre. A new box shape is being generated out of nothing. Here are some pictures to help explain what I am talking about.
Hoping you can help me out! I don't want these boxes! 
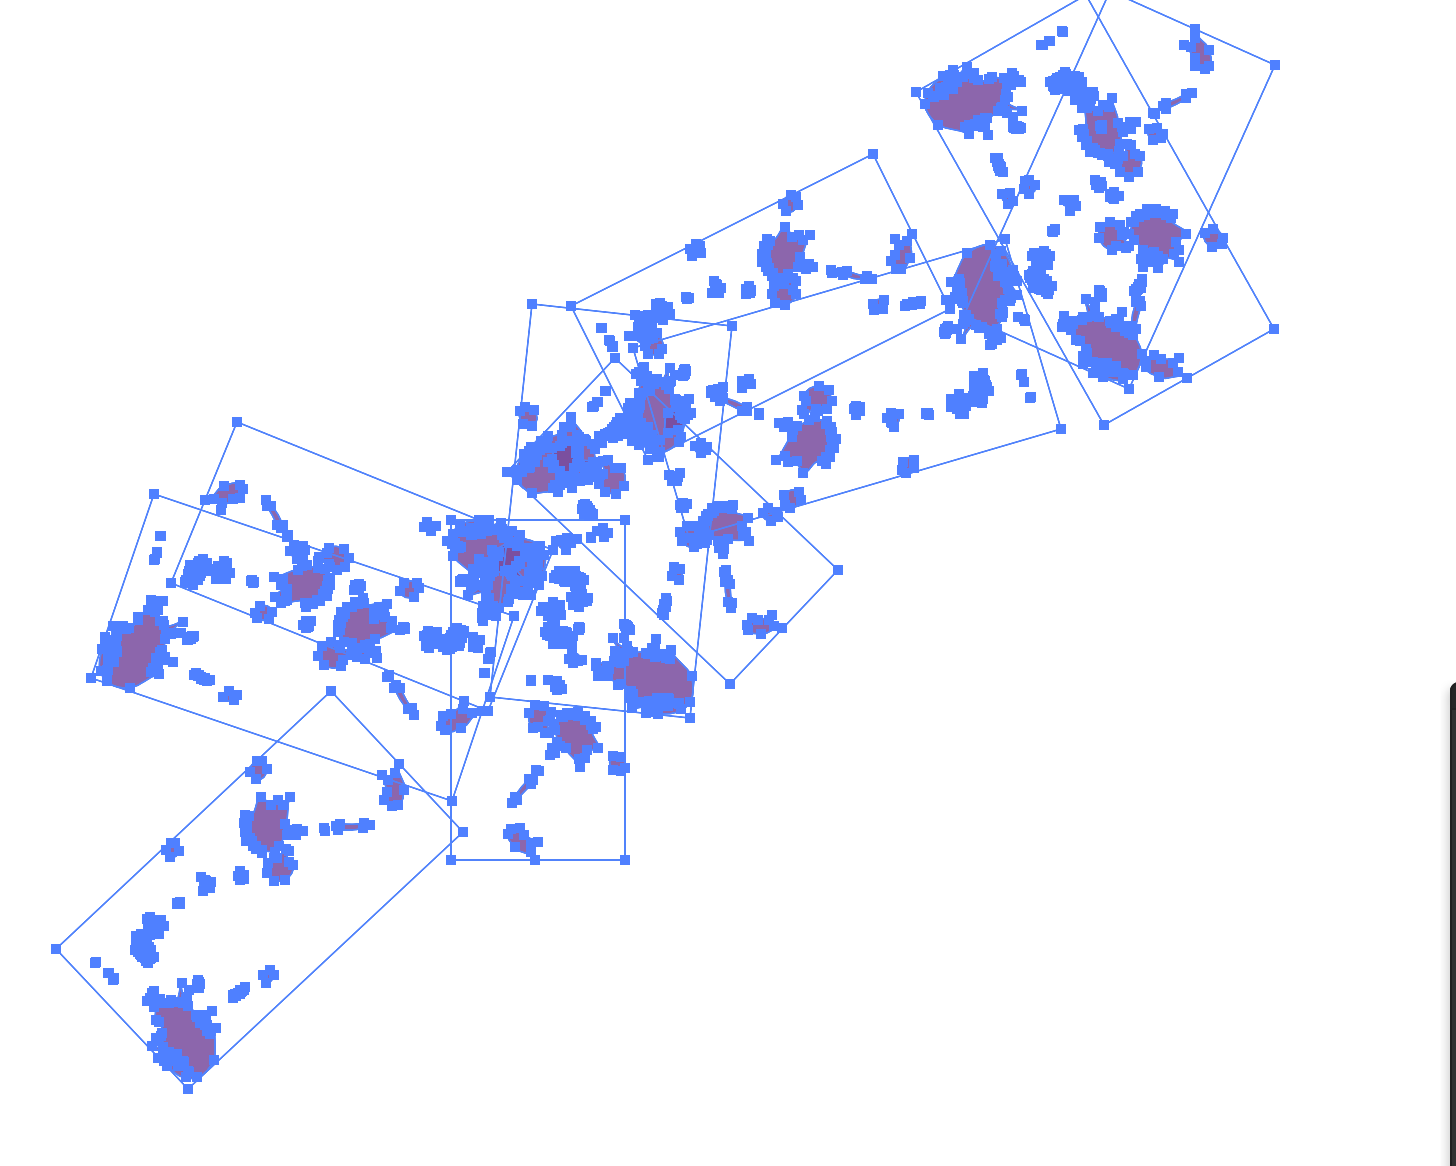
(with fill)
(with stroke)


 1 Correct answer

Here's another suggestion that might save you a little time.
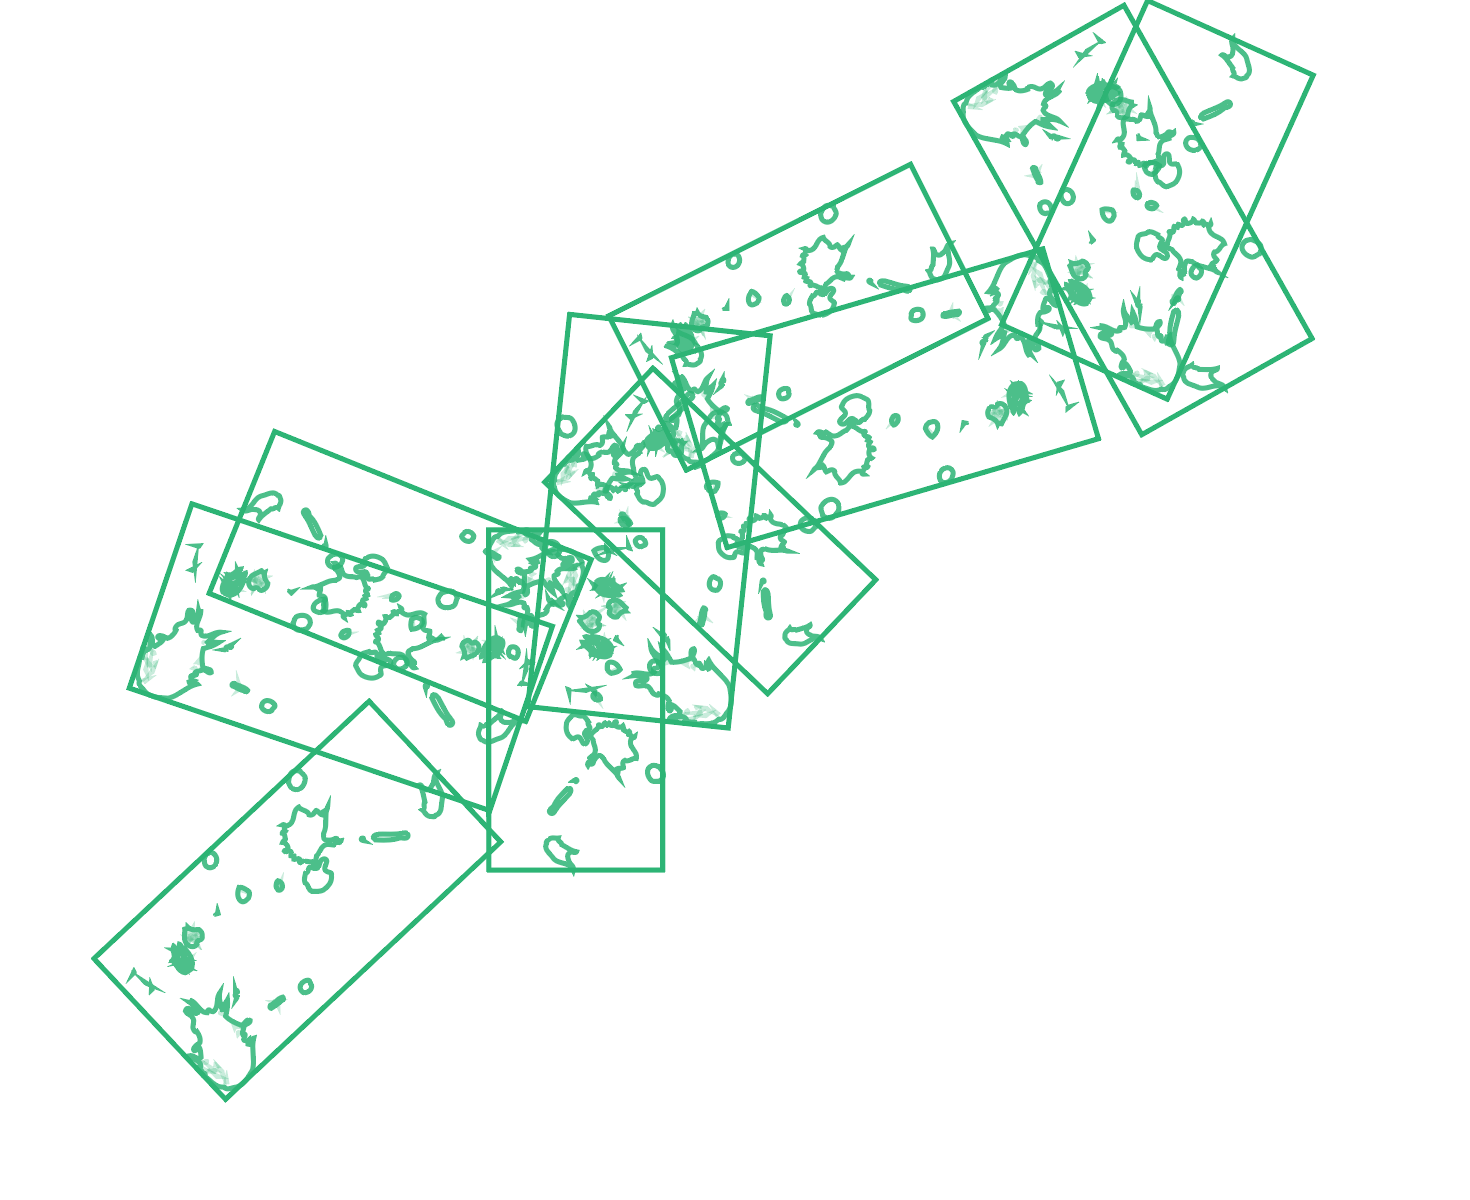
After expanding, with everything still selected, click the Pathfinder > Trim icon. All the little rectangles will disappear, presto.

Explore related tutorials & articles
 6
Replies
6
6
Replies
6

Copy link to clipboard
Copied
It looks like each of the rectangles encasing the spatters is creating a compound path with the spatter within it. Try selecting one of the rectangle/spatter objects and going to Object>Compound Path>Release and see if you can then delete the rectangle and just be left with the spatter shapes.
Copy link to clipboard
Copied
Thanks Bill. That works (well, sort of — I have to first "make" a compound path, then release it), but I still feel there has to be an easier way. I am following a tutorial that just casually presumes one can draw a splatter line and "expand appearance" it into a bunch of splatter shapes without having to bother with an in-between step of going in and deleting a bunch of weird little borders. I kind of feel like there's got to be some setting, or something, somewhere I'm just doing wrong.
Copy link to clipboard
Copied
It looks to me as though your "splatter brush" is a Scatter Brush, and this is normal behavior. The way Illustrator constructs a Scatter Brush includes a no-stroke, no-fill rectangle behind each instance of the brush, and this is revealed when Expand Appearance is applied to the stroke with the brush. The Layers Panel will show you that the expanded brush stroke is now a group, and each instance of the brush is a group within that group, and includes a rectangle. You may use the Group Selection Tool to select one of these invisible rectangles, go to the menu Select > Same > Fill & Stroke (or other choice, as is appropriate), and delete. Or, if it works better for you, select each rectangle individually.
Copy link to clipboard
Copied
Here's another suggestion that might save you a little time.
After expanding, with everything still selected, click the Pathfinder > Trim icon. All the little rectangles will disappear, presto.

Copy link to clipboard
Copied
Or, of course, you can do as Barbara suggests. A pretty good policy.

Copy link to clipboard
Copied
Thank you very much! I was helping something that had a similar issue by expanding the appearance of an object and this solved the problem!

 AdChoices