 Adobe Community
- Home
- Lightroom Classic
- Discussions
- Photo Merge - HDR in Lightroom Classic
- Photo Merge - HDR in Lightroom Classic
Photo Merge - HDR in Lightroom Classic
Copy link to clipboard
Copied
Merging a Bracket of Different Image Exposures in Lightroom Classic
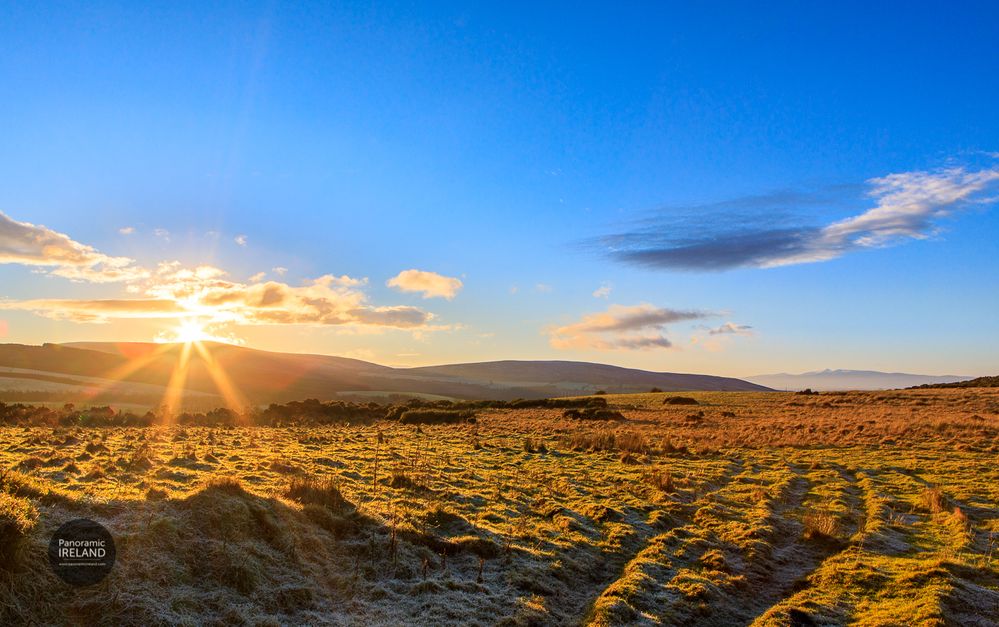
Sunset in the Mountains, January 2021
At sunset, often, photographing into the setting sun will cause problems with exposure. The camera's sensor will have difficulty recording highlights and shadows in one image.
Photographing a bracket of shots will help to capture more detail, preserving highlights and lifting shadows to then use in a HDR image in post-processing.
Here, one of 2021's first sunsets in the Irish countryside where I wanted to capture the sunburst, blue sky, distant mountains and frost on the field in the foreground.
❶ Select images in Lightroom Classic
- Right click and choose Photo Merge > HDR...
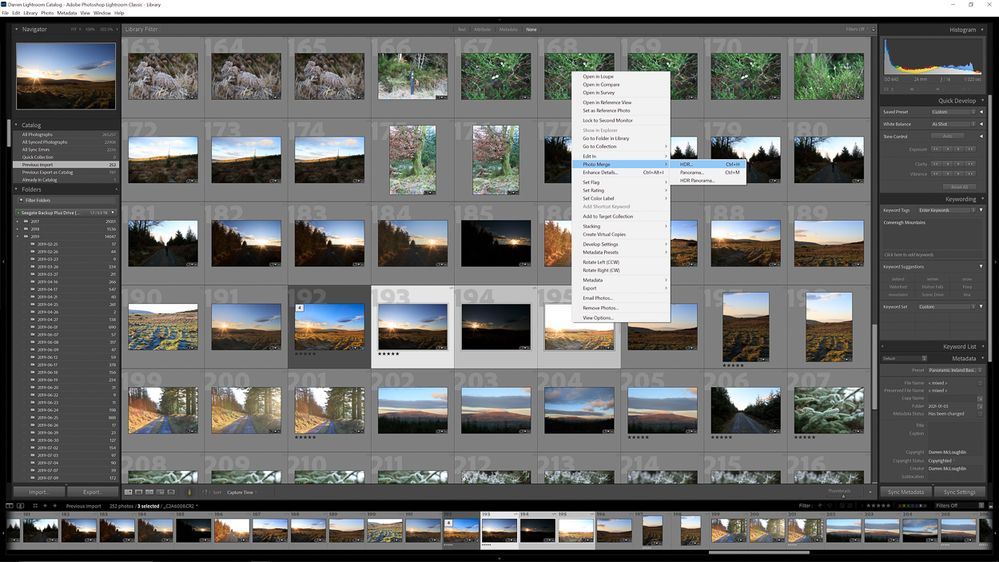
Lightroom Classic - choose images
- In this case I have chosen Auto Align and Auto Settings, the image bracket was taken handheld so I want to make sure any movement is taken care of, and also to create a starting exposure when back in Lightroom Classic's Develop Module.
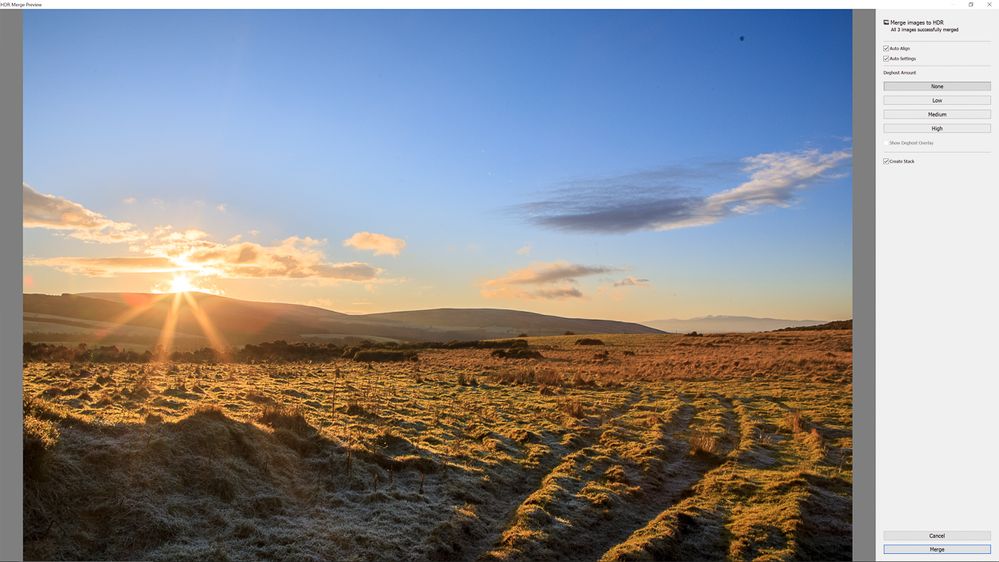
Merge images to HDR in Lightroom Classic
- I have also chosen None under Deghost Amount as there was little movement between frames.
- Create Stack will add the three original images to a stack along with the .dng file.
- Click Merge
❷ Develop Module
- In the Develop Module I edited dust spots with the Spot Removal (Q) tool. Shooting into the sun like this will accentuate dust spots on the lens and sensor.
- Then many edits in the Basic panel:
Exposure: +0.22
Contrast: +7
Highlights: -82
Shadows: +77
Whites: +6
Blacks: -26
Texture: +6
Clarity: +6
Dehaze: +7
Vibrance: +17
Saturation: +13
As well as a small adjustment to the Tone Curve.

❸ Graduated Filter
- After, I applied a Graduated Filter to the sky portion with these settings:
Temp: -11
Exposure: -0.22
Contrast: 1
Texture: -15
Clarity: 30
Dehaze: 18
Saturation: 6
❹ More Dust Spots Removal
- The edits above have of course revealed more of those pesky dust spots.
❺ Crop
- Finishing with a slight crop from the bottom.
It is of course possible to do this in Photoshop as well but Lightroom Classic does a fine job of merging to HDR and a better job than in-camera HDR.
Have something to add?

