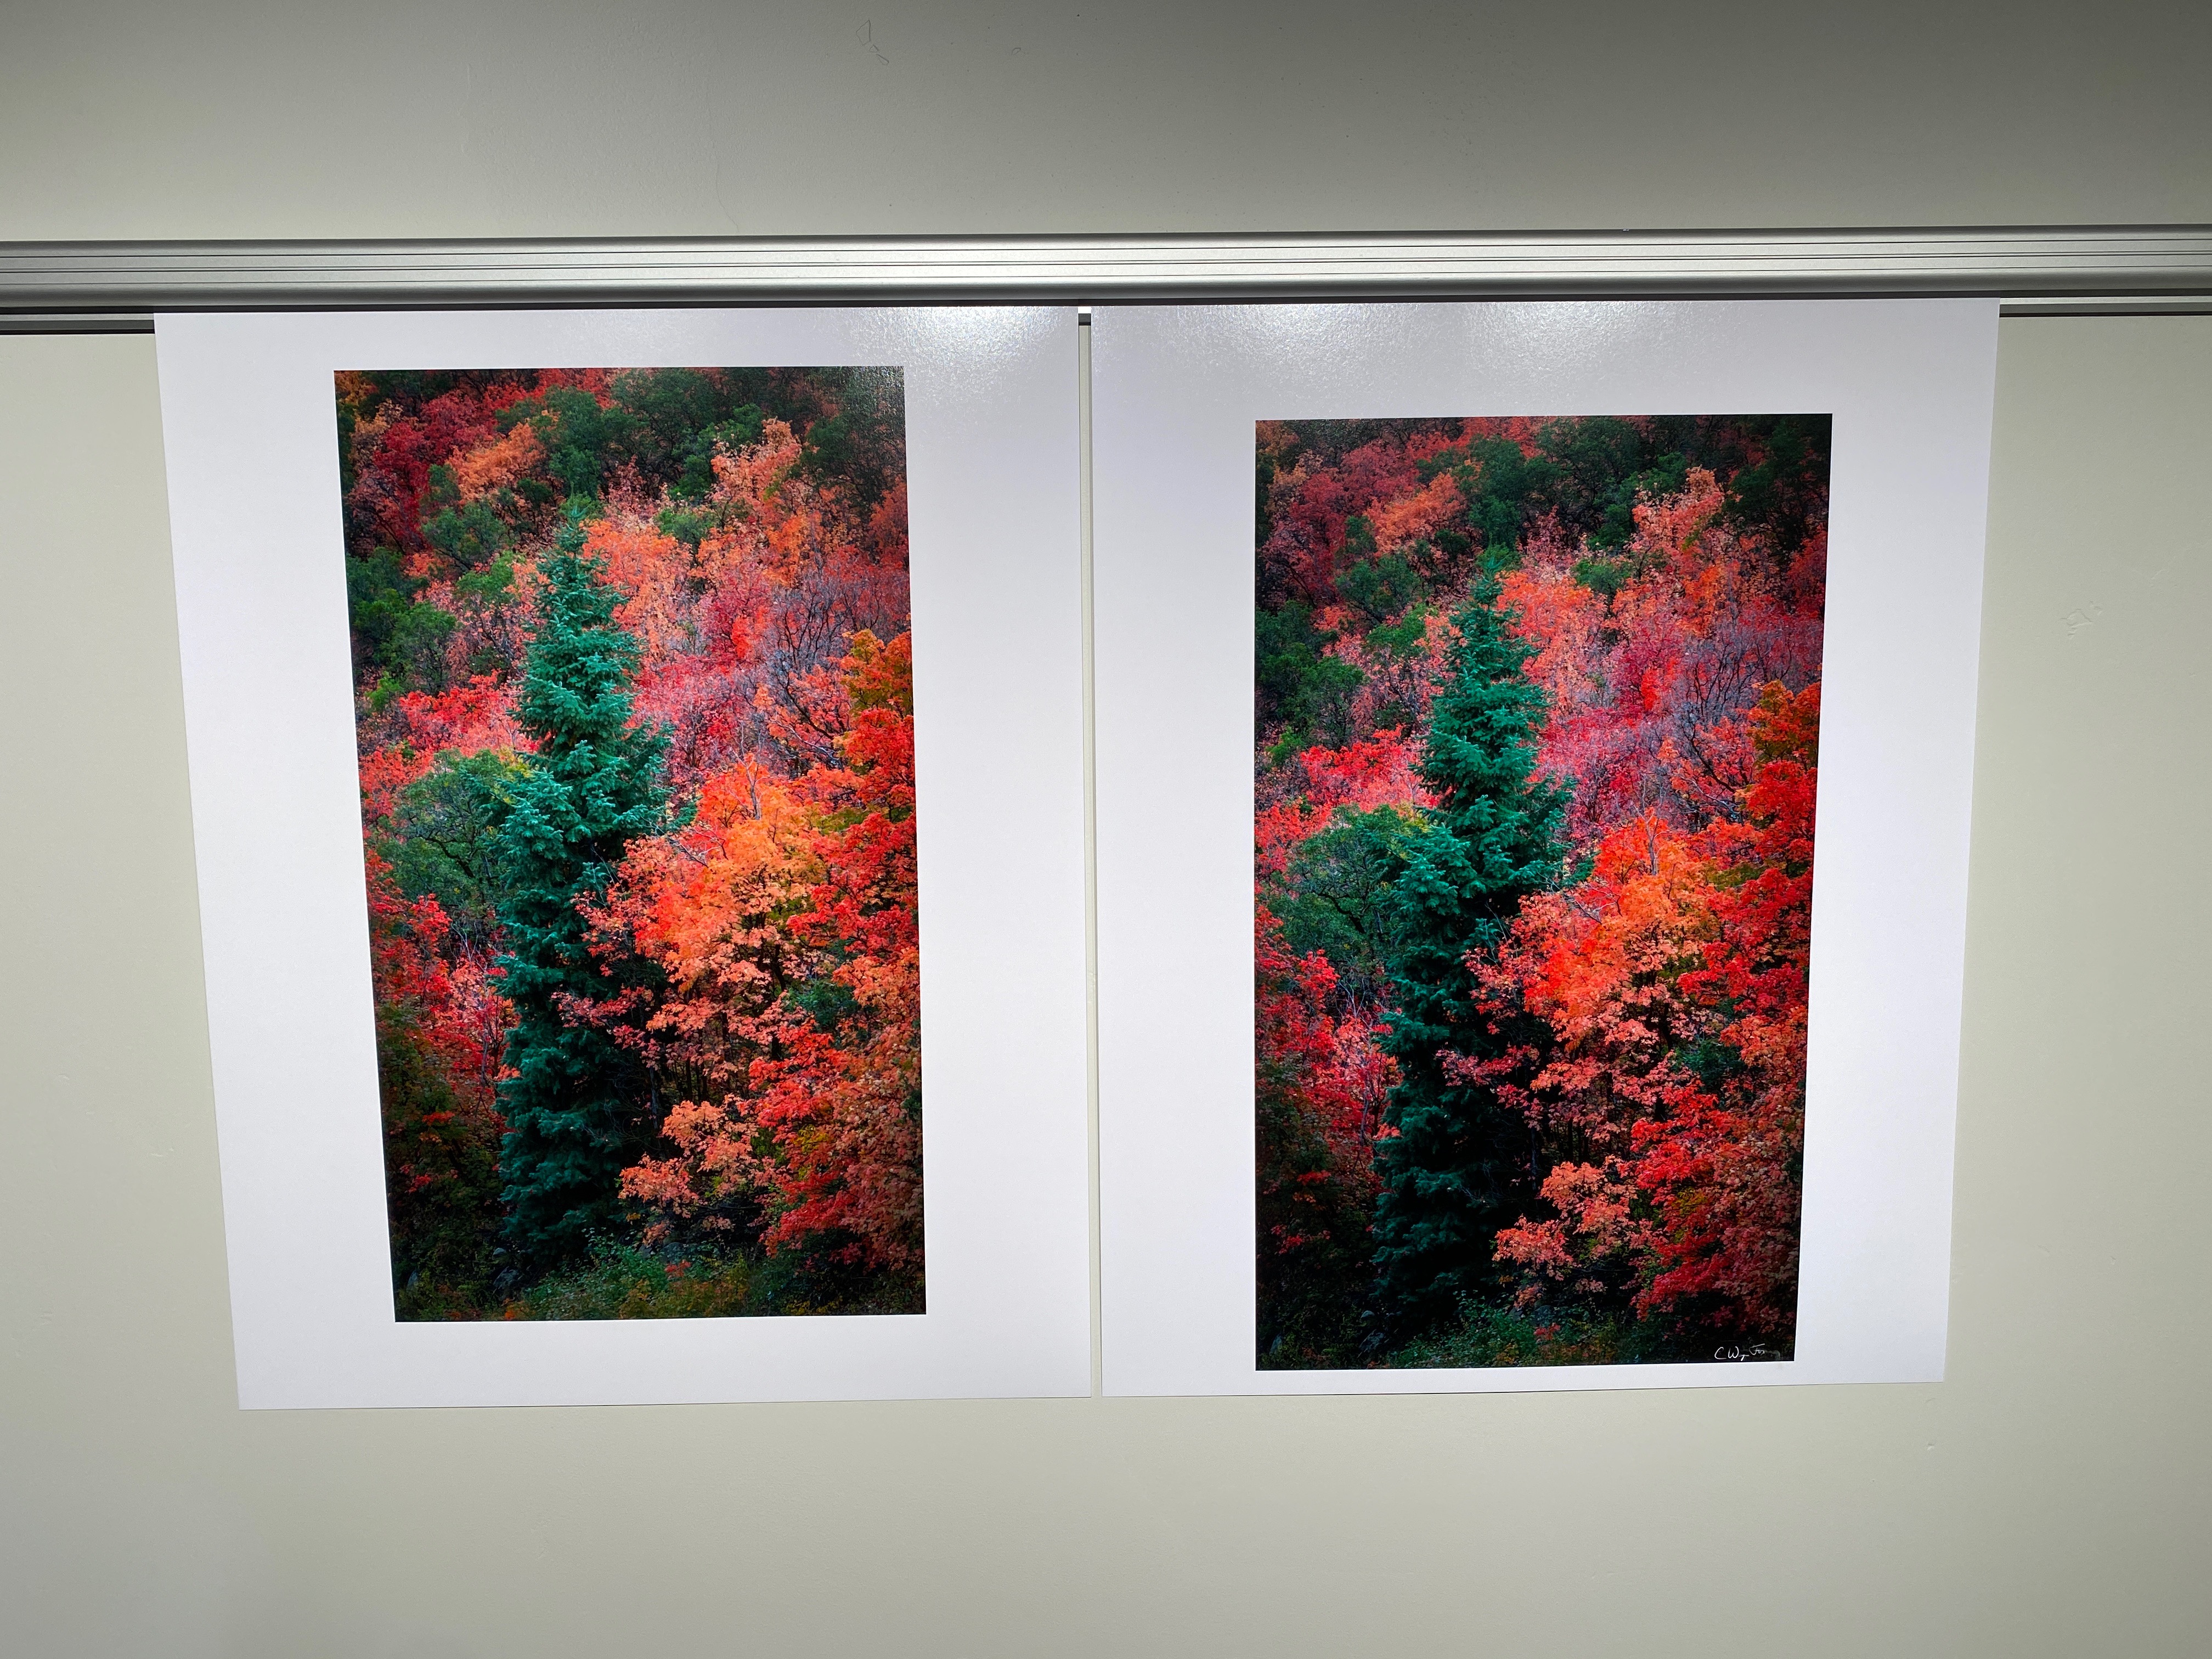
So after a few hours of trial and error, this is related to the use of the Black Enhance overcoat, which it seems by default sets a wider margin. When enabled, a new checkbox below it is available, Minimize top Margin, which seems to force the printer to use the default. As long as you use one of the 3 quality presets (Quality, High Quality, or Max Quality), everything works fine as well. I thought I would leave this post in the odd chance someone else runs into this.


 3
Replies
3
Replies


 AdChoices