 Adobe Community
- Home
- Lightroom ecosystem (Cloud-based)
- Discussions
- How to quickly adjust exposure in 3 easy steps!
- How to quickly adjust exposure in 3 easy steps!
How to quickly adjust exposure in 3 easy steps!
Copy link to clipboard
Copied
Portrait editing: Adjust Exposure in Lightroom desktop
Is your portrait a little dark or little light? Do you want to understand what exposure is and what it does to your portrait? Look no further. Follow these steps to learn about exposure, how to adjust it, and create the perfect portrait.
What is Exposure?
Exposure basically sets the overall brightness of the portrait. An underexposed portrait is too dark and an overexposed portrait is too bright with too much light.
Why is Exposure important?
A portrait requires the right amount of light to showcase details and colors as it is in real life. Editing exposure can be the turning point in making your portrait look full of life or very dull and boring.
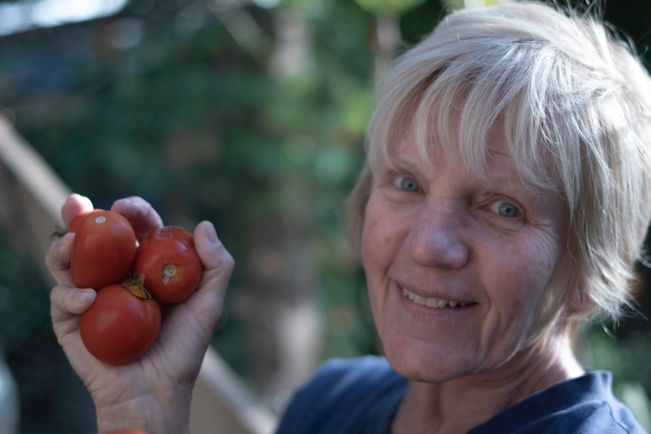
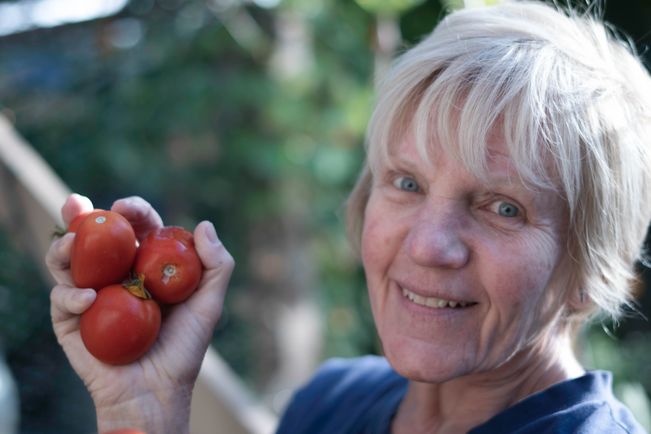
Here's how you can adjust exposure in the following unedited portrait:
Get this file here: Download sample portrait
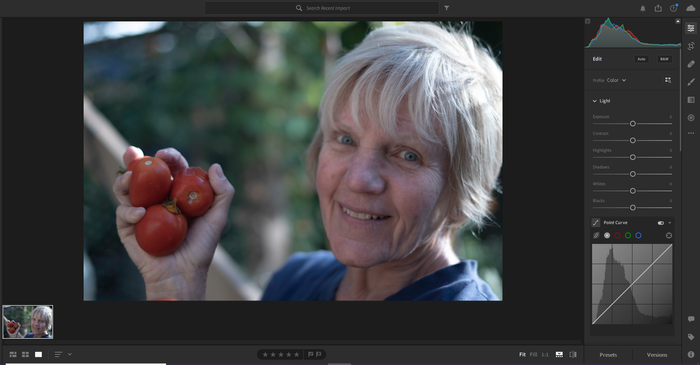
❶ Open the portrait
- Select File > Add Photos to open a photo from your computer.
- If you already have the photo in Lightroom, go to My Photos and open your photo.
❷ Go to the Edit panel
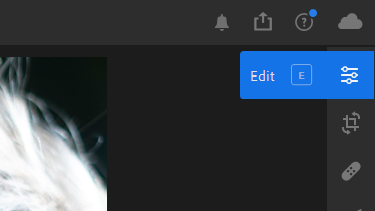
- In the right, click the Edit icon.
- Spot the Exposure slider right at the top of the Edit panel.
❸ Adjust the Exposure slider
- Move the Exposure slider to the right to increase the brightness in your portrait.
- Move the Exposure to the left to decrease the brightness in your portrait.
- You can also add in a numerical value against the slider to reach a specific amount of exposure.
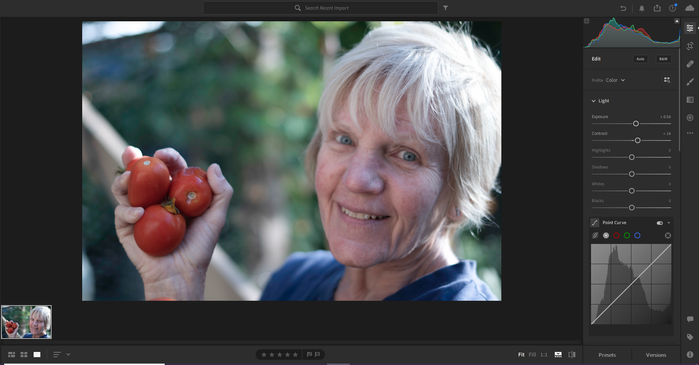
- Here, we've set Exposure to 0.56. In addition, the Contrast slider is also set to 16 to set the tone for upcoming edits.
Here's how the portrait looks now:
The portrait already looks better, doesn't it?
Related links:
Click the link below to view the next post or go back to Overview.
Have something to add?

