 Adobe Community
- Home
- Photoshop ecosystem
- Discussions
- Best way to remove artifacts from old photo
- Best way to remove artifacts from old photo
Copy link to clipboard
Copied
I found an old photo, but it's in a quite bad state... I would like to hear your thoughts on what is the best approach of removing the unwanted artifacts. The only way I know is healing, but this seems to be a big area to apply healing.
 1 Correct answer
Whenever I'm needing to clean up black and white images I like to review the channels. The Red channel in your image looks remarkably clean. You could easily copy the pixels from the Red channel and paste them as a regular layer. You may still want to do a little retouching.
To make this look like your original you could add a little contrast and a subtle sepia colour.
I've offered here a general strategy. If you have any questions about how to achieve specific steps please don't hesitate to
...Explore related tutorials & articles
Copy link to clipboard
Copied
Whenever I'm needing to clean up black and white images I like to review the channels. The Red channel in your image looks remarkably clean. You could easily copy the pixels from the Red channel and paste them as a regular layer. You may still want to do a little retouching.
To make this look like your original you could add a little contrast and a subtle sepia colour.
I've offered here a general strategy. If you have any questions about how to achieve specific steps please don't hesitate to ask.
Copy link to clipboard
Copied
Yes, "red channel" immediately popped up in my head when I saw this 🙂
Note that if you copy the red cannel to paste back into an original RGB file, you should change your working gray to "Gray Gamma 2.2" first. The reason is that a single channel is treated as a grayscale file in your working gray. The default "Dot gain"-profile will give a very incorrect tone curve and washed out image. Gamma 2.2 should match much better for an sRGB or Adobe RGB file - but use gamma 1.8 if the file is ProPhoto.
Copy link to clipboard
Copied
@D Fosse Great call on factoring in the gamma.
Copy link to clipboard
Copied
I'm not familiar with this process. Do I have to change this to Edit -> Color Settings... -> Working Spaces -> Gray, prior to creating the new layer? Is there a way to apply afterwards?
Copy link to clipboard
Copied
Wow that's awesome! Didn't think about that...
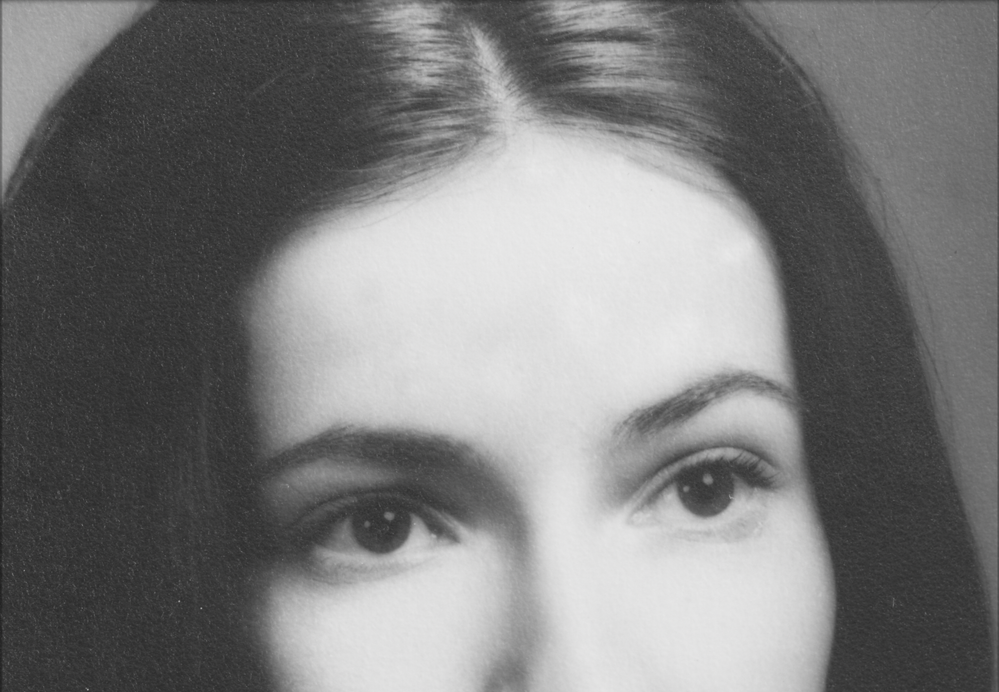
Ok, first I increased the luminance of orange in Lightroom, which made the weird "vein" stains to disappear and then imported to photoshop and used the red channel. Here is the result:
I'll try now to use heal brush to get rid of the remaining steins in the rest of the photo....
Thank you!
Copy link to clipboard
Copied
@mspyratos Nice combination of both Lightroom and Photoshop. Best of luck with the project.
Copy link to clipboard
Copied
You did great! There is maybe another option after the channel thing using content aware fill to clean the forehead.
Copy link to clipboard
Copied
You might find this of interest.
Copy link to clipboard
Copied
I will definitely do! Thank you!


