 Adobe Community
- Home
- Photoshop ecosystem
- Discussions
- Re: Clearing out small particles in image
- Re: Clearing out small particles in image
Copy link to clipboard
Copied
Hey! I've had this problem for a while and I was hoping someone could help me out! I was clearing out an image of The Greatful Dead's "Stealie" logo and I had used the paint bucket tool to do a rough idea on what the final product for recolorization would look like (another probelm for another post). Anyway I'm trying to clear out hte inside of this image for a nicer "recolor" / other touch ups, and there are these small particles both inside the design in random places and surrounding the edges of the design. I really don't feel like lassoing the percise insides to this art... is there an easier way to do this? And if someone has time, is there a way to sharpen up those crusty edges? Thanks!
 1 Correct answer
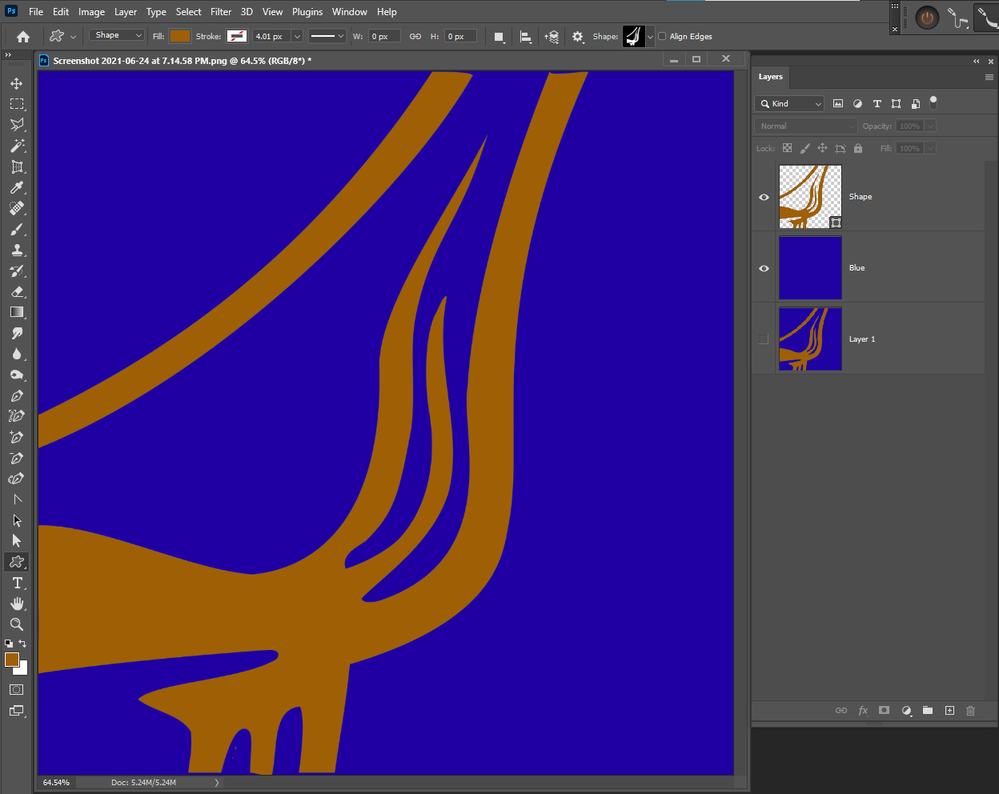
I have told you how to smooth a jaggie ridden raster layer, but if it was me I would absolutely do what JJ said and make a clipping mask with the Pen tool. Here you go. Two minutes and so much cleaner. To make a clipping path into a shape layer go Layer > New fill layer > Solid Color
A big advantage to this approach is that the shape layer is editable with the Direct Selection tool (White Arrow)
Explore related tutorials & articles
Copy link to clipboard
Copied
You would be best off to use the pen tool to create a custom Shape for that design.
Copy link to clipboard
Copied
I concur with JJMack. The Pen tool will give best results.
You could try Adobe Illustrator's Image Trace command but it probably won't be accurate enough to perfectly reproduce the logo.
Copy link to clipboard
Copied
On the other hand, you could do a search for a downloadable vector version of the logo. Many popular logos can be found that way.
Copy link to clipboard
Copied
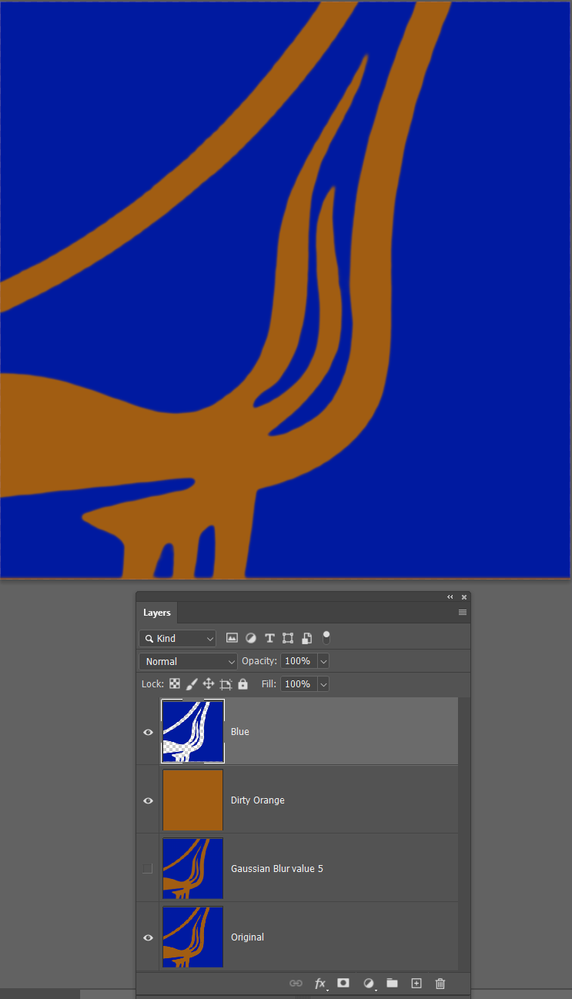
This is a bit rough and ready, but might get you close to where you need to be.
Copy the layer and use Gaussian Blur — I used a value of 5
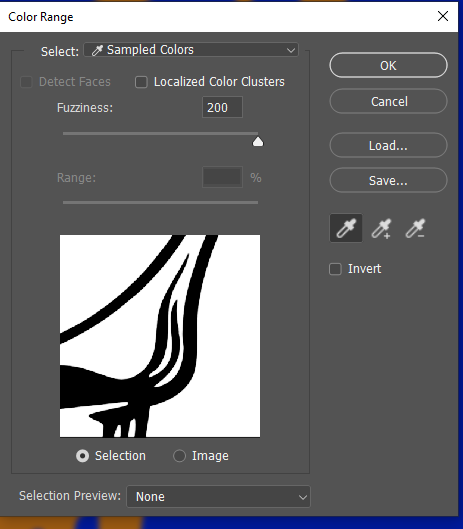
Use Select > Color Range with the fuziness all the way to max
Fill the resulting selection with the blue colour on a new layer.
Turn off the selection, (Ctrl D) and fill a new layer (beneath the blue layer) with the dirty orange
I tried comparing this to the original by turning off the new layers, and found the orange was a tiny bit fatter, so I Ctrl clicked the new blue layer to reselect it, and used Select > Modify > Expand with a value of 2, and filled with blue again. That matched a lot better, but the Gaussian blur will have rounded off the sharp pointy bits. So I used the lasso tool to select the points and deleted the selection from the blue layer.
I also thought the blue/orange interface was a bit soft. So I Ctrl clicked to select it again. Turned on Quick Mask (Q) and used Levels to harden the edge (move black and white sliders towards the middle — not all the way or you'll lose the anit alias and get jaggies). That done turn off Quick mask and fill with blue again. The invert the selection (Shift Ctrl I) and hit the delete key to remove the soft fringe.
About 30 seconds to do, and five minutes to write this post.
Copy link to clipboard
Copied
I have told you how to smooth a jaggie ridden raster layer, but if it was me I would absolutely do what JJ said and make a clipping mask with the Pen tool. Here you go. Two minutes and so much cleaner. To make a clipping path into a shape layer go Layer > New fill layer > Solid Color
A big advantage to this approach is that the shape layer is editable with the Direct Selection tool (White Arrow)
Copy link to clipboard
Copied
Thanks! I might need to make multiple layers and combine them when trying to make a full shape with the actual stealie image but this method works great. I appreicate your help, means a ton!! Take it easy.
Copy link to clipboard
Copied
When making designs with multiple Shape layers, if it is a graphic you'll use in the future, I like to combine the layers into a Smart Object, and save it to a CC Library. You can create a Library for each project or client, and have a high quality graphic instantly available from any computer anywhere in the world that is logged in to your Adobe account. CC Libraries are very cool.


