Copy link to clipboard
Copied
I'm trying to get the background of this image transparent but my problem is that I can't just make it transparent because the white part of the "G" is the same white color as the background. I'm new to Photoshop so is there any fairly easy way to do this? I want the white in the "G" to stay white but background to be transparent. Thank you guys for any help!
My idea would be to use Marquee selection to isolate the logo
Select > Inverse, then delete to remove the white outside the selection.
For the 45 degree corners, use the Polygonal lasso tool. Hold down Shift while dragging out that selection and use your arrow keys to nudge the selection into place. Delete to remove the white from the corners.
Do not flatten the file, save it as png to keep transparency.
This is what I think you want. You may fine tune it.
Copy link to clipboard
Copied
Another way of doing this is to use the pen tool.
1) Press 'P' on the keyboard and just draw around the 'G' shape by pointing and clicking. When done, name the path and convert the path to a selection by clicking on the marked icon in the paths palette..
2) It will look like below.
3) In the layers panel create a mask by clicking the marked icon
4) Your background will then be transparent.
Copy link to clipboard
Copied
You may find that these guides maybe be helpful with the Pen tool especiallyin the lower left corner.
You may also consider this before using the pen tool or the Polygonal Lasso tool to make your selection:
1.Make a duplicate layer
2. Magic Wand to select and delete the white on the dupe layer, Then Cmd+D to deselect the marching ants.
3. Edit > Transform > Flip Vertical
4, Set the Blending Mode to Multiply
5, Use the North Keyboard Arrow key to align the two layers
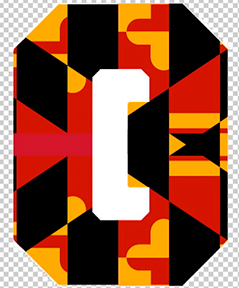
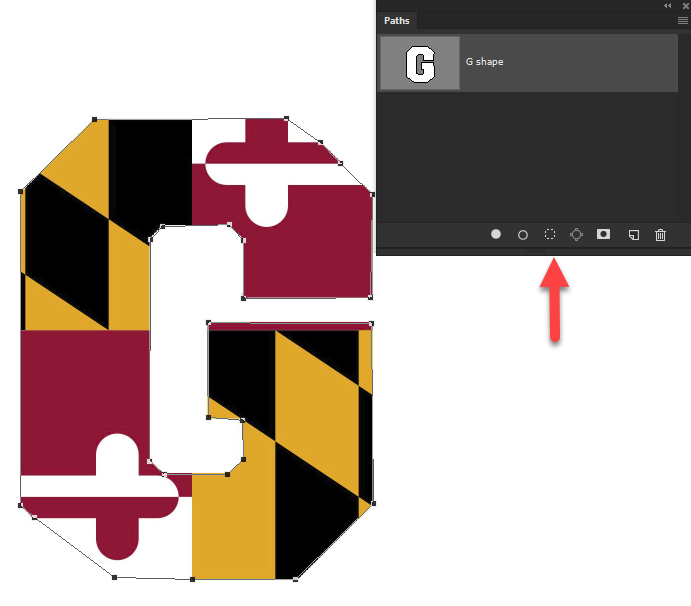
Then, because the design is not perfectly symmetrical*:
6 Use the pen tool to outline, then convert to selection
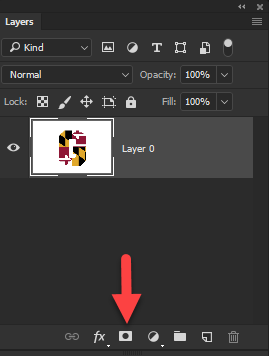
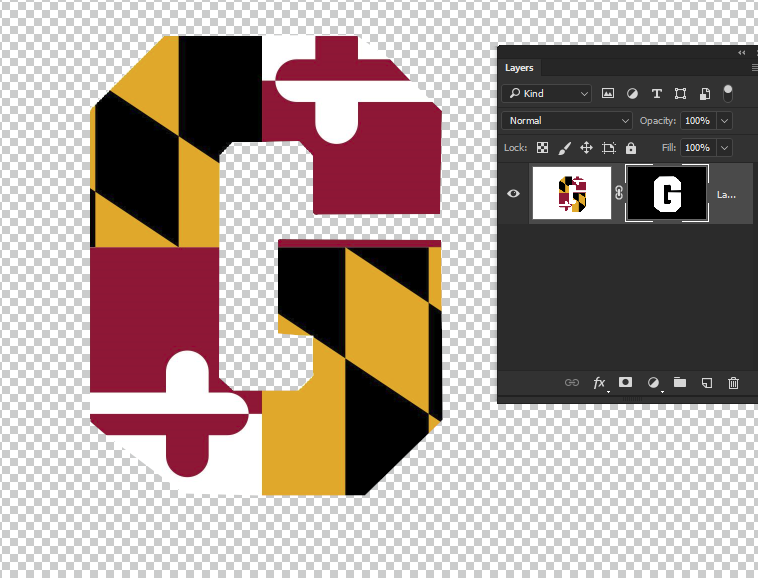
7,Turn off the eye on the top layer and trash the lock on the bottom layer
8. With the Background layer chosen, tap the delete key
--
If is was symmetrical, you could use a composite of the layers as the basis for a Magic Wand selection.
The illustration above shows both layers after deletion of the white, for clarity.
Copy link to clipboard
Copied
Quick and dirty solution;
Select all the white pixels with the magic wand tool.
go to Select > Invert selection
use the Polygonal lasso tool to add in the two "missing sections.
Hope this helps,
Angie Taylor | http://www.creativecabin.co.uk