 Adobe Community
- Home
- Photoshop ecosystem
- Discussions
- How to lighten the darker parts of image
- How to lighten the darker parts of image
How to lighten the darker parts of image

Copy link to clipboard
Copied


Explore related tutorials & articles
 12
Replies
12
12
Replies
12

Copy link to clipboard
Copied
You can use the Shadow/Highlight feature in the Image>Adjustments>Shadow/Highlight - but that will permanently change your pixels (it's what we call "destructive" editing). If you use that option, I strongly suggest using it on a duplicate layer - or a stamped layer.
But, One of the strongest ways to do this is using a Curves adjustment layer. (https://helpx.adobe.com/photoshop/using/curves-adjustment.html)
The nice thing about this way, is you can use your layer mask to adjust where the adjustment will affect your image. And, an easy way to create that layer mask is to use the Select>Color Range option.
Hope this video helps.
Adobe Community Expert / Adobe Certified Instructor

Copy link to clipboard
Copied
I usually use S/H undestructively as a smart filter.
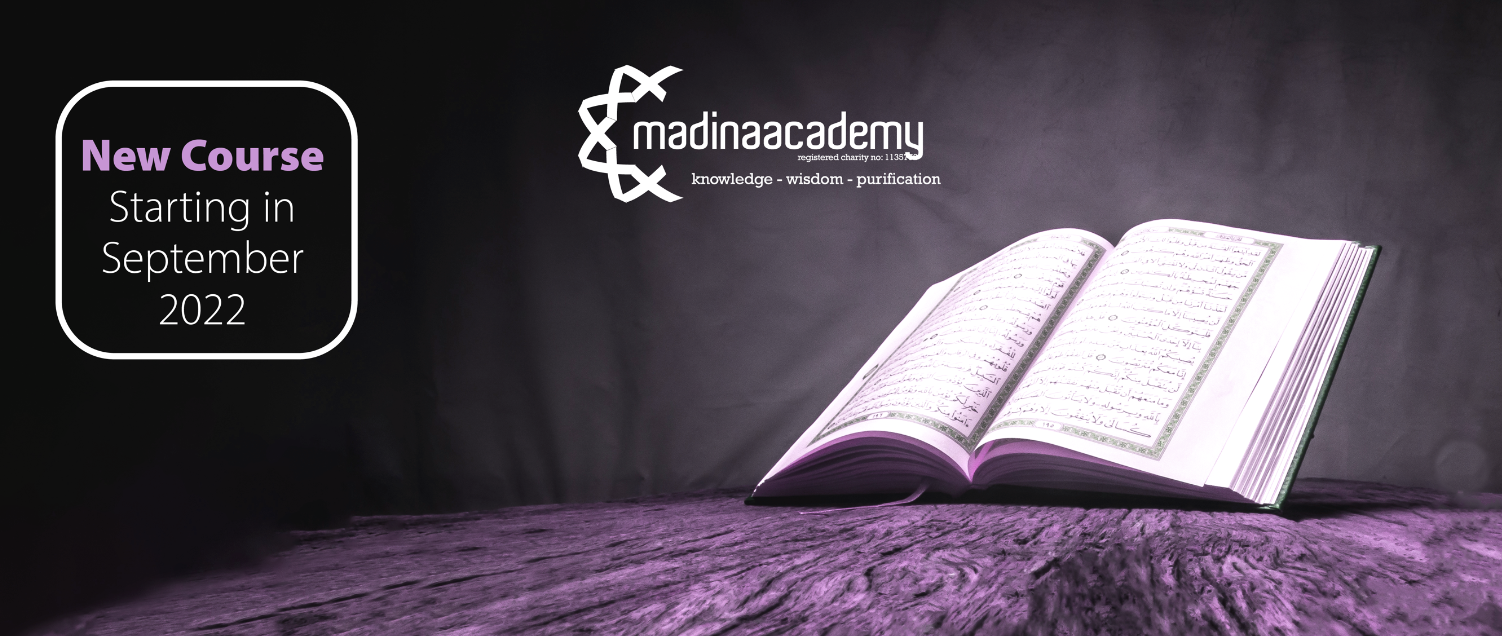
This photo isn't perfect for it, as the darkest part is black.
Copy link to clipboard
Copied
How do i lighten the shadows or change its colour?
By @Summayah5FC7
You can lighten shadows using Curves for example. To change color of black use Hue Saturation, turn on Colorize and play with Lightness in positive up to 50, Saturation and Hue sliders as shown below on screenshot. It may or may not work for you but I think it is easy enough. You can, for example, mask book to exclude it from colorization.


Copy link to clipboard
Copied
its dark because the photo is over exposed so imo hue adjustment is the wrong way to go i.e, there is already TOO much light washing out the detail


Copy link to clipboard
Copied
My two cents worth;
The Camera Raw filter is a one stop shop for fixing all sort of exposure related issues, and it does it so well. You would make the layer a Smart Object to work non destructively — I often find I change my mind a wee bit down the road, so it is nice to have the option to fine tune, and why the heck wouldn't you? It's a no brainer if ever there was one.

A question: Is Image > Adjust > Shadows / Highlights the same as the same tools in Camera Raw, or is it the original version, because that was pretty nasty, and could leave you with blocky 'bad HDR' like results. I have never used it, but did just try it and I think it must use the current Camera Raw algorithm, because it seemed to work OK.
When you need to get heavy handed with curves and levels, it can affect the colour, and I don't think anyone has mentioned the trick of setting such a curves adjustment layer to Luminosity (or using Edit > Fade if applying curves directly) to minimise the color problem.
Oh My Ged! I am doing the unthinkable and talking about colour problems, which is something I usually try to avoid and leave to Dag, so I think I'd better better get ahead of any flack, and use my own post signature line 😉
Author of ‘Self Promotion as a Substitute for Low Self Esteem’
Copy link to clipboard
Copied
Oh My Ged! I am doing the unthinkable and talking about colour problems,
By @Trevor.Dennis
Islamic books are well known for having blue leaf boarders instead of gold right? 🙂

Copy link to clipboard
Copied
It's OK, Trevor. As it happens, I'm in a good mood today 🙂 I'm a bit more worried that Ged might get ideas and run for PM as the logical next career move, before going for the big one...
Yes, the ACR filter is very good at this sort of thing, much better than the Photoshop-native Shadows/Highlights.
That said, the photographer in me isn't happy with the original photo here. This seems to be lit by a single overhead spot, standard issue for exhibition items, but horrible photo light. The result is what you see here: highlights blown out in flare and reflections, black hole shadows from which nothing can escape, and harsh shadow edges.
What you want here is a soft box above and behind, in this case it would be just outside the top frame, and a reflector in front.
But since we don't have that, the ACR filter it is.
Copy link to clipboard
Copied
Yes i assume the image was taken by students with what they had to work with [hardlight is great for buggering colours] but yes if the book is still available or better yet you know a skilled 3D artist then remaking the image will give the best results
Copy link to clipboard
Copied
Unfortunately i just couldn't make the image go well in the poster.
Thank you for all the replies anyway, i learnt alot.

Copy link to clipboard
Copied
https://m.youtube.com/watch?v=meFr1mKkWqM
Copy link to clipboard
Copied
Thank You
Copy link to clipboard
Copied
As Photoshop users gain expertise, they largely end up using 'Levels' or even better (in some cases) perhaps 'Curves' Adjustment Layers.
Save the layered file, copy, flatten and work on the copy to send. That way you'll have the option to go back to the layered original and carry out non-destructive edits [flattening an image with adjustment layers bakes in the adjustments]
I hope this helps
neil barstow, colourmanagement net :: adobe forum volunteer:: co-author: 'getting colour right'
google me "neil barstow colourmanagement" for lots of free articles on colour management

 AdChoices