The white look is probably achieved by using gray point eyedropper which can be found in Camera Raw, in the Levels, or Curves panel.
First select the Eyedropper in the Tools panel. It is usually helpful to set it to 3 x 3 or 5 x 5 to get better averaging. The setting of the regular Eyedropper will affect all eyedroppers.
Then open Levels or Curves or Camera Raw and select the gray point Eyedropper.
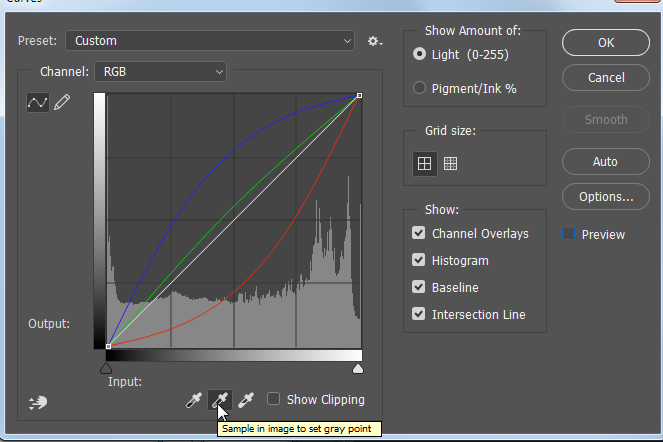
With that eyedropper, click on a pixel that you think should be neutral You may need to click on a few different pixels before finding the best area.
On the image below, I clicked on the sofa


Unfortunately, there are multiple color casts on the wall, so to make the wall more neutral, I chose Select > Color range and targeted the highlights.

Then in the Hue/Saturation panel, desaturated the selected areas to make them more neutral.

... and came up with this:

I would suggest making all of your edits on Adjustment layers so that you can easily change them afterwards.
Each image is different and therefore needs to be treated somewhat differently, but these techniques should get you started in the right direction.


 5
Replies
5
Replies


 AdChoices