 Adobe Community
photoshop vector mask

Copy link to clipboard
Copied
Hi There,
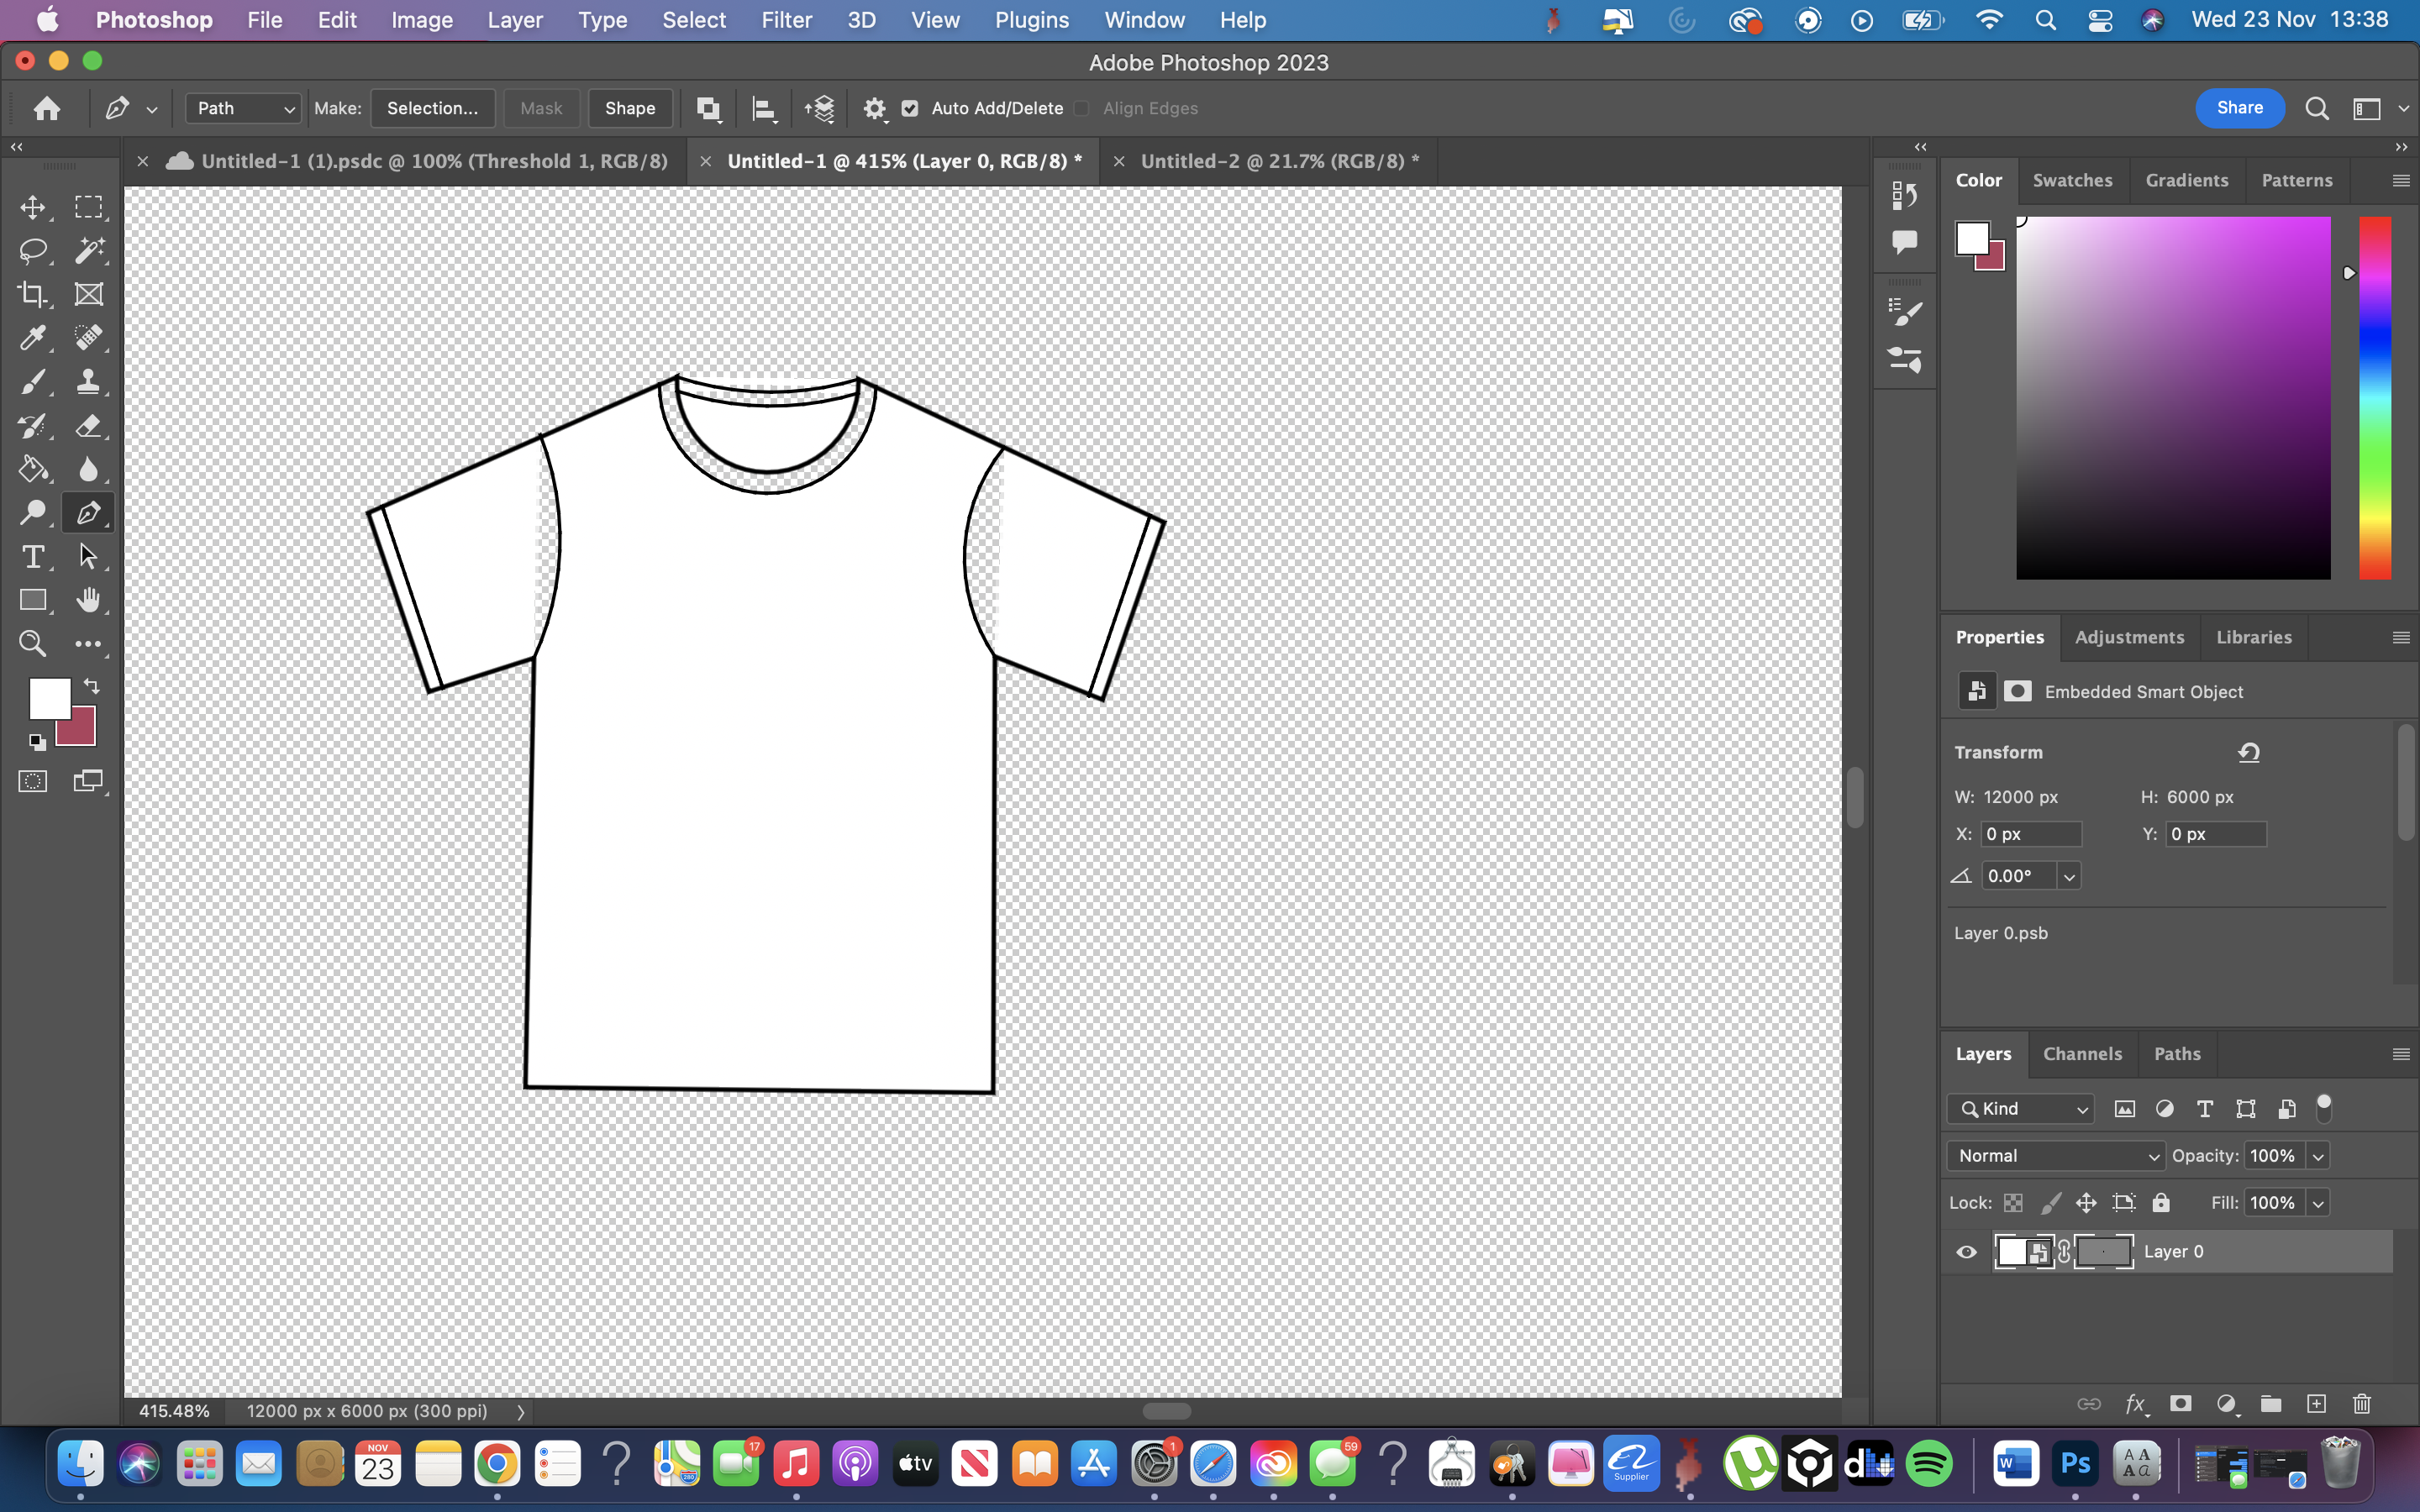
Can anyone help with this issue I'm having when creating a vector mask from a pen path I have drawn of a t shirt, I can't seem to fill the t shirt with the background colour effectively.
My aim is to colour the inside of the pen path so that i can make various different colour t shirt designs so if there is a better way to do this please let me know.
appreciate any help in advance.


Explore related tutorials & articles
 10
Replies
10
10
Replies
10

Copy link to clipboard
Copied
Create a shape layer/ solid in the layers palette, draw the path on there. Change the color by double-clicking on the layer icon.
Mylenium
Copy link to clipboard
Copied
How do I then cut the coloured background from the t shirt outline ?

Copy link to clipboard
Copied
Another thing you can do is save the path (rename it), then convert it to a selection (Cmd+Return), and fill the selection on a new layer (Option+Delete).
Jane

Copy link to clipboard
Copied
The way I'd do it is having two layers
One for the black outline - on top
and one solid colour adjustment layer below, with your vector mask

(You'll have to excuse my poor fashion sense 😁)
Double click on the thumbnail of the tee shirt colour and the colour picker will appear. You'll change the colour from there, and your black outline will not be touched.
For the moment your shapes aren't filled entirely as your shapes don't seem to be closed areas (Path guess the area to fill)
Copy link to clipboard
Copied
Thanks this is helpful but I'm still having issues, should the t shirt be on it's own layer? Mines doesn't appear to have a thumbnail
Copy link to clipboard
Copied
could you potentially write out the steps for me? How did you create the layer with only the T Shirt colour on it
Copy link to clipboard
Copied
I just traced the tee-shirt outline with the pen tool, and with the path selected
create a new solid colour adjustment layer

You'll see the vector path will now be on its own layer filled with the foreground colour. On top of your black outlines layer

now drag your coloured layer beneath your black outline layer so the top one (the outline) is visible and the rest is coloured underneath.
You won't have to touch that top layer anymore, all you'll have to do to change the colour of the tee-shirt will be to double click on the thumbnail of the bottom layer to open the colour picker and choose from there. And of course click OK.
Let me know if that helps!
Copy link to clipboard
Copied
@defaultpvh8ml5eb2za wrote:
Mines doesn't appear to have a thumbnail
The thumbnail is the small picture of the layer to the left. See this help file for details:
https://helpx.adobe.com/photoshop/using/layer-basics.html

Jane
Copy link to clipboard
Copied
Hi guys,
Thanks for the guidance this far. I have managed to get to the stage stated above, however with the new colour fill layer it still does not seem to fill the entirity of the path, even where there are no gaps and the lines join up together this occurs, yet in some cases where they do not it also occurs. Having a hard time getting passed this and it feels like such a simple thing to want to do.
does anyone know how I can overcome this? Pulling my hair out at this point, I am completely brand new to photoshop and have only bought it for the purpose of making tech packs.

Copy link to clipboard
Copied
Your screenshot shows a smart object. Please double click on its thumnail to see what it contains. in the new tab you will have a .psb file that you can edit.

 AdChoices