- Home
- Photoshop ecosystem
- Discussions
- Re: Picking up, and then printing, too much black
- Re: Picking up, and then printing, too much black
Copy link to clipboard
Copied
Hi,
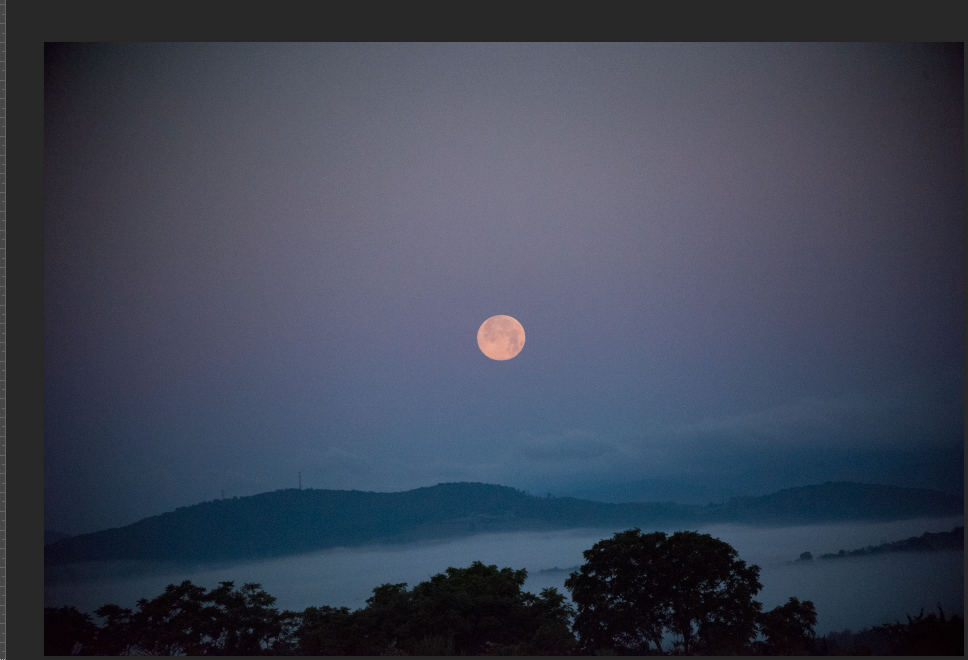
I am importing a NEF (Nikon raw format) into PS CC and I'm picking up way too much black overall.
On every single NEF file black is drowning out the other colors. Any tips on how I can correct this:

 1 Correct answer
Hi Anita
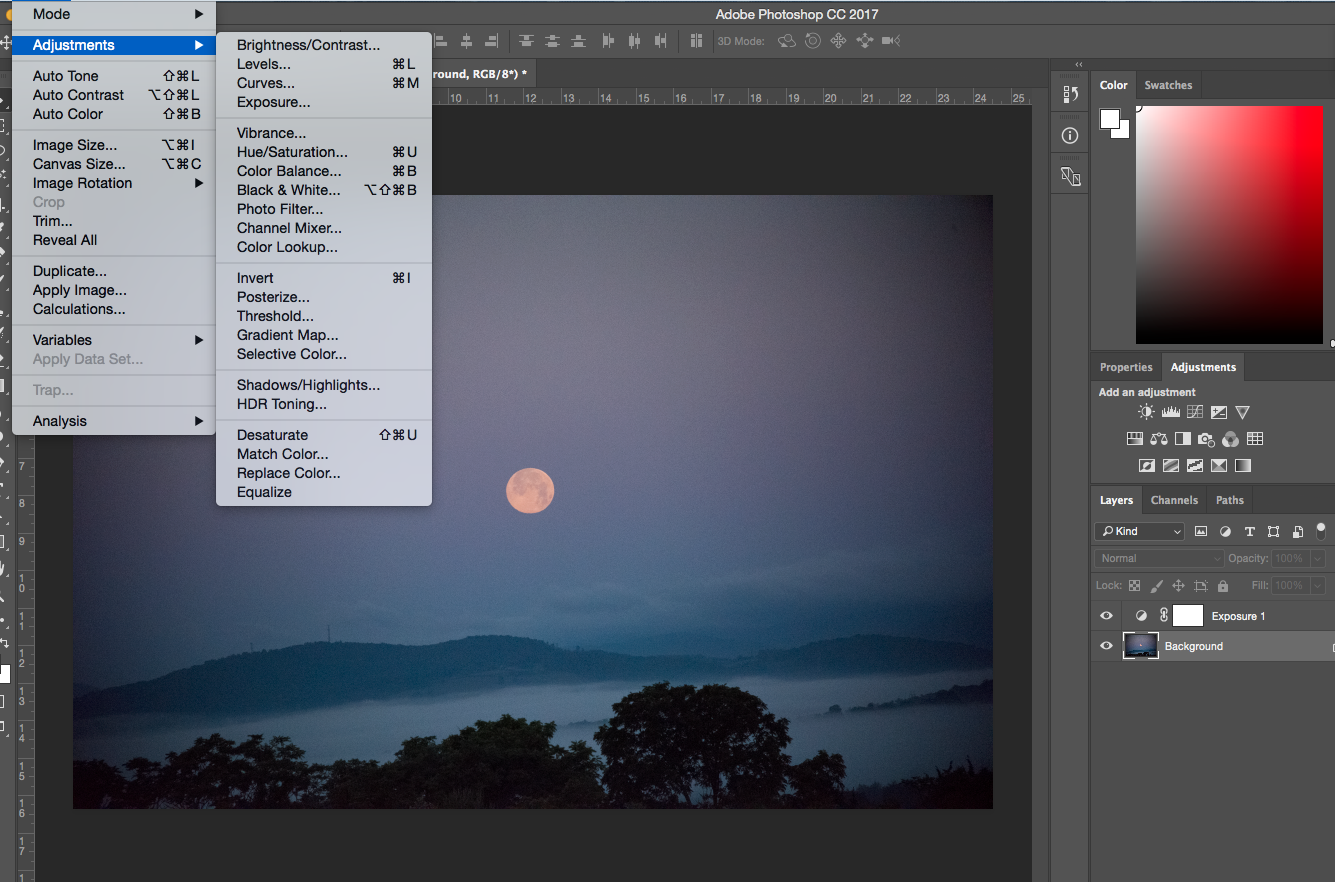
No not the adjustment layers.
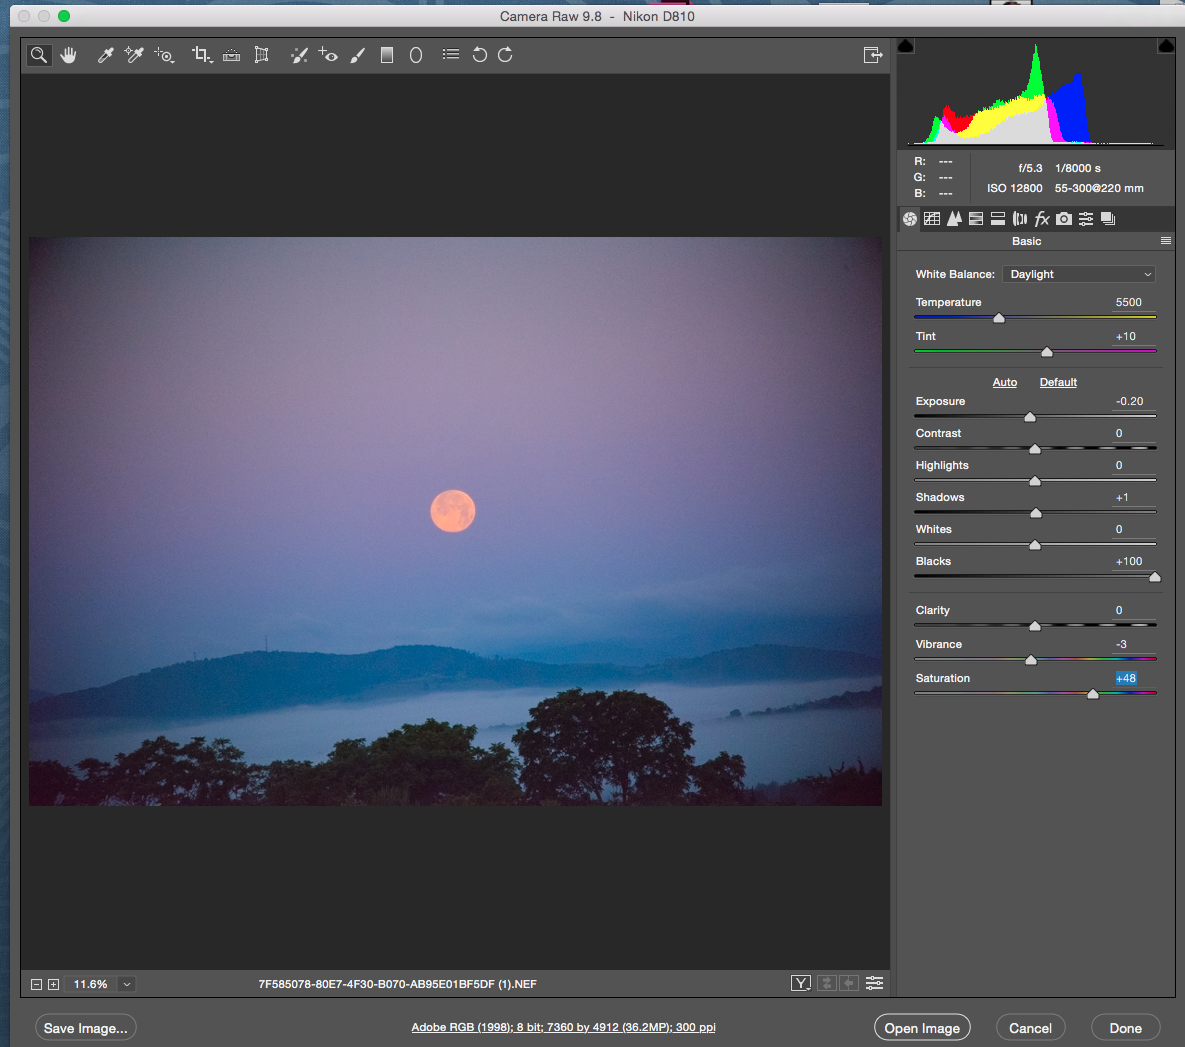
If you open a Raw file, such as a NEF, then it should open the Adobe Camera Raw dialogue before going into Photoshop. That is the best place.
Unfortunately I am not at my PC at present to attach a screenshot. If you have mot resolved when I get back home I will attach one.
Dave
Explore related tutorials & articles
Copy link to clipboard
Copied
Hi Anita
When you open your NEF file it should have opened Camera Raw.
You need to use the sliders in the Basic adjustments panel to get the image to look the way you want.
The sliders at "0" are just a starting point. It is very rare that leaving all the sliders untouched will give the correct "development" of your Raw file.
Dave
Copy link to clipboard
Copied
Dave,
Do you mean under the menu ADJUSTMENTS -- brightness, levels, etc? I just want to eliminate black overall, not change the other color values automatically as I eliminate the black -- which seems to happen when I use these sliders. I did see the image displayed in NEF before importing into PS so I know what the original looks like.

Copy link to clipboard
Copied
Hi Anita
No not the adjustment layers.
If you open a Raw file, such as a NEF, then it should open the Adobe Camera Raw dialogue before going into Photoshop. That is the best place.
Unfortunately I am not at my PC at present to attach a screenshot. If you have mot resolved when I get back home I will attach one.
Dave
Copy link to clipboard
Copied
Dave, I see it now. Still would have to play around for a while to understand all.
Does Lightroom work the same way? The amateur photographer has Lightroom and perhaps should learn these controls too since so much of this balance is subjective.
Thank you!!

Copy link to clipboard
Copied
Hi
Yes, Lightroom and Camera Raw adjustments work exactly the same way.
The balance is subjective, and rightly so as this enables us to decide how our capture will be interpreted. The histogram at the top can be used as a guide to exposure. Your dark image will naturally have a histogram biased to the left but a normal. e.g daytime image should use the whole width.
If you hold down Alt (Option key on Mac) whilst moving the white and black sliders you will see which parts of the image will be black/white .
Dave
Copy link to clipboard
Copied
Dave,
I am going through the Tutorials on line, there are several, but I don't see an Adobe sponsored one. If there's one you can recommend then I'll follow up. Meanwhile, you've given me plenty to go on, it's just a matter of understanding the tools. These images need to be 16x20 inch prints on canvas and I want a full range of values and color while holding back the black.
The photographer will learn also, but for now I want to jump in and create files for print.
How to use Adobe Camera Raw In Photoshop CC - YouTube
How to Use Camera Raw in Adobe Photoshop CC 2017 - YouTube
Adobe Camera RAW for Beginners: Adjustment Brush-Part 1 - YouTube
Anita
Copy link to clipboard
Copied
Hi
Some of the better tutorials are at Lynda.com including tutorials from Adobe's Julieanne Kost. They do a free 30 day trial
Lynda: Online Courses, Classes, Training, Tutorials
There is also an introduction from Adobe here:
Make non-destructive edits in Camera Raw | Adobe Photoshop CC tutorials
Dave