Here's one way to do it:
Duplicate the original layer:

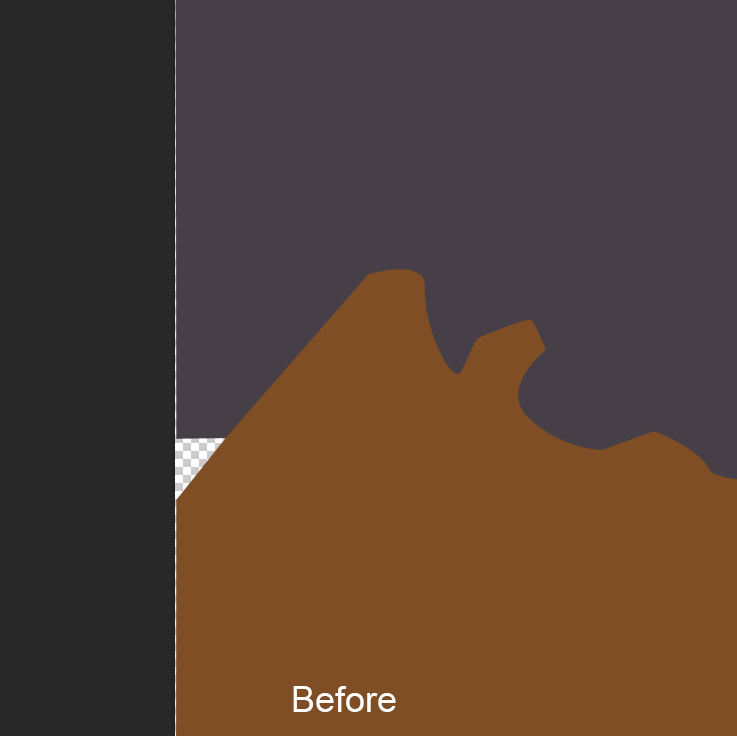
Apply the blur to the copy and select how far in you want the edge to be crisp. With the blurred layer selected, go Edit>Cut. (This will give you a hard edge. If you need the edge to be less sharp, you can blend the cut edge to taste by going "Refine Edge" with the marquee tool before cutting.)

The crisp edge of the original is now visible. Merge the layers and you're done.

-edit typo


 7
Replies
7
Replies


 AdChoices