 Adobe Community
- Home
- Photoshop ecosystem
- Discussions
- Remove parchment background from illustration
- Remove parchment background from illustration
Remove parchment background from illustration
Copy link to clipboard
Copied
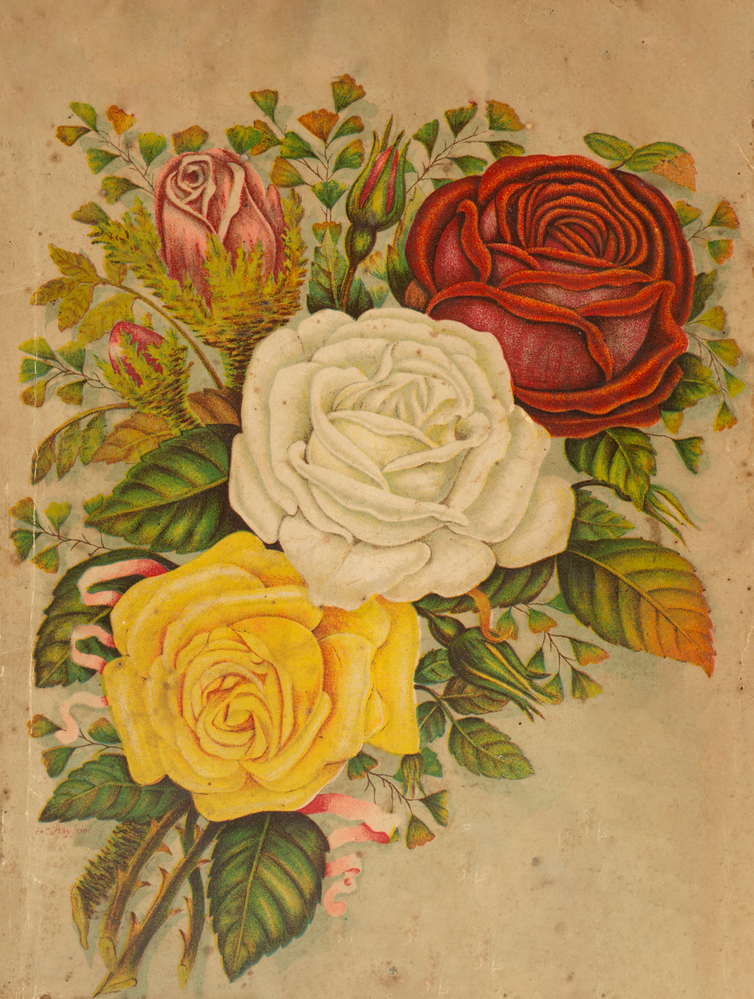
I have this image where I want to remove the parchment background so that it can cohesively tie in with our white background theme as the client wants to use it on their truck but I feel leaving the parchment clashes with the black and white design we've already done. Backstory - we've sourced all these old original illustrations from the nursery and had them scanned proffessional - black ones have been used for majority of the design and easily removed the parchment paper but they want this one included as well.
I can obviously meticiulously mask around it but I'm wondering if there's an easier way - it's been a few years since I've brushed up on my photoshop skills. I plan on then colour correcting afterwards as the white of the rose is being changed by the paper colour.
When using select and mask it only picks up the 3 roses but not the full bouquet which in my opinion have quite contrasting colours to the background
Explore related tutorials & articles
Copy link to clipboard
Copied
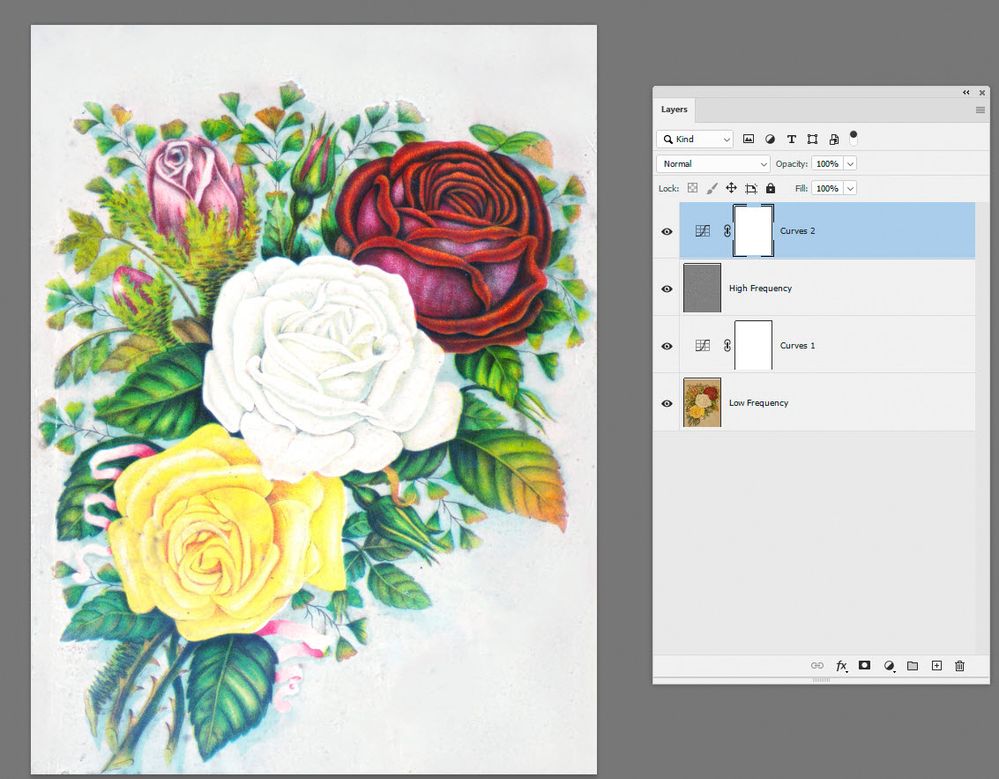
Try frequency separation which breaks the image into two layers - one with the detail and the other with the tones.
Carry out your colour correction on the low frequency layer and spotting on the high frequency layer.
A quick and dirty example below - which needs more work but gives the general idea
To separate :
1. Make two duplicates - Name the lower "Low Frequency" and the upper "High Frequency"
2. Select the "Low Frequency Layer" and use Filter Gaussian Blur (around 6.0 usually works)
3. Select the "High Frequency" layer
Go to Image Apply Image
Set the source to "Low Frequency"
Set Blending to Subtract
Scale 2
Offset 128
Click OK
Set the High frequency layer blending mode to Linear Light
The above settings are for 8 bit /channel images for 16 bit, in apply image use:
Blending mode Add
Check Invert
Scale 2
Offset 0
Dave

