karenbrit23
New Participant
March 29, 2020
Answered

Create a custom text box shape in PSE 2019

  • March 29, 2020
  • 2 replies
  • 6571 views

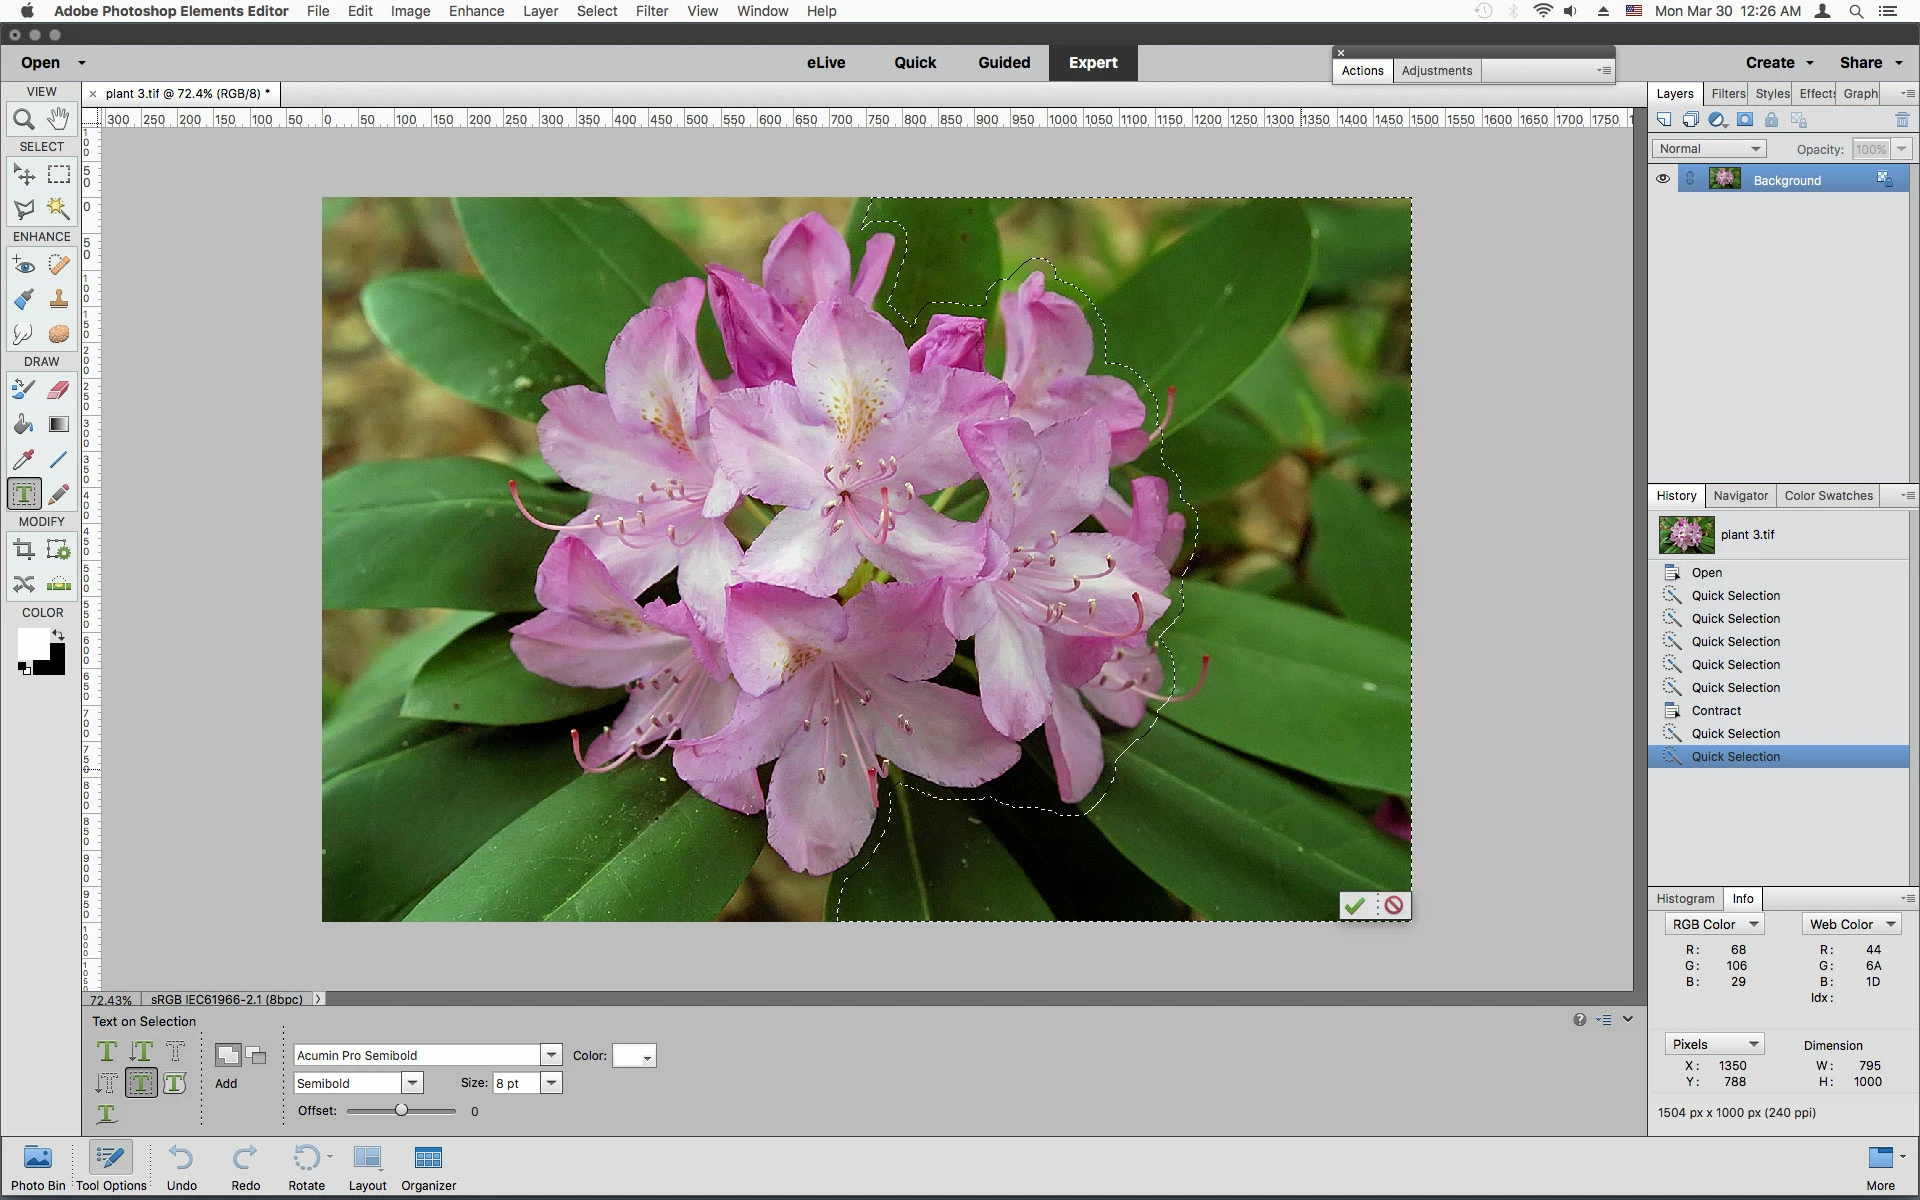
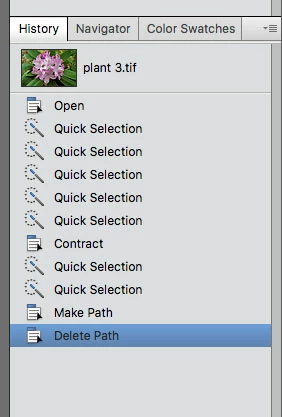
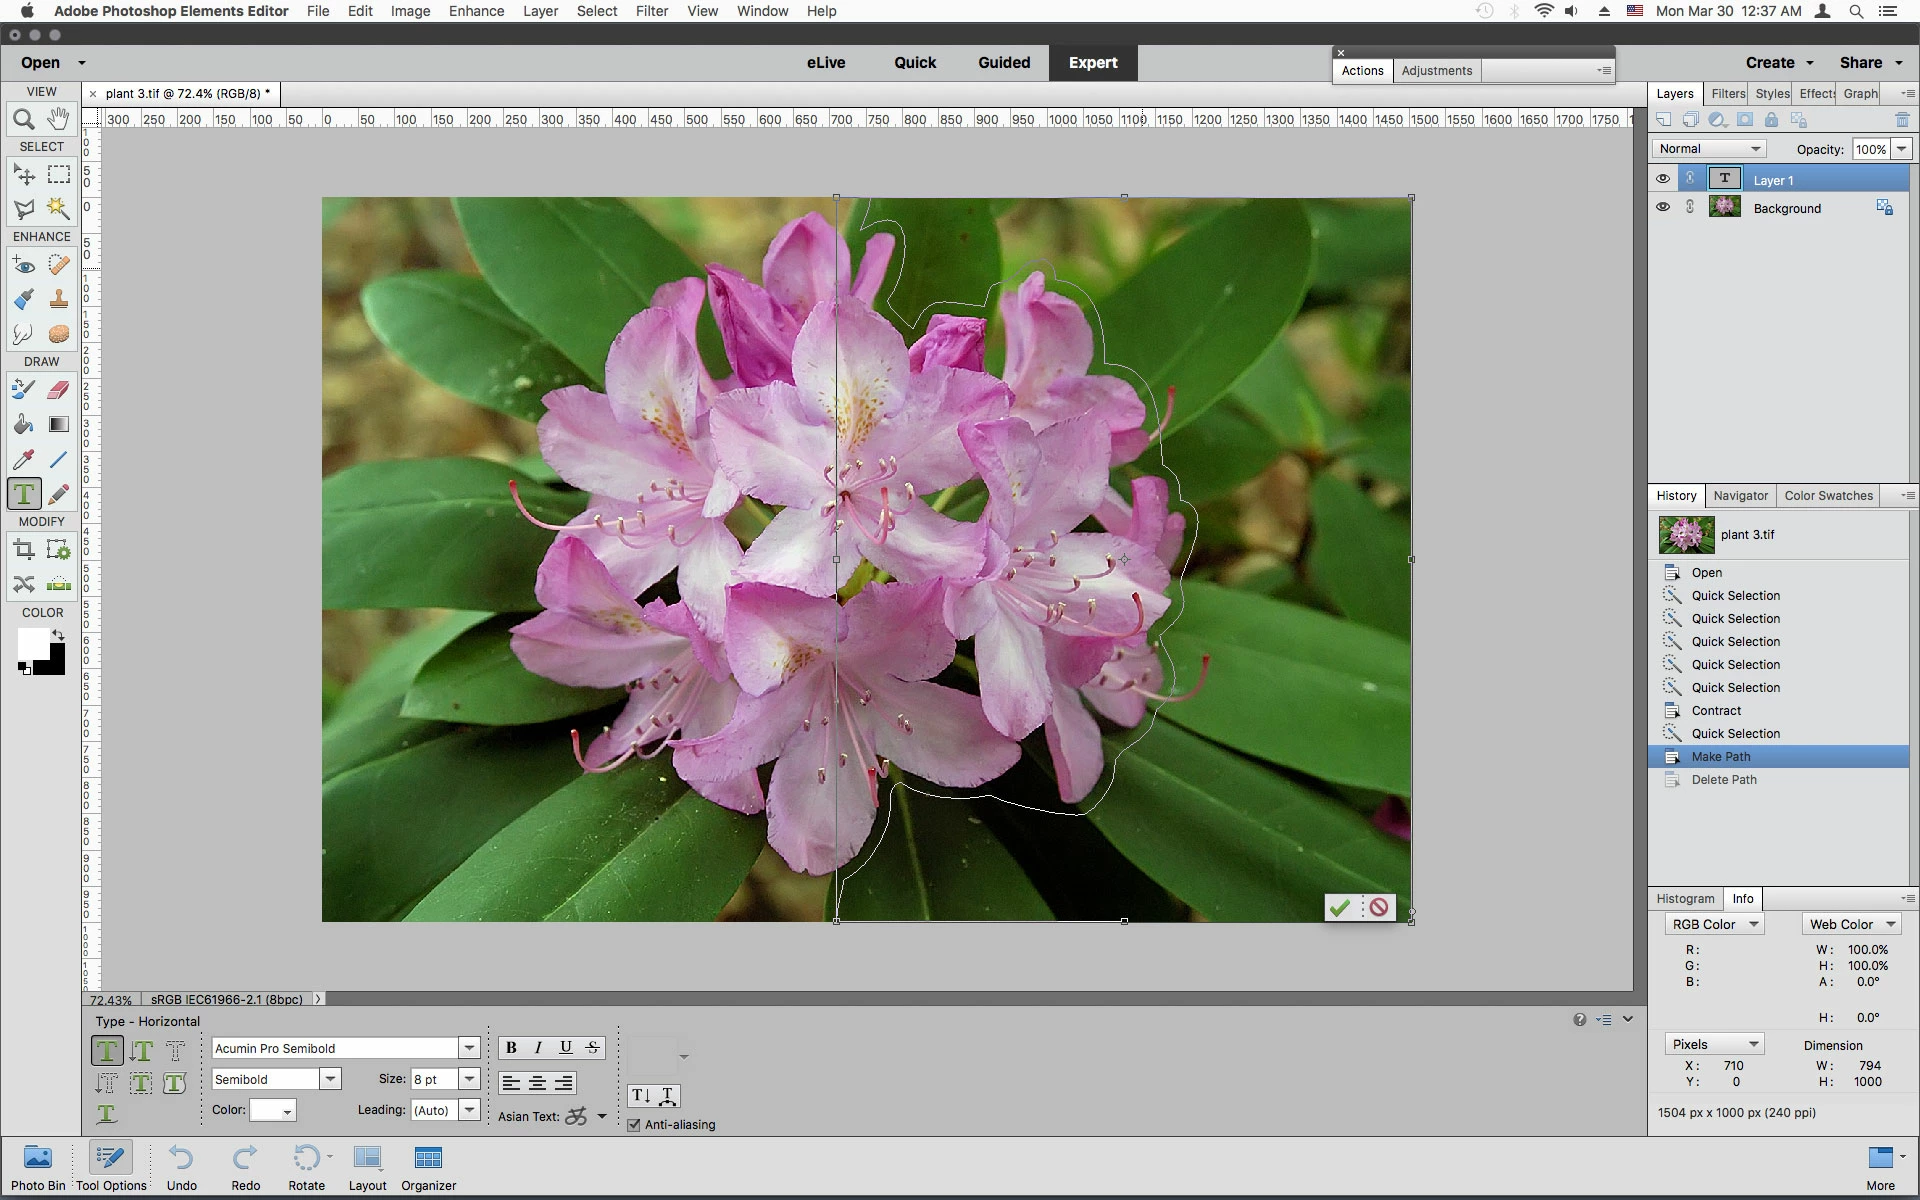
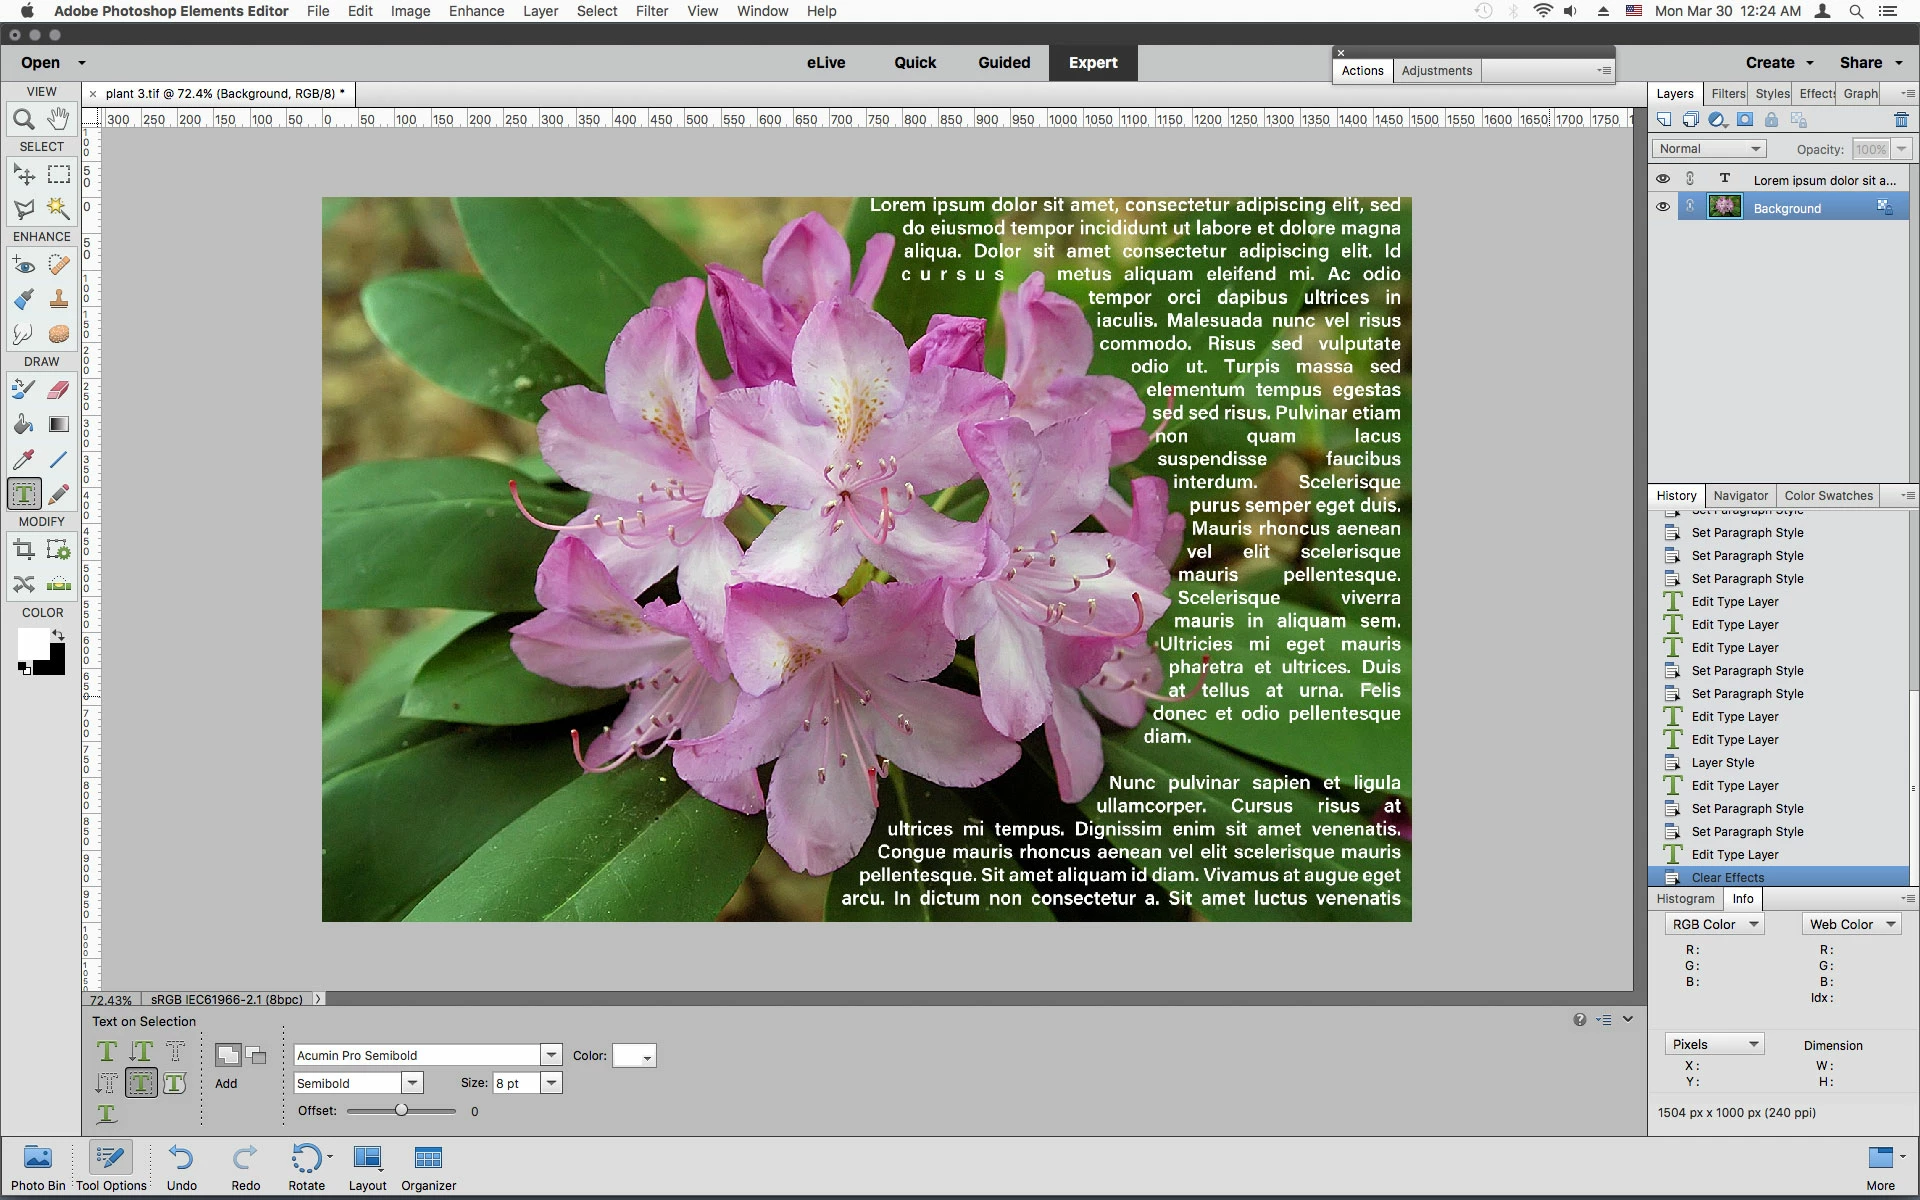
I'm using Photoshop Elements 2019. I need to create a custom text box shape on a scrapbook page then I need to add text within the custom shape. I need to "draw" the shape of the text box so that it goes around elements on the page.  I cannot find a good tutorial in PSE to do this. I've seen PS tutorials but not PSE.

This topic has been closed for replies.
Correct answer Jeff Arola

You can use one of the following Type Tools:

https://helpx.adobe.com/photoshop-elements/using/add-text.html


Text on Selection


Text on Shape


Text on Path


The key to getting the Text inside the path that is generated by one of these tools is to Commit the tool with the Green check mark, select the Horizontal Type Tool undo the Delete Path step in the History panel, then click inside the path and type.


I used the Text on Selection Tool in the following example


the selection


undo delete path step after selecting Horizontal Type Tool


the path to type in


the result


2 replies

Jeff Arola
Jeff ArolaCorrect answer
Community Expert
March 30, 2020

You can use one of the following Type Tools:

https://helpx.adobe.com/photoshop-elements/using/add-text.html


Text on Selection


Text on Shape


Text on Path


The key to getting the Text inside the path that is generated by one of these tools is to Commit the tool with the Green check mark, select the Horizontal Type Tool undo the Delete Path step in the History panel, then click inside the path and type.


I used the Text on Selection Tool in the following example


the selection


undo delete path step after selecting Horizontal Type Tool


the path to type in


the result


hatstead
Inspiring
March 30, 2020

That does not appear to accomplish what OP has in mind as I read it.

She stated:"need to add text within the custom shape."

So, if you have a t-shirt with a heart shape printed on it, one could enter an amorous message within the confines of the heart.

Maybe I have it all wrong.

Look forward to hearing from OP/

karenbrit23
New Participant
April 4, 2020

The image above with the text formed around the shape of the flower is what I am trying to achieve.  I may have worded it incorrectly before. Sorry. I will try this.

hatstead
Inspiring
March 30, 2020

1. Open the file. This will be the Background layer

2. Use one of the selection tools, e.g. lasso tool, magnetic lasso tool, selection brush, to select the object for the intended shape

3. Once the selection is complete, press CTRL+J to place

 it on its own layer. This will be Layer 1. Shut off the visibility of the Background layer by clicking on its eye icon in the layers palette.

4. Open a blank layer at the top. This will be Layer 2

5. Set your foreground color chip to the color for the outline of the shape

6.Make Layer 2 active, and go to Edit>Stroke(outline) seletion. Place the stroke inside. try stroke width 10px. If this is too much, delete Layer 2 and try with a more suitable stroke width

7. Turn off the visibility of Layer 1

8 Activate the Type tool and add the text to suit. The text will come in on its own layer. You can drag the text or position with the move tool.