• Global community
    • Language:
      • Deutsch
      • English
      • Español
      • Français
      • Português
  • 日本語コミュニティ
    Dedicated community for Japanese speakers
  • 한국 커뮤니티
    Dedicated community for Korean speakers
Exit
0

How to correct wide angle lens blurring and stretching?

Community Beginner ,
Jun 07, 2019 Jun 07, 2019

Copy link to clipboard

Copied

I have a group photo taken with a wide angle lens. The people on the right and left edges are slightly out of focus and stretched out a bit (makes them look fatter than they really are).

Any tips on a quick way to correct this?

Thanks.

Views

413

Translate

Translate

Report

Report
Community guidelines
Be kind and respectful, give credit to the original source of content, and search for duplicates before posting. Learn more
community guidelines

correct answers 1 Correct answer

Community Expert , Jun 07, 2019 Jun 07, 2019

I used the Liquify filter on the man with the white shirt on the right. Use the bracket keys next to the letter P on the keyboard to Increase ]. Decrease [  the size of the cursor. so as to embrace the object. You may have to try it several times to get it so that it does not look fake.

I sharpened globally with unsharp mask via the Enhance menu.

group+photo_2.jpg

Votes

Translate

Translate
Community Expert ,
Jun 07, 2019 Jun 07, 2019

Copy link to clipboard

Copied

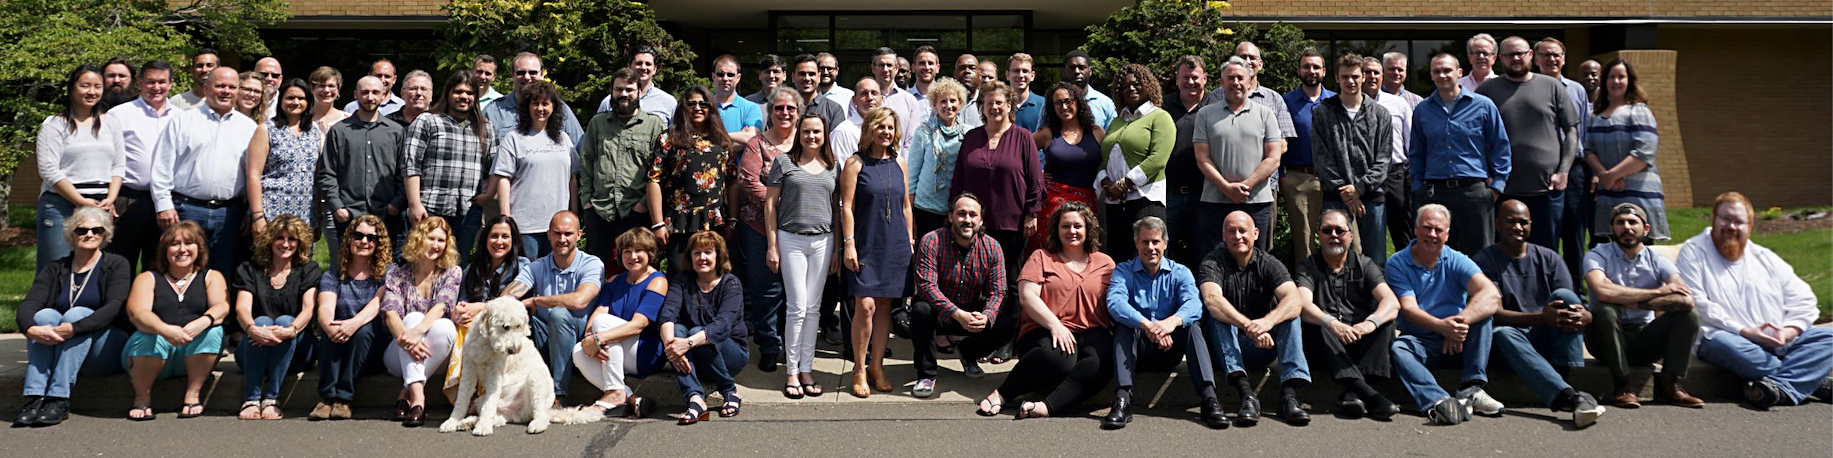
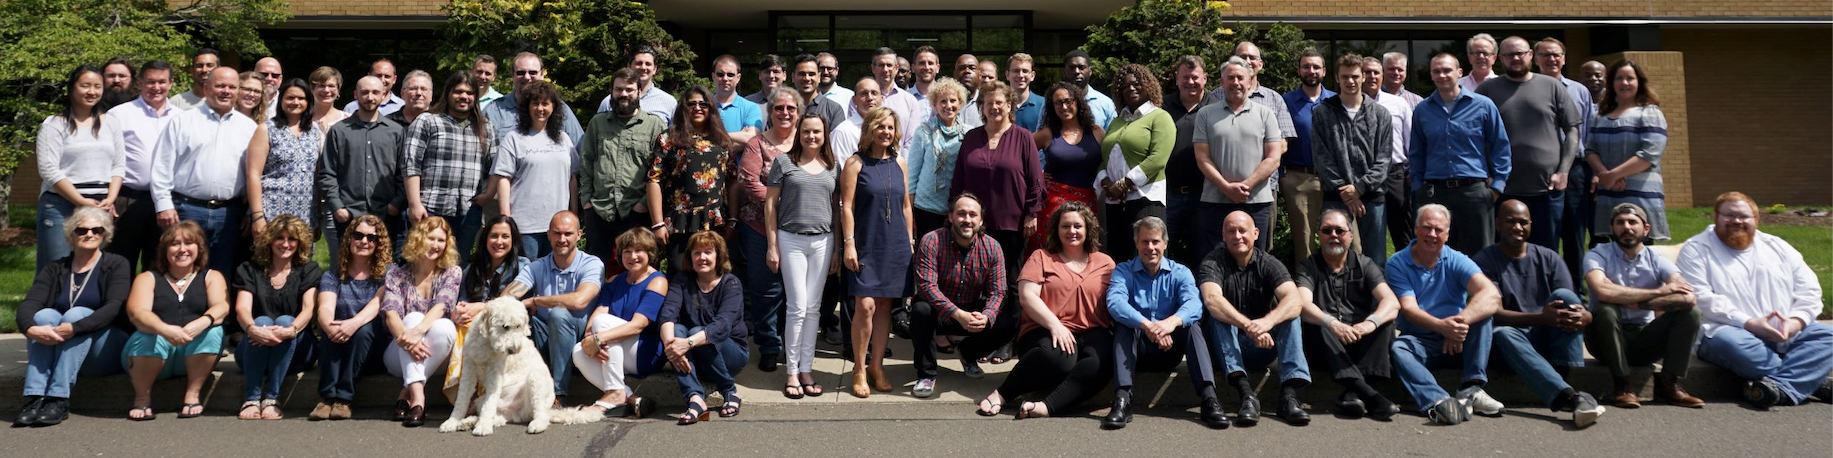
atthecshore  wrote

I have a group photo taken with a wide angle lens. The people on the right and left edges are slightly out of focus and stretched out a bit (makes them look fatter than they really are).

Any tips on a quick way to correct this?

Thanks.

It would help if you post a representative picture for us to look at. If you are so inclined, you can proceed via the Insert Image icon at the top of the reply box here on the forum. You can not do it in an e-mail reply.

PSE has the Liquify filter (Filter>Distort>Liquify>Warp) which may do it with a large circular cursor.

Will be pleased to give it a shot and advise further.

Votes

Translate

Translate

Report

Report
Community guidelines
Be kind and respectful, give credit to the original source of content, and search for duplicates before posting. Learn more
community guidelines
Community Beginner ,
Jun 07, 2019 Jun 07, 2019

Copy link to clipboard

Copied

Here's the image. Note the slightly out-of-focus people and distortion on the left and right sides. group photo.jpg

Votes

Translate

Translate

Report

Report
Community guidelines
Be kind and respectful, give credit to the original source of content, and search for duplicates before posting. Learn more
community guidelines
Community Expert ,
Jun 07, 2019 Jun 07, 2019

Copy link to clipboard

Copied

LATEST

I used the Liquify filter on the man with the white shirt on the right. Use the bracket keys next to the letter P on the keyboard to Increase ]. Decrease [  the size of the cursor. so as to embrace the object. You may have to try it several times to get it so that it does not look fake.

I sharpened globally with unsharp mask via the Enhance menu.

group+photo_2.jpg

Votes

Translate

Translate

Report

Report
Community guidelines
Be kind and respectful, give credit to the original source of content, and search for duplicates before posting. Learn more
community guidelines