 Adobe Community
3D map effects

Copy link to clipboard
Copied
hi,
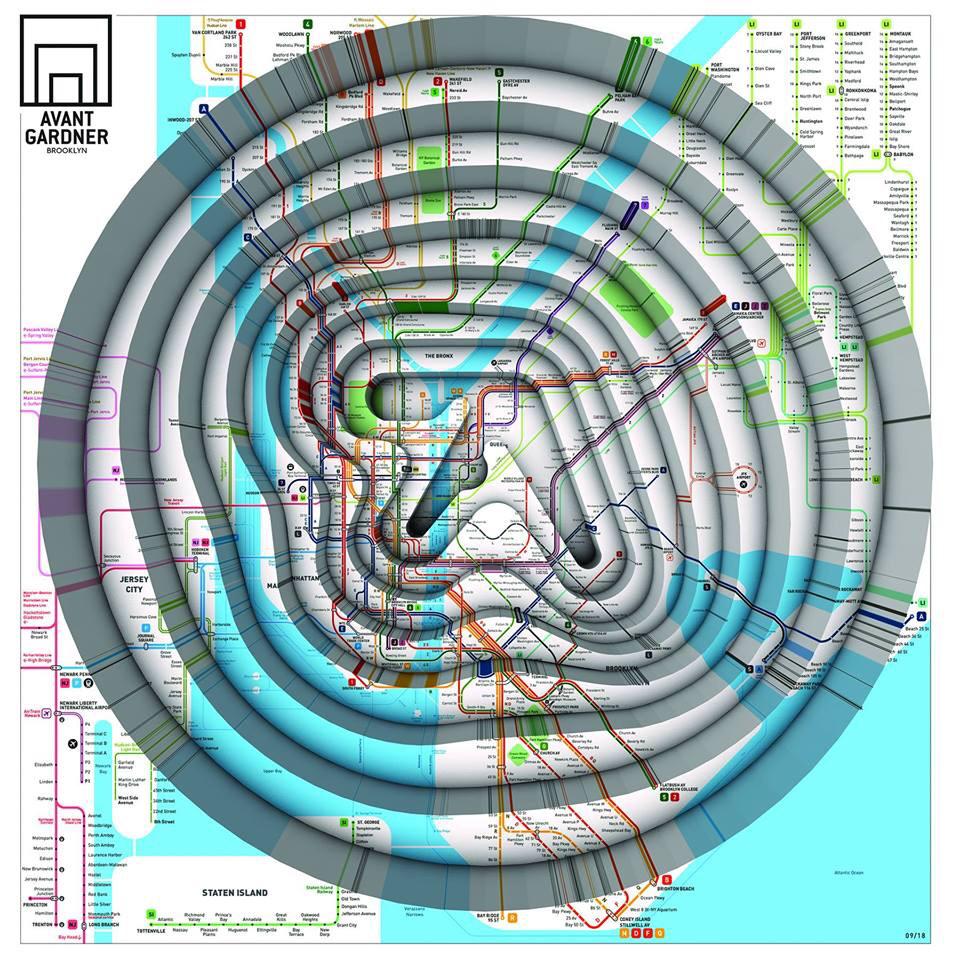
I'm not new with photoshop but i want some advice. I have an image of a map and i want to make something like image below. Any idea where to start to get the 3d effect?
Thanks.


Explore related tutorials & articles
 12
Replies
12
12
Replies
12

Copy link to clipboard
Copied
Likely a 3D program. There the steps between the contours could easily be created with an interpolated spline-based blend object and then the texture slapped on. It may be possible to do in PS by slicing things up and doing multiple extrusions, but the texturing is going to be a pain in the rear.
Mylenium

Copy link to clipboard
Copied

You may need to tweak displace map & beveling. This was quick to see if you want to further explore this direction. Use liquify over some areas for extra organic looking distortions.

Copy link to clipboard
Copied
FYI (the original)
APHEX TWIN – COLLAPSE EP – ARTWORK |

Copy link to clipboard
Copied
A 3D app is the way to go.
In theory you could use Photoshop's 3D displacement - but it does not give the fine subdivision needed for smooth results
In Blender you could turn on experimental features and use the recently added Adaptive subdivision on a plane and then a displacement map for the depth.
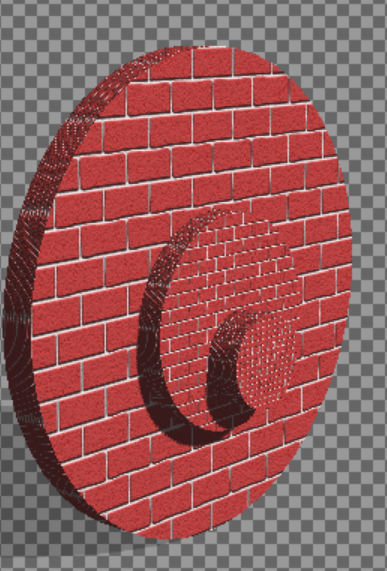
So starting with these two images from Photoshop :


I used the first as the Diffuse texture on a plane and the second to displace the plane (images from Blender 2.8)


To give this:

I hope that helps
Dave
Copy link to clipboard
Copied
It should be feasible to do this in photoshop as it could be several paths created with the pen tool, combine the paths onto a single layer.
In 3d mode you should be able to select each path and move it on the z axis for depth. Then apply a single texture to the entire object.
As I said this should be feasible and may or may not work depending on how photoshop deals with the paths of the original layer.
That said, I agree with Mylenium and Davescm. It is way easier to do in a 3d party modeling program.
Copy link to clipboard
Copied
A fast way to create the paths (Assuming my first method works) is to use illustrator and blend the smallest path with the largest path just decide on how many steps you want. Which brings up the point that illustrator can simulate 3d. So it could apply the image to the face of the blended object.
Again this is theory.
Copy link to clipboard
Copied
Hi
It was a good thought Silkrooster but when I tried it I just gave me a single extrusion - not ability to move the mesh for each path.
You could create a separate object for each layer but then the issue is still how to get that image stretch on the extrusion between the layers, to match the layer (i.e next object) below.
As shown above, doing this in a 3D application is quick and straightforward.
Dave
Copy link to clipboard
Copied
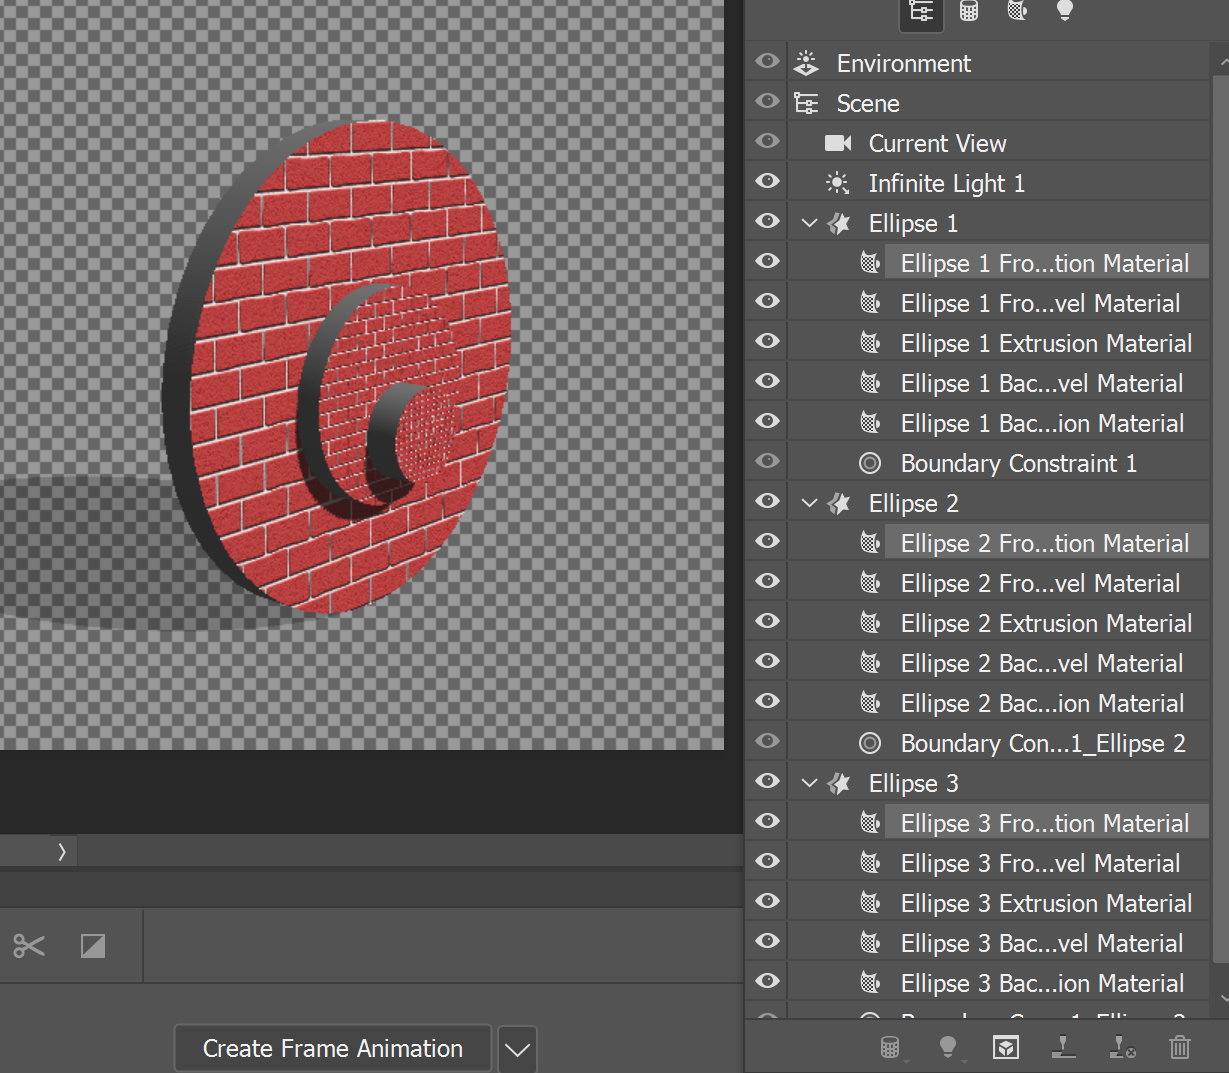
Here is an example of extruding each layer separately then merging the 3 objects. I did have to make sure each object was apart from the others for photoshop to see them as 3 distinct objects. Then I just applied the same texture to each object. The UV map would scale the image. So applying the same image to the sides then stretching the UV in one direction would give the illusion of stretched lines.
Copy link to clipboard
Copied

Copy link to clipboard
Copied
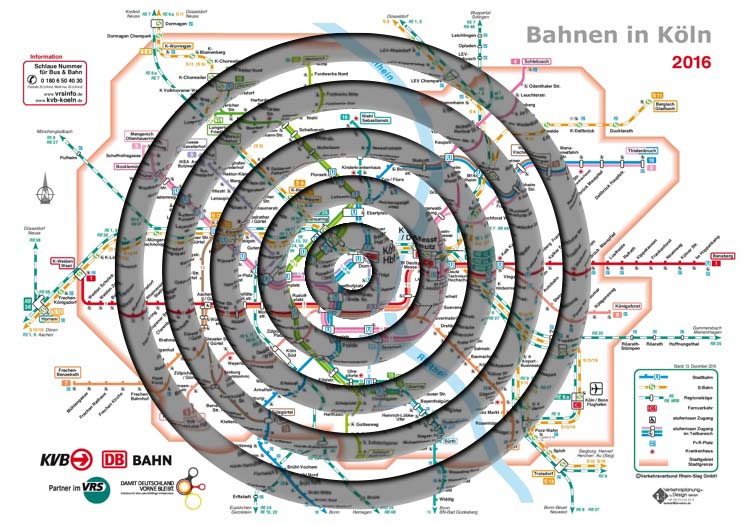
Here's what I came up with (just one level, though):
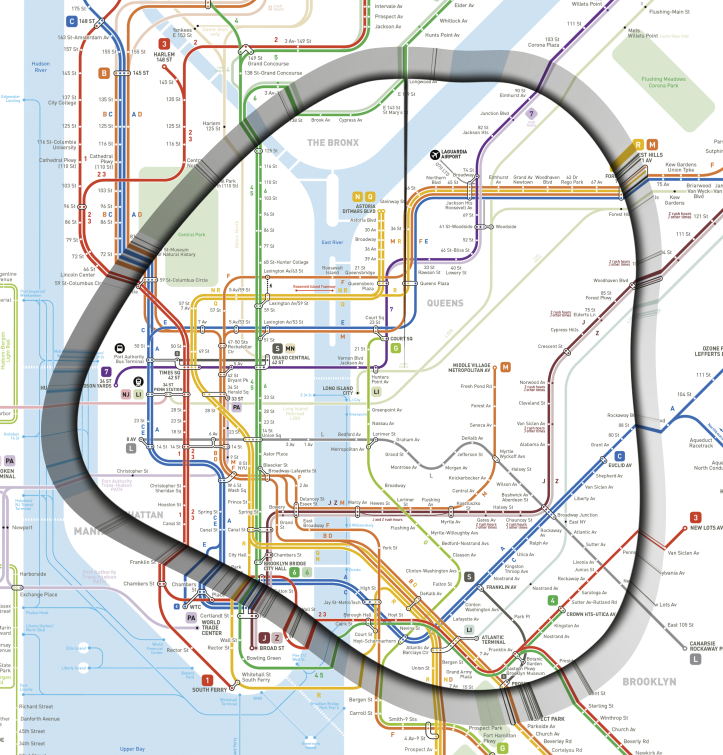
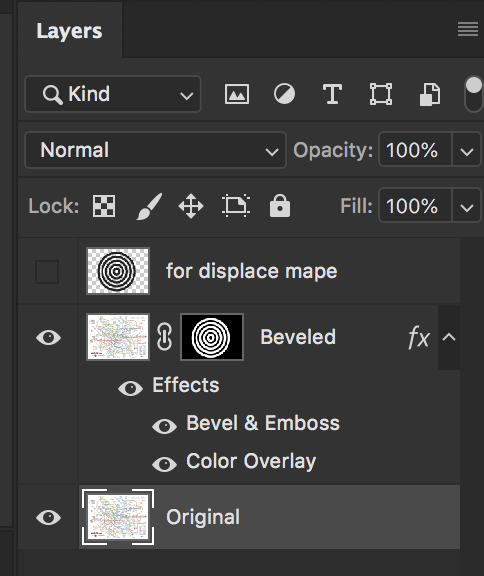
I used a version of the map I found here. I started by expending the canvas so the width and height were equal to the diagonal. I then used Distort > Polar Coordinates [Polar to Rectangular].
I used the Shape tool to make a rectangular box around the upper half of the image, and used the Pen to add several points along the bottom edge to make it wavy.I made this a selection, and also copied it, and deleted the upper points of the copy, to make it a line.
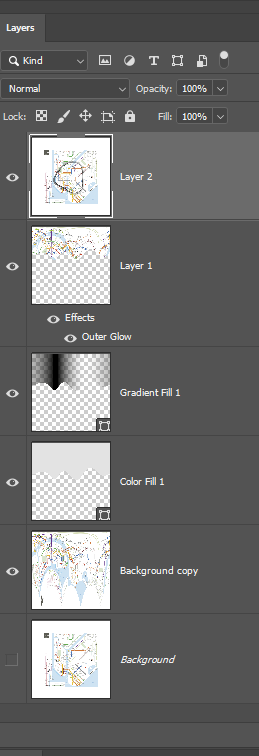
With the active selection, I did a new layer via cut, and Transformed it to 90% of the height, using the top center reference point.I then added an Outer Glow to it. Back on the original layer, I selected the "topless" path, went into Quick Mask mode, stroked the path with a 3 pixel black brush, and went back to standard mode.
With this selection, I copy transformed and transformed again LOTS of times, moving it up one pixel at a time, until the copies were going completely under the previously transformed layer, making a "smear"/repeat edge pixels effect. There's probably a more efficient way to do that, but I went with what first occurred to me.
With the wavy box as a vector mask, a I added Gradient and Color Fill layers between the background and the transformed layer. I Stamped Visible, and on the resulting layer ran Polar Coordinates [Rectangular to Polar]. Here's the Layers panel, to give a clearer idea of the structure:
Obviously, this would have to be considerably refined to do this with multiple levels. I would wager that the outlines were a Blend in Illustrator of the logo and a circle, and after bringing it into Photoshop, you'd have to make each step a selection and save them as alphas so you could run Polar Coordinates on them
Copy link to clipboard
Copied
Nice job Semaphoric !
You've certainly thought out of the box to achieve that one in Photoshop. It just goes to show - with a bit of lateral thinking a lot can be achieved.
I'd still go to a 3D app for speed and convenience though 
Dave
Copy link to clipboard
Copied
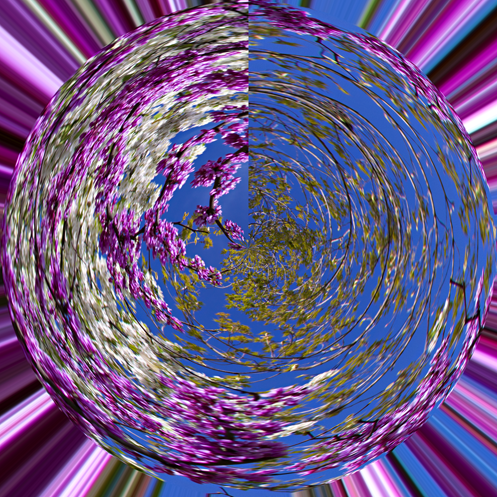
I mess around with Polar Coordinates frequently, and the image reminded me of what the filter does to the bottom row of pixels:

 AdChoices