 Adobe Community
Copy link to clipboard
Copied
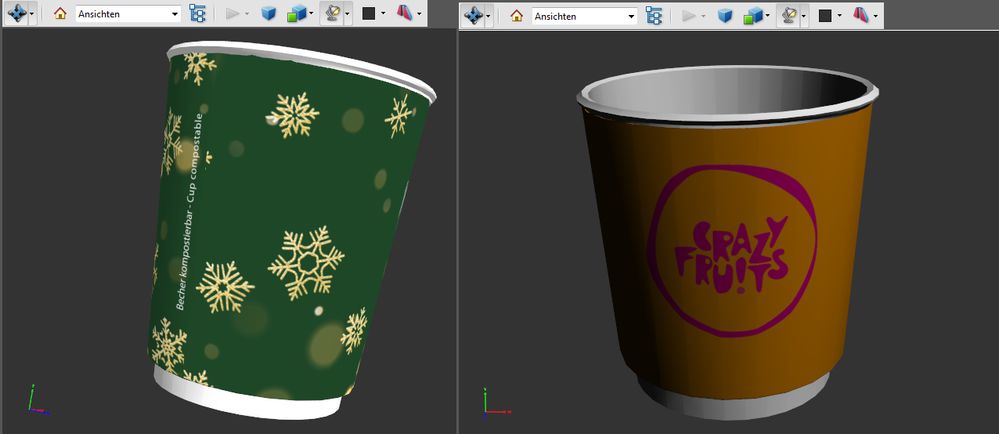
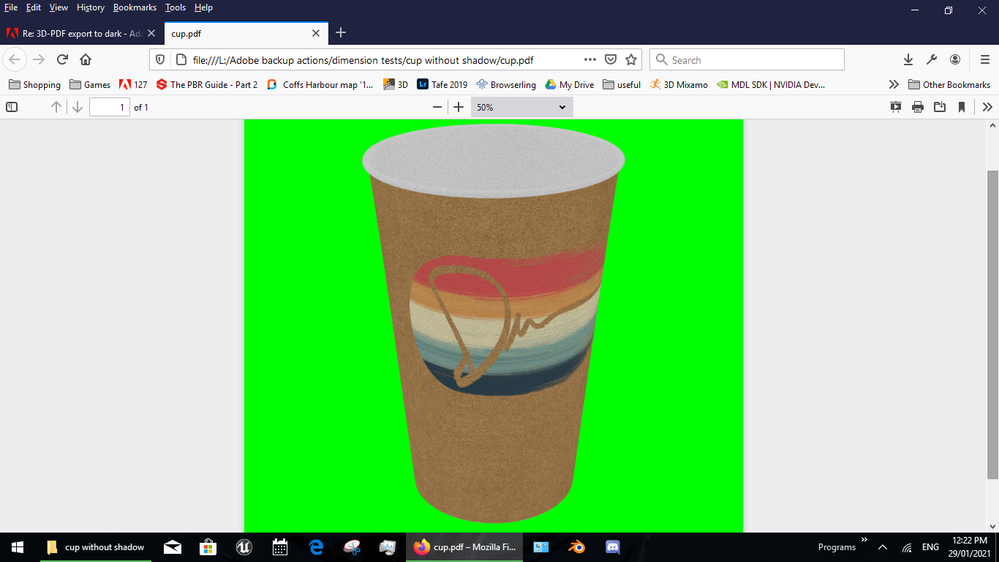
Hello, I have a problem exporting the 3D layer to 3D PDF. The object should be without shadow. in two cases it worked, but I don't know why. Although I use identical settings, the next 3D objects always have a shadow. What am I doing wrong? The 3D object is created with Blender 2.9. I use Photoshop 2021
also how can i get a smoother 3D Object? its ver rough...
 1 Correct answer
I'm with Dave, sorry but adding glow to a cup makes no sence at all mate... it also makes your rendor much more complex which adds extra time
why are you adding glow... is it because your cup looks dark without it?
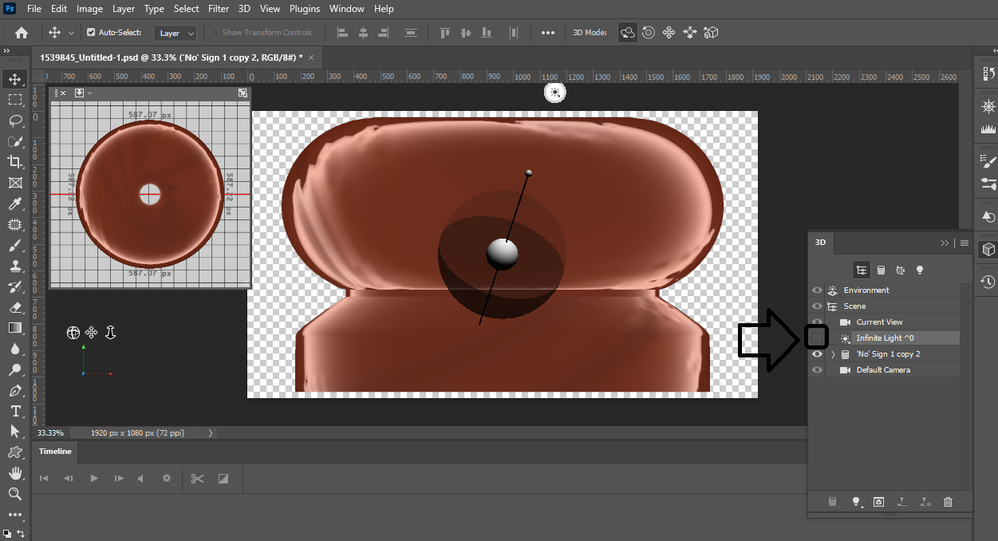
again; turn off the directional light i.e, poke the small eye box next to the light and the shadow it makes will go away... then increase the environmental light to make your cup less dark
Explore related tutorials & articles
Copy link to clipboard
Copied
there are different types of shadows
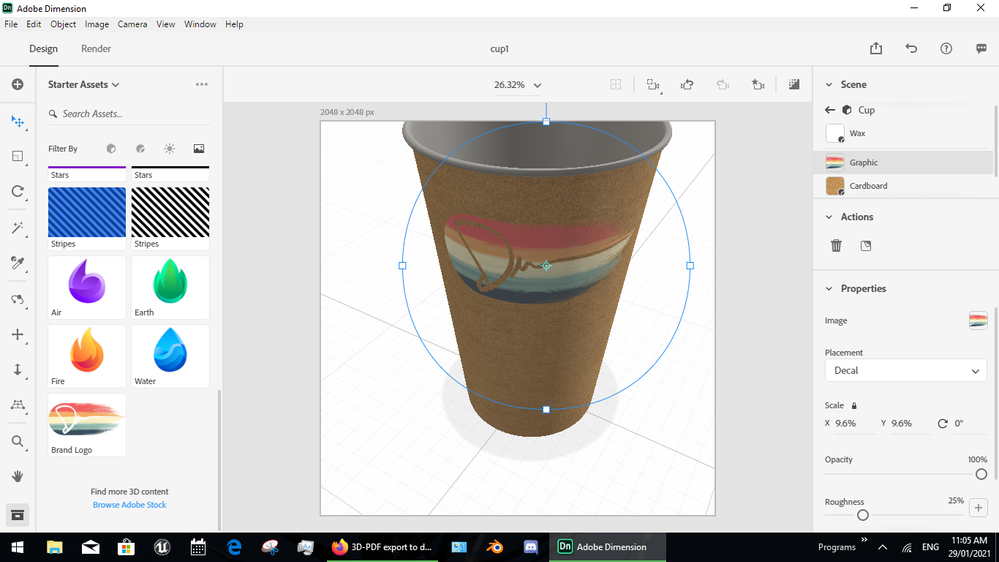
I'll make my cup in Adobe Dimension for this example
- shadow on the ground from the cup is model shadow
- shadow on the cup itself is enviromental... if you turn off the light to remove this shadow then up the surround light so your cup is not dark
also be aware that 3D pdf is old an only Jpg so add a colour background or the client will see white, black and gray at random
p.s, yes Photoshop auto turns the lights back on now... it can be a pain
Copy link to clipboard
Copied
Hi
Ussnorway is correct. For the shadow differences look at the lighting set up in Photoshop.
The stepped appearance on curves being different in different applications is due to the way smoothing is handled.
All models are made up of flat faces and they are made to look smooth by the rendering engine (both preview and final rendering). Hence the setting in Blender for smooth or flat surfaces. However you cannot rely on that smoothing being carried between applications. In addition, even with smoothing, sometimes shadows can emphasise the actual faces and various render engines (not Photoshop and certainly not a PDF viewer) have the ability to adjust the shadow calculations to be less physically accurate, but to give smoother shadows on low polygon models.
The only real way to guarantee the low poly artifacts do not show in different applications is to make a higher polygon model by subdividing the mesh several times. Of course that immediately increases the memory required and the render times. As in all things 3D, it is a trade off.
Dave
Dave
Copy link to clipboard
Copied
Hello and first of all many thanks for the tips. I managed to get the first green cup (all the others should look like this, only in different sizes) with the following settings:
The question is, why don't the same settings work for the next cup? Anyhow unlogical. Hmmmmm... Also already tired out to export u3d with Meshlab or DAZ studio. But also always got a too dark shadow in turnable 3D-Pdf file.
Copy link to clipboard
Copied
Your material settings don't make a lot of sense.
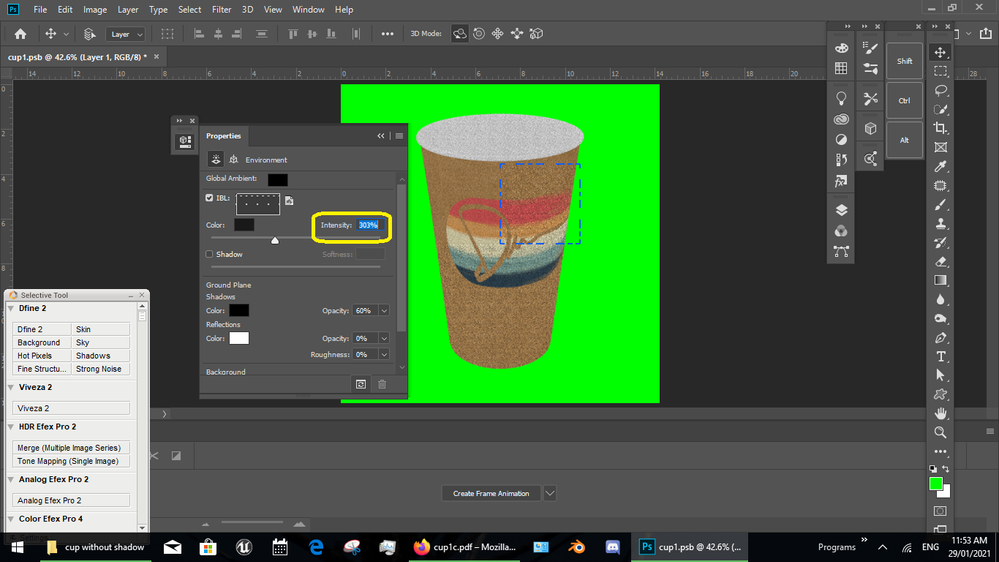
You are using glow - which emits light. A cup would not emit light
You have metalness set at intermediate values. Normally the metal value would be set to 0 for non metals (your cup) and 100% for metals.
The lighting position matters - you are using the Photoshop IBL which can be rotated between scenes.
Dave
Copy link to clipboard
Copied
Oh its my first try to create 3D. I am sure i made lot of mistakes but yeah still learning. how can i add polygones afterwards? just worked to circles and verticals.
well about my basic question i found a solution... not so easy one but works fine 🙂
I'm writing this down here because I'm sure many others have the same problem.
For me it works like this:
1. create a new file in Adobe Photoshop CS5.1 with the dimensions of the texture file.
2. insert a new 3-D layer .obj. With C5.1 you don't have to specify a scale yet.
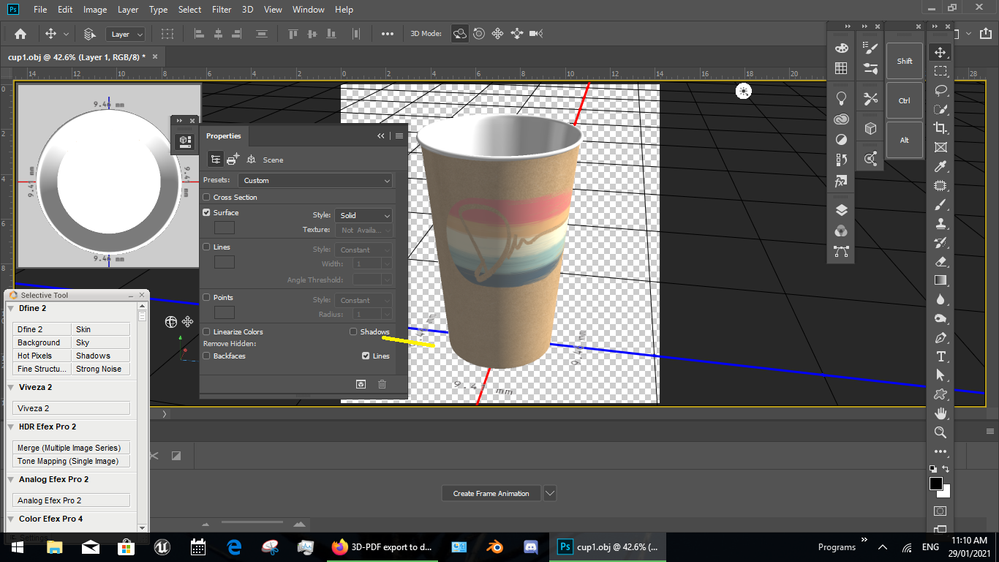
3. in the 3-D properties, turn off all the shadows you can find.
Save everything as psd
Then open the psd in Photoshop 2021.
Set the glow to 84%.
It seems to help if the directional light is above the object (above objMesh) in the layers. Also turn off the shadows in the directional light.
The result is some shadow that looks good and a nice bright 3D pdf object that can be rotated.
Copy link to clipboard
Copied
If those settings work for your purpose then they are correct 🙂 However, if trying to make something realistic then cups don't normally glow.
You mentioned Blender, you can subdivide the mesh in Blender using the Subdivision modifier. When exporting the model either apply the modifier or make sure the export settings use the modifier.
Dave
Copy link to clipboard
Copied
I'm with Dave, sorry but adding glow to a cup makes no sence at all mate... it also makes your rendor much more complex which adds extra time
why are you adding glow... is it because your cup looks dark without it?
again; turn off the directional light i.e, poke the small eye box next to the light and the shadow it makes will go away... then increase the environmental light to make your cup less dark
Copy link to clipboard
Copied
Thank you all for the hints. still need to learn alot. i got to work it 🙂
