• Global community
    • Language:
      • Deutsch
      • English
      • Español
      • Français
      • Português
  • 日本語コミュニティ
    Dedicated community for Japanese speakers
  • 한국 커뮤니티
    Dedicated community for Korean speakers
Exit
0

Action To Remove Background From Football Helmet

New Here ,
Jun 02, 2021 Jun 02, 2021

Copy link to clipboard

Copied

Hello, I am having a tough time trying to create a photoshop action that can batch remove the background from football helmets. I am hoping to use this action on hundreds of similar pictures while maintaining the image quality and not having the action take out any features of the helmet. 


I have a cheap photography setup. I'm using a photo tent that has two LED strips at the top, and the helmets are sitting on a shadowless led panel.


So far, I have created a quick action that takes the background out, but will sometimes remove different parts of the helmet and the result is an inaccurate photo of the helmet with missing parts. In this action, I created an adjustment layer using curves and increased the brightness of the photo in order to select the subject. Then using select subject, I can take out most of the background, and follow that up with the background eraser tool to take out different parts of the background in the face mask. This was my original idea, but I am wondering if there is anything better out there. 


I am aware of remove.bg, but I believe I can create an action on photoshop that will be able to do this.

The helmets I am taking pictures of having a wide range of different colors, but most of them are non-white. My action that I have created is good for most helmets but not the white helmets.


I immensely appreciate any help in this project. I have included a few photos of the helmets that I am trying to process. 


TOPICS
Actions and scripting

Views

708

Translate

Translate

Report

Report
Community guidelines
Be kind and respectful, give credit to the original source of content, and search for duplicates before posting. Learn more
community guidelines
Adobe
Community Expert ,
Jun 02, 2021 Jun 02, 2021

Copy link to clipboard

Copied

You will not be able to create an action that can be batched to automate that Process.  An action that uses Select Subject to mask the image will come close.  Still the Background area that shows through a helmet's face guard will not be masked and edged ares like chin straps may be masked

image.png

JJMack

Votes

Translate

Translate

Report

Report
Community guidelines
Be kind and respectful, give credit to the original source of content, and search for duplicates before posting. Learn more
community guidelines
New Here ,
Jun 03, 2021 Jun 03, 2021

Copy link to clipboard

Copied

Thank you for the input JJMack. Wasn't sure if there was something that I was missing out on. I was having trouble with the chin strap and face mask mostly. I will probably have to use a stop in my action and manually tweak the quick mask before finishing the rest of the action.

Votes

Translate

Translate

Report

Report
Community guidelines
Be kind and respectful, give credit to the original source of content, and search for duplicates before posting. Learn more
community guidelines
Community Expert ,
Jun 02, 2021 Jun 02, 2021

Copy link to clipboard

Copied

Tough stuff, I saw just your first image. There can be some way but I am not aware of it what to do to make automation possible. Perhaps something can be done, with actions it will be toough task although not impossible since Photoshop is offering so many options and tools.

Votes

Translate

Translate

Report

Report
Community guidelines
Be kind and respectful, give credit to the original source of content, and search for duplicates before posting. Learn more
community guidelines
Community Expert ,
Jun 03, 2021 Jun 03, 2021

Copy link to clipboard

Copied

LATEST

@Derrick5E52 wrote:

My action that I have created is good for most helmets but not the white helmets.


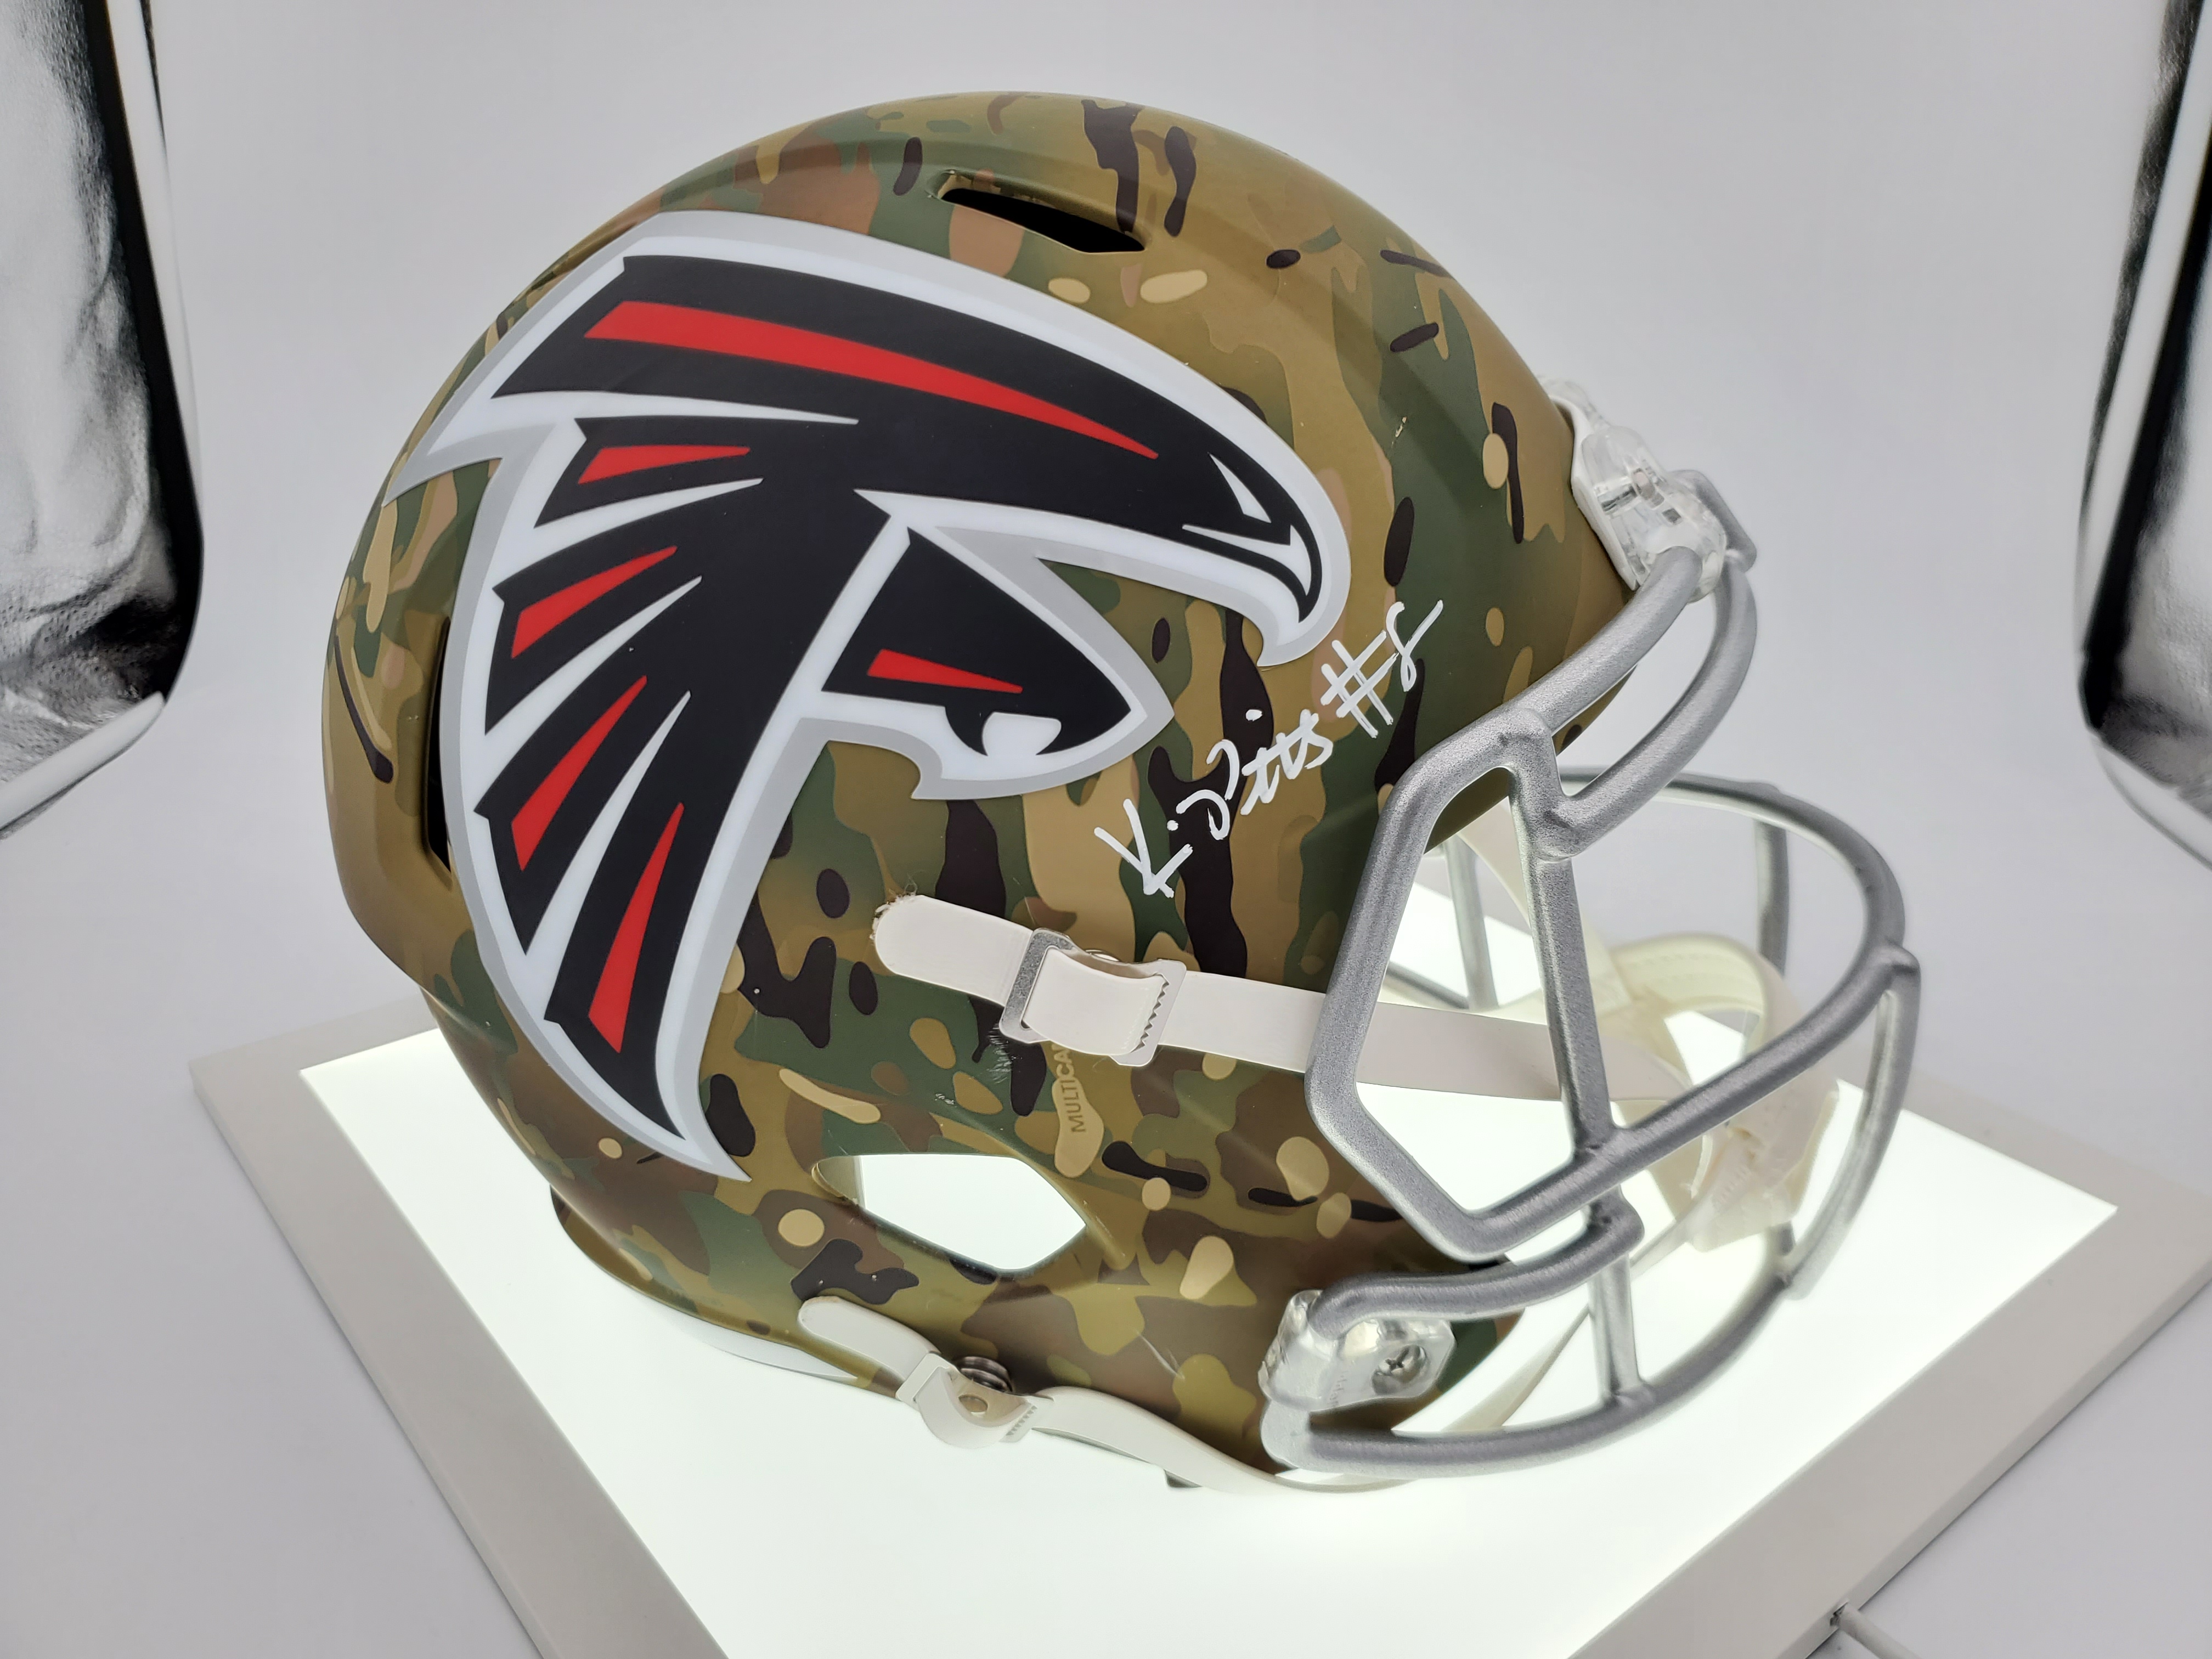
One thing that could simplify making an action is improving the lighting. With the current images, the background is much darker than white. The Info panel shows that the white background there (color sampler #1) is at 197, or 25% gray, which is so dark it is almost a medium gray. This might be hard to notice if the Photoshop area outside the canvas is dark, but if the Photoshop background is white as shown, you can see how dark that “white” background really is in the photo.


Photoshop-white-background-studio-space.jpg


It looks like a tablet was used to add light from below, but the Info panel shows that is not pure white either. The color sampler there (#2) reads very far from 255 and is slightly green. So there is really no white background in the picture. That makes it a lot harder to remove the background because if you try to automate background selection by level or color, there is too much chance that value also appears in the helmet itself. If all non-helmet areas could be exposed to level 255, then it would be easy to cut out the parts inside the strap and metal guards too.


And of course, a “white” background being dirty gray makes it very difficult to automate separating a white helmet from a white background. Instead, the helmet must be lit to contain levels darker than white so that you can see its 3D volume, while the light on the background must make it lighter than any part of the white helmet. Then you would be able to separate the background easily.


Any white background you want to remove (key out) should ideally be pure white (0% gray, or RGB 255, 255, 255). The way this is done commercially is that a separate light floods the background with way more light than the subject gets, so that the background reaches pure white. (Usually putting the white background farther from the subject so that the bright background light doesn’t spill on the subject.) All non-specular levels in the object itself (even a white helmet) should then be darker than RGB 255,255,255 so it won’t have any levels in common with the background, and easier to select with an action running something like Select > Color Range. If the background is pure white and nothing in the helmet is, then you can set Select > Color Range to isolate like just the brightest 3 or 4 levels, and that might reliably select the background.


Despite all the white, the reason the “white” background became gray is probably because auto-exposure was used in the camera. The camera sees so much light that it thinks it needs to darken the image to reach a nice average gray level, but that’s not what you want. You want the background to blow out to white. Again, on a commercial shoot they would set the camera to manual exposure, lock exposure at a setting that will correctly expose the object, then turn up the light on the background to make sure it blows out to white. I realize that can be tough in a little light box that you seem to be using (I have one too); it might be too small for the helmets.


I’m not actually an expert on this, but found this video that seems to have good advice:


Votes

Translate

Translate

Report

Report
Community guidelines
Be kind and respectful, give credit to the original source of content, and search for duplicates before posting. Learn more
community guidelines