 Adobe Community
Copy link to clipboard
Copied
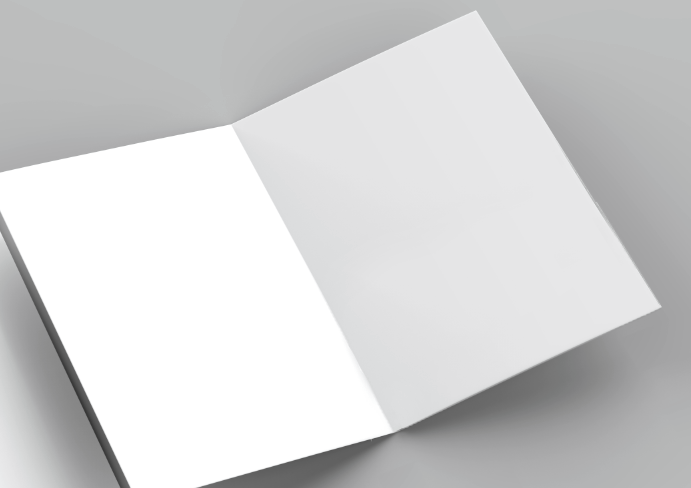
Does anyone know where I can find examples (step by step) on how to modify a folder to put images/pictures on there like the one below? The below is in PS.

 1 Correct answer
Hi
Put your image(s) onto new layers and convert them to smart objects
Use Edit >Transform>Distort and drag the corner handles to position each layer on the template pages.
Change the blending mode of the image layer(s) to Multiply so that it blends with the page shadows
On the far right page you will need to add a mask so the image is hidden by the fold

Dave
Explore related tutorials & articles
Copy link to clipboard
Copied
Hi Jerry,
As you're looking to place the images on these blank papers, I've found some useful tutorials on the internet:
Photoshop Tutorial - How to Make Your Images Look Like Pages In A Book (Part 1 of 2) - YouTube
How to Layout Book & Magazine in Photoshop - Basic Tutorial For Beginners - YouTube
Let us know how it goes.
Regards,
Sahil
Copy link to clipboard
Copied
Hi
Put your image(s) onto new layers and convert them to smart objects
Use Edit >Transform>Distort and drag the corner handles to position each layer on the template pages.
Change the blending mode of the image layer(s) to Multiply so that it blends with the page shadows
On the far right page you will need to add a mask so the image is hidden by the fold

Dave
Copy link to clipboard
Copied
Thanks Dave that really helped. To hide the while flap, how would you go about doing that?
Copy link to clipboard
Copied
Hi
By "Hide the white flap" do you mean hide the image behind it, as I did above, or get rid of the flap altogether?
To keep the flap and put the image behind it, I placed the image as per the others , then used the pen tool to draw a path around the flap. I made sure that path operations was set to "subtract front Shape" then double clicked clicked in the paths panel where shown to create a mask on the image allowing the flap to show.


Alternatively, to get rid of the flap from the template
a. Make a selection round the right folder and then use the clone tool within that area to paint over the flap using the upper part of the folder as the source

Now you can add the images as before.
Dave