 Adobe Community
- Home
- Photoshop ecosystem
- Discussions
- If you are on a Mac you can use Quitcktime Player ...
- If you are on a Mac you can use Quitcktime Player ...
Double Exposure Question Please Help
Copy link to clipboard
Copied
Please Please Help Me.
Another subject I'm trying to master.
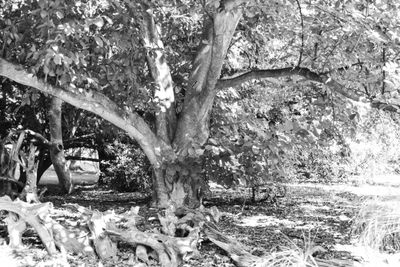
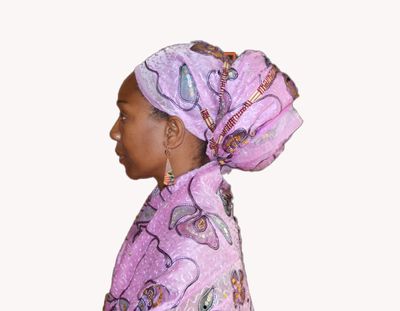
I took a picture of a "person" recently, and I'm trying to transform this picture to a double exposure. Note that both pictures were taken by me (person & lansscape). Below is the result I got for the double exposure, but it's not what I expected it to be. I can't seem to show more of the face of the "person" with the double exposure. Please help. There are so many ways to achieve double exposures and I've done most of them. If you can help me and explain the steps you took to achieve the final product, that would be great.
Explore related tutorials & articles
Copy link to clipboard
Copied
»There are so many ways to achieve double exposures and I've done most of them.«
Don’t you feel that staement was a little too vague to be useful?
You could mask back the face or combine multiple instances and Blend Modes.
Copy link to clipboard
Copied
Thanks for the reply!
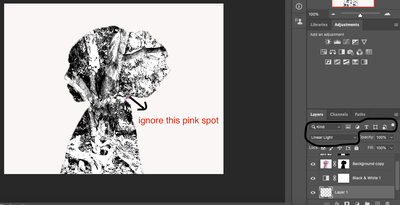
What do you mean by "You could mask back the face or combine multiple instances and Blend Modes". Do you mean that I can just play around with this circled section of photoshop below to get the face potion back on the image? Because if I change my actual "person" image to back and white, adjusting that part below doesn't change at all. However, if I leave the "person" image as a colored picture, I do see some changes when I move the circled part below. Any suggestions. Is there a way in which (from start to finish) I can achieve a perfect "double photshop" using black and white "person" image?
Copy link to clipboard
Copied
Your Layers-stack seems less than ideal to me, let me give you three pieces of advice:
• Smart Objects
• Smart Objects
• Smart Objects
Have you perused this post yet?
Copy link to clipboard
Copied
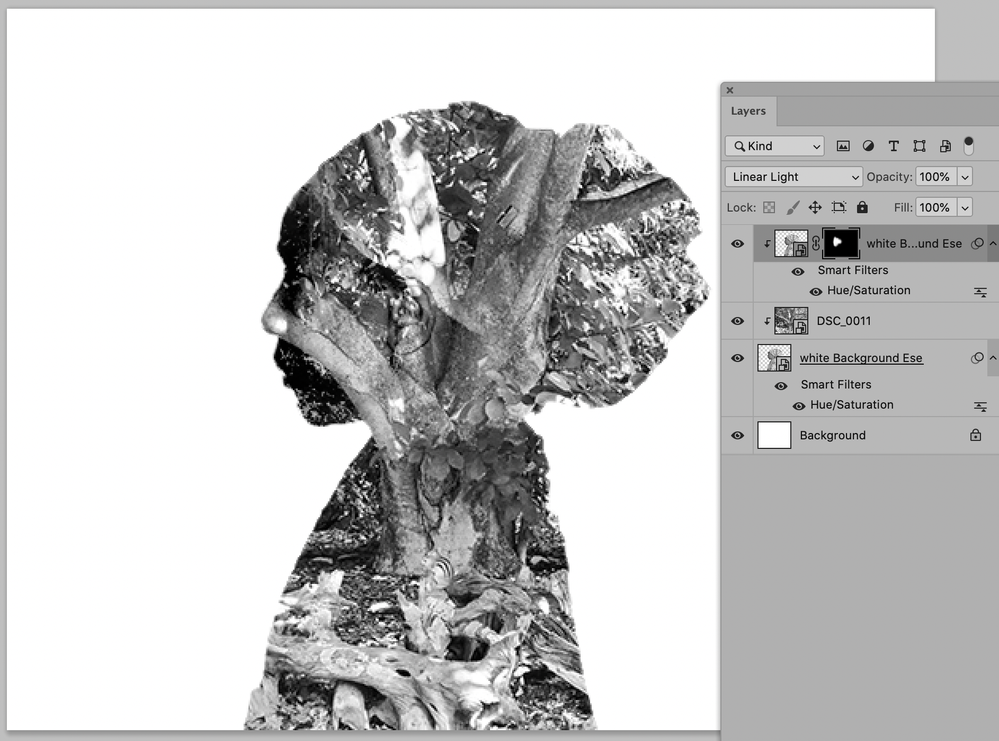
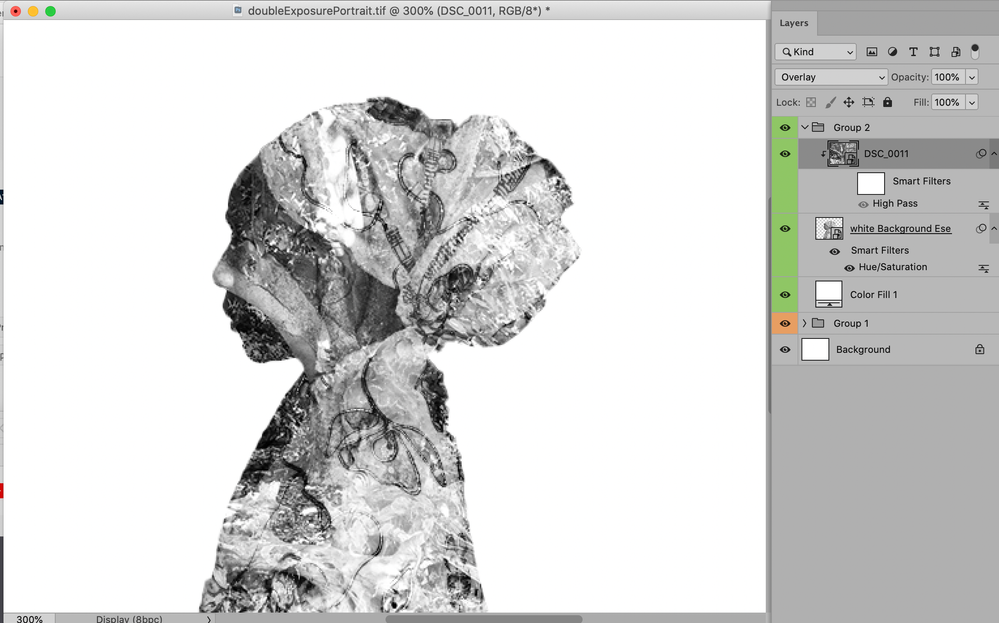
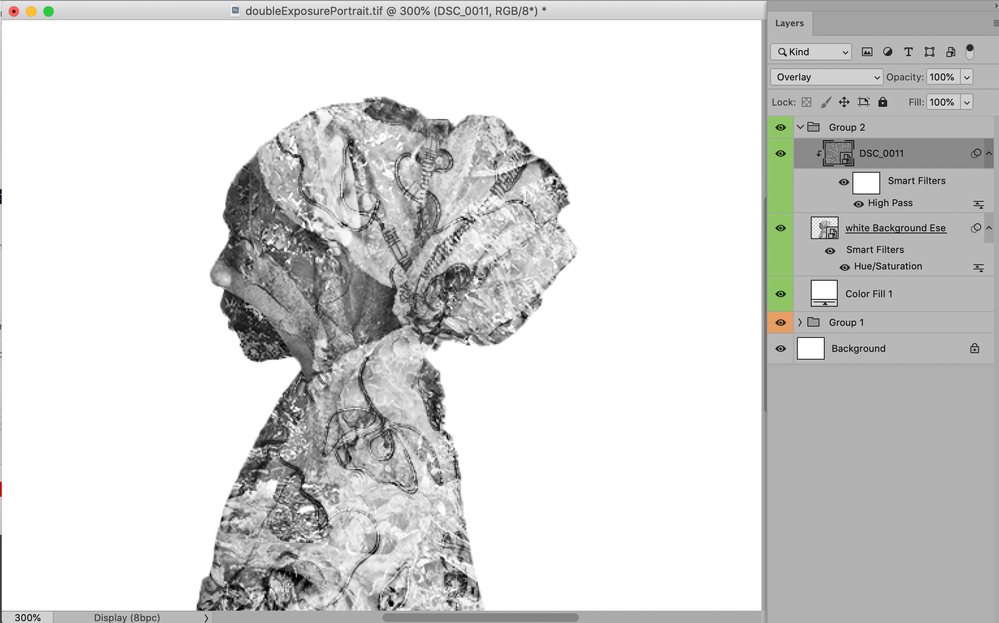
And one could use Smart Filters to »level out« one of the images, compare these two screenshots.
Copy link to clipboard
Copied
Ah! Gotcha... but I tried going to the Smart Filters and it's not even highlighted for me to use it. This tells me that I'm doing this Double Exposure wrong or different from the average person. How are you achieveing your double exposure?
Let me try it this way here and see what happens.
Copy link to clipboard
Copied
To apply a Filter as a Smart Filter the active Layer needs to be a Smart Object.
And no, this does not mean you are doing anything wrong … in Photoshop there are often many ways to achieve a result.
Smart Objects are a preferred part of the »equation« for some Photoshop users because they are a crucial part of a non-destructive workflow. One can apply Filters, tarnsform them etc. repeatedly and the degredation does not build up like it would for a plain pixel Layer.
Copy link to clipboard
Copied
I feel like giving up because it's not working for me. I may need to contact technical support.
Copy link to clipboard
Copied
So here's what I'm doing to achieve this image. Sometimes it works and other times it doesn't work. This tells me I'm doing something wrong....
Pick an image you want to use (the person)
Duplicate your background making it “background copy” for your layer
Use quick selection to go over image
Select>Inverse
Select>Modify>Smooth (choose 5 for the radius)
Layer>Layer Mask>Reveal Selection
File>Place Embedded> Select the landscape you want, then press enter
Layer>Layer Mask>Hide Selection
New Layer (or command, shift, n)
Drag New Layer between background and background copy
Select Background Copy layer>switch from Normal to Multiply
Copy link to clipboard
Copied
Please click first video and second video to see what I'm doing. Tell me where I'm wrong. I can't seem to duplicate my final double exposure anymore. I must be doing something wrong. Please help.
Copy link to clipboard
Copied
If you want to post video of your work please make proper screen recordings, don’t use a camera.
Is the Layer structure in my first screenshot not clear?
White background, the portrait image with a Layer Mask in a Smart Object, the second image as a Smart Object and a second instacne of the portrait with a Layer Mask.
Copy link to clipboard
Copied
No it's not clear. I understand about the video. I didn't know how else to get my point across I guess. I also don't know how else to take a video of my presentation other than googling how others do it.
Sorry about being a bother right now. I wish not to bother anyone as I am new to all of this.
Take care.
Copy link to clipboard
Copied
If you are on a Mac you can use Quitcktime Player to make a Screen Recording, for Windows I don’t know.
Just keep calm and keep your file clean.
• Create a white background,
• apply a proper Layer Mask to the one image and convert it to a Smart Object,
(edited) • desaturate it with a Smart Filter via Image > Adjustments > »Hue/Saturation« or »Black & White«
• place and postion the other image as a Smart Object,
• Clipping Mask it to the base image,
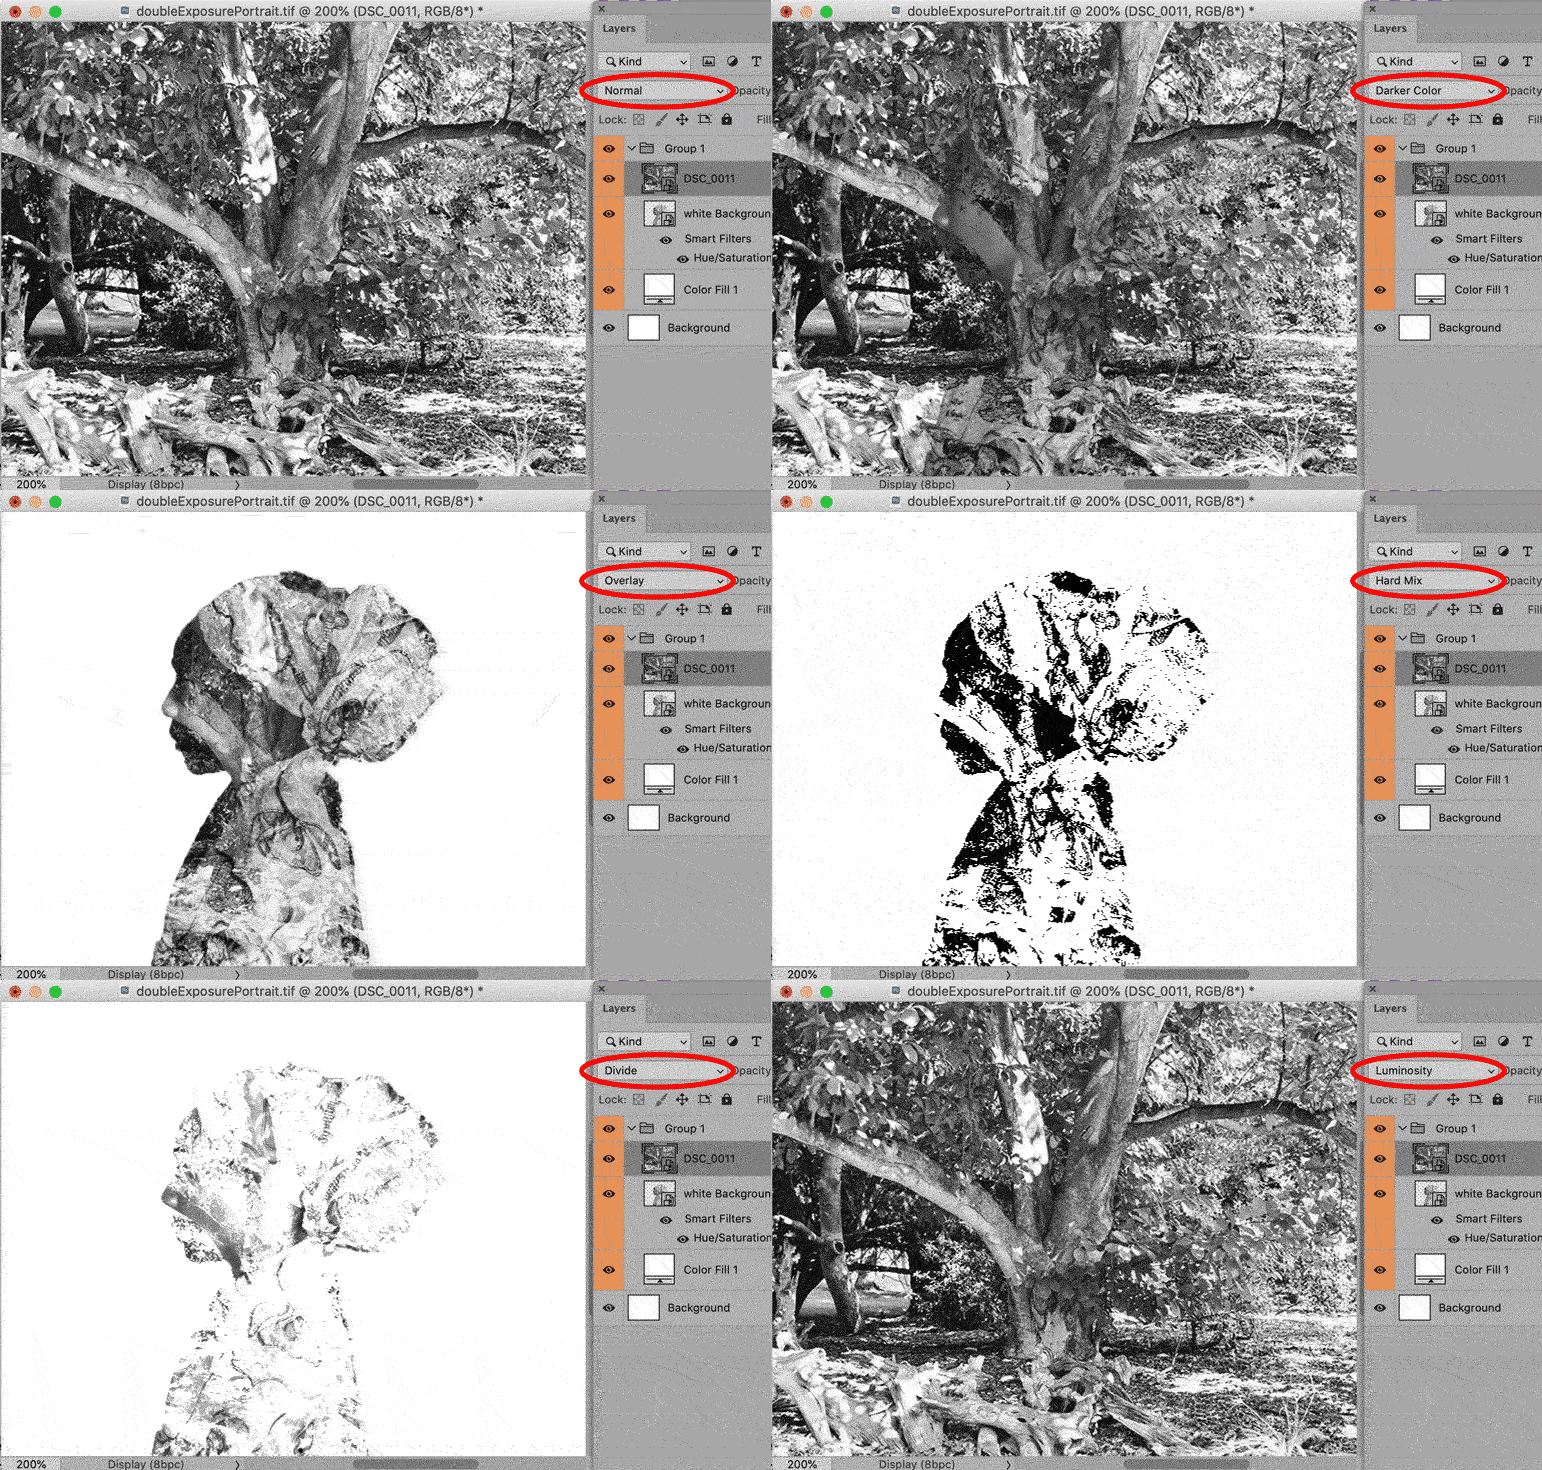
• see which Blend Mode gets you closest to what you want and
• if you need to accentuate parts add another isntance of the base image atop and apply the appropriate Blend Mode and Layer Mask
Copy link to clipboard
Copied
Or forget the Layer Masks for now, just focus on which Blend Mode gives you the best starting point … with the Move Tool you can rotate through the Blend Modes by hitting alt-shift-+ (alt-shift-plus).
Copy link to clipboard
Copied
posted another video...actually shared my screen while I went through my steps.
Copy link to clipboard
Copied
Here's an actual video of the steps I'm doing here for my double exposure. I'm hoping you can see this video. This will give you an idea of why I feel I'm stuck. Oh! I start talking after a minute or so. Be patient with me. LOL. Thanks for listening in advance.
Please click here to watch. Thanks. Talk soon.
Copy link to clipboard
Copied
• Why the Layer Mask on »Background Copy« that reveals only the white background?
• If one of the Blend Modes fits your expectations then that is the »right« Blend Mode for you.
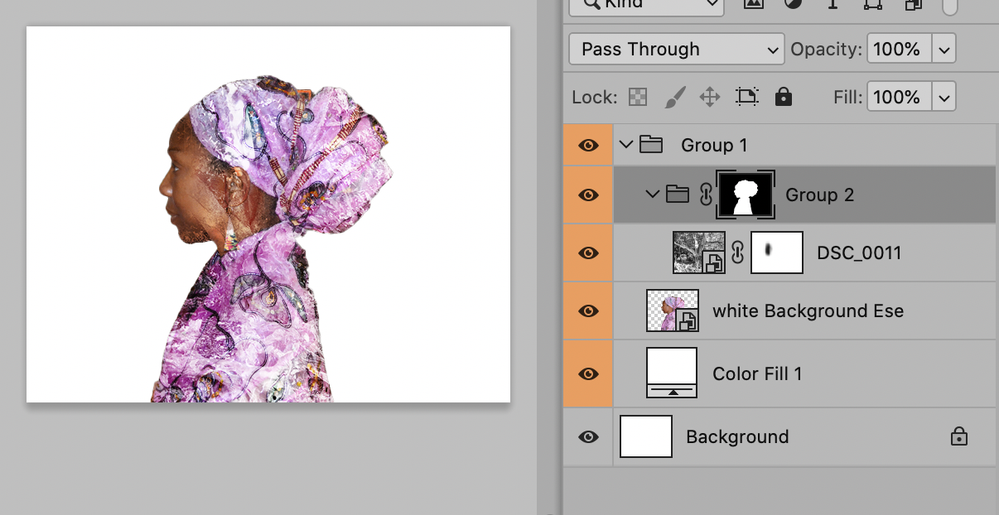
• If you want to accentuate or bring back parts of the original image you could apply the Layer Mask to a Group so you can add an additional Layer Mask to the Layer itself to hide it locally.
I am sorry I confused you, I guess my assumption that you would want to have both elements as b&w may have contributed to that.
I wonder if it might not be useful for you to start a new thread to attract the attention of more of the other Forum-regulars.
Copy link to clipboard
Copied
Thanks for the reply. What you just said makes sense now. I appreciate it. Yeah! if I need more help on this subject, I'll definaetly start a new thread. I know I'll have more questions as I perfect my double exposure here. Thanks again. Appreciate your time.
