 Adobe Community
- Home
- Photoshop ecosystem
- Discussions
- Re: How do I get all sides of an existing pattern ...
- Re: How do I get all sides of an existing pattern ...

Copy link to clipboard
Copied
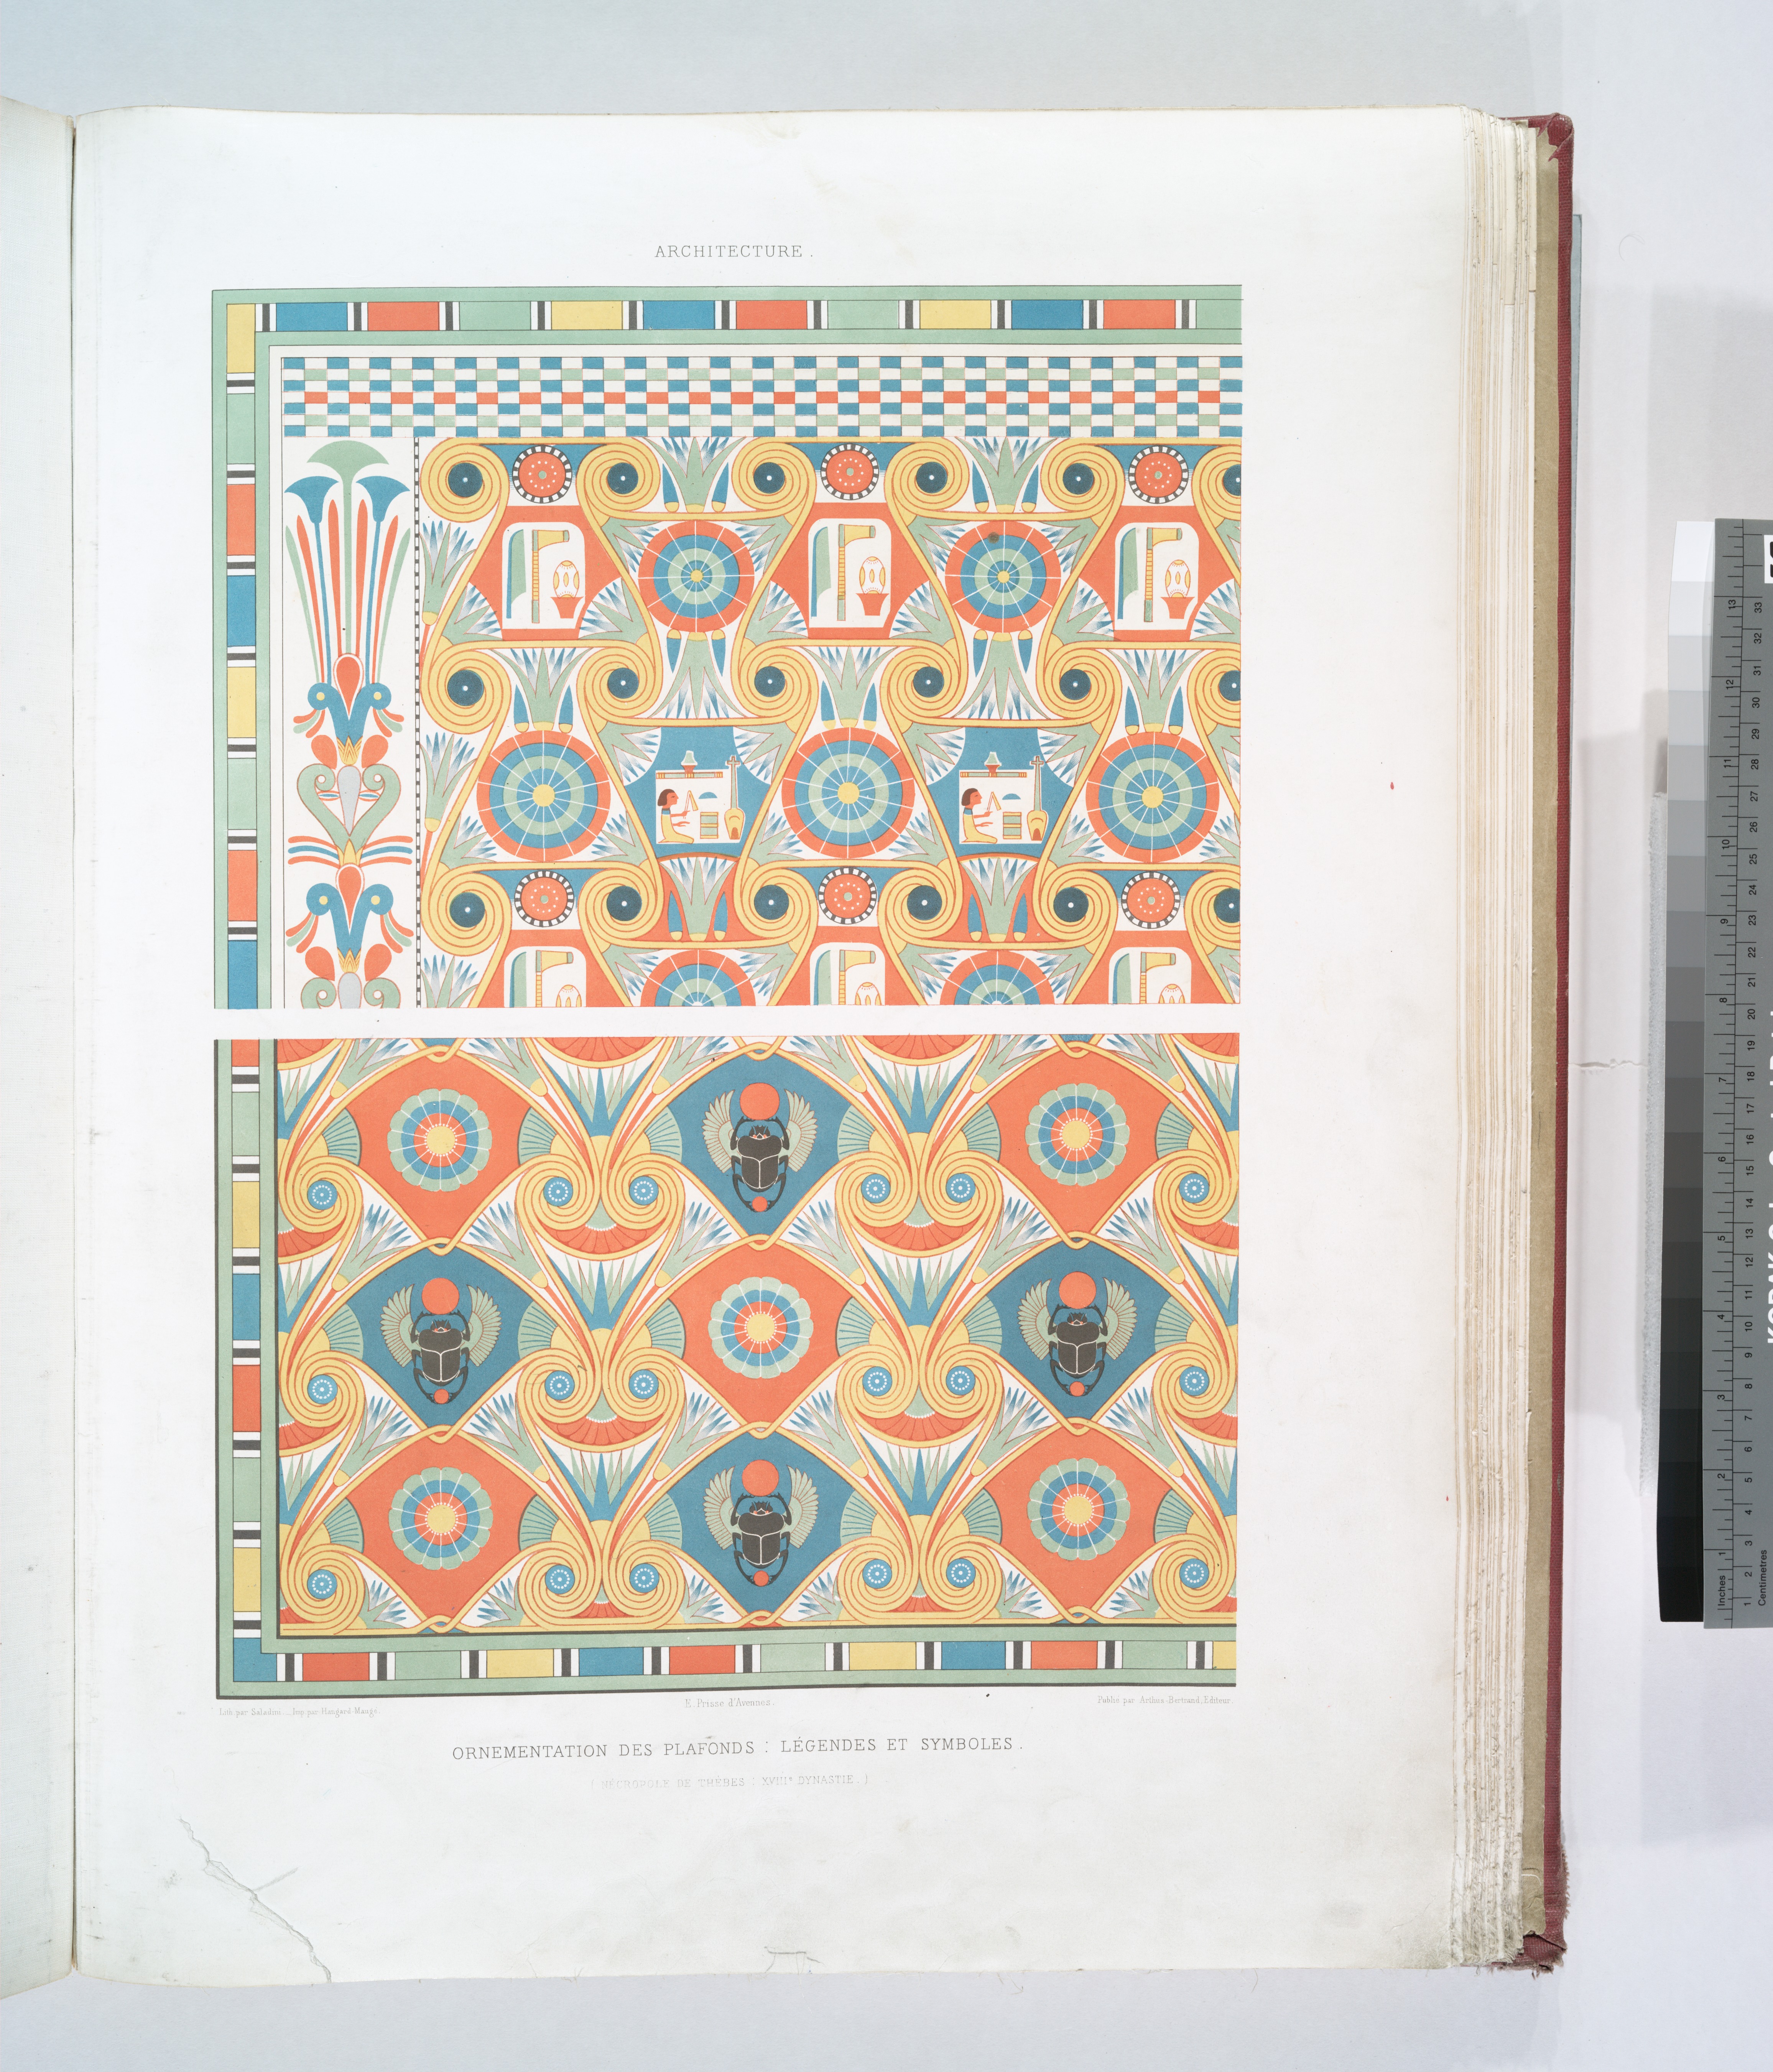
I am looking to create seamless patterns from images of existing patterns. These are photos/scans of vintage patterns taken from public domain images and usually the image is slightly skewed because the material was slanted or the book being scanned was rounded on that page or the photograph wasn't completely straight.
Is there a way to automatically crop and adjust these kinds of images so they tile up seamlessly? How do I go about doing this?


 1 Correct answer

Okay SkyDestrier,
First off, great project. It would be nice if this were simple, but even so, it is not impossible. It will just take you a bit of rebuilding to get this to seam correctly. Let's evaluate a few things.
1. Your image was not scanned flat and square. So the first thing you need to do is rotate to either a vertical or horizontal truth. You can pick either. Use the ruler tool.

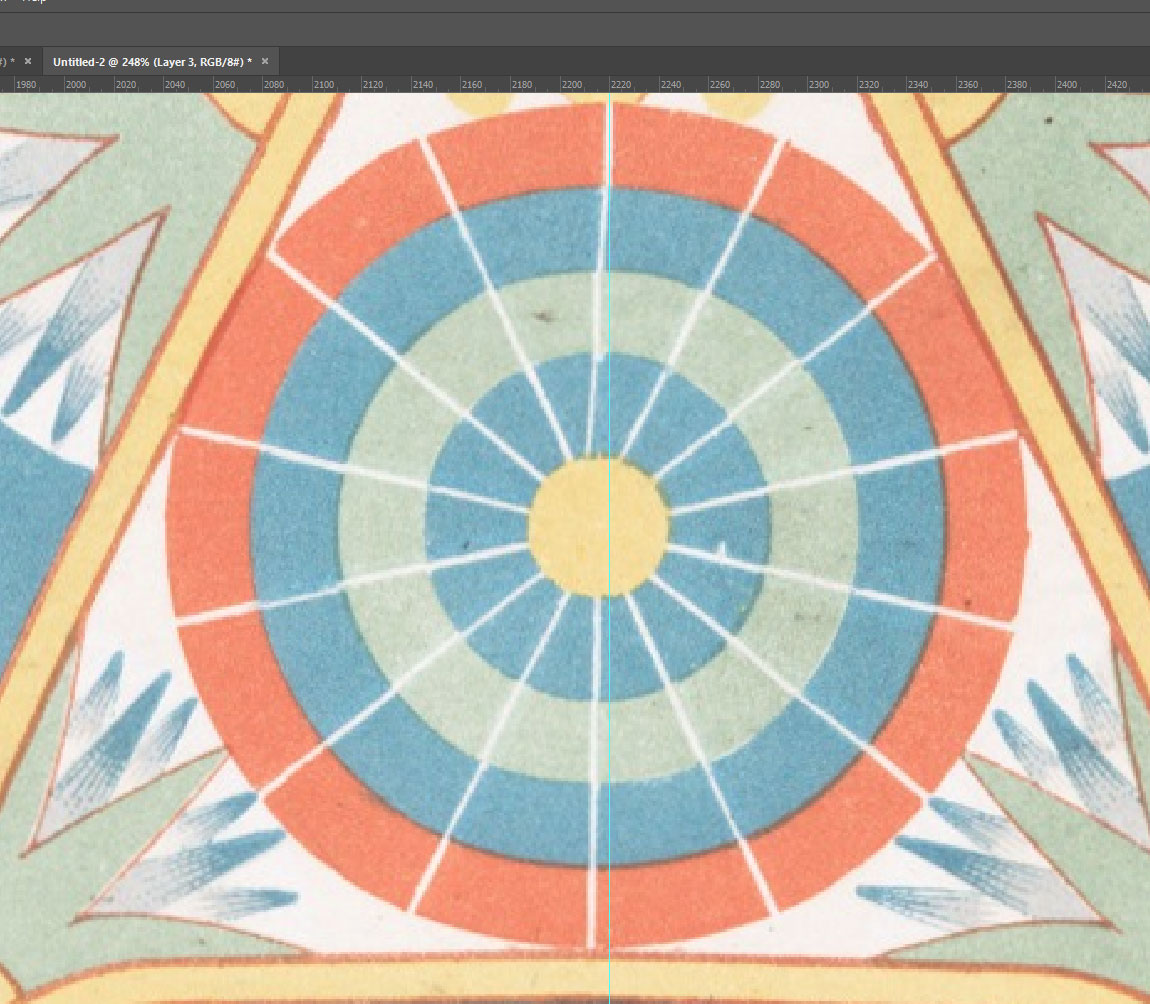
2. The circles are not all drawn the same and some are more out of alignment than others. I would suggest red
...Explore related tutorials & articles
 10
Replies
10
10
Replies
10

Copy link to clipboard
Copied
Hi there are many tutorials on youtube for this then you need to pick proper area for making pattern...Thanks.
Copy link to clipboard
Copied
This is not what I was asking.
I already know how to use tiles to create a seamless pattern. My issue is, I am trying to create a tile from an existing pattern but the edges don't match up because the source image is slightly skewed.
How do I crop the image so that the edges will line up perfectly when I tile it?
Here is an example image that I'm working with:
Copy link to clipboard
Copied
Hi you have to try where it fits best manually by making several tries....Thanks
Another guide
http://ohmyhandmade.com/2013/entrepreneurship/lets-create-a-repeat-pattern-in-photoshop/

Copy link to clipboard
Copied
If the image is already warped around the edges, it is going to be hard to line it up perfectly. Because you may have to crop too much of it off and then it won’t be symmetrical all around.
You could try cropping as close as you can away from the warped edges and see if yoy can get a clean straight edge.
Copy link to clipboard
Copied
Okay SkyDestrier,
First off, great project. It would be nice if this were simple, but even so, it is not impossible. It will just take you a bit of rebuilding to get this to seam correctly. Let's evaluate a few things.
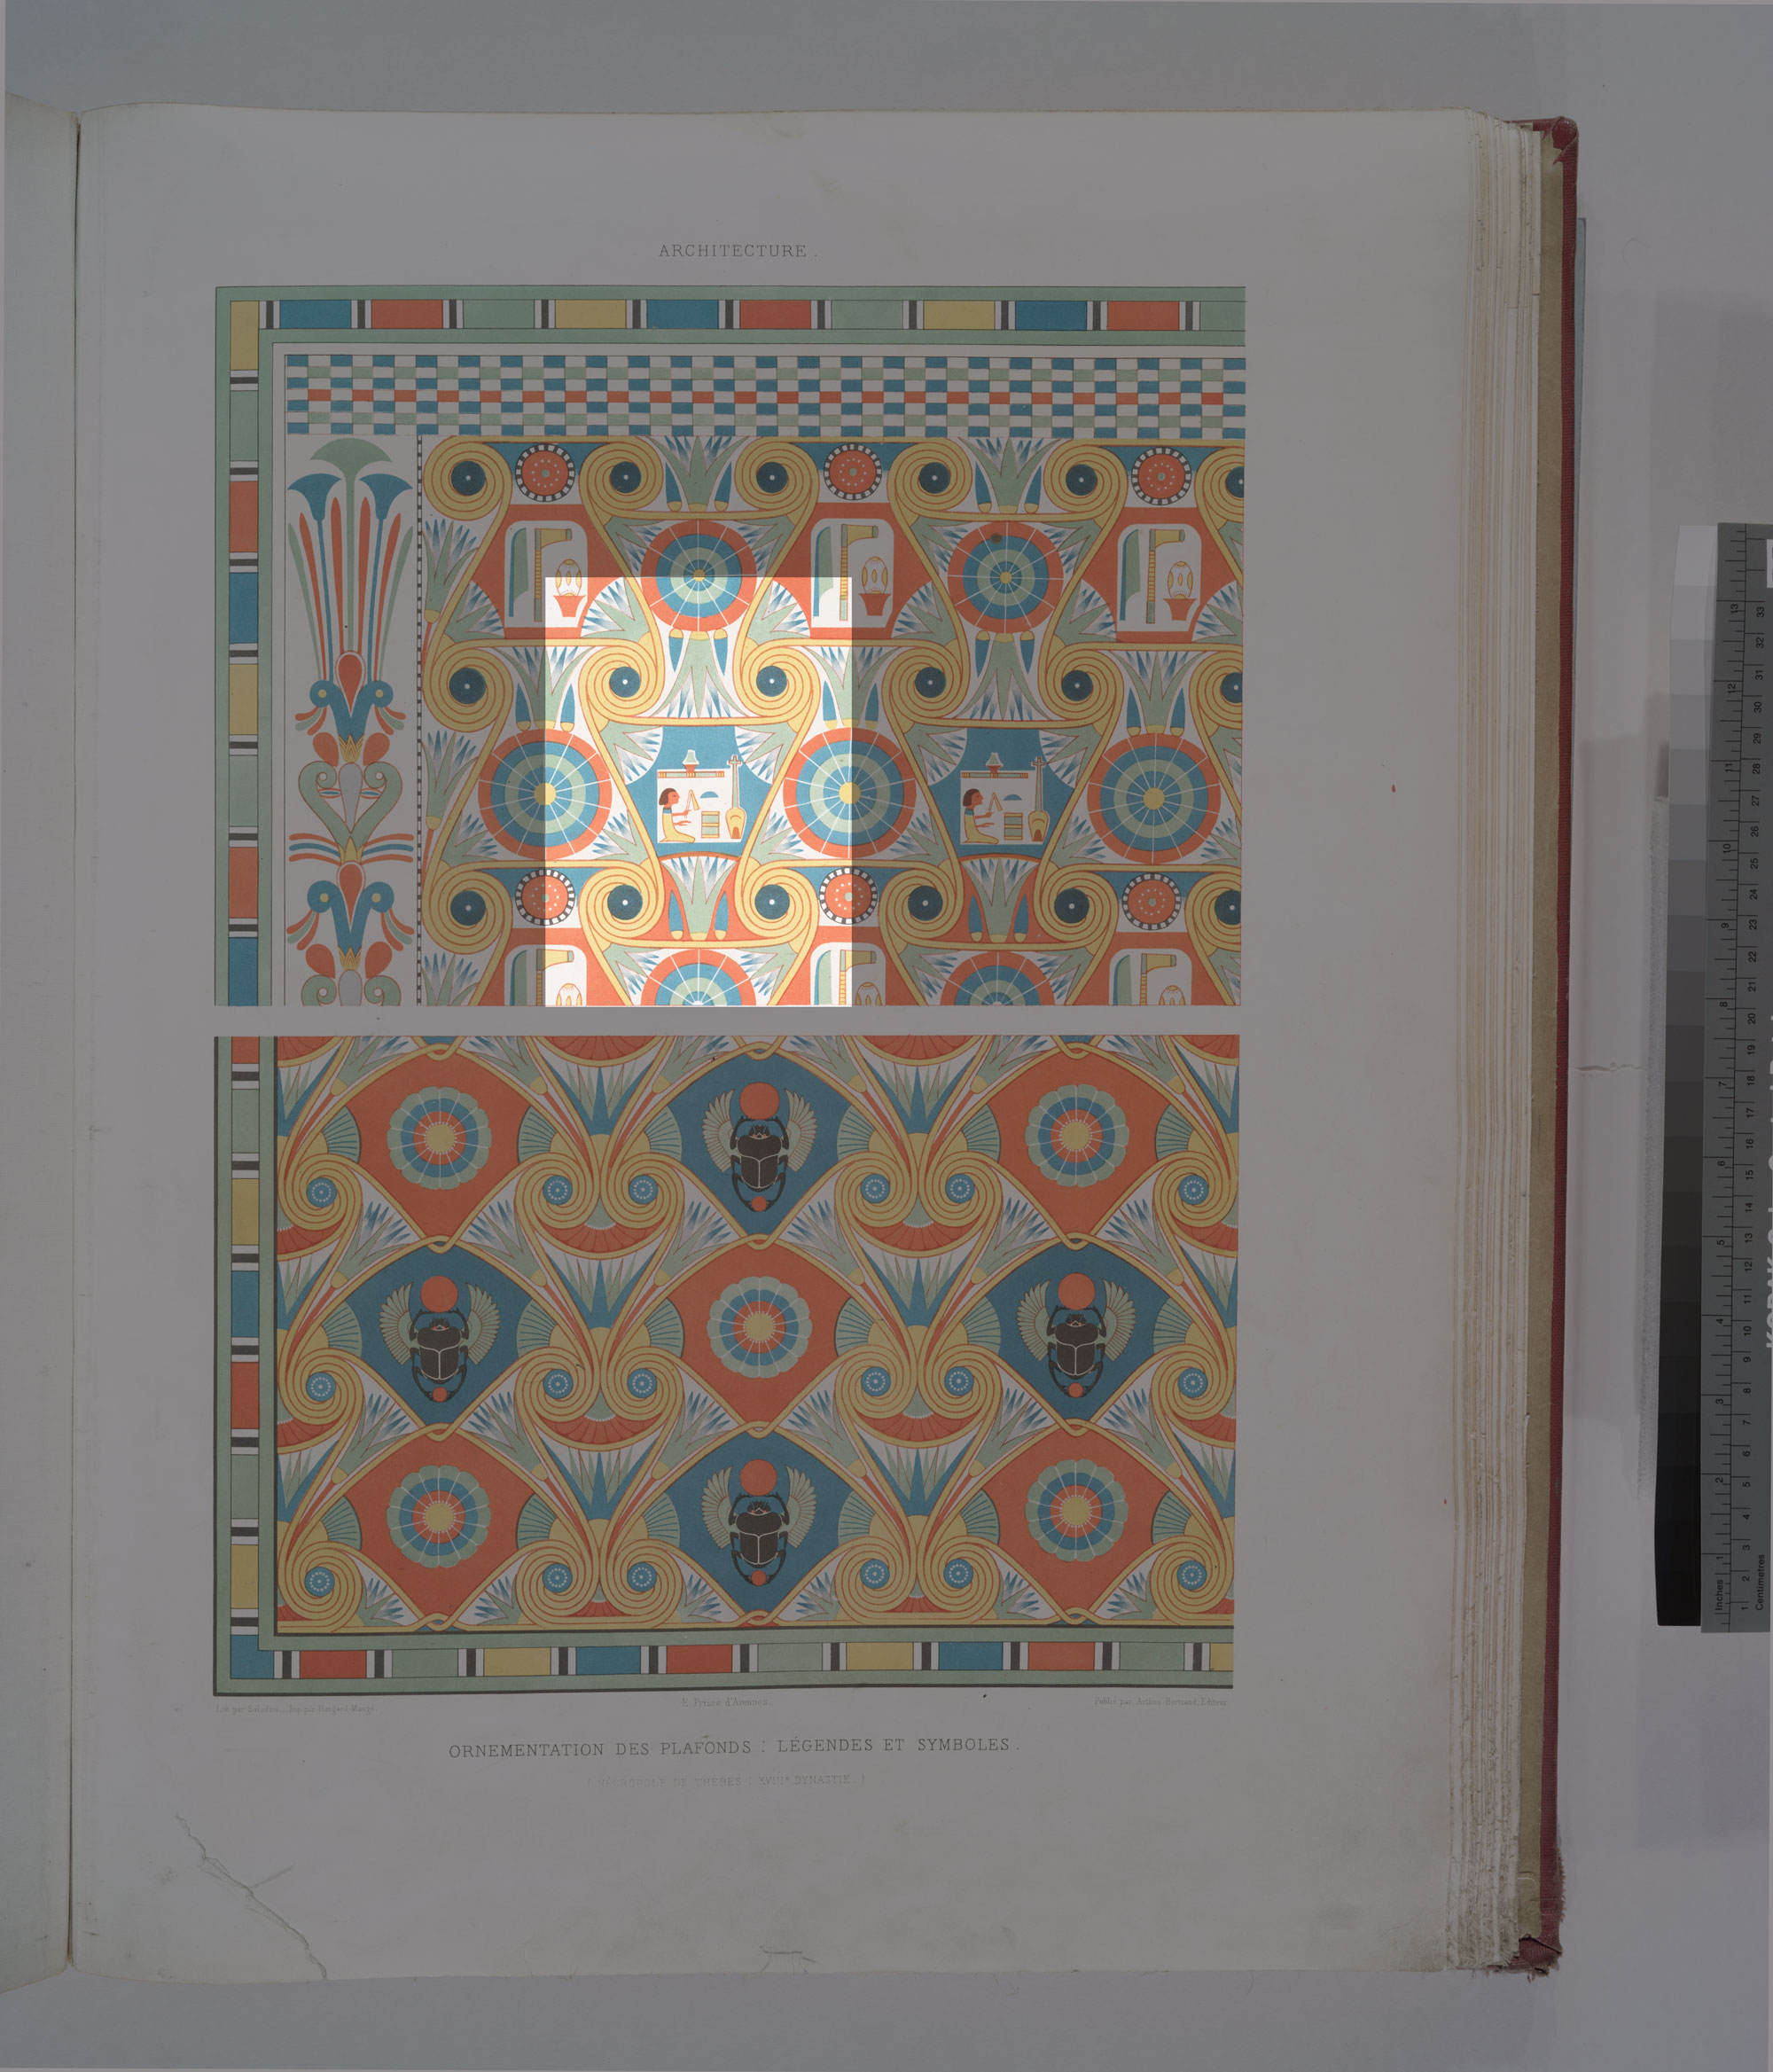
1. Your image was not scanned flat and square. So the first thing you need to do is rotate to either a vertical or horizontal truth. You can pick either. Use the ruler tool.

2. The circles are not all drawn the same and some are more out of alignment than others. I would suggest redrawing/cloning these so they are more symmetrical. They will seam better. Cloning with masks will give you a better result and more natural texture than redrawing.
3. Your pattern area is show here. This should give you a good place to start. Just take your time and refine the edge elements until they panel nicely. You can then take this same principal and apply it to your second image.
Good Luck. Looks like a really cool project.
Best of Luck,
Dax
Copy link to clipboard
Copied
Yes! This is what I was looking for!
Thank you for taking the time to post images and a detailed description, I really appreciate it.

Copy link to clipboard
Copied
Hi SkyDestrier, I find a perfect slice of the pattern where it will line up and lasso select a section, then copy and then paste the pattern in where the damage is. I also use the free transform key to stretch and move the new patch perfectly into place. These patterns all have perfect sections that can be copied and pasted as desired. Even the right margin can be copied and pasted to the right margin. Then use transform key to turn it over so it is correct for the right border and paste it. Best regards, JoanH
Copy link to clipboard
Copied
Thank you, this is very helpful.
Copy link to clipboard
Copied
Hi SkyDestrier, I forgot to mention that the circle and square/rectangle tools used to select an area to copy helps the most with straight lined objects or patterns. Also, smoothing the edges with a smudge or brush that smooths edges is nice. Even an eraser set for only 10% strength will soften a line that is too sharp or harsh. I have used the tools that mend and repair to touch up the final work. This sort of work gets easier the more you experiment with it. You will have this copy on its own layer so you can play with the color and shade using the curves tool. Have fun. Best regards. JH 

Copy link to clipboard
Copied
I have a similar problem and would love some help if anyone could give some advice...
Mine is an organic pre existing design of which I have a small sample of, I have the task of creating a seamless repeat pattern but cannot match up the edges no matter which way I try.
I have tried the offset feature and lots of copy and pasting elements and blending it in but cannot figure out how to make it flow into the next tile no matter what I try!


Thank you so much in advance x

 AdChoices