 Adobe Community
- Home
- Photoshop ecosystem
- Discussions
- How to create a Double Exposure in Photoshop 2021
- How to create a Double Exposure in Photoshop 2021
How to create a Double Exposure in Photoshop 2021
Copy link to clipboard
Copied
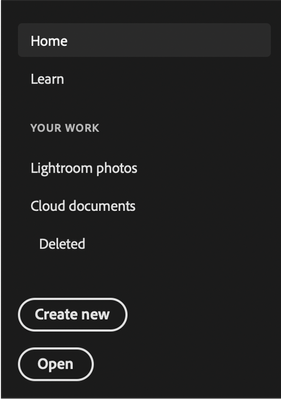
- Double-Click the Photoshop logo to open it. The default workspace will open. If you’ve previously used Photoshop, your recent files with be shown in a list below.
2. Within in the new document window locate, Open. This will be to the left of the screen.
3. Click Open. This will open up a new dialog box. Here you can search your computer or external drive for the images that you intend to use.
4. Locate the Images that you intend to use.
5. Select the Images.
6. Within the Dialog Box Select Open. The images will automatically import into a new Photoshop document window.
7. Select your image in the layers panel
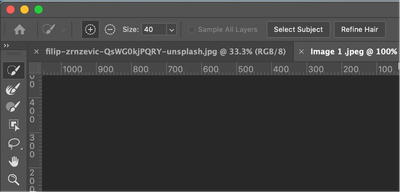
8. Locate the Quick Selection Tool
9. With the tool selected locate the option, Select and Mask. This will be towards the top of the workspace.
10. Select the option, Select and Mask. This will open a new workspace.
Here in the new workspace you will be able to select the subject.
11. Locate the button, Select Subject. This will be towards the top of the workspace.
12. Select, Select Subject. By doing this, Photoshop will automatically select the subject within the image.
Please note: This tool will work on subjects that stand out from a background. If your image hasn’t selected the correct area please use the + and – buttons. You will manually be able to select the area of the image that you want to include.
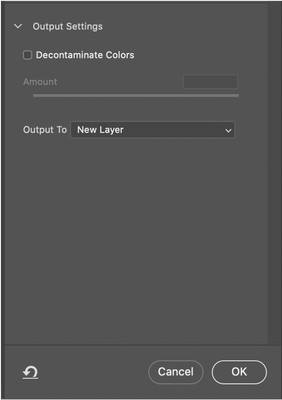
13. Locate the properties panel. This will be to the right of the workspace.
14. Select OK when you are confident with your adjustments. You will now be directed back to the general workspace. Here you can see two versions of your image. One with the transparent background and your original image.
15. Delete the original image/layer.
16. In the Layers Panel locate the New Item button.
17. Select the button. This should look like a grey and white circle.
18. From the drop down menu select, Solid Colour.
19. A Colour Picker dialog box will appear. Select the colour, White.
20. Select OK to confirm your choice.
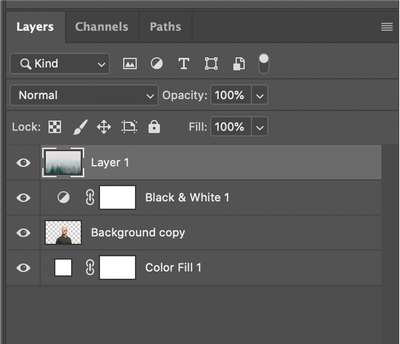
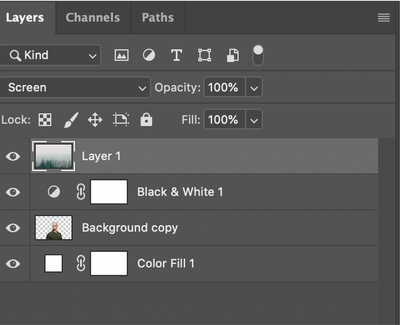
21. In the layers panel, drag the solid colour layer to the bottom of the layers panel. This should become the background image.
22. Create an adjustment layer, Black and White. Note: Make sure that the adjustment layer is above the portrait/subject layer. This will make the image Black and White.
23. Locate the image that you intend to blend with.
24. Drag and drop the image onto the document window. Once you’ve dropped this image here, you will see it appear in the layers panel. This will be above all of the existing layers.
25. With this layer selected select the Blend Mode drop down menu.
26. From the drop down menu select Screen. The image will now be blended together. Adjust the photo accordingly to your preference.
Here's a before and after:
Laura Foulds Moody
Have something to add?

