 Adobe Community
- Home
- Photoshop ecosystem
- Discussions
- Re: How to create a transparent knockout through a...
- Re: How to create a transparent knockout through a...

Copy link to clipboard
Copied
Hi,
Im still fairly new to Photoshop and i've been doing small projects over the years and learn new stuff every time. Things seem to be going ok but now im faced with a problem that I can't solve myself.
Im creating a retail looking product that you hang on a retail hook (see example).
Everything is going ok with my project except one thing. I can't solve the knockout part and make the inside of it looking transparent.
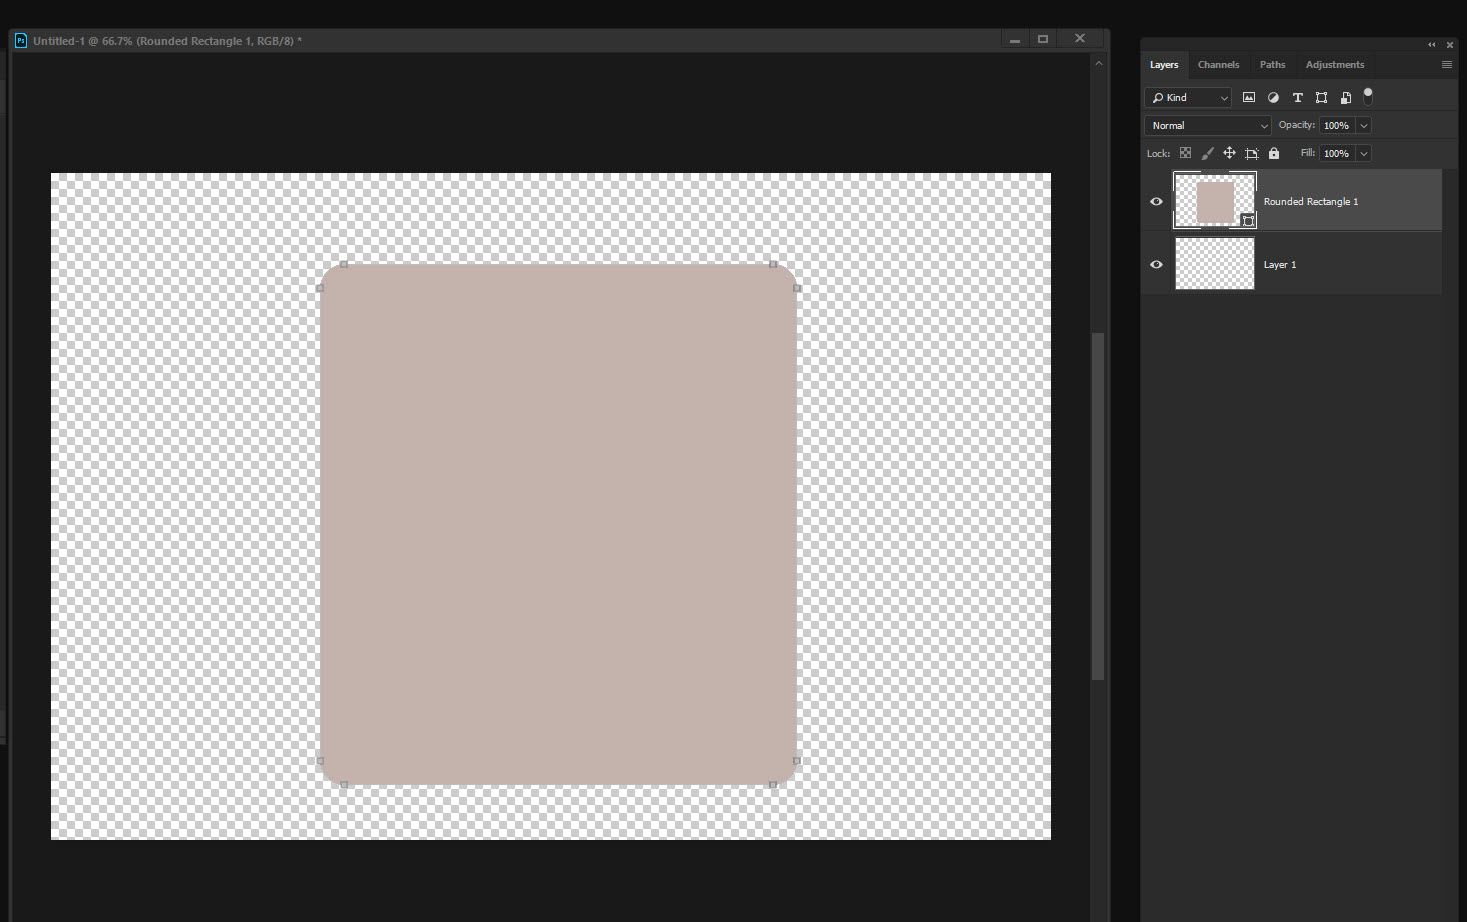
This is a test project (not the actual one):

Now what I want to do is to make the inside of the hook part transparent, instead of showing the white background. Im confused. I think what im looking for has something to do with masks? which I know nothing about. I looked through some tutorial videos but I couldn't find something related to what im trying to achieve here.
Help please? I can't do this with the quick selection tool because it'll take a long time to make a perfect selection. Im sure there's an easier way but as I mentioned before im still learning.
Thanks in advance


 1 Correct answer

Hi
Try this
Set a fill colour for your cutout shape, the colour does not matter but it must not be no fill.

Right click the shape in the layers panel and in blending options set knockout to deep
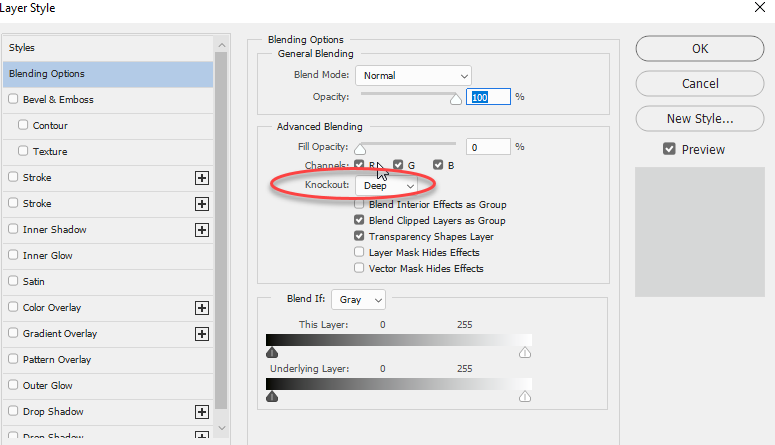
In the layers panel set Fill to 0%

That's it:

Dave
Explore related tutorials & articles
 11
Replies
11
11
Replies
11

Copy link to clipboard
Copied
Please post a screenshot including the Layers Panel.
Copy link to clipboard
Copied
I can't do this with the quick selection tool because it'll take a long time to make a perfect selection. Im sure there's an easier way but as I mentioned before im still learning.
Are you familiar with the Path Tools yet?
What are you really trying to do – create a mock-up, create the actual print-data, …?
Copy link to clipboard
Copied
Im not that good with the pen tool.
Im only doing a mock-up, not creating an actual product for print.

Copy link to clipboard
Copied
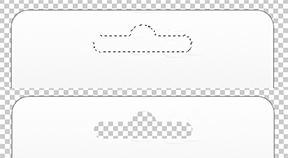
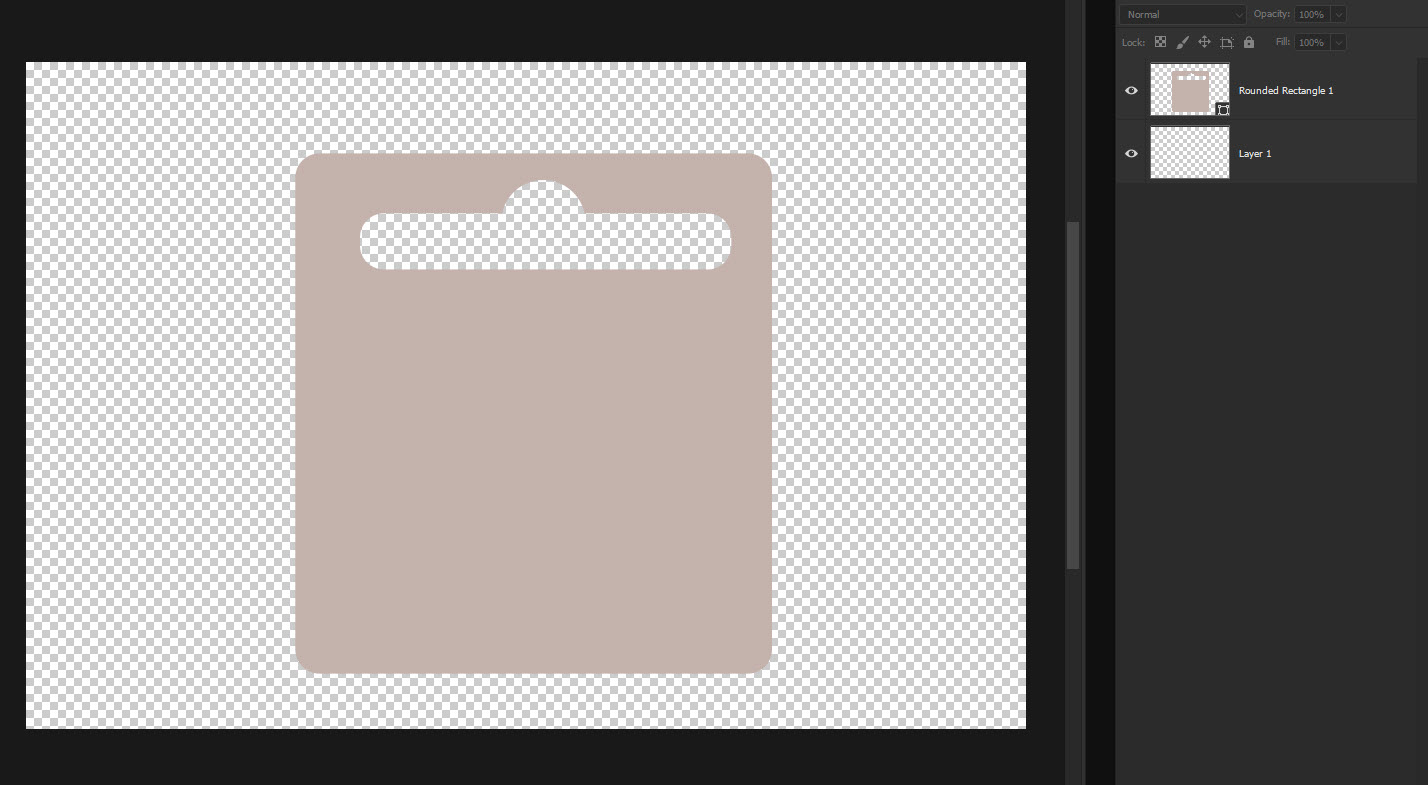
The slot for the hook as a Selection.
Tap the keyboard Delete key
or
The slot for the hook as a Selection.
Select > Inverse the Selection and strike the Mask symbol at the bottom of the Layers panel
Copy link to clipboard
Copied
I tried playing around with what you suggested, but I couldn't get it to work. Maybe the way I created my shapes isn't the right way?

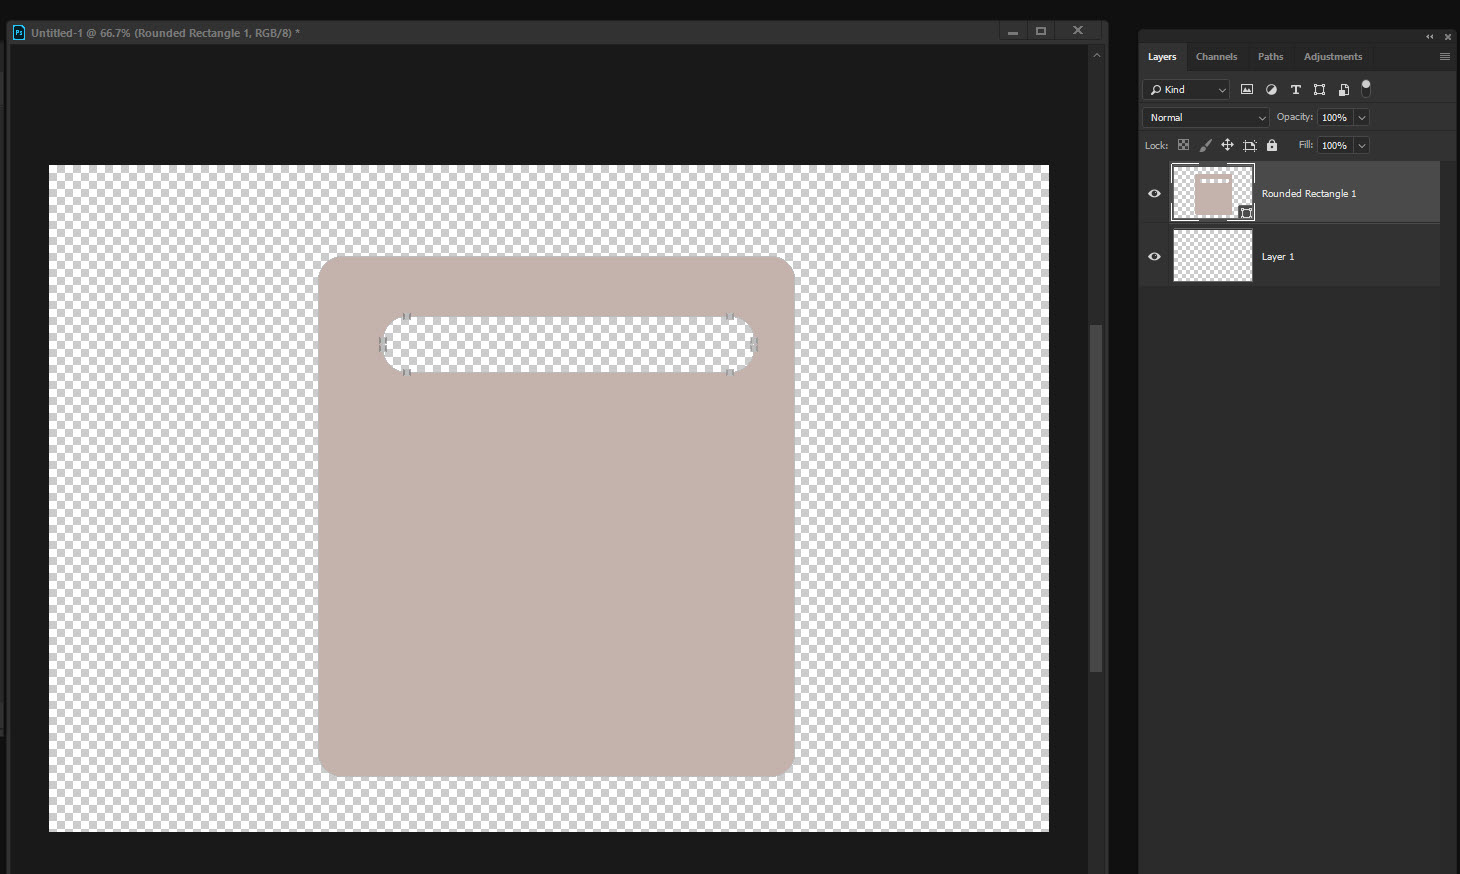
1- I used the rounded rectangle tool to create the large rounded background.
2- I use the rounded rectangle tool once again to create the empty hook part. No fill, only a gray stroke. I then created a circle inside of it to give it that bump from the top. I then merged these two layers together.
3- The one you see is the result.
What am I doing wrong?

Copy link to clipboard
Copied
The shape you've already made is what you need. Selec it using the magic wand, move to your main layer and hit delete.
( hide the top layer after)
Copy link to clipboard
Copied
Hi
Try this
Set a fill colour for your cutout shape, the colour does not matter but it must not be no fill.

Right click the shape in the layers panel and in blending options set knockout to deep

In the layers panel set Fill to 0%

That's it:

Dave
Copy link to clipboard
Copied
you are virtually there already but you are missing a step
1) start with an empty layer
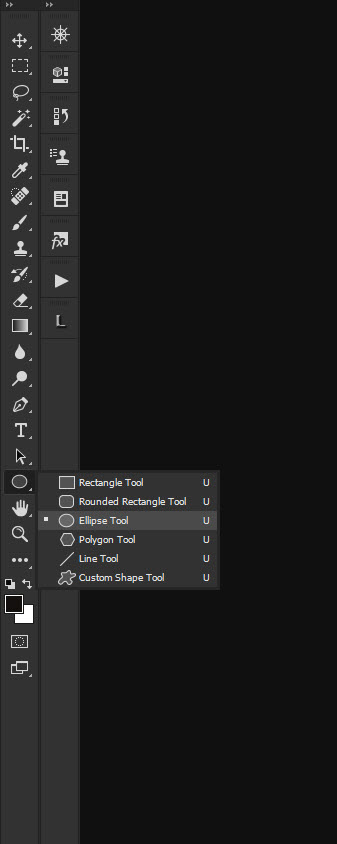
2) Select the 'rectangle' shape tool making sure 'shape' is selected at the top
3) Draw your initial rectangle
4) Go to the 'shape' tool menu and select 'subtract front shape'-this is what you are leaving out
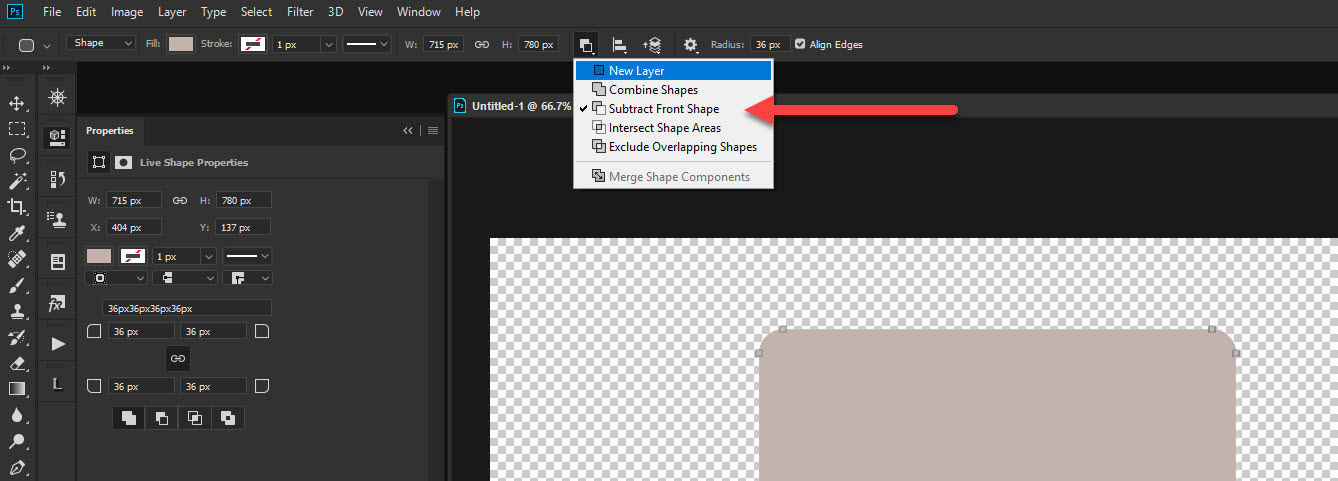
5) Draw out your second rectangle and it will make a hole in your shape
6) Switch to the 'ellipse' shape tool and draw a circle ctrl-alt-shift + spacebar allows you to position. It will cut a semicircle from your shape.
Terri
Copy link to clipboard
Copied
Oh wow thank you so much guys I didn't expect to get this much attention! Now I learned 2 new ways of doing this method thanks to Dave & Terri.
My only source of information was following video tutorials and playing around until I figure something out. I didn't expect this much help here, so this is great I can now continue with my project!
Thanks to everyone who replied & especially who helped by posting a step by step screenshot. I choose Dave as a best answer since it's the easiest way for a newbie like me.
Copy link to clipboard
Copied
be sure to come back if you have further problems.
Terri
Copy link to clipboard
Copied
There are often several ways to achieve an outcome in Photoshop. It's good to have a few methods in your toolbox that you can turn to 
Dave

 AdChoices