 Adobe Community
- Home
- Photoshop ecosystem
- Discussions
- Re: How to neaten fur while keeping natural textur...
- Re: How to neaten fur while keeping natural textur...
How to neaten fur while keeping natural texture of the fur
Copy link to clipboard
Copied
Hi guys! Can anyone teach me how to neaten fur like the examples below or care to teach me your way of editing to achieve such results? I have watched flyaways tutorials but it only works if the fur is around the bg, as you can see from the chin of the dog or near the mouth area, the flyaway method doesn't work.
I have found using the liquify tool helps but in difficult photos, the texture of fur goes all weird. I'm searching for something similar to clone stamping the fur while keeping the natural texture of the fur. Clone stamping fur alone gives patches of circular fur that does not look natural too. I have also tried fur brushes (to draw on 'fur') but it doesn't look good too.
[Moderator note : Images deleted at poster's request. Please do not post images for which you do not own the rights]
Explore related tutorials & articles
Copy link to clipboard
Copied
Sometimes on can repurpose sections of th eimage to fill in other parts, so please post the image in question, not just a small cropped part (or at least the complete subject, not necessarily the background).
Copy link to clipboard
Copied
This is the image. I am trying to clone the stains on the muzzle away with natural fur texture.
[Moderator note : Images deleted at poster's request. Please do not post images for which you do not own the rights]
Copy link to clipboard
Copied
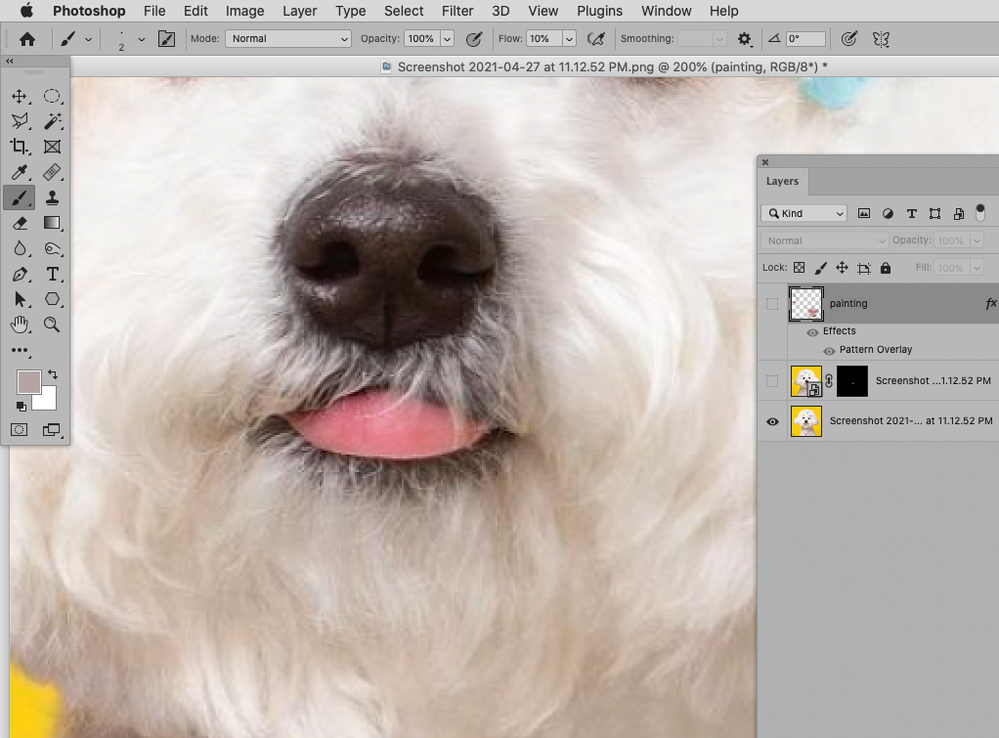
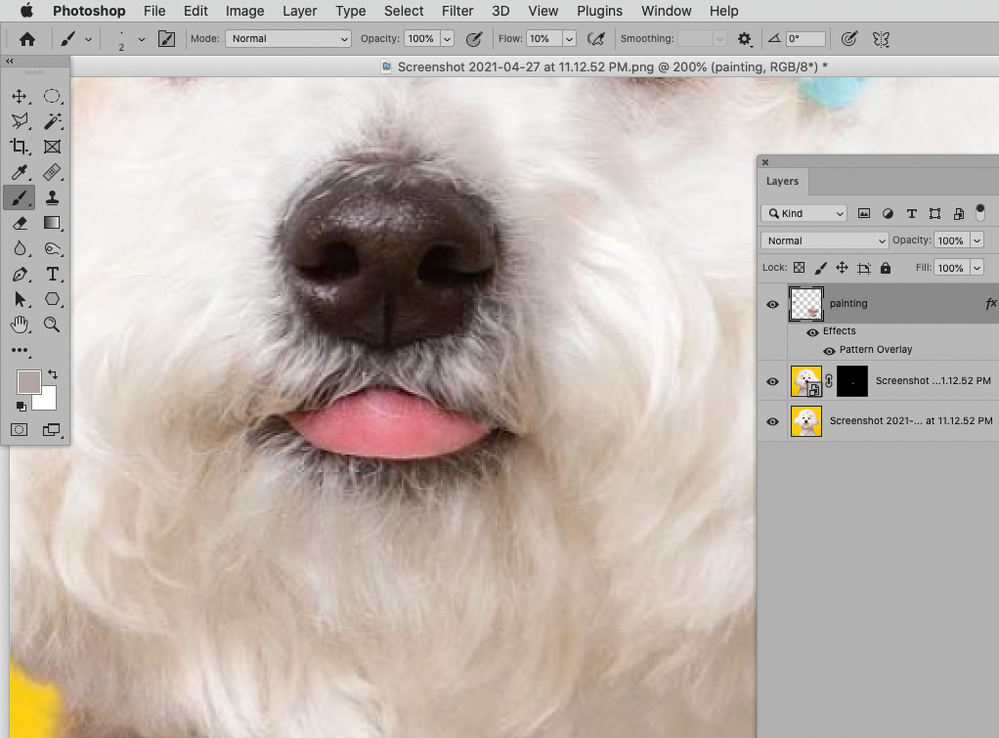
You should be able to hide that with simple cloning using a soft brush onto an empty layer. Set the clone source to "current and below" in the options bar and don't forget you can reverse flip the clone image or rotate it with the controls in the clone source panel (circled in red below). I also set another new layer to color blend mode and gently brushed over some areas round the mouth with the less saturated color sampled (Alt click with the brush) from the fur above
[Moderator note : Images deleted at original poster's request as they did not have the rights to use the image in this forum]
Dave
Copy link to clipboard
Copied
Thank you so much Dave! This is my results 🙂
[Moderator note : Images deleted at poster's request. Please do not post images for which you do not own the rights]
Copy link to clipboard
Copied
I have a question though, Will a very high quality image, with extremely sharp fur look weird with this method?
Copy link to clipboard
Copied
There's no reason why it should not be effective You just have to be careful with your cloning, selecting source areas that will match the destination.
Dave
Copy link to clipboard
Copied
Hi dave, in this thread https://community.adobe.com/t5/photoshop/what-is-the-best-editing-technique-to-whiten-a-dog-s-staine...
you set the cloned fur on a new layer to luminosity mode, is there any particular reason why you are not using luminousity when cloning over here?
Copy link to clipboard
Copied
In that thread, I had already addressed the colour around the mouth in a previous step. So I did not want to change it, just add better fur in the same colours.
Dave
Copy link to clipboard
Copied
As for the left (from the subject’s side) upper lip in this picture mirroring and some painting to hide the noticable symmetry might suffice.
Copy link to clipboard
Copied
Is this what dave did? By cloning part of the tongue and sampling the less saturated color and painting over it?
Copy link to clipboard
Copied
Copy link to clipboard
Copied
Thank you for your reply! Although i don't quite understand tthe steps that you took, could you explain it?
Copy link to clipboard
Copied
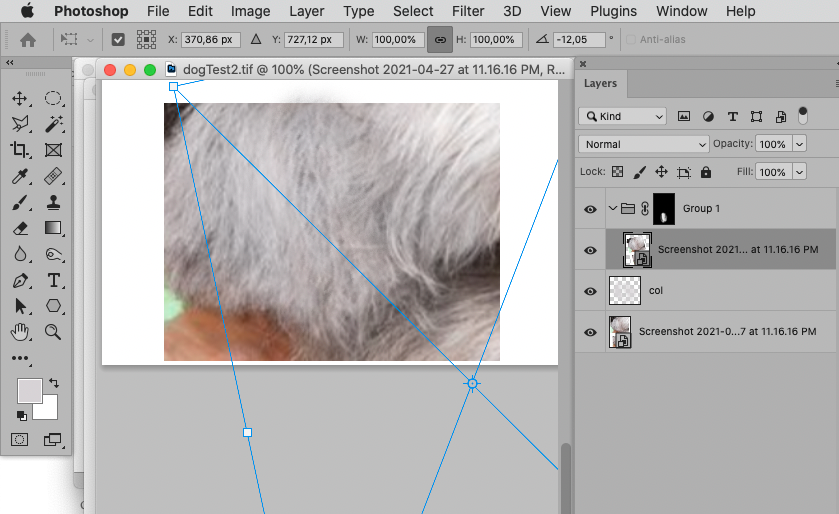
I used a Smart Object, transformed it and applied a Layer Mask.
In this case I also added a Multiply-Layer to darken.
Such an approach will result in larger files and manual touch-up (with Clone Stamp Tool etc. and/or painting) may still be necessary.
[Moderator note : Images deleted at original poster's request as they did not have tyeh rights to use them when raising questions in this forum
Copy link to clipboard
Copied
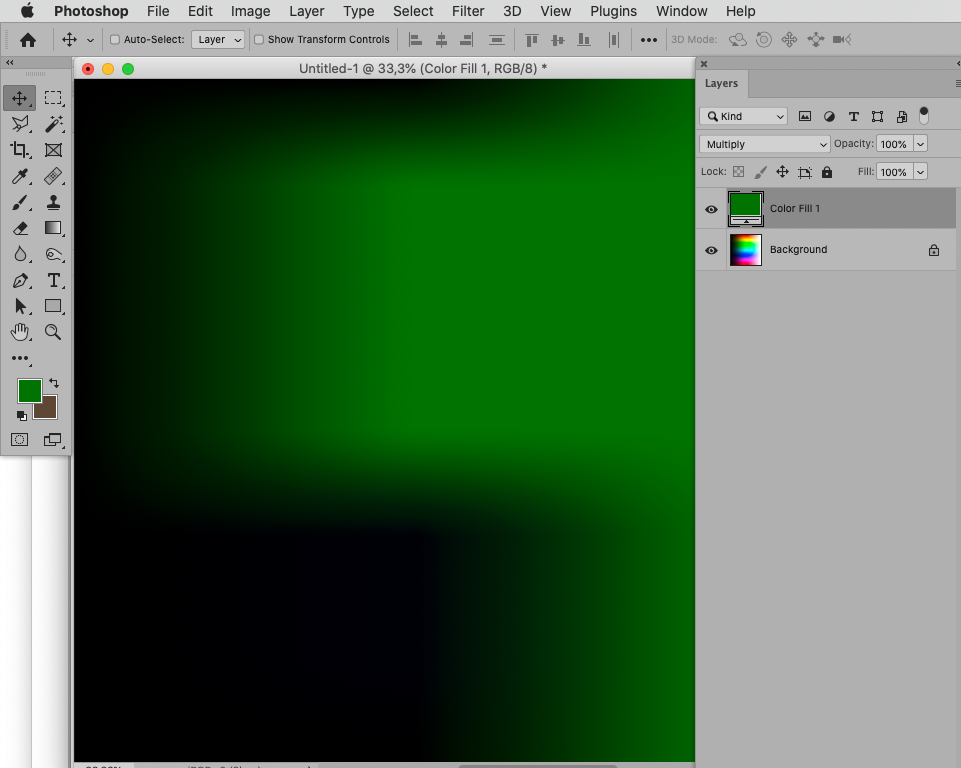
So i duplicate my background layer -> right click and convert it to a smart object -> edit -> transform to rotate the image -> create a new solid color layer and sample color of fur, invert the mask to black.
What is the reason for transforming and rotating the image?
[Moderator note : Images deleted at poster's request. Please do not post images for which you do not own the rights]
Copy link to clipboard
Copied
You apparently didn’t create a Layer Mask for the rotated SO.
The rotating is so the fur aligns with the area it is supposed to fill in.
Essentially it could be considered a more complicated method of what you could also achieve with Clone Stamping. (I see advantages for repeated editing, but that may not be any use to you now.)
Copy link to clipboard
Copied
Im sorry to bother you but i really still can't wrap my finger around it what you did..do you mind writing the steps for me please?
Copy link to clipboard
Copied
I put the Smart Object instances in Groups and applied Layer Masks to the Groups.
Copy link to clipboard
Copied
Is it correct now? How can i view the layer on top more easily so that i know the fur underneath is in line when transforming? because it's difficult to guess where the fur will fall when the upper layer is covering the entire image. also what is the difference between adding a multiply layer to darken vs like what dave did, sampling a color on less saturated area and painting on with a brush? because with the multiply darken it makes the area look even darker and less natural vs painting on with a brush? You are right, This method saves so much time.
[Moderator note : Images deleted at poster's request. Please do not post images for which you do not own the rights]
Copy link to clipboard
Copied
Try applying the Layer Mask to the Group, and only put the transformed Layer and its color editing Layer/s in the Group, that way the Mask maks them all together.
[Moderator note : Images deleted at original poster's request as they did not have the rights to use the image when raising teh question in this forum]
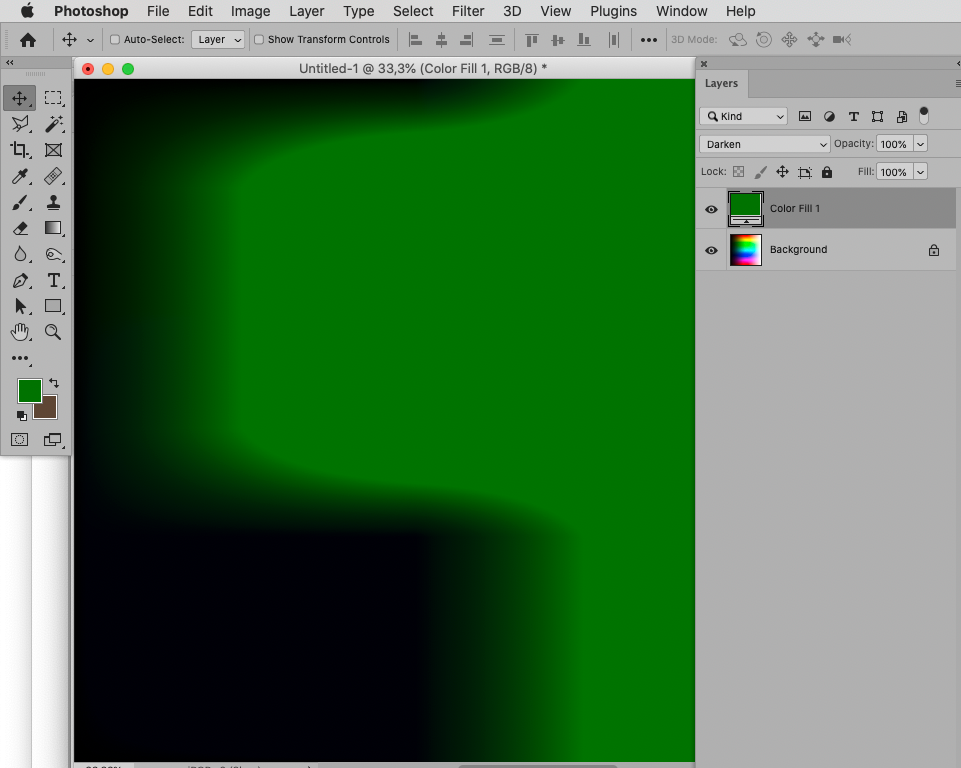
»Darken« can cause »cut-offs«, »Multiply« will darken all pixels (except black, naturally, and within the mathematic possibilities).
One can also use Liquify or Waup to »bend« the Layer to conform to the underlying structure better.

