 Adobe Community
- Home
- Photoshop ecosystem
- Discussions
- Re: When trying to simulate a structure on a paint...
- Re: When trying to simulate a structure on a paint...
Copy link to clipboard
Copied
Hello Everyone,
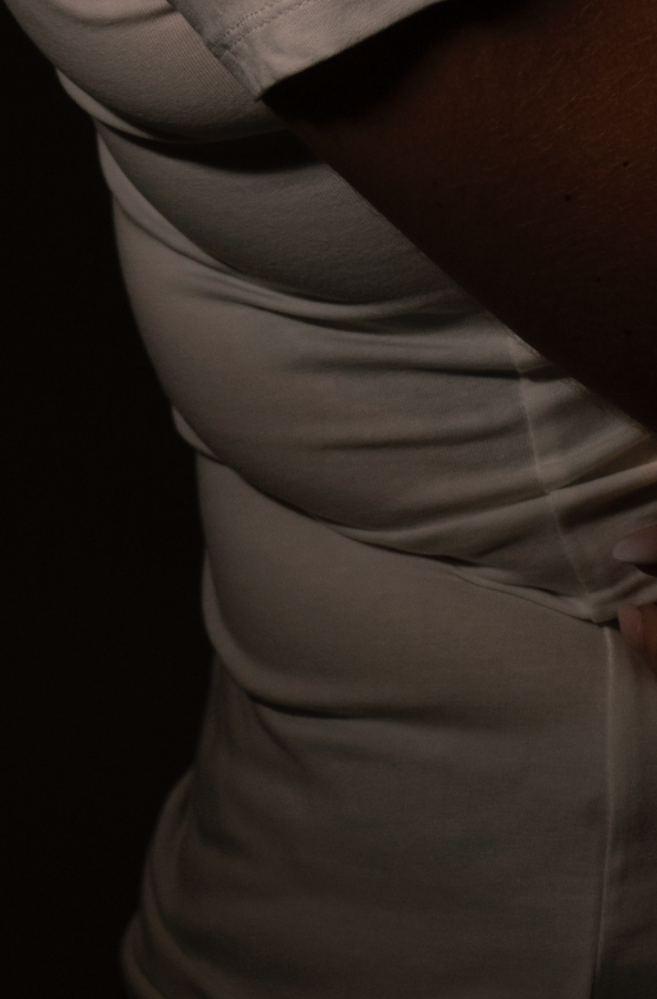
I have been trying for hours to remove hip wrinkle/fat pads, unsuccessfully!
I have tried:
- Stamp tool
- High Pass / clip underneath layer and paint brush over it (ok - but not perfect)
- Content aware Fill
Would you have an idea?
(I have looked at many YouTube tutorials, but it never worked in my case)
Thank you for your help,
Jessie
 1 Correct answer
I suspect some painting (with overlays to emulate the structures) may be unavoidable.
Explore related tutorials & articles
Copy link to clipboard
Copied
I suspect some painting (with overlays to emulate the structures) may be unavoidable.
Copy link to clipboard
Copied
Whao - Looks really clean.
I am going to try to reproduce your example.
Thank you so much for taking the time!!
Jessie
Copy link to clipboard
Copied
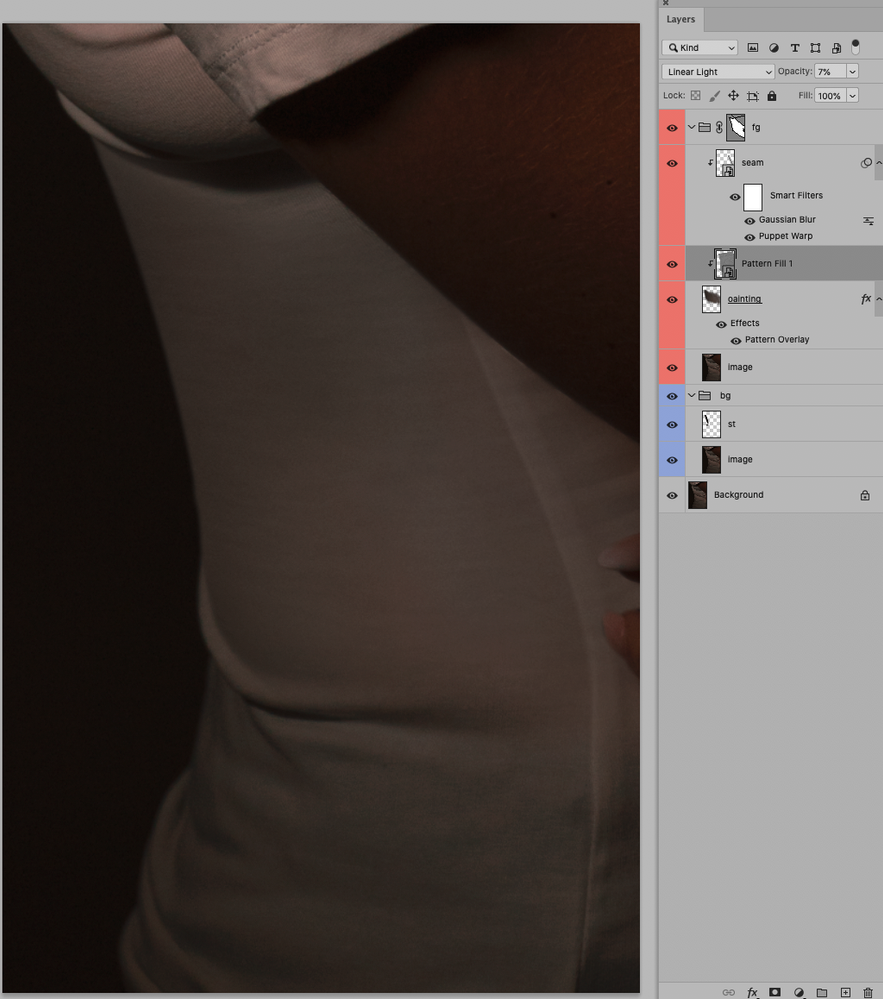
When trying to simulate a structure on a painted Layer one can use a Layer that averages to a 50% gray and set it to the Blend Mode »Linear Light«.
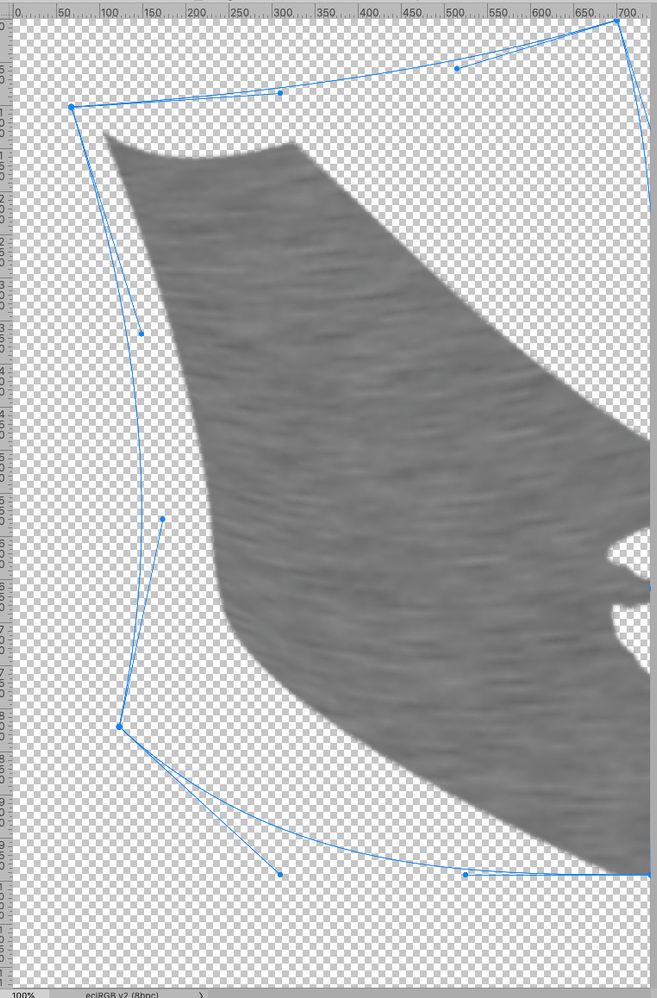
For the textile structure for example one could start with a 50% gray Layer, add monochromatic Noise, scale that up and apply a Motion Blur (ideally as a Smart Filter).
Then convert to a Smart Object and Warp (or Puppet Warp) to »bend« it around the form.
Clipping Mask to the Layer with the painted areas and reduce the Opacity as necessary.
Copy link to clipboard
Copied
ok let me try,
by the way, the picture was a RAW coming from lightroom, it's size went from 50mo to 1,04g.
Did I do somthing wrong or is that normal, as you add layer and filter to image?
Copy link to clipboard
Copied
A 20-fold increase does seem a bit steep, but it really depends on the number and kind of Layers/Smart Objects in the file.
Are you working in 8bit or 16bit?
Copy link to clipboard
Copied
it is a 16bit - the photo is about 7000 x 5000 pixels.
I just tried to reproduce your perfect example above, but I must have missed something, I will try again. I am sure it is something obvious.
Copy link to clipboard
Copied
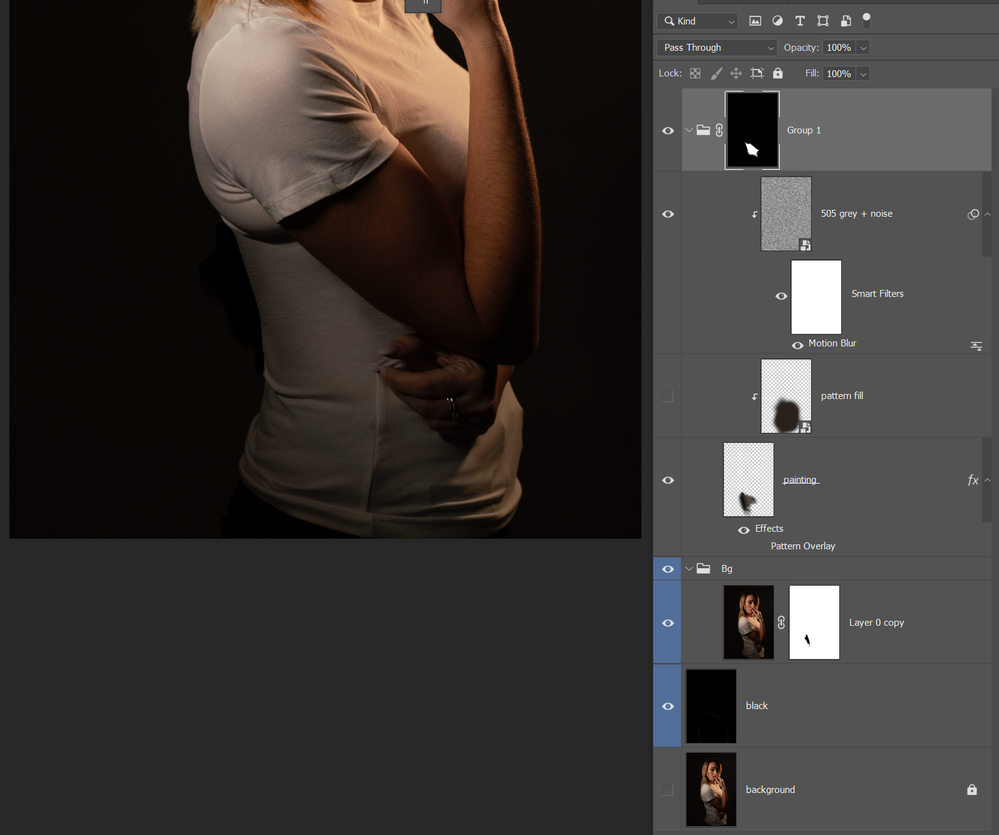
here is the closest I could come to:
(your post was very helpful)
- I could not get the pattern overlay part to work, I only had trees, Water etc as possibility.
- I got mixed up with smart object. I thought, I could double click, edit them and come back to the main file, but the changes I make within the smart object do not apply once I return to the main psd.
- I also had issues with the masks of group 1 and 2. I need to find a way to organize myself better.
Again big thanks for your time!!
J
Copy link to clipboard
Copied
I had omitted to elaborate on the Pattern Overlay.
It uses a plain Pattern with 50% gray with monochrome Noise added set to »Linear Light« and is intended to simulate the noise/grain of the original image.
In the screenshot below the leftmost square does not have the Pattern Overlay, the middle one does and in the right one the Pattern is scaled.
