 Adobe Community
- Home
- Photoshop ecosystem
- Discussions
- Re: How to select every pixel that isn't grayscale...
- Re: How to select every pixel that isn't grayscale...
How to select every pixel that isn't grayscale/R=G=B?
Copy link to clipboard
Copied
I have an 8Bit RGB image with a background in grayscale and a subject in color. I want to select every pixel that is not grayscale.
I know of photoshop's tools for subject selection as well as the color range selection tool, but those do not give me a satisfying result with my particular image.
Any help would be greatly appreciated.
Explore related tutorials & articles
Copy link to clipboard
Copied
I suggest that you post the image.
Since you want to separate the color subject from the neutral background there may be masking methods that you have not considered. For example, you may have tried options in RGB mode only....or not experimented sufficiently with Calculations, for example. Post the image in a sufficient size for us to try a few things for you.
Copy link to clipboard
Copied
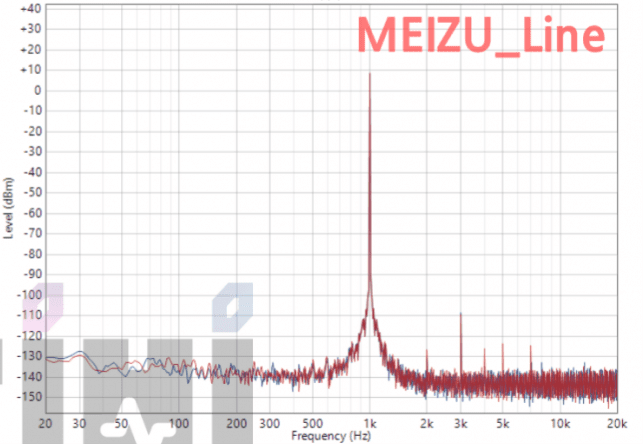
Here's the image in question:
https://drive.google.com/file/d/1LJnB23EYz6BKmKPWsrVCuPxiQggBmFJc/view?usp=sharing
Essentially, I want to isolate the graphs from the coordinate grid they're on.
Copy link to clipboard
Copied
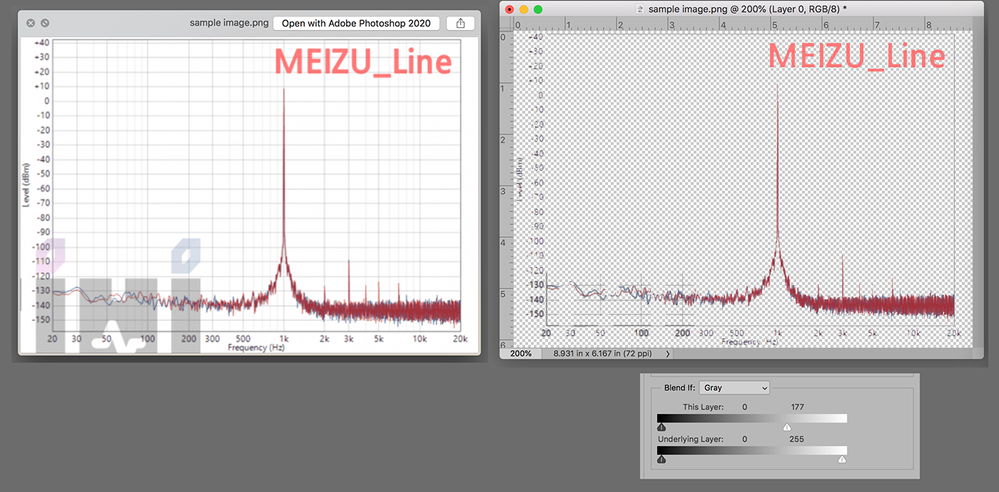
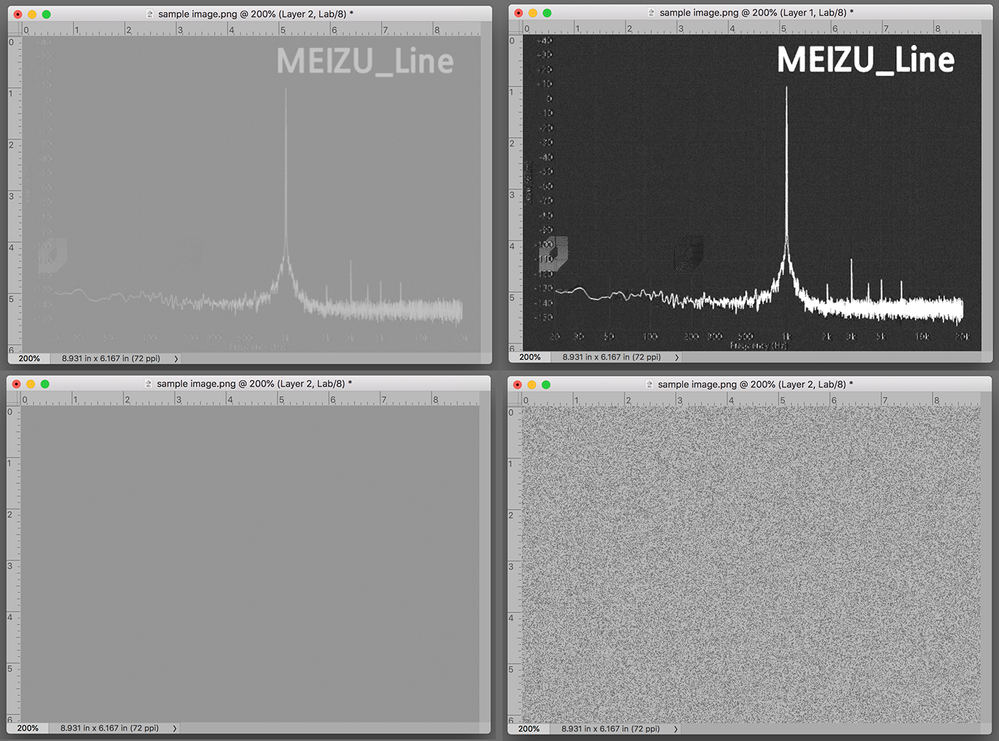
This is the result of two tests:
Blend if
Lab channels
Of the two, Blend If (the top illutration) is clearly superior. This is the technique:
Change the Mode from Multichannel to RGB
Add a transparent Layer below the image layer
Return to the top layer and double-click on it in the Layers panel to bring up Layer Style
In the Blend If section, move the top right slider to the left to lose almost all the black information.
Minor brush work should clean up the lines in the lower left.
Layers > Merge down to flatten the image.
Lab Color Mode:
Changing the Mode to Lab was not successful because the channel housing the blue in the graph image was unable to display an adequate separation from its background. The images shown are the normal a and the normal b channels and the channels with a quick Curve applied to see whether they had the basis for a crisp mask. Since the blue was lost, this option was not worth further work.
Copy link to clipboard
Copied
This should be workable in Lab, using the a and b channels while ignoring L.
Give Norman an example image and he'll show you the most efficient way 🙂
Copy link to clipboard
Copied
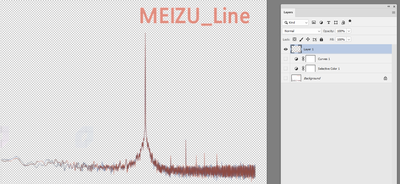
An alternative method of achieving what you need is to make a saturation map and then make a selection from that map. A saturation map is black where R=G=B and gets lighter the more saturated the pixels (i.e. the more R does not equal G does not equal B)
1. To make the saturation map, add a selective color adjustment layer.
Go through each colour in the adjustment properties and for each colour turn the black slider value to -100%. For the three neutrals i.e blacks, neutrals and whites turn the black slider to +100%
Click the "absolute" button
You will now have the saturation map
2. You can add a curve above this map to increase the contrast
3. Click on any channel and make a selection from that channel
You now have all pixels where R does not equal G does not equal B selected. You can turn off visibility of the Selective colour adjustment layer and the curve and use your selection to copy the required area onto a separate layer
Dave
Copy link to clipboard
Copied
Dave, I had trouble following your instructions (my fault) but I am dazzled by your result. Fantastic!
Copy link to clipboard
Copied
Cheers Norman,
I sometimes create a saturation map, using the selective color adjustment layer, when compositing as an additional visual tool when adjusting image components to fit together. This was just an alternative use for it.
If anyone is struggling with my instructions - please let me know which part and I'll try and clarify them 🙂
Dave
Copy link to clipboard
Copied
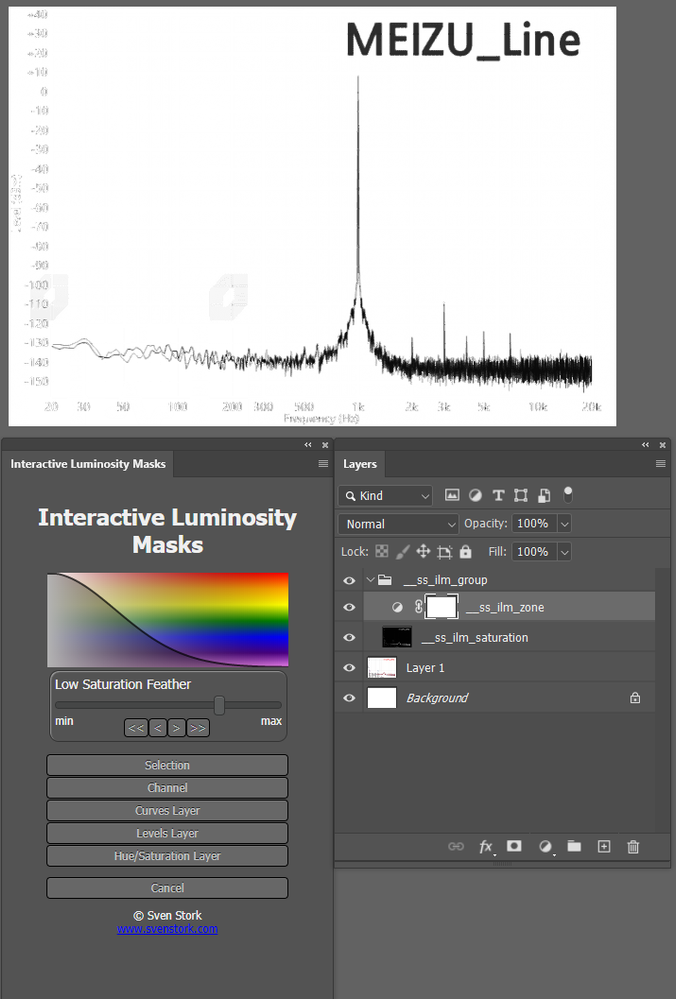
Sven Stork's Interactive Luminosity Mask extension has a saturation mask option. Plus it is free, unlike another well known luminosity mask tool.
https://exchange.adobe.com/creativecloud.details.12307.interactive-luminosity-mask.html

