 Adobe Community
Need help with gradients
Copy link to clipboard
Copied
I am trying to learn how to do gradients like shown in the image. Dark color on the outside 4 corners and lighter toward the center.
Explore related tutorials & articles
Copy link to clipboard
Copied
There are a lot of ways to create a gradient that's dark in the corners and lighter in the center. Here's one that can help create the more organic/irregular background with the darker corners:
- Create the background
- Set the foreground color to the lighter bluish color
- Set the background color to the darker blue color
- With a layer selected, go to Filter > Render > Clouds
- Blur the clouds by going to Filter > Blur > Gaussian Blur and increase the Radius until you still have variations in the color, but they aren't completely blended together
- Use the Inner Glow Layer Style but change the blend mode
- On a layer with a lighter background color, double-click to the right of the layer name or go to Layer > Layer Style
- In the Layer Style dialog, enable Inner Shadow (if it doesn't show up in the Styles list, click on fx at the bottom to add it)
- Click on the name Inner Shadow (or to the right of it) to open its settings
- Click on the color square to open the Color Picker
- Sample the background color to set it as the color for the edge
- Change the Blend Mode dropdown from Screen to Normal (or Multiply if you want it darker)
- Adjust the Size and the Choke to set how wide and how feathered it is
Copy link to clipboard
Copied
Thank-You.
Copy link to clipboard
Copied
As Myra suggests with her opening statement, this is something that can have multiple approaches. More than most Photoshop tasks I would say.
I'm guessing that you know that the gradient tool has several options including radial.
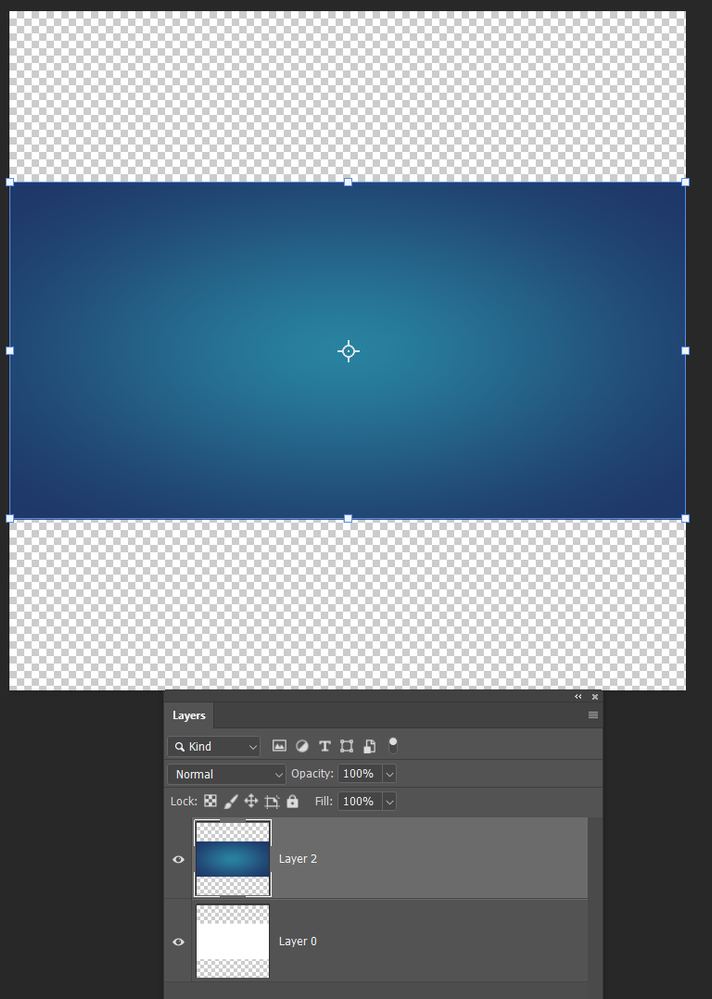
The problem with that is that it can not do an elliptical gradient, only round, but you can start with additional canvas size and Free Transform it to the required flatter shape. There would still be an issue in that the vertical gradient would be crushed, but it is still usable

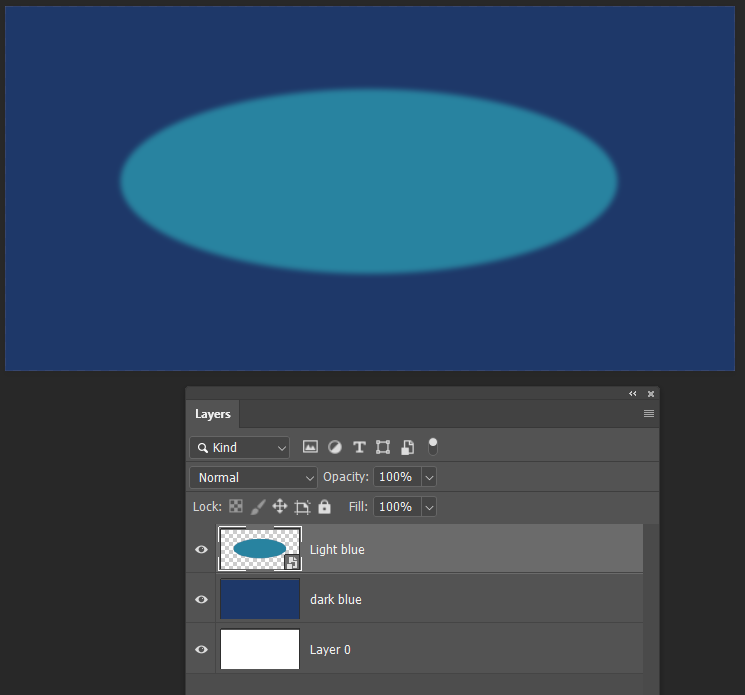
Another approach would be to fill a layer with the darker blue.
Fill an elliptical seleection with the lighter blue on a new layer, and use Gaussian blur to produce the gradient.
Note that I made the lighter blue layer a Smart Object so you can fine tune the blur amount
I liked Myra's Layer Style solution as it is fully nondestructive. You can rarely go wrong with layer styles, although some of them are finicky to use.
Copy link to clipboard
Copied
Here's yet another way.
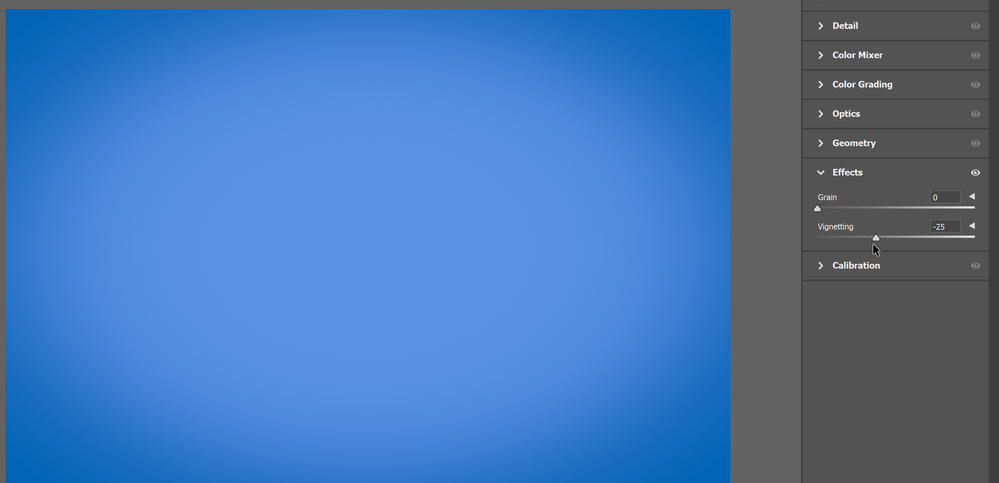
Fill the area with a solid color that is the lighter color you want for the center.
Choose Filter > Camera Raw Filter.
Under Effects, move the Vignette slider to the left.
(If you want a mottled look in the center, you could set foreground/background colors to lighter blue and medium blue, then use Filter > Render > Clouds. You may want to use the Blur filter to soften the look of the clouds. Then proceed to the Camera Raw filter.)
Copy link to clipboard
Copied
That's good one Barbara. There are some hidden gems in Camera RAW like vignette. Add grain is one of the best fractal noise generators I know of, and a great way to make touched up skin look like real skin. I still like to recommend the Michael Ninness Photoshop Power Shortcuts from way back in MAX 2014. It is not 100% relevant because of changes, but most of it still works. At the time it was a bit of a game changeer for me.


