Sorry for the late reply
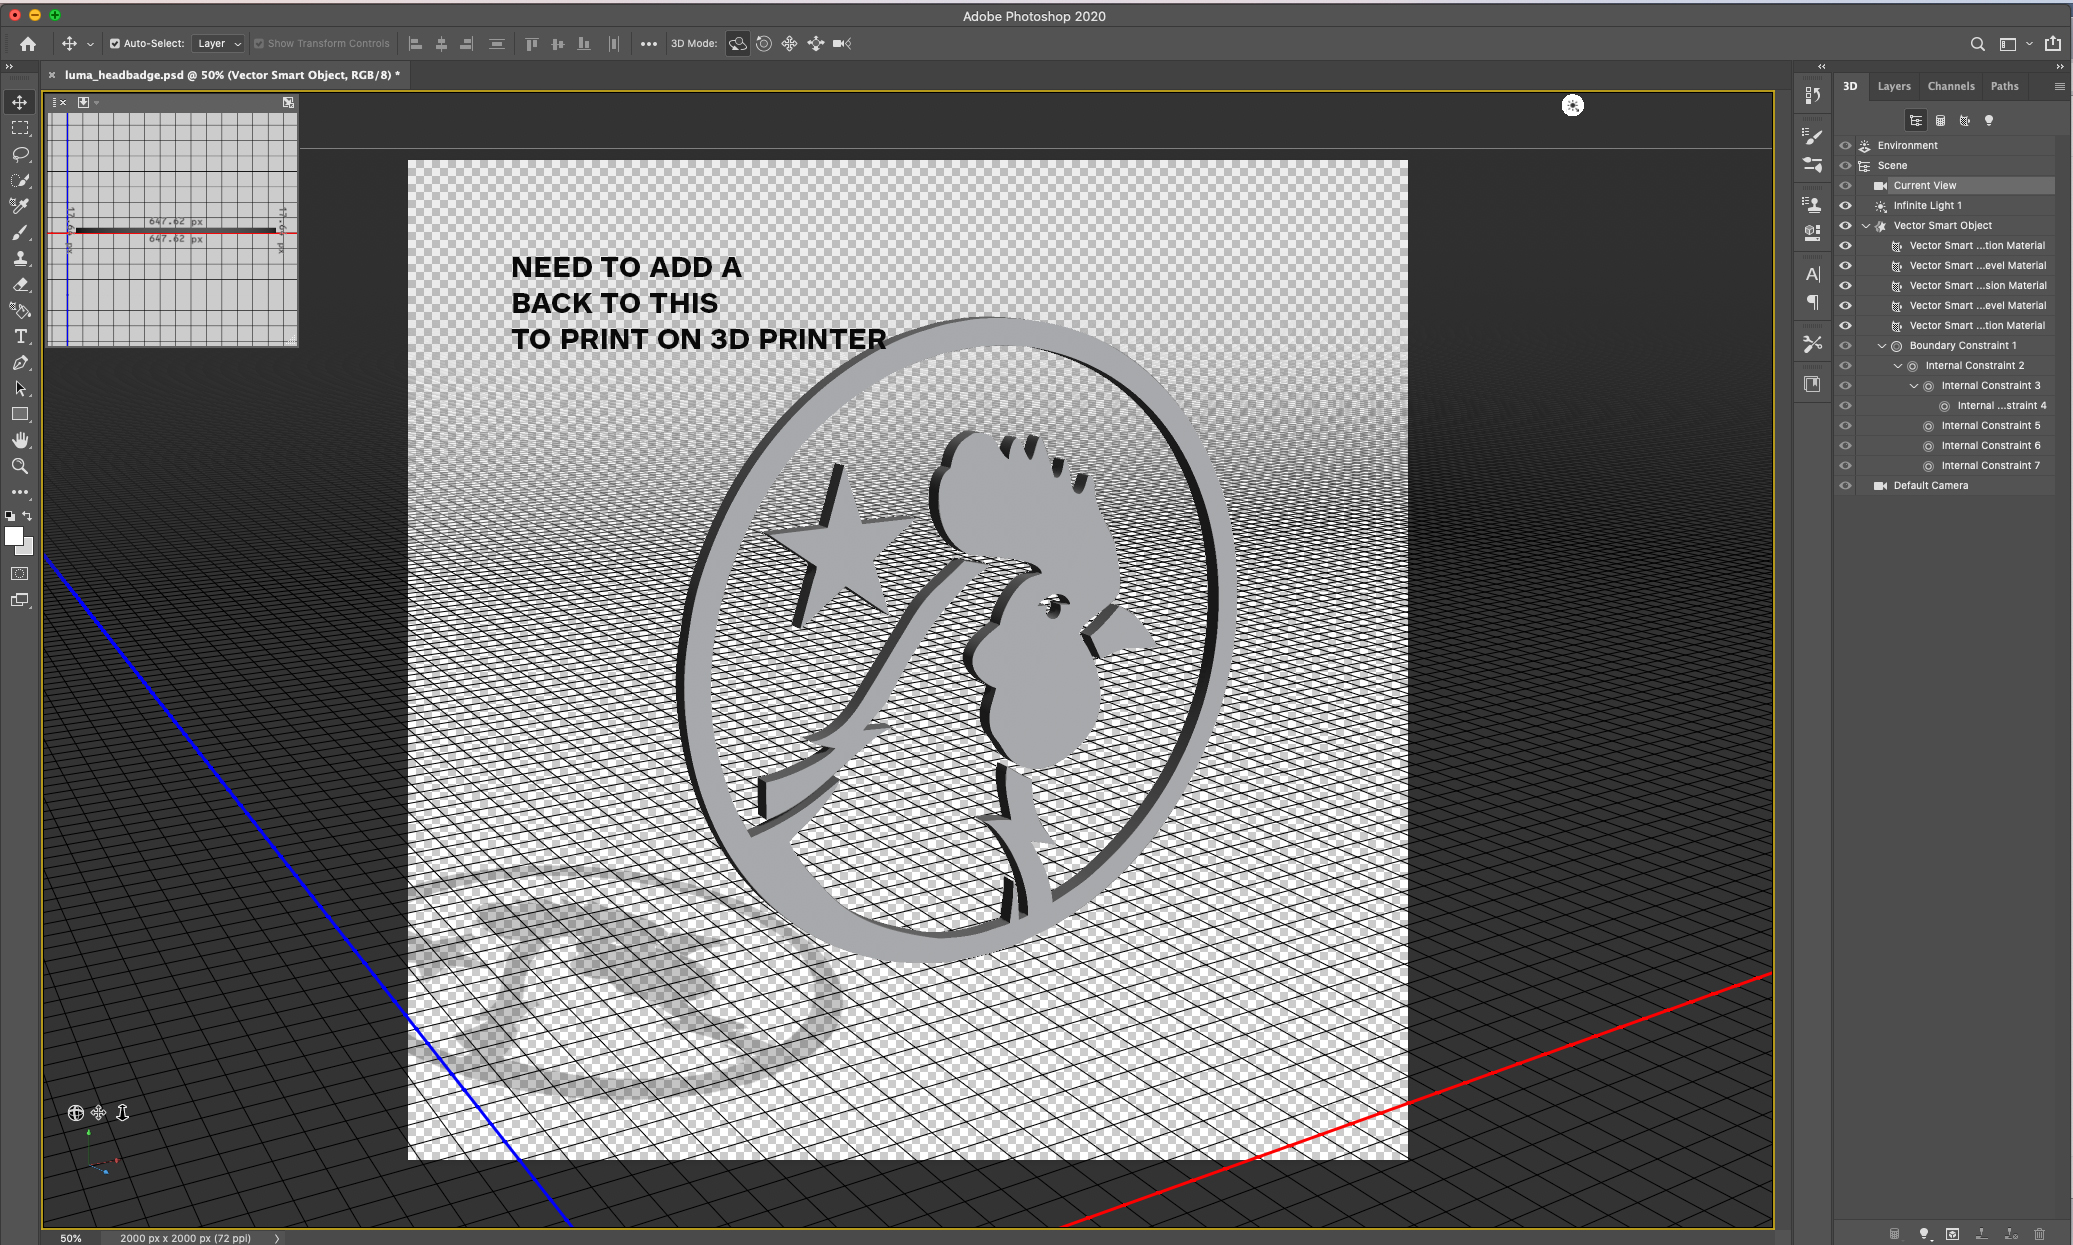
1. Make your first model as you have done
2. Make a new 3D layer with a circular extrusion the same size as your original exterior
3. Merge the 3D layers
4. Position the two objects (the original and the new circular extrusion) together so they overlap in depth
5. Use menu item 3D >Unify Scene for 3D printing
That last step will turn the separate objects into a single mesh. Simple example below:

Dave


 3
Replies
3
Replies


 AdChoices