 Adobe Community
- Home
- Photoshop ecosystem
- Discussions
- Re: PS Doesn't seem to be adding transparent canva...
- Re: PS Doesn't seem to be adding transparent canva...
PS Doesn't seem to be adding transparent canvas
Copy link to clipboard
Copied
Hey, there:
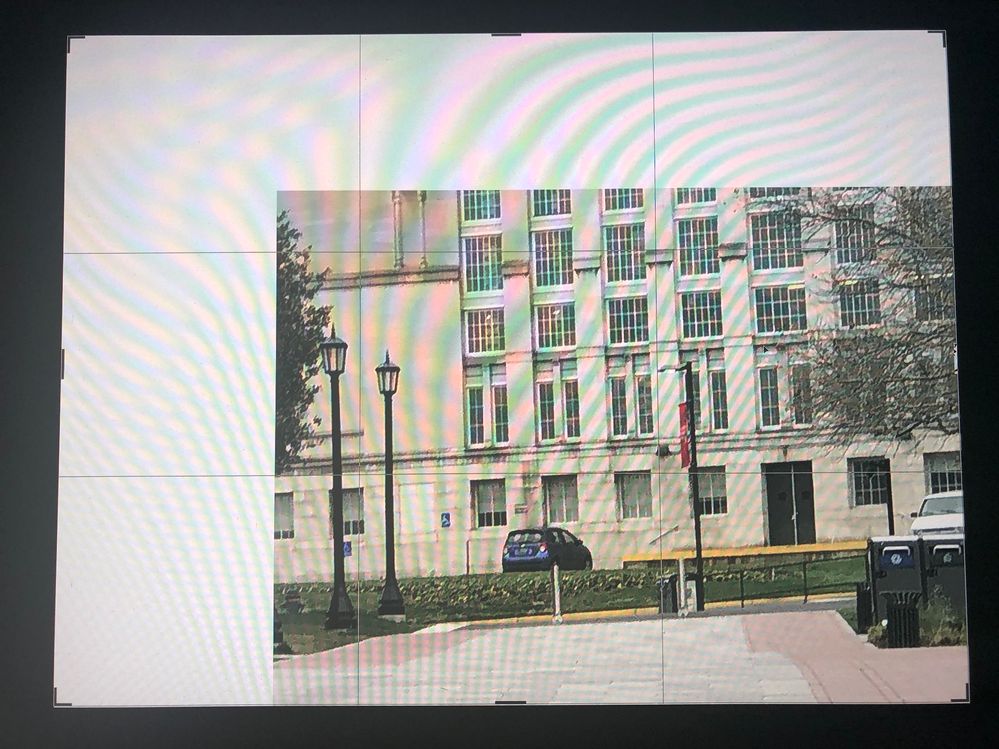
I am going through Julianne Kost's excellent into to Photoshop 2020 on Linkedin. I am quite sure I am following what she says to add a tansparent layer to the canvas. I hit the lock icon on the background in the Layers panel and I get a layer, just like in the video. Then I click in the image to set the crop and then drag out while pressing opt+shift, the checkerboard pattern should appear. Instead, I get what looks like white background. What am I doing wrong?
Thanks.
Kenneth
Explore related tutorials & articles
Copy link to clipboard
Copied
It could be that the transparency setting in your preferences is set not to show the checkerboard pattern.
Copy link to clipboard
Copied
That's interesting because I haven't touched preferences. It should be "factory settings." But it sounds like a reasonable suggestion so I will try that. Thanks very much.
Copy link to clipboard
Copied
Thanks--under preferences, Grid-size, it said, "none." I chose a different size and one appeared. Will try the exercise again later.
Copy link to clipboard
Copied
If it's set to none, your background will be white.
Copy link to clipboard
Copied
Hello, in the option bar of the crop tool, uncheck "Delete Cropped Pixels", or Photoshop temporarily creates a white background layer (check your layers panel as you use the crop tool)
Copy link to clipboard
Copied
(that also means that you will have a larger file than expected when cropping down, and that you can go back and "un-crop")
Copy link to clipboard
Copied
Thanks. I have to go back and go through the steps in the lesson, but I believe that I did that. My picture doesn't seem to go up that far. However, I tried it so many times, I may have accidentally had it checked, so I will watch for that. Or test what happens with both things, which is something I am always nervous about doing when trying something new.
Copy link to clipboard
Copied
"which is something I am always nervous about doing when trying something new."
Don't be nervous! Here are some things you can do if (when) you've messed things up:
- Reset the tools: right-click the icon in the options bar (not Tools panel) and reset the current tool or all tools
- Type "D" to reset the Swatches to the defaults of black and white (when painting on a mask)
- Reset your panels using the workspace switcher in the upper right or Window > Workspace
- Reset PS to the factory settings by going to Preferences > General > Reset Preferences on Quit
- Ask here in a new thread
Copy link to clipboard
Copied
Very helpful. I've sent so many tools off the deepend already and I learned the joy of hitting "reset tool." Only way to learn.
Thanks again.
Kenneth


