 Adobe Community
- Home
- Photoshop ecosystem
- Discussions
- Re: Hi! I also have a couple of thoughts for you...
- Re: Hi! I also have a couple of thoughts for you...
Removing all color from an image besides shadows
Copy link to clipboard
Copied
Hi!
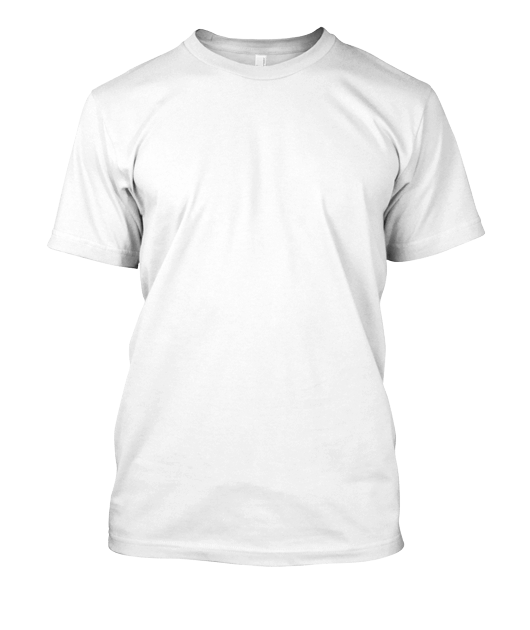
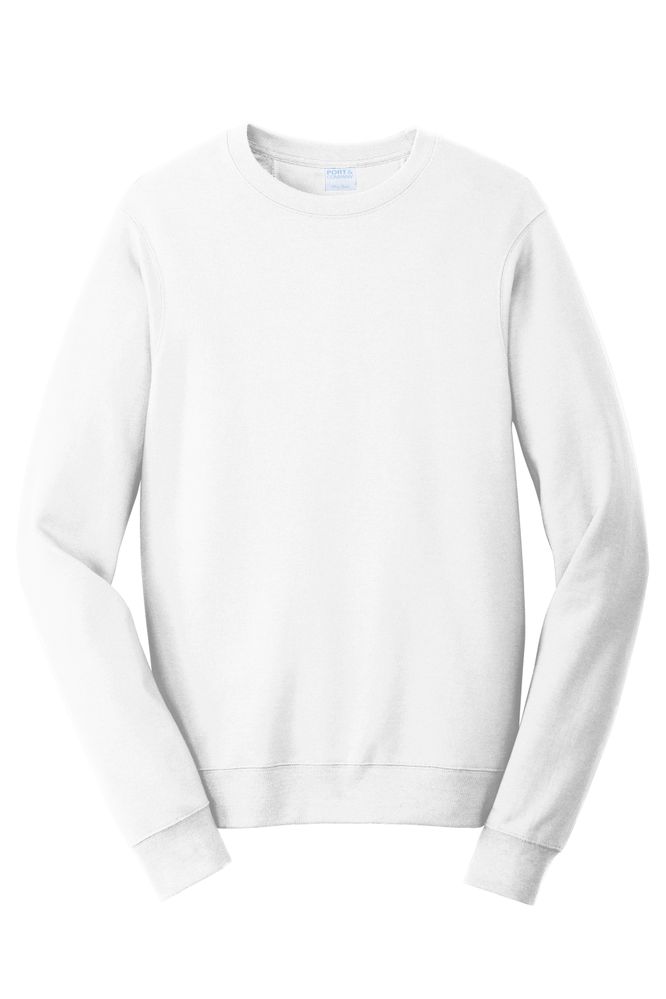
I have been using photoshop a lot more recently and I was trying to create a t shirt mask which retains the shadows like the image attached. I have gone through a million t shirt mockup template tutorials but I still cannot find one that leads to the results similar to the one shown below. I field like I get so close but I am not sure exactly how to remove all white from my images and leave only behind the shadow. I removed saturation, then click on the blending options and try to change things in there but nothing is ever as smooth as this image I have below which was created by someone else. I am just trying to recreate this for other products so I can use for my online website which uses color swatches to change product color as shown here:
https://docs.lumise.com/product-mask-image/
I followed this tutorial to a t (pun intended) :http://www.michaelhoss.com/blog/how-to-create-a-t-shirt-mock
However, it doesnt fully remove all other colors like the image below.
Explore related tutorials & articles
Copy link to clipboard
Copied
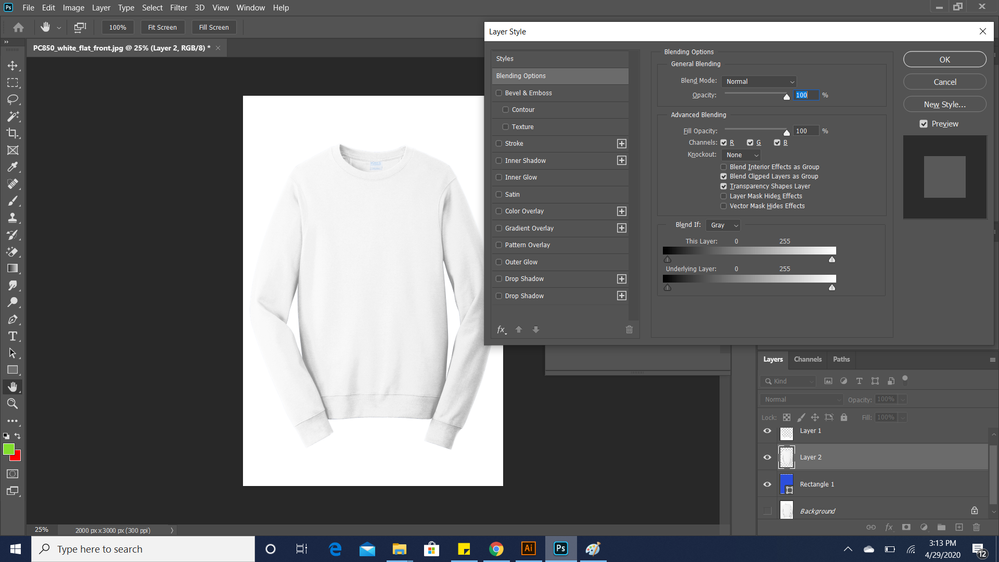
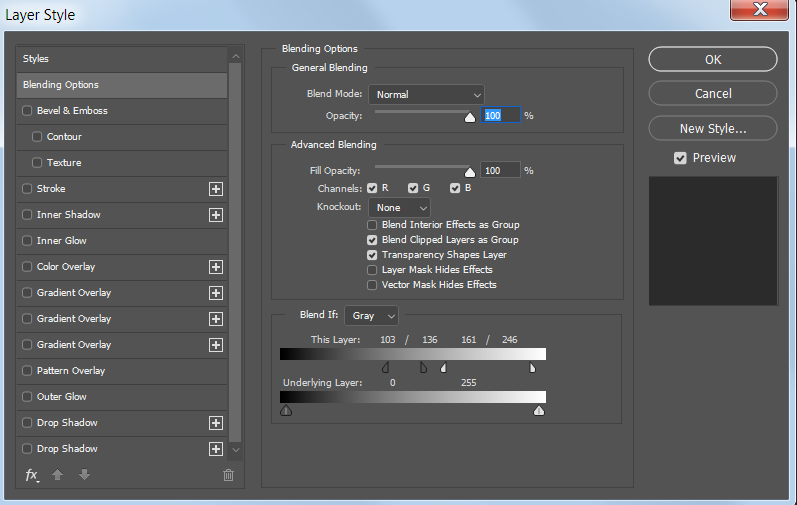
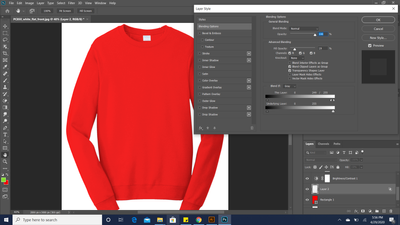
As long as the layer is not a Background layer, you should be able to double click on the right side of the layer to bring up layer styles. Move the highlight slider to the left. Hold down Alt/Option to split the slider for a smoother transition.
If you want to darken the shadows a bit you could move the shadow slider to the right.
Copy link to clipboard
Copied
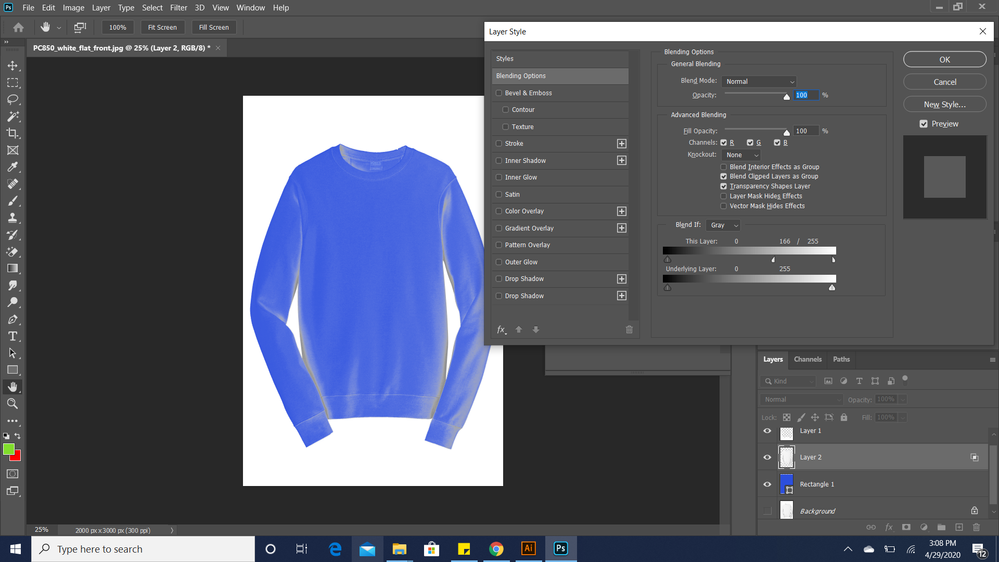
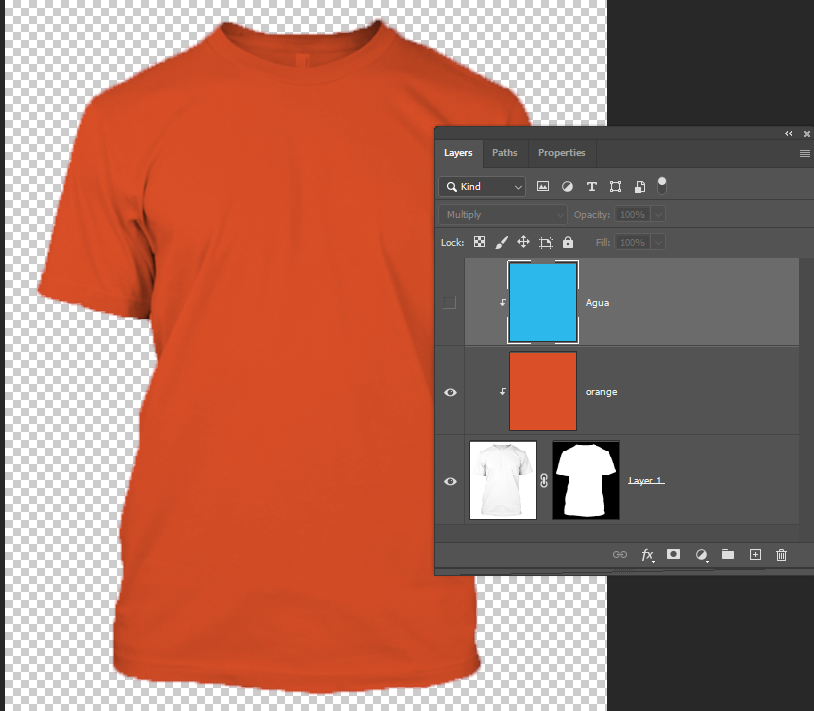
WOW holding alt really helps the transition. I will say though I still am having issues removing all the white and only leaving the shadows behind. I add a blue box behind the layer to show what it would look like on a blue shirt and I get this glowing effect despite the transition is way smoother now as you say.
Copy link to clipboard
Copied
Another way to do this.
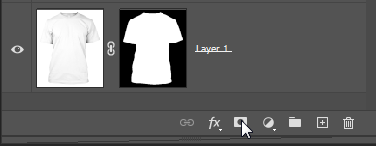
Select the t-shirt and click the Layer Mask icon at the bottom of the Layers panel to add a mask.
Add new layers filled with the color you want. With the color layer active, choose Create Clipping Mask from the Layers panel menu. Change the blend mode of the color layer to Multiply.
Copy link to clipboard
Copied
THank you for that shortcut for clipping masks! Unfortunately, I am trying to create a png mask so that this can apply to stuff outside of photoshop say just a colored swatch behind it on a website. I am afraid my understanding of multiply is its dependent on the layers underneath hence if i am using this I need to do everything in photoshop (ie, make a mockup of a product). I am just trying to create a transparent layer as shown in the original post. I could be misunderstanding though because multiply does make it look good in photoshop but when i go to save as a png it doesnt seem to look the same.
Copy link to clipboard
Copied
Hi!
I also have a couple of thoughts for you: First, could you show us a photo of what you've been able to accomplish so that we can tell you how to get from where you are to where you want to be? And second, along with Barbara's great suggestion of using a color layer and a blending mode of Multiply, you can set the color layer to normal and overlay the T-Shirt art and set that to a blending mode of Multiply. That wayall of the white will be completely gone. You will just need to put the T-Shirt layer on top of the Layer stack.
Let us know if that helps?
Michelle
Copy link to clipboard
Copied
Thanks and I have included some more documentation above. I am actually trying to create this layer so it will work outside of photoshop. Can that be done with multiply still despite that is a photoshop function? If you see the original image above i posted its what I am trying to create but as you can see in the results above I am failing miserably ha!
Copy link to clipboard
Copied
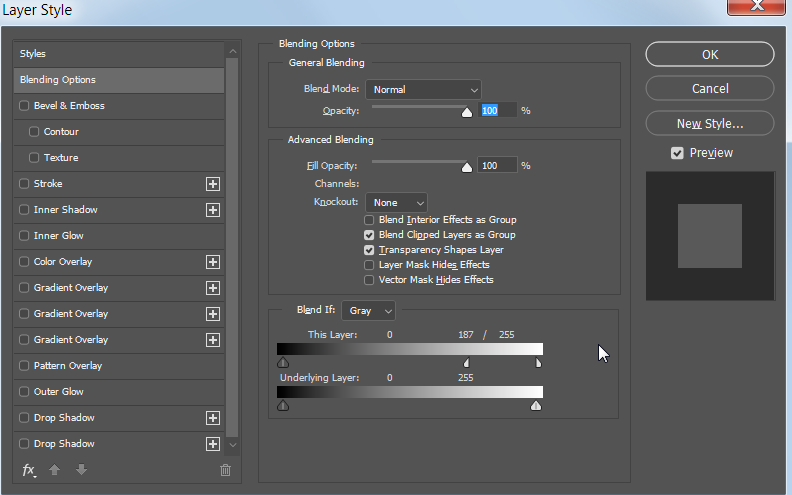
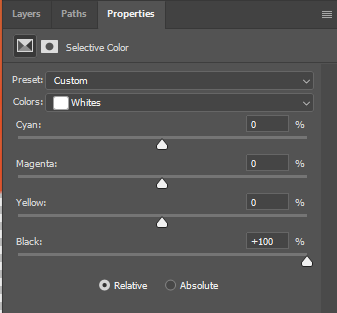
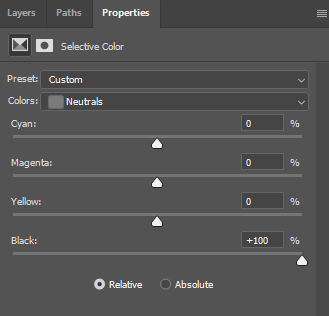
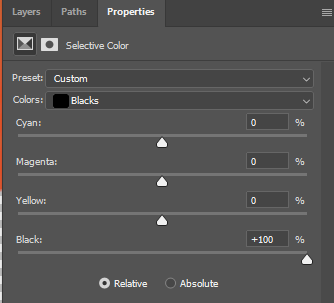
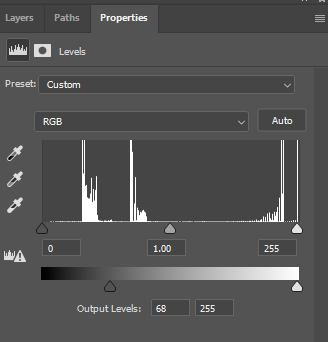
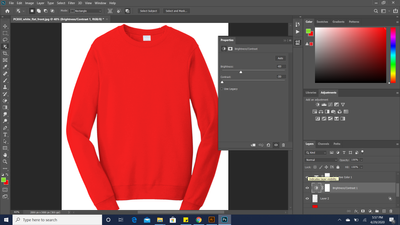
You could try this -- the idea is to get the shadows much darker.
This is what my dialog boxes look like:
Copy link to clipboard
Copied
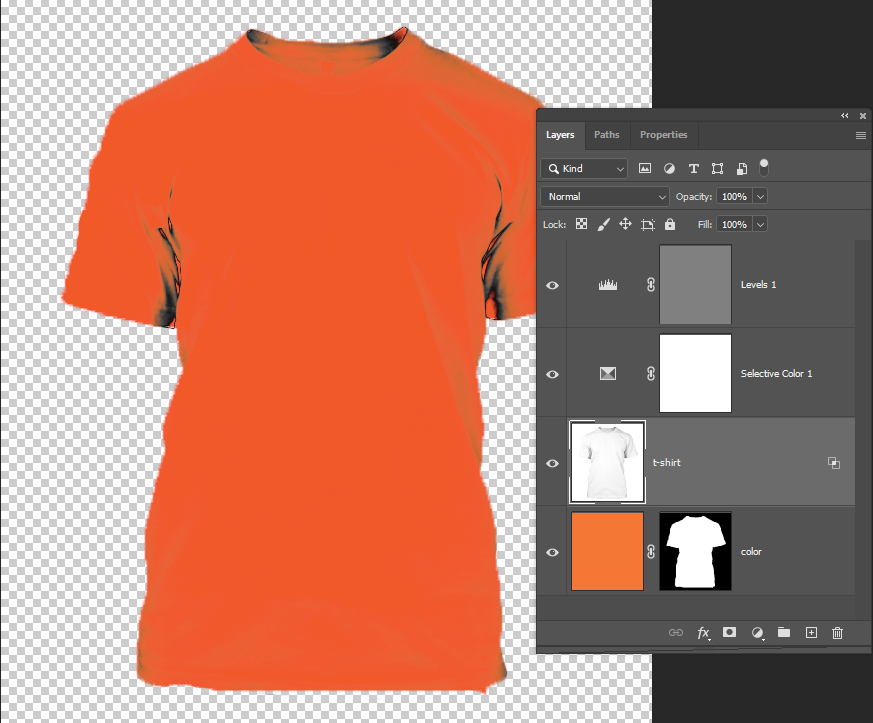
It sounds so strange but it always feels like some settings cancel the others out. The selective color adjustments seems to help out a bit. The other settings I feel like i start to lose the collar. I notice you do not mess with the contrast and brightness so I am curious of why not? Also, I see you do not touch curves as well and I have seen that used a lot in videos so just curious on that as well. If I set contrast back all the way it gets very detailed and darker and helps keep the collar line longer when removing the white in blending but then I have to use a opacity of less than 100 to help even out the leftover white. This in a way blends that removal. If I am understanding this it seems like if i adjust one setting I have to tweak another to setting to create a smoother transition. Check out these settings which seems to retain a lot of the original image (which I am attaching as well since the other one i attached above was my goal I am trying to achieve with my product image). I am have included my settings get to this result which is a ot better but I still feel like there is room for improvement. I am curious if the shadows/highlights would be worth understanding. If this concept is possible in photoshop but basically I need to take the lightest pixel and convert that to white then take my darkest pixel and convert that to black then I want to basically tweak (and probably increase for this case) the rate at which the in-between pixels converge to black (this is the math geek in me coming out). I feel like that is what I am trying to replicate in concept to emphasize my shadows while converting the rest of the image to white but I am not sure which properties truly recreate this concept. Sorry for this long post and I am very appreciative of everything everyones contributed so far.
Copy link to clipboard
Copied
When you have tweaked the image to get the results that you want, then you would want to Merge to a New Layer. This will take all of the visible layers and combine them to a New Layer. To do this, use the Keyboard shortcut of Command+Option+Shift+E. But make sure of two things before you do it: 1) Save your file first in case you just Merge instead of Merge to a New Layer, and 2) turn off all the layers that you don't want visible so they are not included. That includes the background layer if you want transparency.
Then you can save it in whatever format you want and use it outside of Photoshop.
Michelle
Copy link to clipboard
Copied
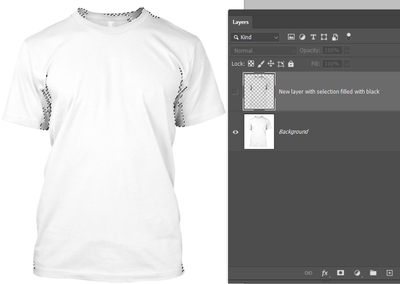
Would a luminosity mask do what you need?
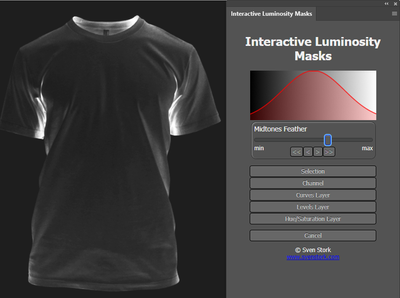
This the Sven Stork extension which is free from Adobe Exchange (Linked from the Photoshop Window menu). I chose Luminosity > Midtones from the UI and moved the slider to the right a wee bit to get this.
I chose Selection as the output, and filled the selection with black in a new layer.
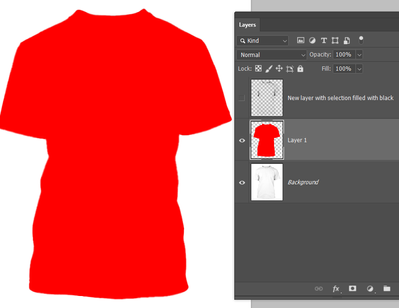
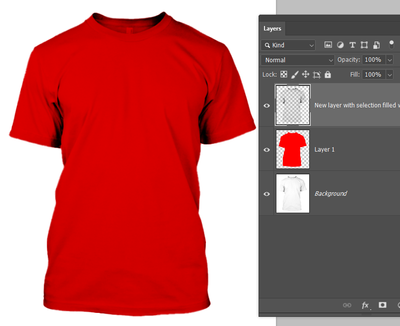
So to demonstrate, a solid colour template of the t-shirt...
Can be overlaid withg the shadows layer that you will have saved as a transparent PNG file and you have your shading. You'd need to fine tune your settings. I probably had the Luminosity mask slider pushed too far right resulting in too strong a selection — remember the 'marching ants' only outline pixels 50% grey or darker, but the lighter tones are still selected.
https://exchange.adobe.com/creativecloud.details.12307.interactive-luminosity-mask.html
Copy link to clipboard
Copied
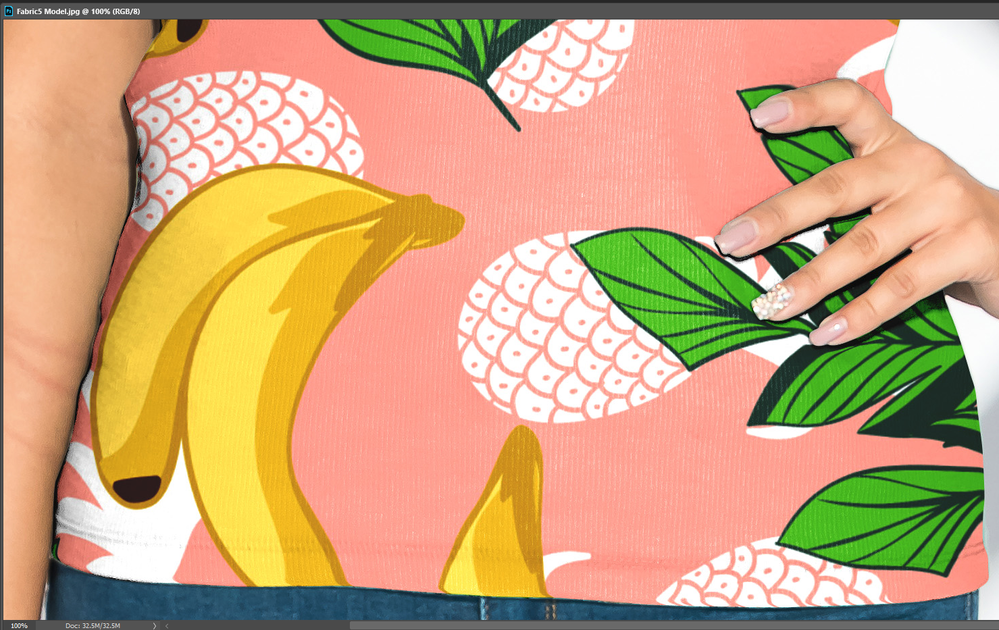
If you start with a light gray T-shirt with texture and shadow. All you may need to get the shadows, highlights and texture is a good mask for the t-shirt on a group of layers to overlay and blend into the replacement fabric. You can also add a smart Distort Displacement filters to the Fabric Smart object layer to distort the fabric to fit the models contours some.
The most important thing is a good masking job.
