 Adobe Community
- Home
- Photoshop ecosystem
- Discussions
- Hi, Thanks Gixxxa75, I will try that and compare t...
- Hi, Thanks Gixxxa75, I will try that and compare t...
what method best to nuetralize green in dark areas and neutralise magenta in light areas ?
Copy link to clipboard
Copied
Hi,
CS6
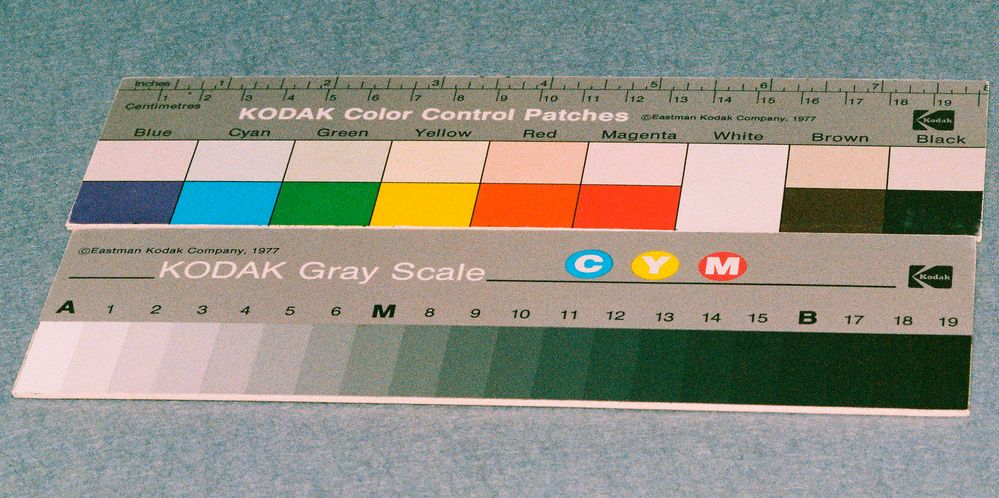
Old rolls of print film being developed but the expected colour casts in darks of green and in lights of magenta and whatever is happening inbetween, wondering what is best method to tackle the pics and remove such.
Please have a go with attached (cropped not rescaled, saved as qlty9 as 11.4mb even then, not sure of permitted size here) and let me know steps and settings used.
I am using file>open as> raw to open the .bmp into raw window then noise and reduce luminance and colour to kill the grain.
57 30 56 70 45 seemed to be effective.
is this best done after colour cast removal ?
is the best approach to sort out that colour cast in the open as raw mode or in normal photoshop (I am CS6)
compare the afflicted to a normal photo ! to know steps and settings is vital, thanking you in anticipation .

Merlin
Explore related tutorials & articles
Copy link to clipboard
Copied
anyone please ?
is not this relatively simple and typical food for photoshop ?
Urgent need to know this now.
Merlin
Copy link to clipboard
Copied
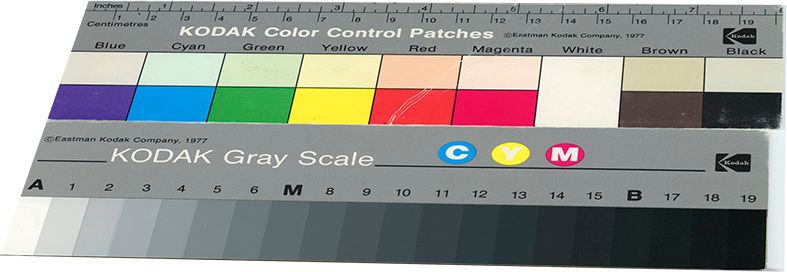
Image-adjustments-levels. Youve got three little droppers for samples, take a sample from the white on the step wedge with the white dropper, Sample the black with the black dropper and use the grey on a grey area. That will take most of the colour cast out. Also look at Hue and Saturation adjustment, you can reduce the saturation of the Magenta there. You can do all this by creating adjustment layers which will be non destructive and you go back and change any adjustments.
Copy link to clipboard
Copied
Quick fix: set up a Curves layer, and use the white eyedropper on the white patch, the gray eyedropper on the #9 gray patch, and the black eyedropper on the darkest patch. This gives you a curve per channel that should roughly correct it.
Set the curves layer in Color blend mode to avoid any unintentional clipping.
Copy link to clipboard
Copied
Hi,
Thanks Gixxxa75,
I will try that and compare to D_Fosse.
Hi D_Fosse,
To do step 1, am I right in saying to set up a curves layer I make the layer 'background' into a named layer, then go layers>new adjustment layer and choose 'curves' ? and do I leave unticked the wording 'use previous layer to create clipping mask'. Also I went with default in that dialog of color :none:and mode-normal
I have done that, hope thats ok.
Then used the pipettes as instructed. hey presto greens and magentas gone 🙂
I then alter 'Normal' mode to 'color'.
How can I then apply the exact same adjustments settings to the remainder of the print roll where kodaks dont feature ?
This will be the unageing process for each image.
Is it best to do the de-noising after this or before, as that involves lots of luminance slider and color slider, by opening it into raw mode with file>open as>raw, de colouring the noise and removing the 'granules'.
Regards
Merlin
Copy link to clipboard
Copied
If you click on the layer icon and hold the button down you can drag the layer to another window, To be honest it would be a lot quicker to use lightroom for this sort of thing. You can get it looking good then sync all the settings to the other frames.
Copy link to clipboard
Copied
Or you could make an action to paste the adjustment layers you have made and then use the image processor to apply to multiple files if you want to automate it. But by the time youve sorted that lot out it might be quicker to do it manually.

