• Global community
    • Language:
      • Deutsch
      • English
      • Español
      • Français
      • Português
  • 日本語コミュニティ
    Dedicated community for Japanese speakers
  • 한국 커뮤니티
    Dedicated community for Korean speakers
Exit
0

White background product photography Automation

New Here ,
Jul 16, 2019 Jul 16, 2019

Copy link to clipboard

Copied

Hi

Im working for an online store and they recently got the idea that they want to implement 360 views of  some products. The products that im photograpging are smartphone cases so they have a pretty basic rectangular shape with rounded corners. So my question is; How do i automate the post production of images. I know how to make actions and such. Currently i select the case using different tools then copy and paste it to a new file and then resize it to 15% of the original size so it fits in the 800x800pix format (thats the file dimensions we use on the website). My current action is as follows- Selec subject> copy>  create new layer>  paste>align using vertical centers> align using horizontal centers. That does a pretty good job at making the images but it takes a really long time because of the Select subject function. Does anyone know a faster way to do all that automatically?

P.S i cant make the background pure white without overexposing the subject because of the limited equipment the boss has provided.

P.P.S im not assembling a panorama im just taking 24shots of the product on a turntable and then the worpress plugin does the rest

Views

1.9K

Translate

Translate

Report

Report
Community guidelines
Be kind and respectful, give credit to the original source of content, and search for duplicates before posting. Learn more
community guidelines
Adobe
Community Expert ,
Jul 16, 2019 Jul 16, 2019

Copy link to clipboard

Copied

There is little hope to make things to work with some other selection technique like magic wand, for example. You can test on your own or provide some screenshots of product images so we can get better idea.

Hopefully your images have some fixed area with always the same and constant color/shade because Photoshop will record spot where is clicked and always use that spot to start calculating selection. I am assuming that all images share the same dimensions and aspect ratio.

Votes

Translate

Translate

Report

Report
Community guidelines
Be kind and respectful, give credit to the original source of content, and search for duplicates before posting. Learn more
community guidelines
New Here ,
Jul 16, 2019 Jul 16, 2019

Copy link to clipboard

Copied

ContactSheet-001.jpg
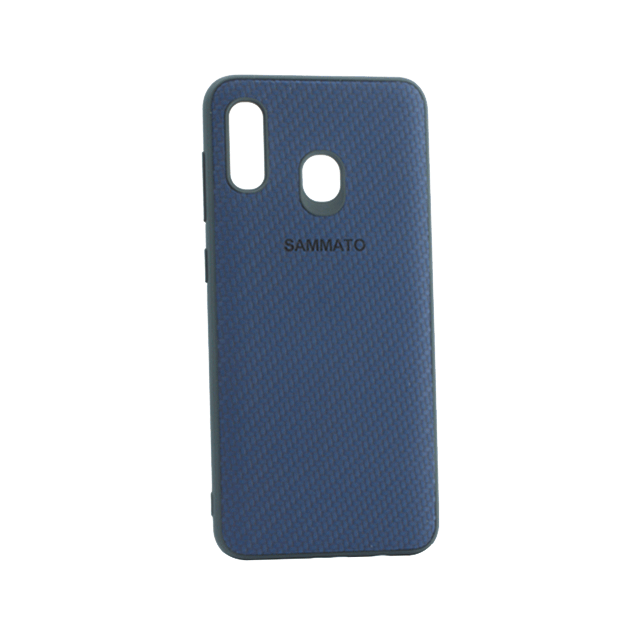
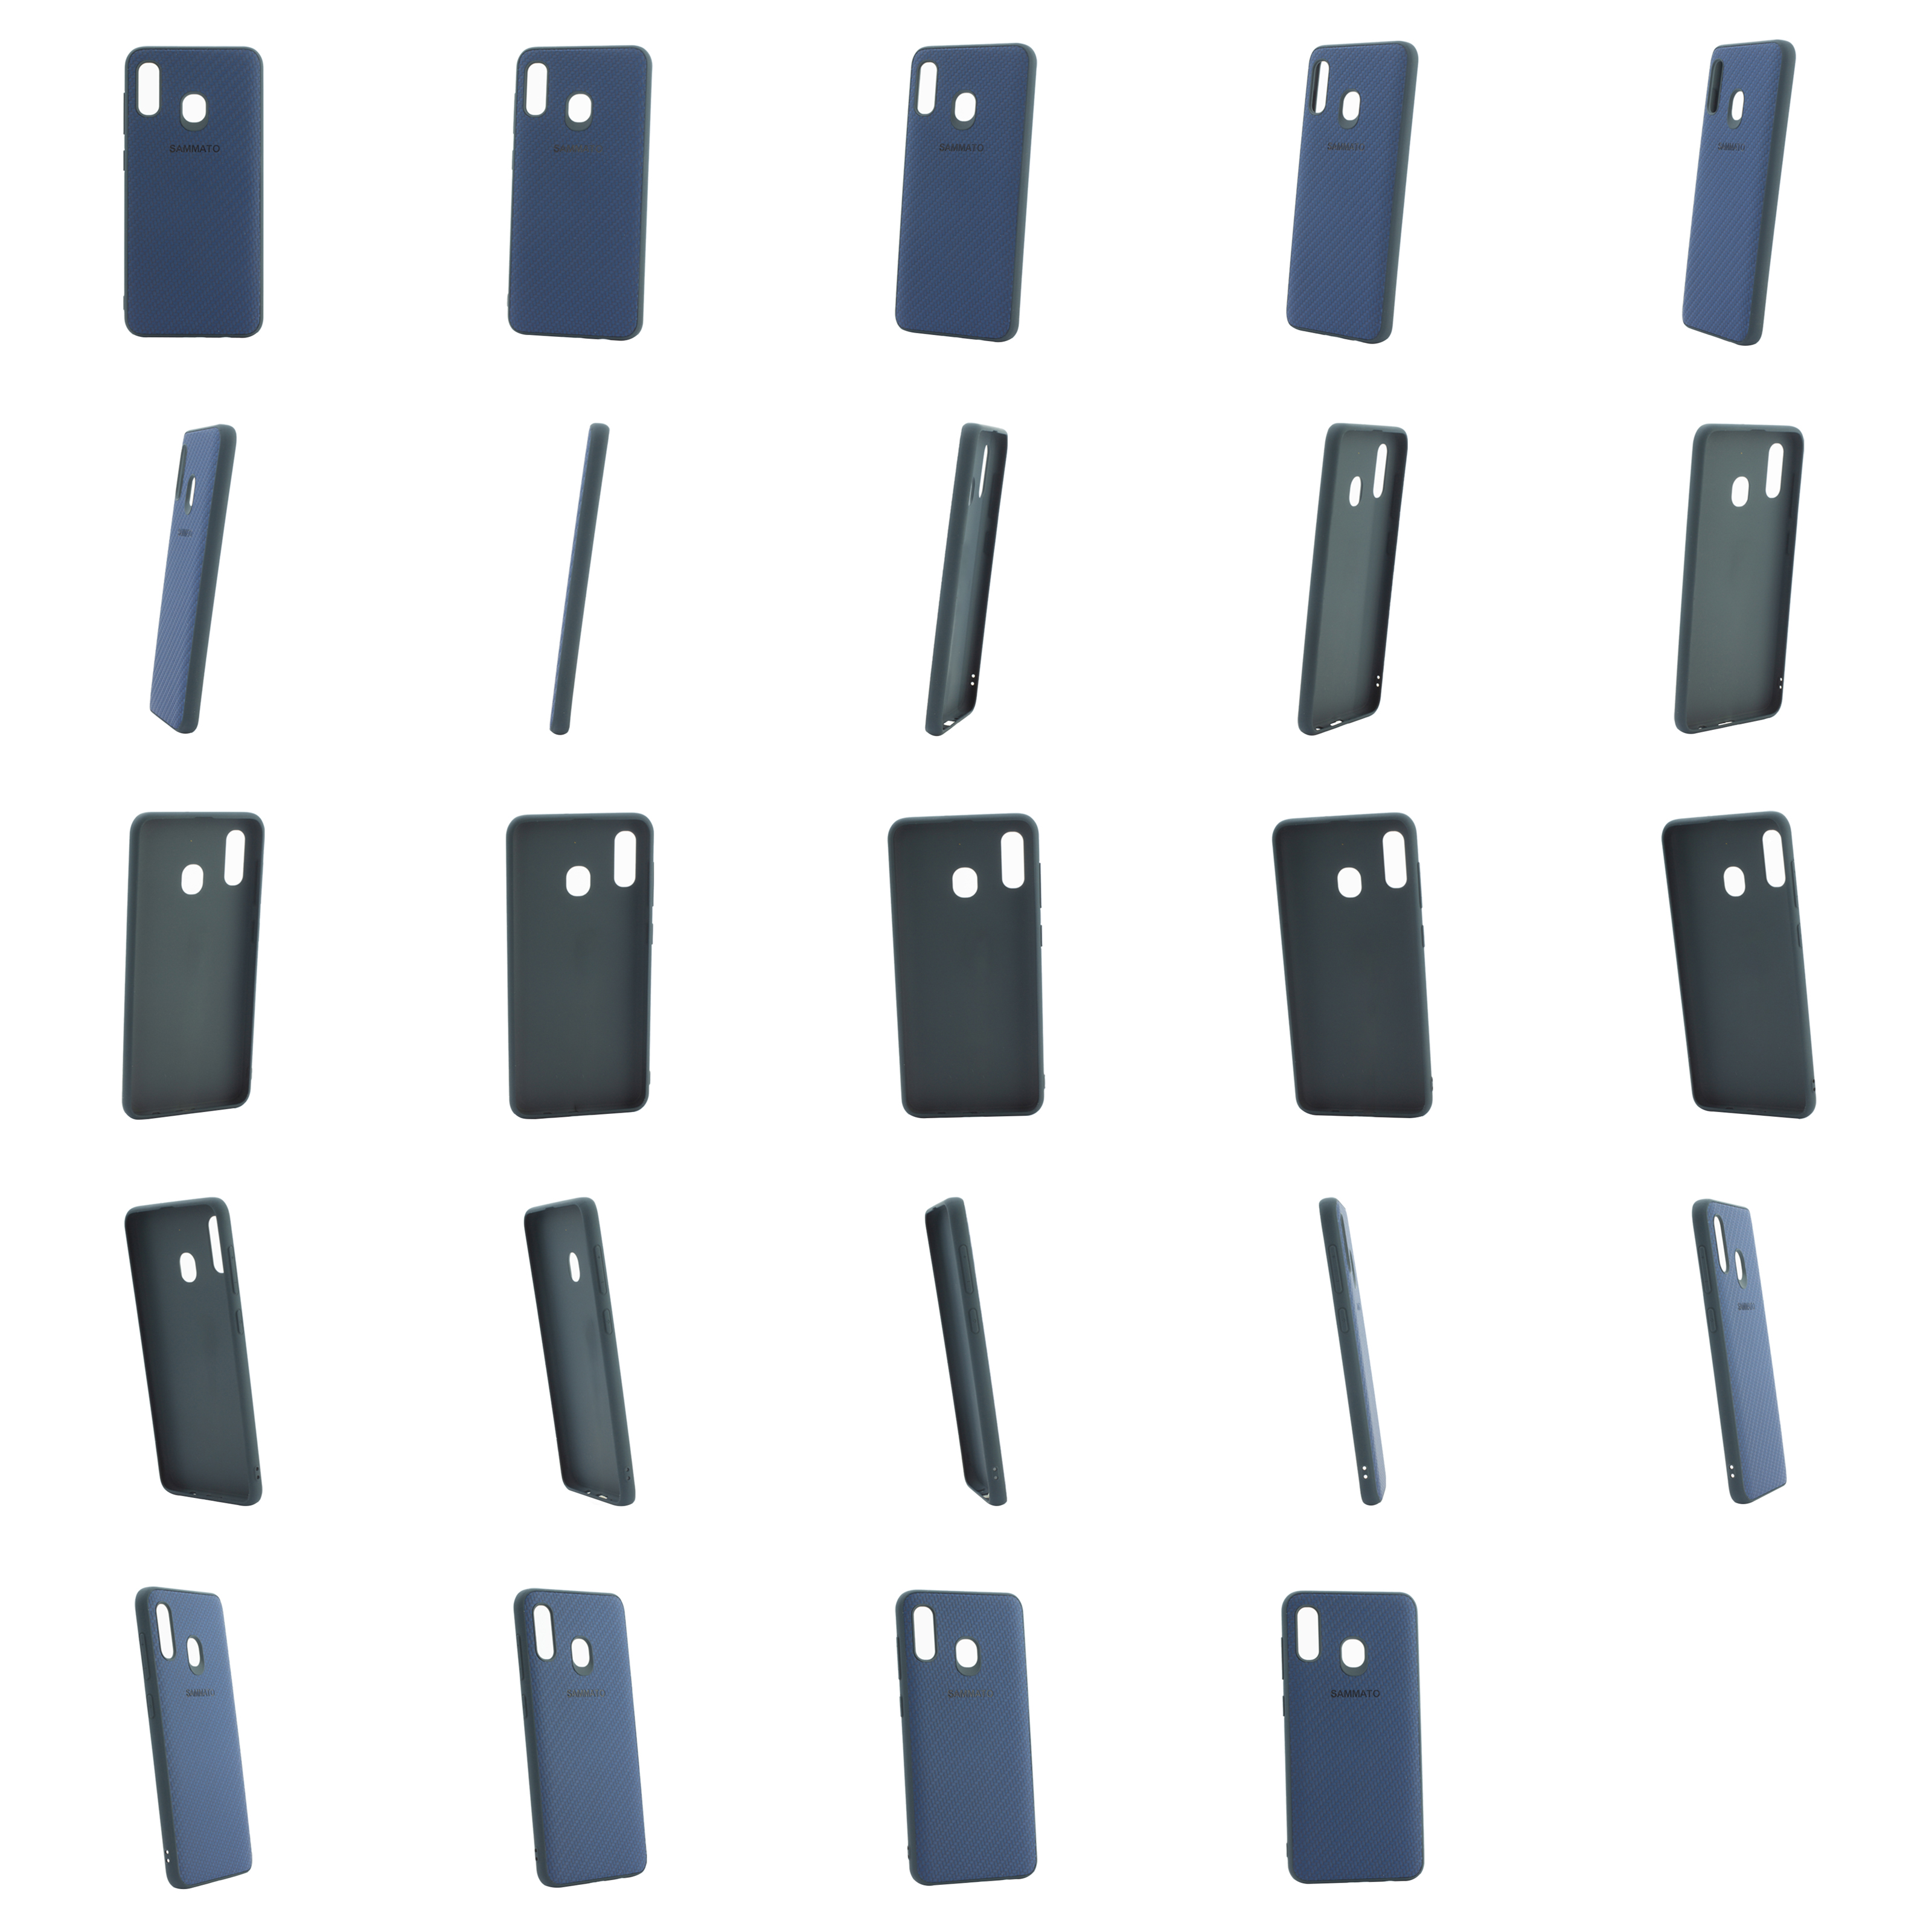
well the color of the case varies from model to model but i always shoot my cases in the center of the frame.

Votes

Translate

Translate

Report

Report
Community guidelines
Be kind and respectful, give credit to the original source of content, and search for duplicates before posting. Learn more
community guidelines
Community Expert ,
Jul 16, 2019 Jul 16, 2019

Copy link to clipboard

Copied

Have you tried so far to use Magic Wand? If you have all files with the same dimensions then click in the top right corner and test which tolerance settings will work for desired selection. When you figure out settings record action step to select with Magic Wand. Photoshop will hard code sample or clicked point but there is nothing to worry since you have same background for all files - this is my guess.

Edited to add that tool settings can be important, it is not the same to try to select with Contiguous checked and unchecked In your case you will need unchecked because you probably want to eliminate white color anywhere including inside case.

Votes

Translate

Translate

Report

Report
Community guidelines
Be kind and respectful, give credit to the original source of content, and search for duplicates before posting. Learn more
community guidelines
Community Expert ,
Jul 16, 2019 Jul 16, 2019

Copy link to clipboard

Copied

How did you rotate the case you captured?

PCase.gif

JJMack

Votes

Translate

Translate

Report

Report
Community guidelines
Be kind and respectful, give credit to the original source of content, and search for duplicates before posting. Learn more
community guidelines
Community Expert ,
Jul 16, 2019 Jul 16, 2019

Copy link to clipboard

Copied

Since the images are uniformly deep black the silhouetting, including the openings in the case should be white then, with a white layer below the image layer, you can choose one common Layer Style > Blend If setting to turn all the "should be white" areas transparent, revealing the white layer below. Then Merge down to create the final flat file with the case silhouetted on a white background.

Votes

Translate

Translate

Report

Report
Community guidelines
Be kind and respectful, give credit to the original source of content, and search for duplicates before posting. Learn more
community guidelines
Community Expert ,
Jul 16, 2019 Jul 16, 2019

Copy link to clipboard

Copied

Perhaps try resizing before the select subject command so there is less data to work with, however, I don't think that this will make too much difference.

An alternative to the magic wand would be a luminosity selection, record a CMD/CTRL click on the composite RGB channel then inverse selection (the interior holes will also be selected, which may or may not be a problem).

Votes

Translate

Translate

Report

Report
Community guidelines
Be kind and respectful, give credit to the original source of content, and search for duplicates before posting. Learn more
community guidelines
New Here ,
Nov 20, 2020 Nov 20, 2020

Copy link to clipboard

Copied

LATEST

I found an incredible PS Plugin/Extension, called RemoveBG . There are really awesome tools in the Adobe Exchange Section. Remove.BG is a paid subscription, that sends the image to their server (Just by clicking a button, while in photoshop, and it automatically removes the background in about 10-15 seconds. It does a pretty amazing job 95% of the time.  Once its finished, you have your original layer, and a duplicate layer with a mask applied, that you can make tweeks to if its not perfect. Then you can Create another action for adding a white layer underneath, merging layers, and saving/closing.  I have the Shadowfy extension to automatically create shadows too. 

Votes

Translate

Translate

Report

Report
Community guidelines
Be kind and respectful, give credit to the original source of content, and search for duplicates before posting. Learn more
community guidelines