 Adobe Community
- Home
- Premiere Pro
- Discussions
- Re: Changed colors in Premiere 2022 for sony video...
- Re: Changed colors in Premiere 2022 for sony video...
Changed colors in Premiere 2022 for sony videos

Copy link to clipboard
Copied
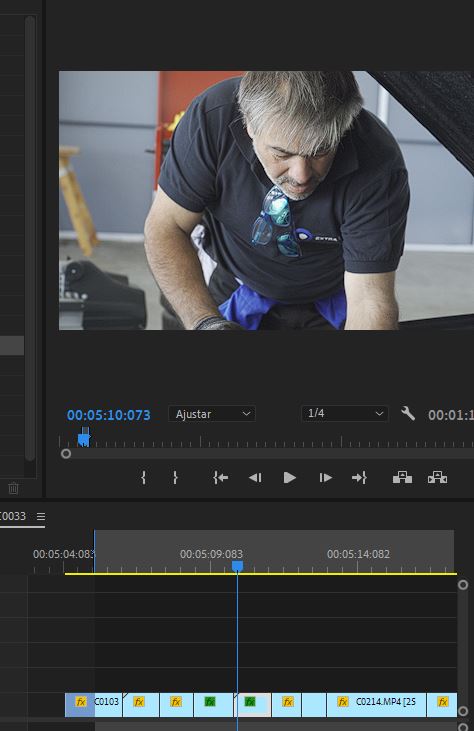
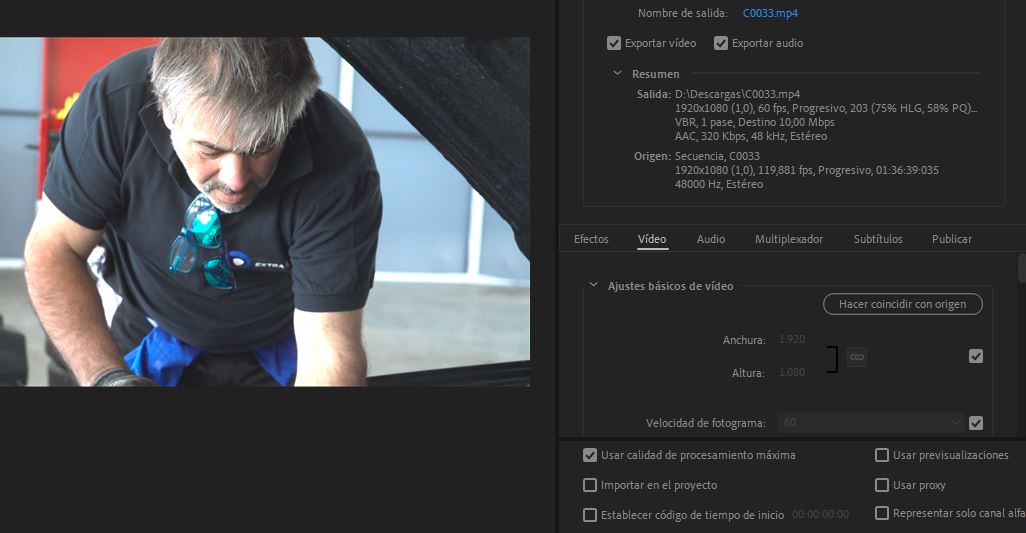
Since I installed Premiere 2022 I edit my videos made with a sony a7III, while Im editing they look fine, but when I export them Premiere change the colors, saturation and contrast - as you can see in the atached screenshots, what is happening? what can i do? why such difference between what i see at the timelime and the exported result?


 38
Replies
38
38
Replies
38

Copy link to clipboard
Copied
A similar problem with my Sony A7 S III camera.
INTERPRET Color Management PrPro v.22.0 | Pay atte... - Adobe Support Community - 12512772

Copy link to clipboard
Copied
This problem of premiere changing the contrast and saturating is incredibly frustrating. Tried everything people have said, it still messes with the footage.

Copy link to clipboard
Copied
What is the clip, made by what device?
What is Premiere showing for the clip's color space in the properties of the clip?
What is your sequence CM set to?
And what are you exporting to?
Give us those answers and we can get you sorted right quickly.
Neil
Copy link to clipboard
Copied
Thank you for asking:
I shot with a Sony A7III in HLG3 gamma and BT.2020 Color Mode (as required for the LUT)
Colour Space of the clip: 2100 HLG
Sequence working colour space: REC709 and I modified and interpreted the clip to REC709
Export colour space is REC709 (and I'm exporting in the format H.264 and Match Source - High Bitrate)
For this footage I'm putting on an adjustment layer and applying a LUT to that but the issues with how the footage looks exists even when I don't shoot with a picture profile (and the LUT worked perfectly in the older version). The colour of the footage from the file differs to in project which differs to the output and exported video. It's just all really confusing me.
Copy link to clipboard
Copied
I'm puzzled about that LUT ... you need to shoot in HLG/2020, but use it on a clip after a transform to Rec.709 ... ?
Tell us about that LUT ... where did it come from, and what is the purpose?
Neil
Copy link to clipboard
Copied
Sure, so I use a Leeming LUT to convert the HLG3 footage into Rec709 I believe.
They give you specific instructions on what settings to have your camera on for it to work and I've followed that.
There are other people using these LUTs who have found success in interpreting the footage to rec709 and the sequence working space to rec709 then applying the LUT but for some reason mine doesn't work.
Now that I think about it, it is really confusing to me how the LUT is meant to work if the clip itself is converted to rec709 but then isn't that the LUTs job? I don't know. All I know is that applying the LUT on the footage on the previous version of premiere worked fine.
Copy link to clipboard
Copied
They've changed the CM settings and default behaviors ... many things now default to the opposite of what they were before.
For example ... a log encoded media clip, say a Sony Slog-3 clip. You're used to log encoded clips in a Rec.709 looking flat/grayish, all midtones right? But that Slog-3 clip comes onto a Rec.709 sequence with full blacks and such high contrast the midtones are blown out white.
What the ... ?
It's because that clip is log encoded, and Pr is treating it the same as a log encoded clip placed on an HLG timeline. HLG ... hybrid LOG gamma, right? Log encoded clips on HDR timelines don't look "log-ish" at all, they're fully reproduced as they were in-camera.
So ... your LUT, designed to transform the clip to Rec.709, might not be useful any more. You can try working it without doing the manual override of the clip to Rec.709, apply the LUT as before, but that may well not work correctly.
And if you override the clip to Rec.709, you've already applied a transform to the clip. That LUT is a second transform, not a good thing to do.
I'd be happy to test this if you sent a short clip my way.
Neil

Copy link to clipboard
Copied
I can´t believe this endless bug list. I am using Premiere since many years and edited hundreds of videos on it and I do not remember a time without massive bugs. For this monthly price it is not worth it.
I used the Sony A7sIII with s-cinetone (pp11) and exposed ETTR like usual. Outdoor with fixed 5.500 kelvin. I used the newest LEEMING LUTS and also checked to have them installed correct in the media encoder as well. In the timeline it looks great but the result is too bright, washed out colors and sometimes overexposed. What a mess!!! 😞
This project has to be done with Premiere, as I have a series of those videos, but for sure I will change to Davinci Resolve 18. Long time I was thinking of it but if the basics don´t work and cost me half a day to try to guess the right colors, I am done with it.
It is my job as a filmproducer and I am working with calibrated EIZO CG screens.
Copy link to clipboard
Copied
Have you checked the color management for those files in the project panel bins? Right-click, Modify/Interpret Footage ... you may need to set an input LUT and then set the Override section to what you want the output to be, probably Rec.709.
They have completely rebuilt the color system for Pr2022, and it's confusing the heck out of a lot of users.
Neil

Copy link to clipboard
Copied
Can you recommend a good input lut? Should we interpret the footage as well if its shot in HLG and convert it to Rec.709 or simply use the hlg to rec.709 creative lut?
Copy link to clipboard
Copied
They've been working on adding more input LUTs, and of course, the public beta has more than the shipping one does. Pick one closest to your media, or you can add one if you have a better one.
Francis Crossman sent me the updated link to working in HDR, and typically for Adobe ... it's got the implications for how to work in say SDR/Rec.709 buried in it. But not clearly explained.
The HDR workflow in Adobe Premiere Pro 2022 User Guide
It's a two part process ... you need to set both an Input LUT for most log-encoded and/or HDR media, and then check the Color Space options below ... if the file is being seen correctly, just use the 'from file' option.
If say it's being seen as HLG/HDR when you want Rec.709, use the Color Space Override to set what you want for working that. Sort of a destination setting for sequence/monitor/output.
Some log-encoded media that Pr recognizes as SDR/Rec.709, you only need set the Input, as it properly recoginizes and applies the output space.
Neil
Copy link to clipboard
Copied
Very interesting information to understand. But, it's too difficult for the developers to make this process for users. A bunch of settings when working with a dynamic link in two programs. We urgently need to work on this and simplify the process of setting up the color space. I think if you set up a color space in one program (for example, Pr), then when working with a dynamic link in another program (for example, AE), the color space should pick up the settings of the first application and build them automatically. Today's work process is unsuccessful. This headache will continue until developers unify and automate the process of working with color.
Copy link to clipboard
Copied
So totally agree!
I've requested a single color management panel, one place we users could go to check and set all defaults and behaviors and overrides. They've said they find the concept " ... interesting ... " which doesn't mean Jack.
But if everyone went and voted for this UserVoice request, we might have a chance ...
Neil
Copy link to clipboard
Copied
I was one of the first to vote when you posted the post. We hope that something understandable and correct will be done to defeat this process.
-
- 1
- 2

 AdChoices