 Adobe Community
- Home
- Premiere Pro
- Discussions
- How to make reusable custom transition for text/cl...
- How to make reusable custom transition for text/cl...
Copy link to clipboard
Copied
Title says it all. But for more detail, I made this transistion with keyframes and blurring effects. But if I simply copy-paste those keyframes to use on another clip/image/text, I have to adjust every keyframe manually to accomodate the location I want the transition to happen onscreen.
TWO Questions:
1) How do I make my orginal transiton (the movement, blur effcts, etc.) into a custom, preset transition to reuse on any clip I want without having to worry about fixing all its keyframes?
2) When I make this preset, will it give me the option to adjust the effects I originally put into it, when applying it to different clips?
For example: if my preset transition has Gaussian Blur in it, when I apply this preset transition to a new clip, will I be able to adjust the amount of blur for that same clip (in case I want more/less blur depending on the clip I use the transition on)?
 1 Correct answer
1. In your Effects Panel select the effects you used to make your desired result by holding the Command (Control or PC) and clicking on each effect. With them selected Right Click and choose Save Prest. Give it a name and for this application under Type I would tic the Anchor to in point box.
2. When you wan to use the effect again drag the effect from the Effects > Presets list and place in on the clip. Then in your Effect Controls panel you should see those effects and keyframes you origina
...Copy link to clipboard
Copied
1. In your Effects Panel select the effects you used to make your desired result by holding the Command (Control or PC) and clicking on each effect. With them selected Right Click and choose Save Prest. Give it a name and for this application under Type I would tic the Anchor to in point box.
2. When you wan to use the effect again drag the effect from the Effects > Presets list and place in on the clip. Then in your Effect Controls panel you should see those effects and keyframes you originally set up and in there you can adjust as needed.
Copy link to clipboard
Copied
Right, an effects preset could also work for you. Thank you, GerikP.
Kevin
Copy link to clipboard
Copied
I started down, what to me, was an easier path... but a MOGRT would be great.
Copy link to clipboard
Copied
Hello gerikp,
I tried out this method. I'm glad it creates a preset for me to reuse. Unfortunately it doesn't work well when things like Position or Scale are involved, and it's akin to just copying and pasting those keyframes' exact data to different clips. Here's what I mean:
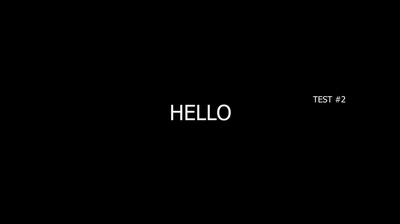
Below is an example of what I want. The animation you saw in my OP above applied to these two clips regardless of their location, size, etc.
Now here's what happens when I used the method you described, and apply my preset effect on the "TEST #2" text clip:
Copy link to clipboard
Copied
Strange. Sorry that didn't work for you. Here's a quick test I just did. I did a Transform effect for the movement in to frame and a directional blur. Then made a preset. On the left is the original effects I made. And on the right is the preset applied to a new clip.
Copy link to clipboard
Copied
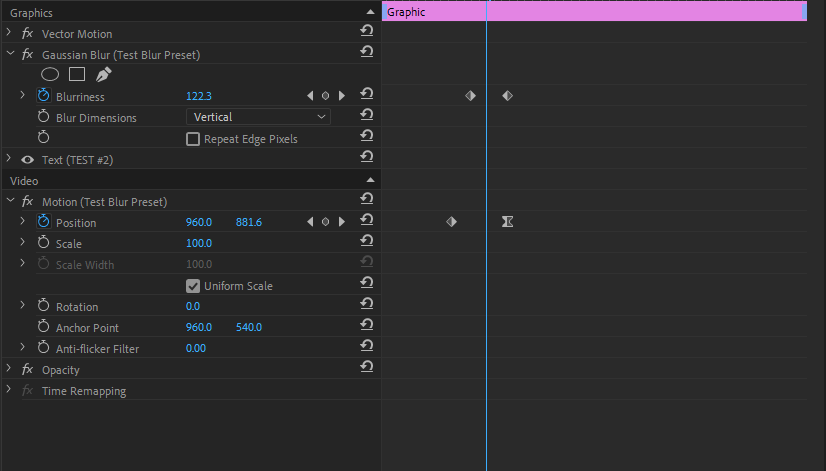
Ah the transform effect! I see now. I was using the normal Position/Scale/etc attributes to make my preset.
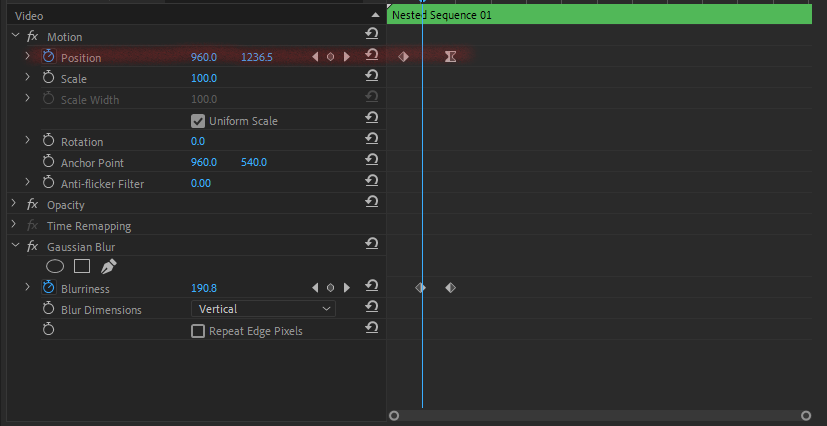
Here's a screenshot of what I mean. This is what I orginally did to make my preset:
Now when I tried using the Transform effect (instead of the normal "Position" found under "Motion" tab) It finally works! And better yet, I can move the image/text wherever I want by using "Position" without having to worry about messing up the keyframes for the other effects! Thank you so much for your help!
P.S. I'd like to know how you got directional blur to work on your text? Most effects I try don't work on text specifically (for some reason), unless I nest it in its own sequence first.
Copy link to clipboard
Copied
I actually used the Directional Blur to just add another effect to the preset for testing. I normally just use the Transform effect and then untic the box next to "Use Composition's Shutter Angle" and then increase "Shutter Angle" to something like 360.00 and that gives a nice natural looking blur to the movement.
For the Directional Blur I just keyframed the Blur Length and then used the Beziers to get a nice ramp out at the end to make it look natural as the movement slowed down.
Copy link to clipboard
Copied
Gotcha. I tried that out and now I can finally see the blur on a regular text layer without having to nest it first. It's strange that text layers need to have their shutter speed settings messed with to make effects appear correctly, yet I've never had to worry about things like that when applying blur effects and/or otherwise to images and video clips.
Copy link to clipboard
Copied
Create a .mogrt: Graphics > Export as Motion Graphics Template. If you need assistance with the process, do let us know.
Thanks,
Kevin
Copy link to clipboard
Copied
Hi Kevin,
Thanks for your help. I'm glad that it made a template I can use for text and lets me edit the text too once the template is on the timeline. Unfortunately, I reach a similar issue to what I got when following gerikp's instructions. If I want to move the text (to make the animation happen somewhere else onscreen), it'll mess up the original keyframes.
Another issue is that the Motion Graphics approach only works for text layers. I can't do the same with video layers or images.
Copy link to clipboard
Copied
Hi,
Sometimes you need to alter X,Y or other parameters if the source text is different from the original (it's more letters or less, begins from a different position or end differently, etc.)—unless I'm just not understanding your predicament. You can create .mogrts with replaceable footage, but those must be authored in After Effects. .mogrts created there have certain advantages, with one or two shortcomings.
Regards,
Kevin


